This article will show you an example of how to create a flow from which the outcome is this one: A user takes a course on your site, then they take the final exam and receive a passing grade, which results in them receiving an email from where they can download the certificate.
The setup described above can be created as such:
- Create your final exam as a quiz;
- Add the quiz as a lesson in your course;
- Add the certificate as a “Lesson Resource”;
- Create a “Download Certificate” page;
- Create an automation that starts when a user completes a score higher than a certain value (the passing grade that you’ve established – for example, 60 points);
- Add an action in the automation to add the users that get a higher score than the one you’ve set into the autoresponder of your choice, and also associate a certain tag;
- Go to the autoresponder and set up a workflow that starts for the users with that tag associated to them – in which they receive an email;
- Attach the link to the download page in that email;
It might sound a bit complicated but in reality, it just requires a few actions, and you can follow this article as a step by step guide.
For this setup, we will have to use:
- Thrive Automator: to set up the automation and condition it to start when the user gets a certain score or above;
- an autoresponder in which you can create automations or workflows, to send out the email with the certificate download URL;
- Thrive Quiz Builder: to create the quiz (the exam);
- Thrive Architect: to create the page with the download button, for the certificate;
- Thrive Apprentice: to create the course and tie it to a product;
Now let’s take them step by step:
1. Create Your Final Exam as a Quiz in Thrive Quiz Builder
The exam that the users take when they finish all of the lessons from a course can be created in Thrive Quiz Builder.
Here are some tutorials to help you get started:
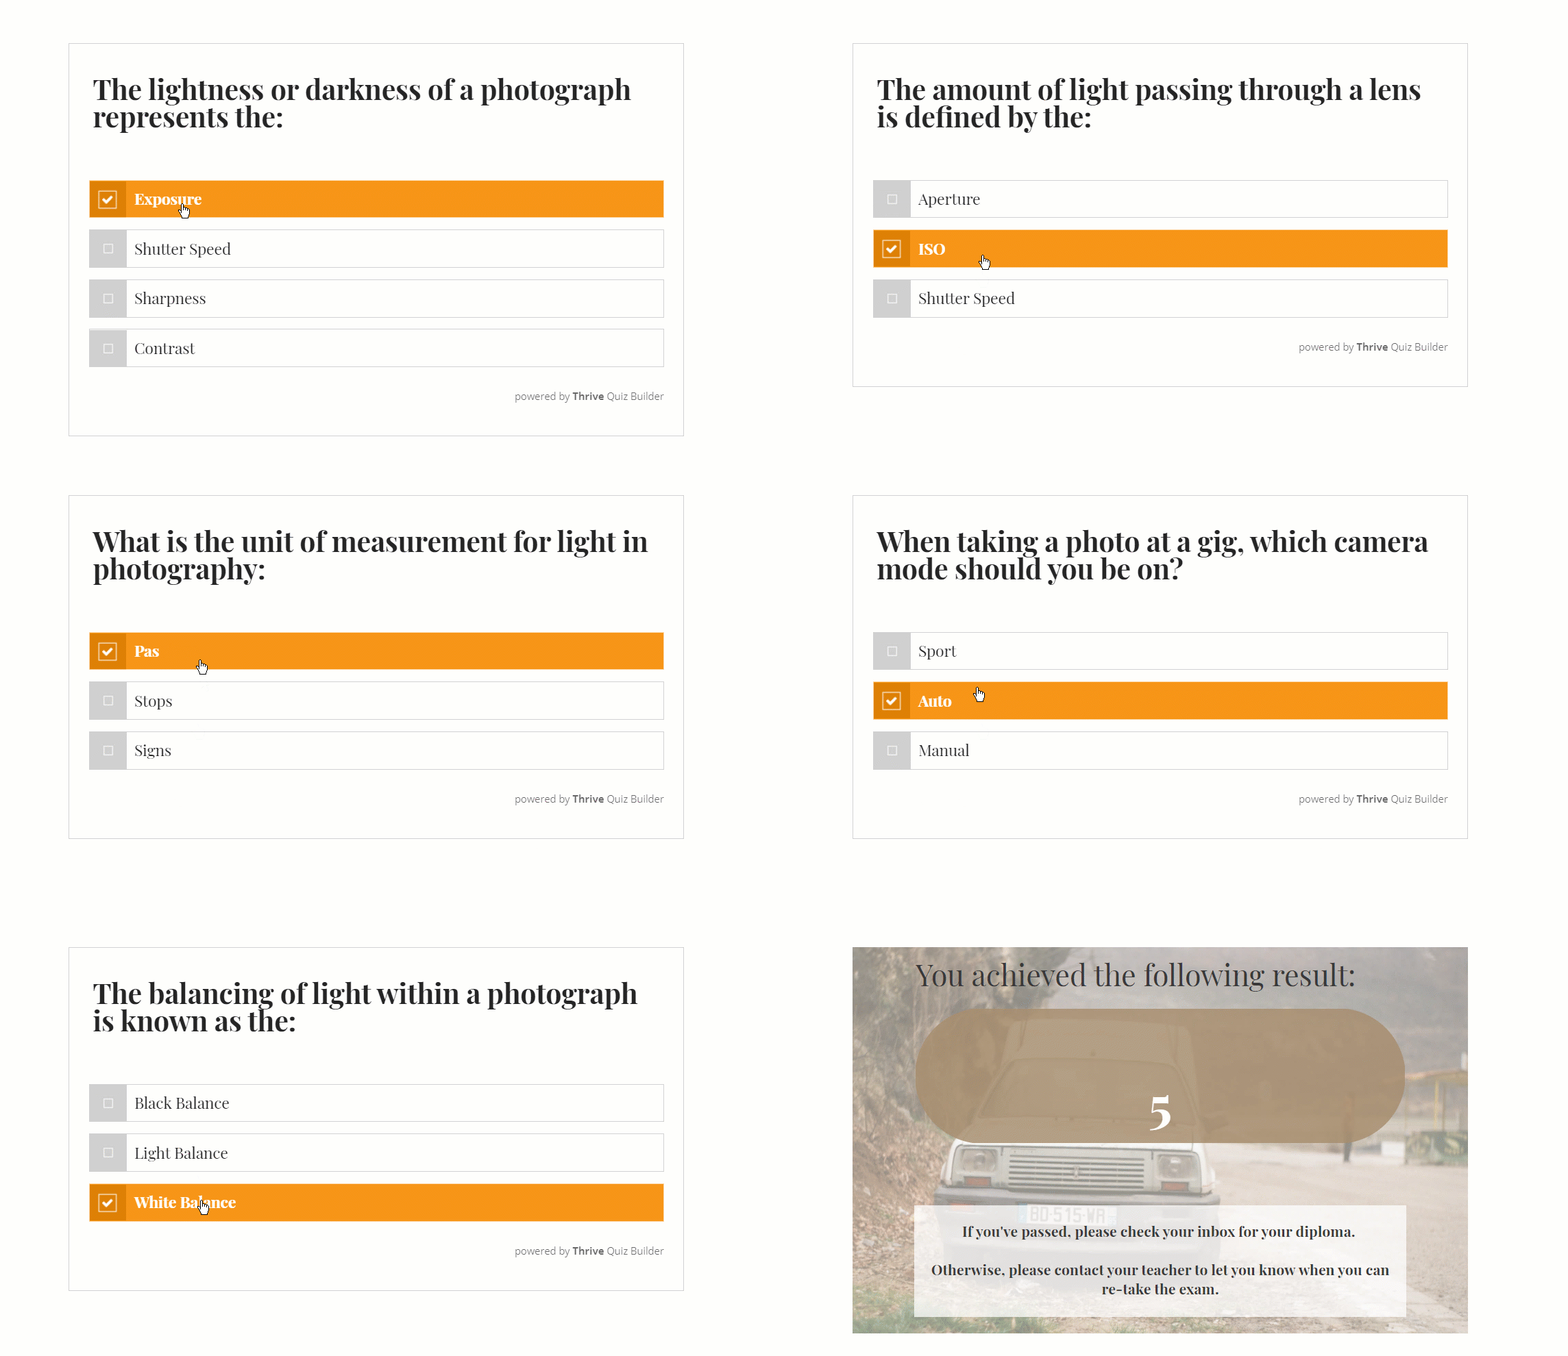
Here’s an example of the quiz I have created as the final exam for the course:
|
Note: When creating the quiz, don’t forget to assign the right values for the points of the answers. For example, in the case of this exam, the correct answer for each question will score 10 points and the rest of the answers 0 points. There are 10 questions, so the maximum score will be 100 points. The passing grade will be 60 points. This will be relevant when creating the automation and the condition that will start it. 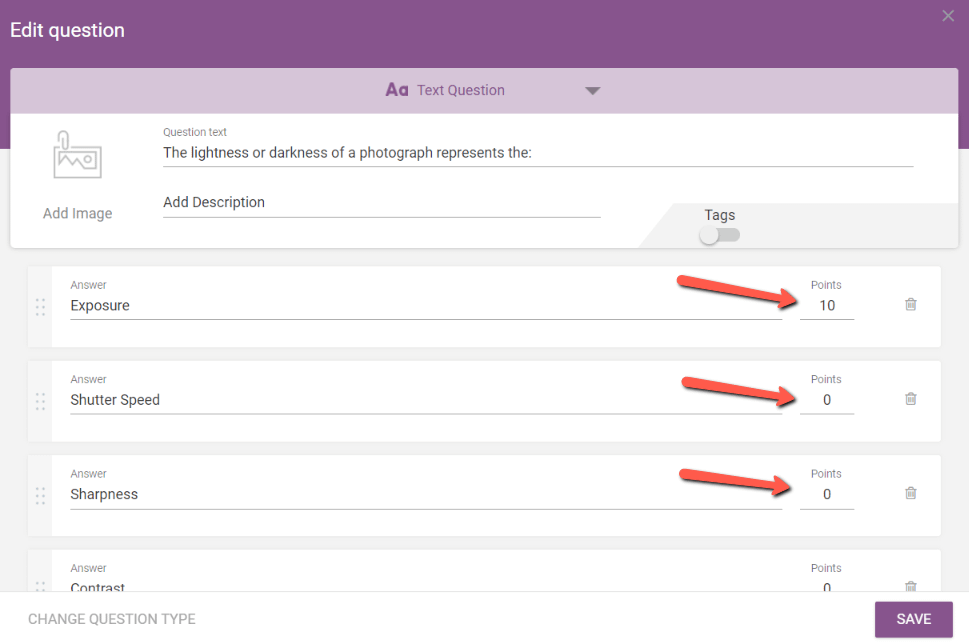
|
2. Add the Quiz as a Lesson in Your Course
You can now access your course in Thrive Apprentice and create a final lesson, in which we’ll add the quiz. You can also use an existing lesson, it just depends where you want the exam to be placed.
I will add another lesson and customize it:
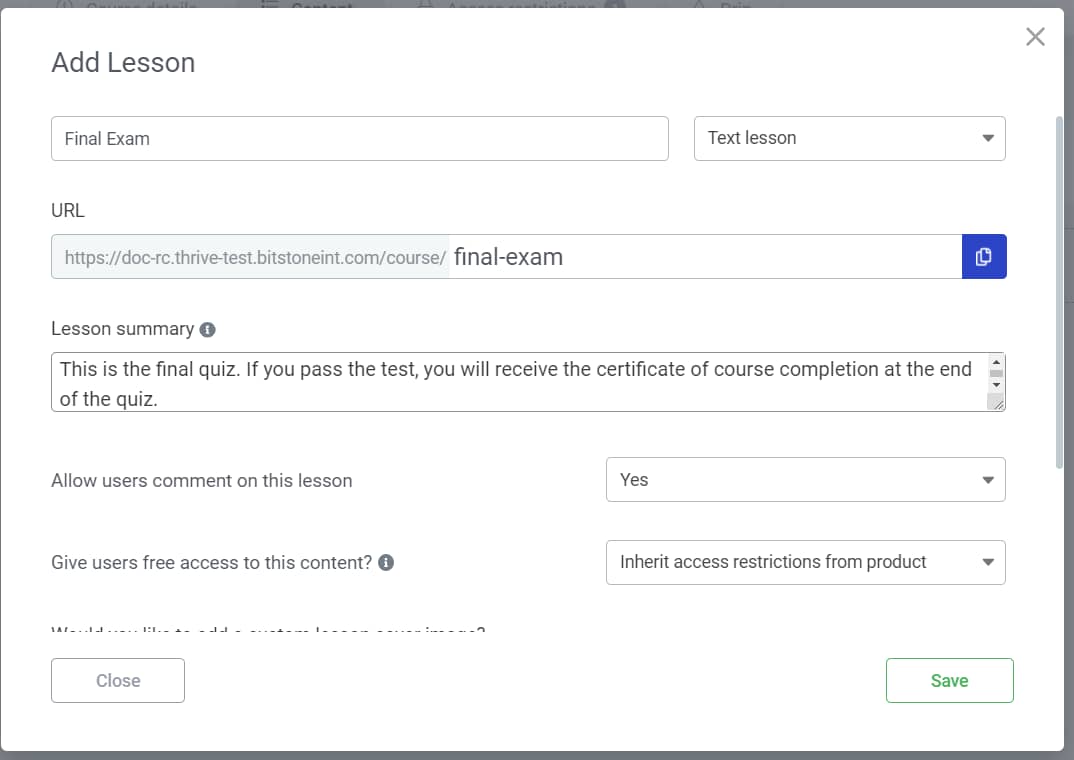
In case you need help with the process of adding a lesson, check out this article:
3. Add the Certificate as a “Lesson Resource”
The next step, while we’re still customizing the lesson in Thrive Apprentice, can be to add the course certificate as a resource for this lesson:

The certificate should be a file that you attach as a resource and, of course, you can create it as you wish.
If you want to read more about lesson resources and how you can add and customize them, please see this article.
You can then publish the lesson, or schedule its publish date:

4. Create a “Download Certificate” Page
It is now time to create a new page (or use an existing one, as you wish) in which we’ll place the “Lesson Resources” element, and this will allow users to download the certificate.
I have added a new Landing Page in my admin dashboard to use as an example, and I will launch Thrive Architect:
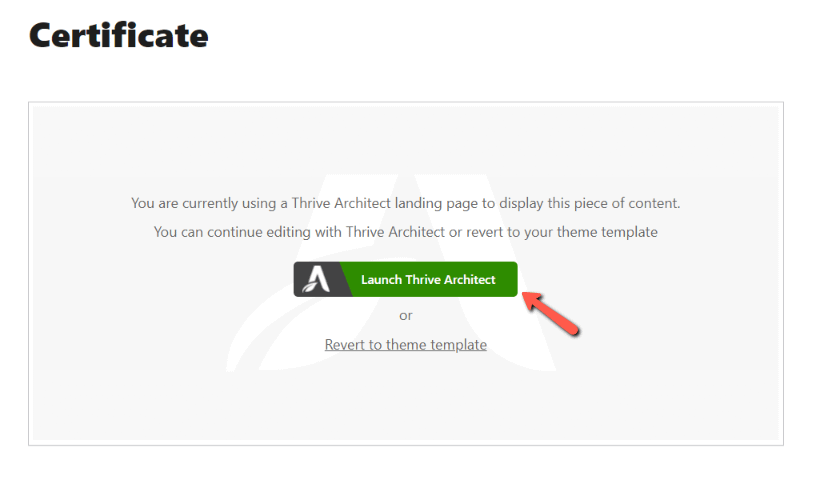
After you customize this page to your liking, add the element and select the lesson in which you have added the exam (the quiz):
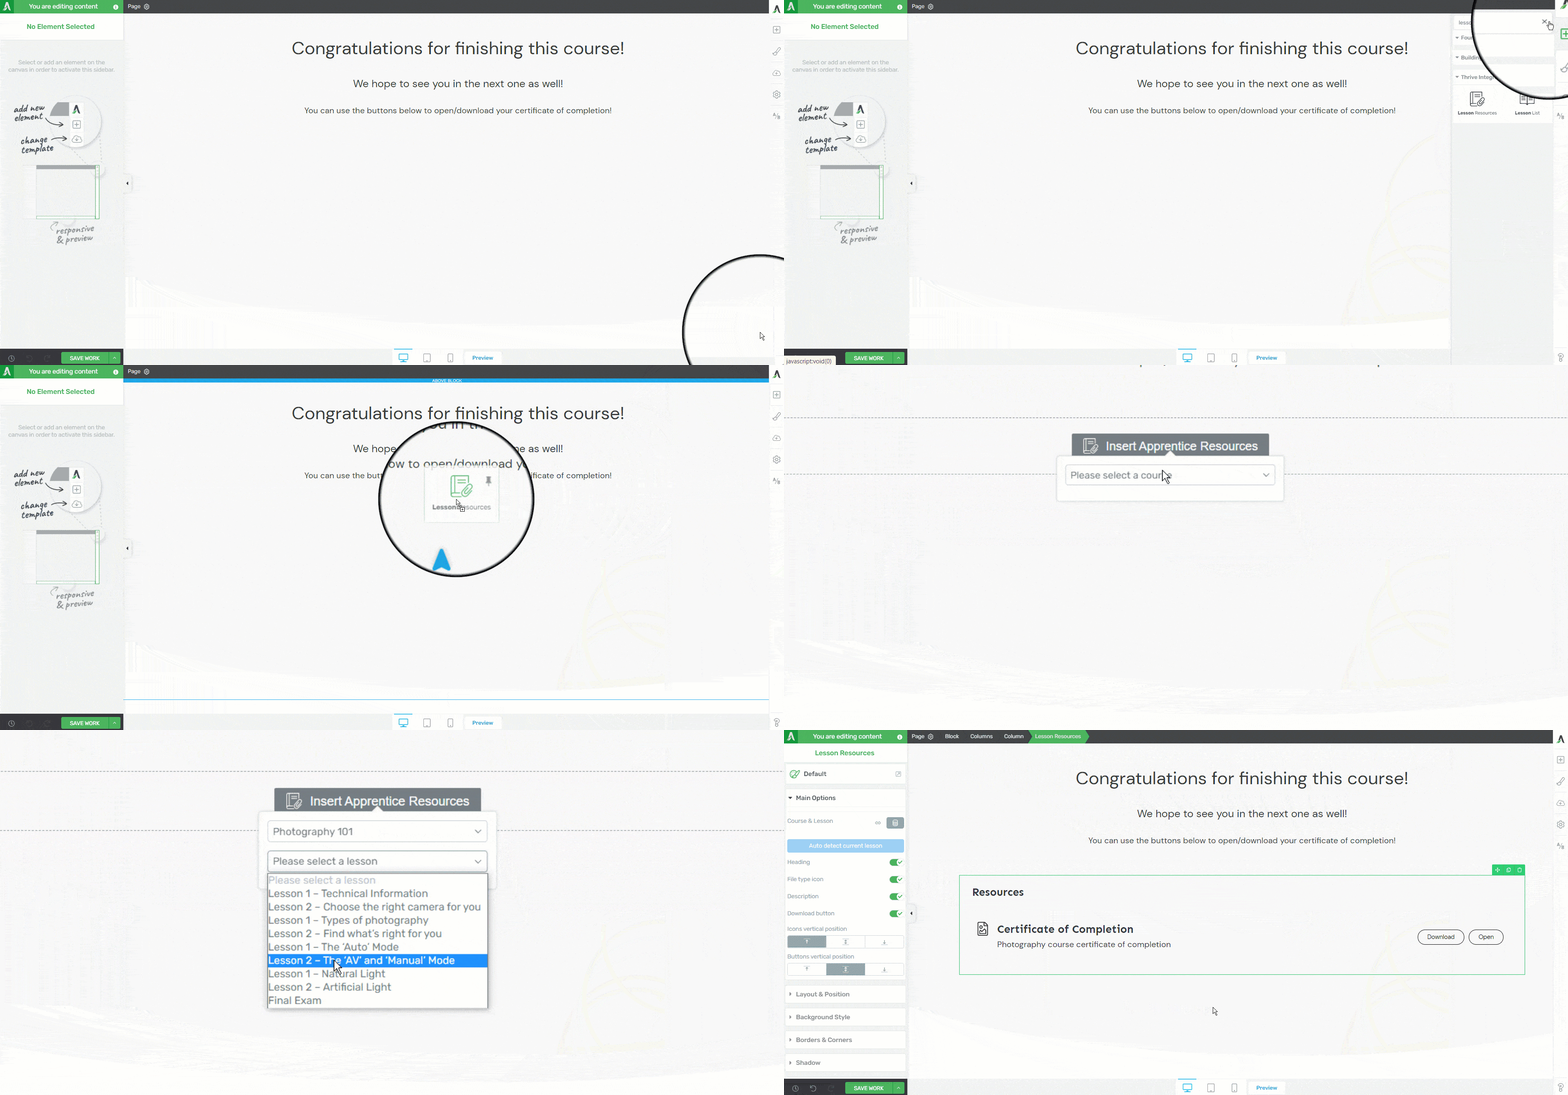
Of course, don’t forget to save the page.
5. Create an Automation in Thrive Automator
It’s time to access Thrive Automator and create the following automation:
- start trigger: “User Completes Quiz” + a condition
- action: “Add user to autoresponder”
As mentioned earlier, I will be using ActiveCampaign as the autoresponder, but you can feel free to use any autoresponder that allows you to create workflows or send out emails to users with certain tags associated with them.
Here are some resources that might help you create the automation, in case you need more detailed instructions:
- Getting Started with Thrive Automator
- Create Your First Automation with Thrive Automator
- Automation Walkthrough: User Completes Quiz
Once you access the Thrive Automator dashboard, you can start creating the new automation by clicking on “Add New”. This will open the canvas in which you can start setting it up.
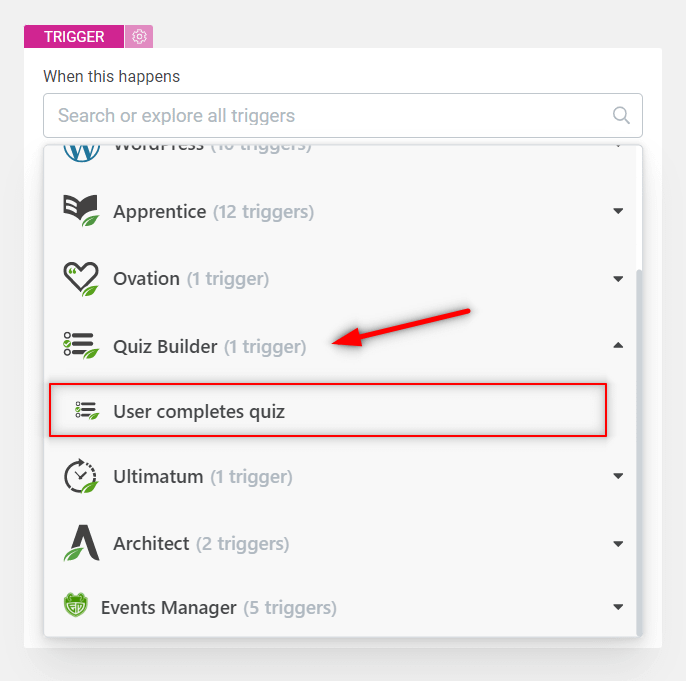
As a start trigger, choose “User completes quiz”:
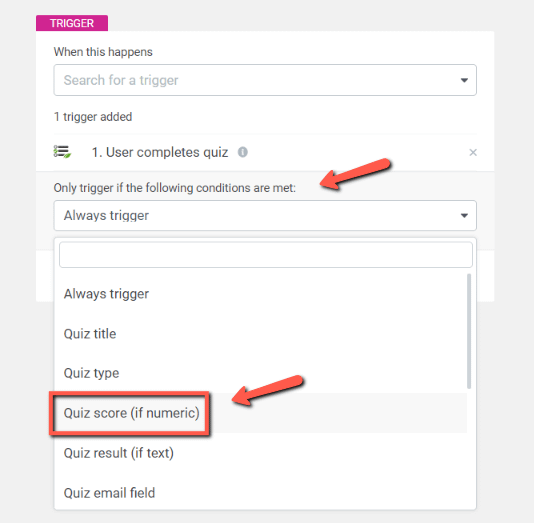
We’ll also add a condition here, as we only want the automation to start for the users who have obtained a certain score or above. For that, click on the “Only trigger if the following conditions are met” field and choose the “Quiz score (if numeric)” option:
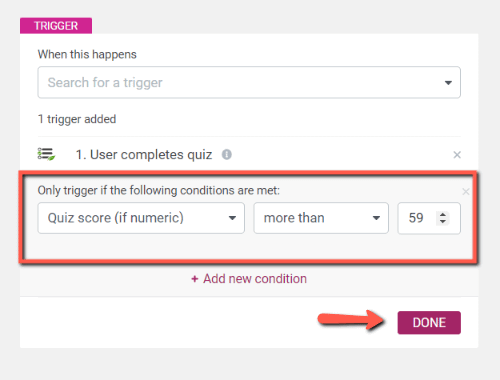
The condition can be set as follows:
|
Note: I have entered “59” because I want the users that score the passing grade, which is 60, to also get the certificate. |
This way, the automation will start (meaning that the certificate will be sent) only for the users that score 60 points or more.
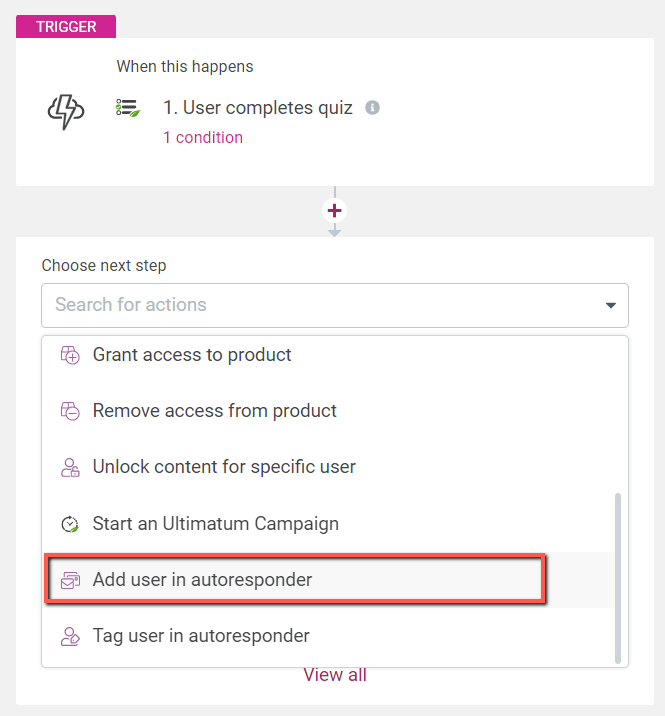
We can then add the action to be taken if the start trigger event occurs, which will be the “Add user in autoresponder” one:
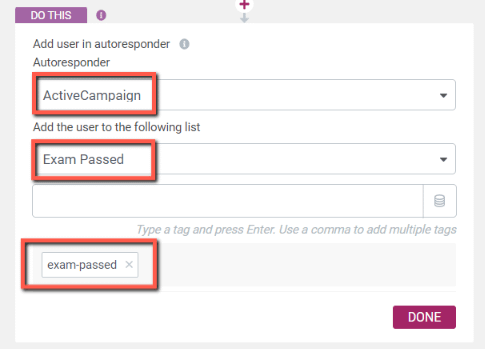
I will select “ActiveCampaign” as the autoresponder and add the mailing list and tags to be associated with the user, thus set up the action as such:
Click on “Done” and you are all set to save the automation:
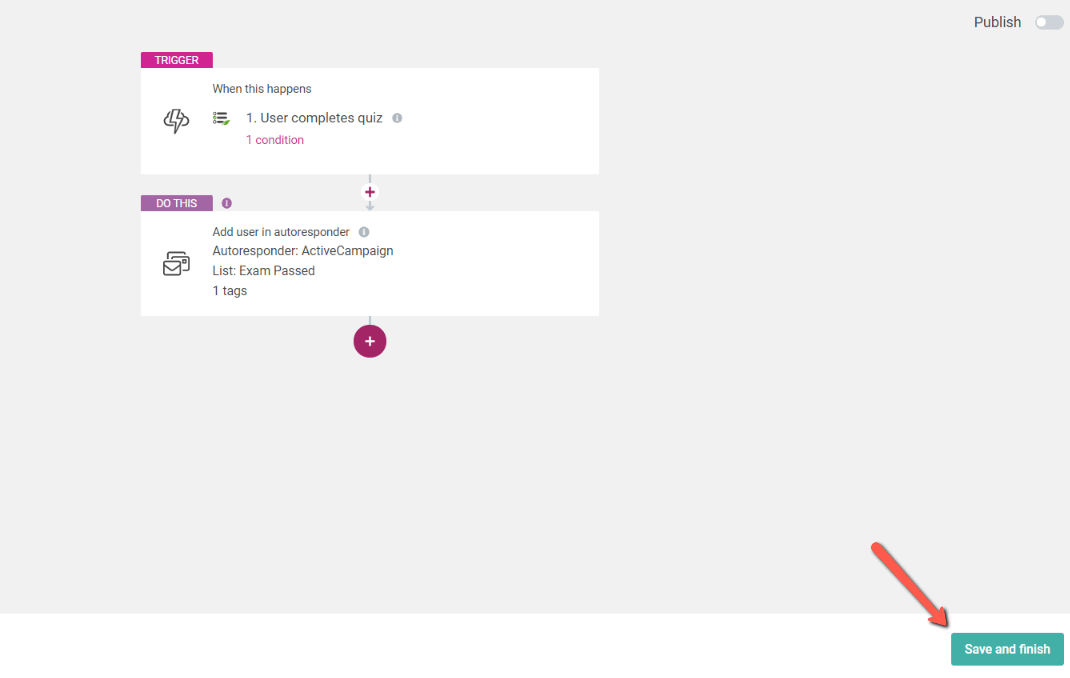
Don’t forget to also publish it:

6. Create an Automation in ActiveCampaign
If you need step-by-step details on how to create an automation in ActiveCampaign, you can check out this article, as we’ve detailed every step that needs to be taken.
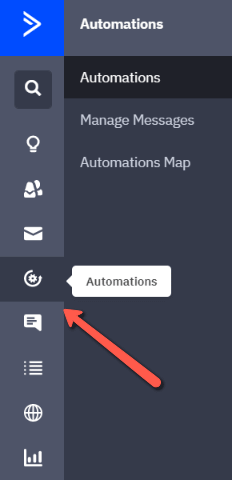
Create a new automation by accessing the “Automations” section of the left sidebar, in your ActiveCampaign dashboard:
|
Note: If you haven’t done so prior to this step, make sure you add the tag that you’ve assigned to the user (in Thrive Automator) in the “Contacts” -> “Manage Tags” section of ActiveCampaign: 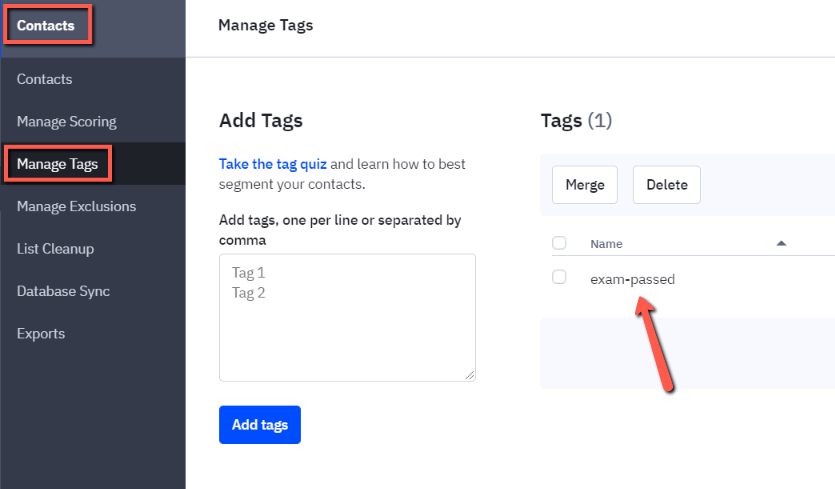 |
The automation has “Tag is added” set as a start trigger and “Send an email” set as the action:
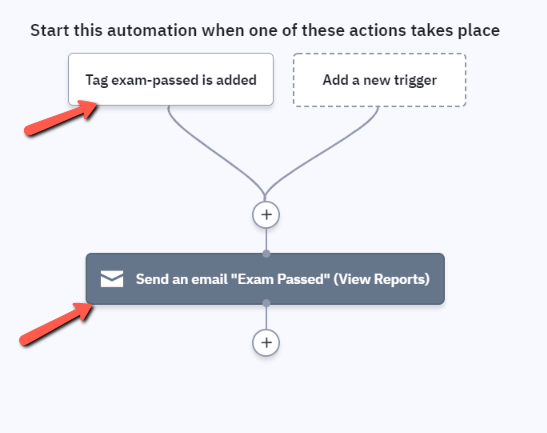
You will have to set up the email as you wish, and include a link to the “Download Certificate” page from where the users that have passed the exam can download the certificate, the one created in this step.
7. Attach the Link to the “Download Certificate” Page in the Email
When editing/creating the email for the users that have passed the exam, I will include a button and use the “Link” option to add the link to the download page:

Save the email and make sure the automation is set to “Active”:
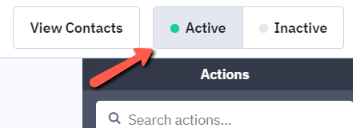
And the setup is now complete! The users that have successfully passed the final exam will receive an email with a link to a page from where they can download the certificate.