In this article, you’ll learn how to connect your Stripe account to Thrive Apprentice so you can accept payments and sell courses directly from your website—no extra plugins required.
Stripe is the built-in payment solution for Thrive Apprentice. It’s the simplest way to start selling courses because everything is managed from within the Thrive Apprentice dashboard—payment processing, product creation, and access control.
Prerequisites
Before you begin, make sure you have:
- A Stripe account (create one for free at stripe.com if you don’t have one)
- Thrive Apprentice installed and activated on your WordPress site
- At least one course created in Thrive Apprentice
Step 1: Connect Your Stripe Account
- Go to Thrive Dashboard > Thrive Apprentice.
- Click Settings in the left sidebar.
- Select Payments from the settings menu.
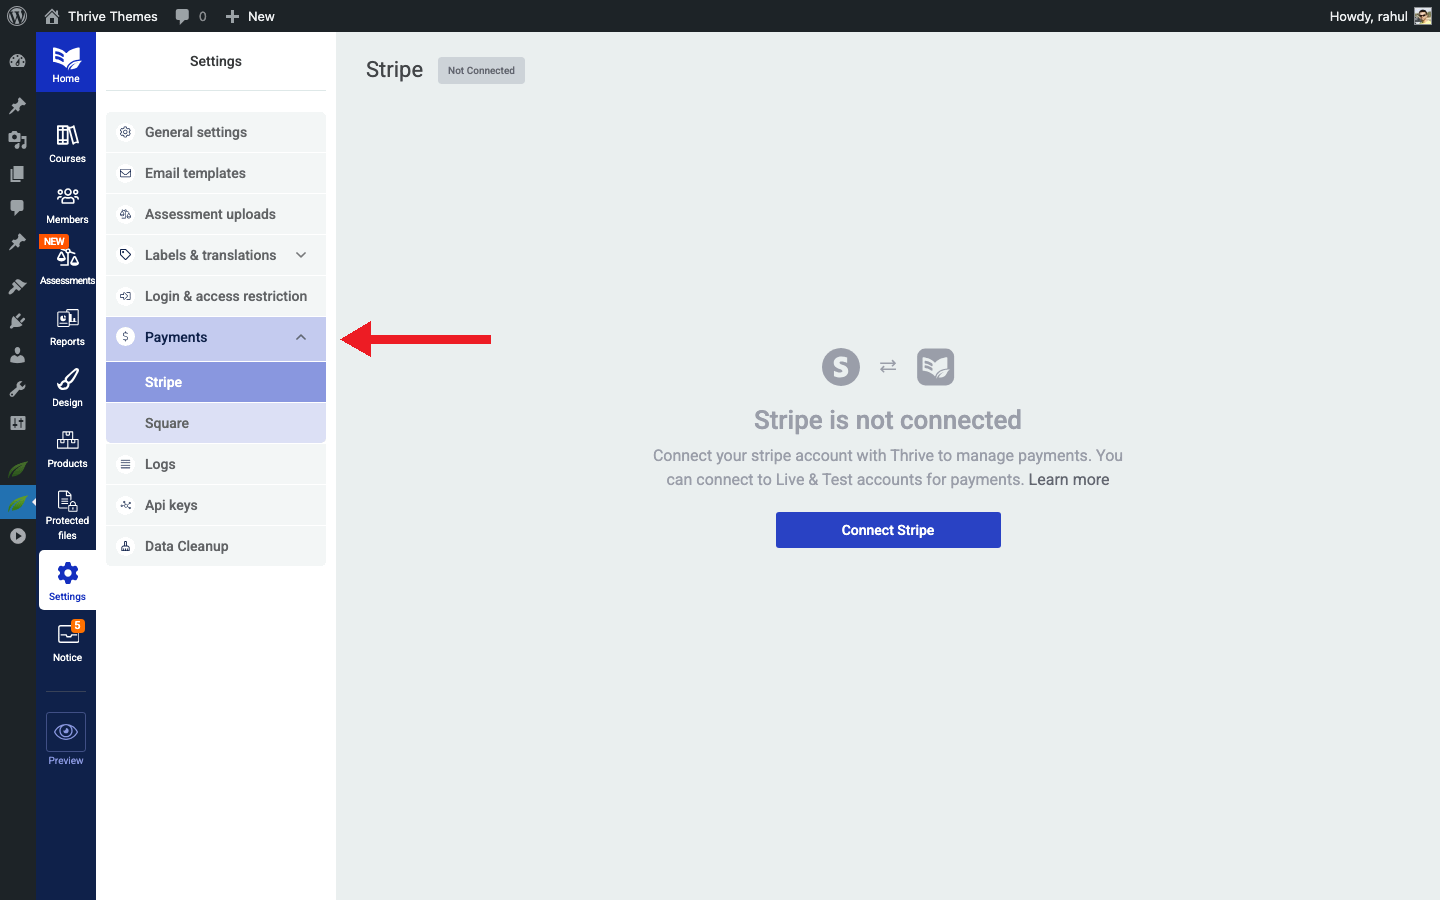
- Click the Connect with Stripe button.
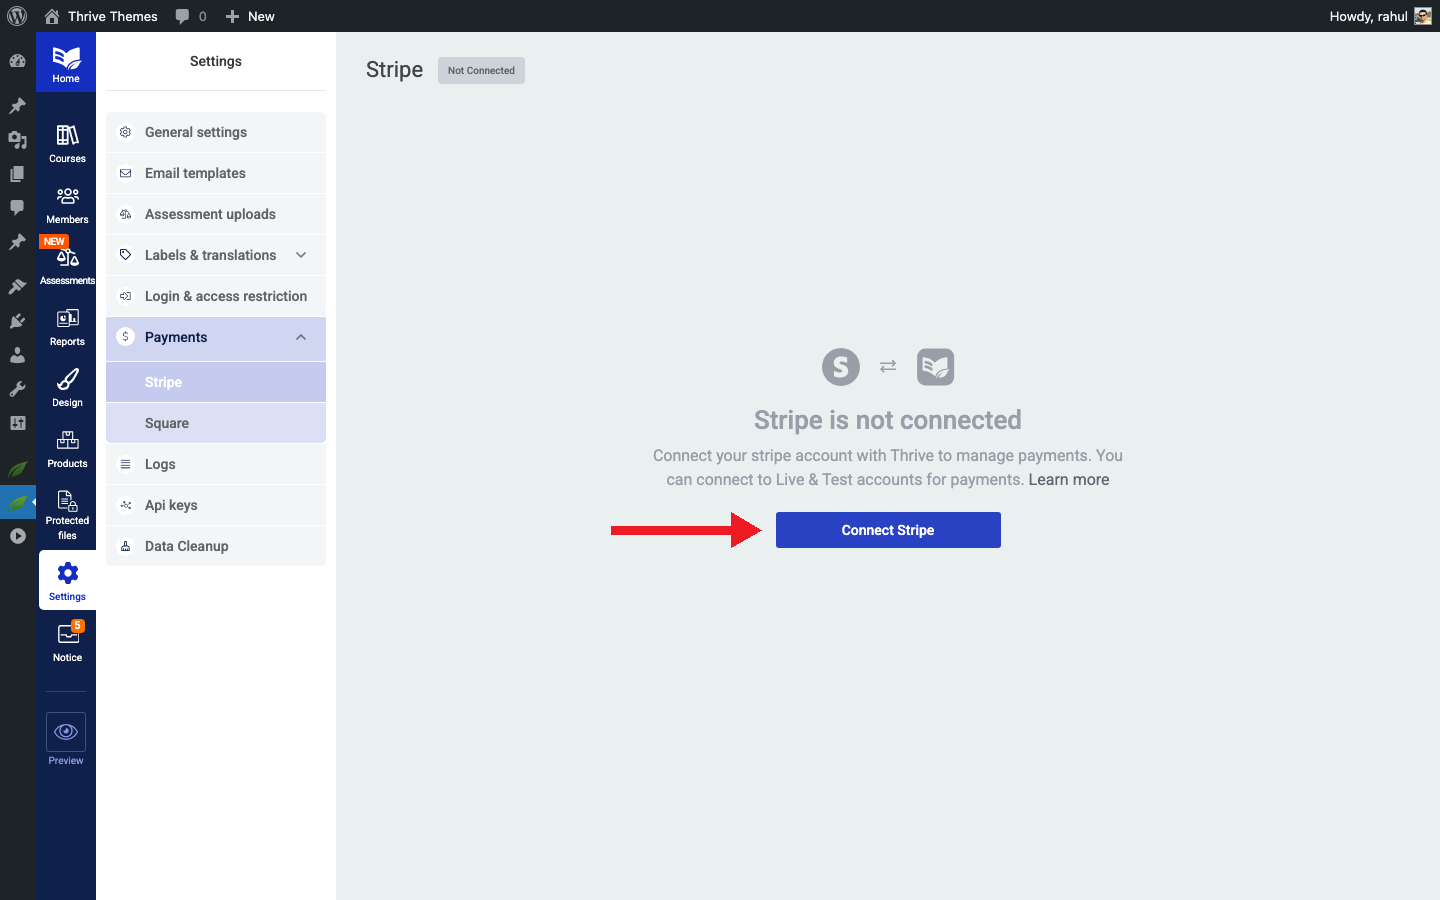
- You’ll be redirected to Stripe’s authorization page. Log in to your Stripe account (or create one if needed).
- Authorize the connection by granting Thrive Apprentice access to your Stripe account.
- Once authorized, you’ll be redirected back to Thrive Apprentice. A success message confirms the connection.
Step 2: Create a Product with Stripe Pricing
With Stripe connected, you can now add pricing directly to your Thrive Apprentice products.
- Go to Thrive Dashboard > Thrive Apprentice.
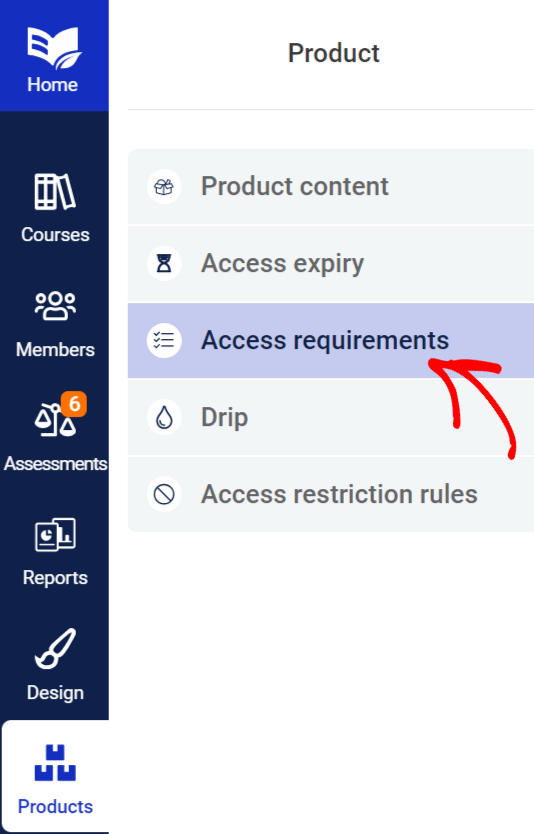
- Click Products in the left sidebar.
- Select an existing product or click Add New to create one.
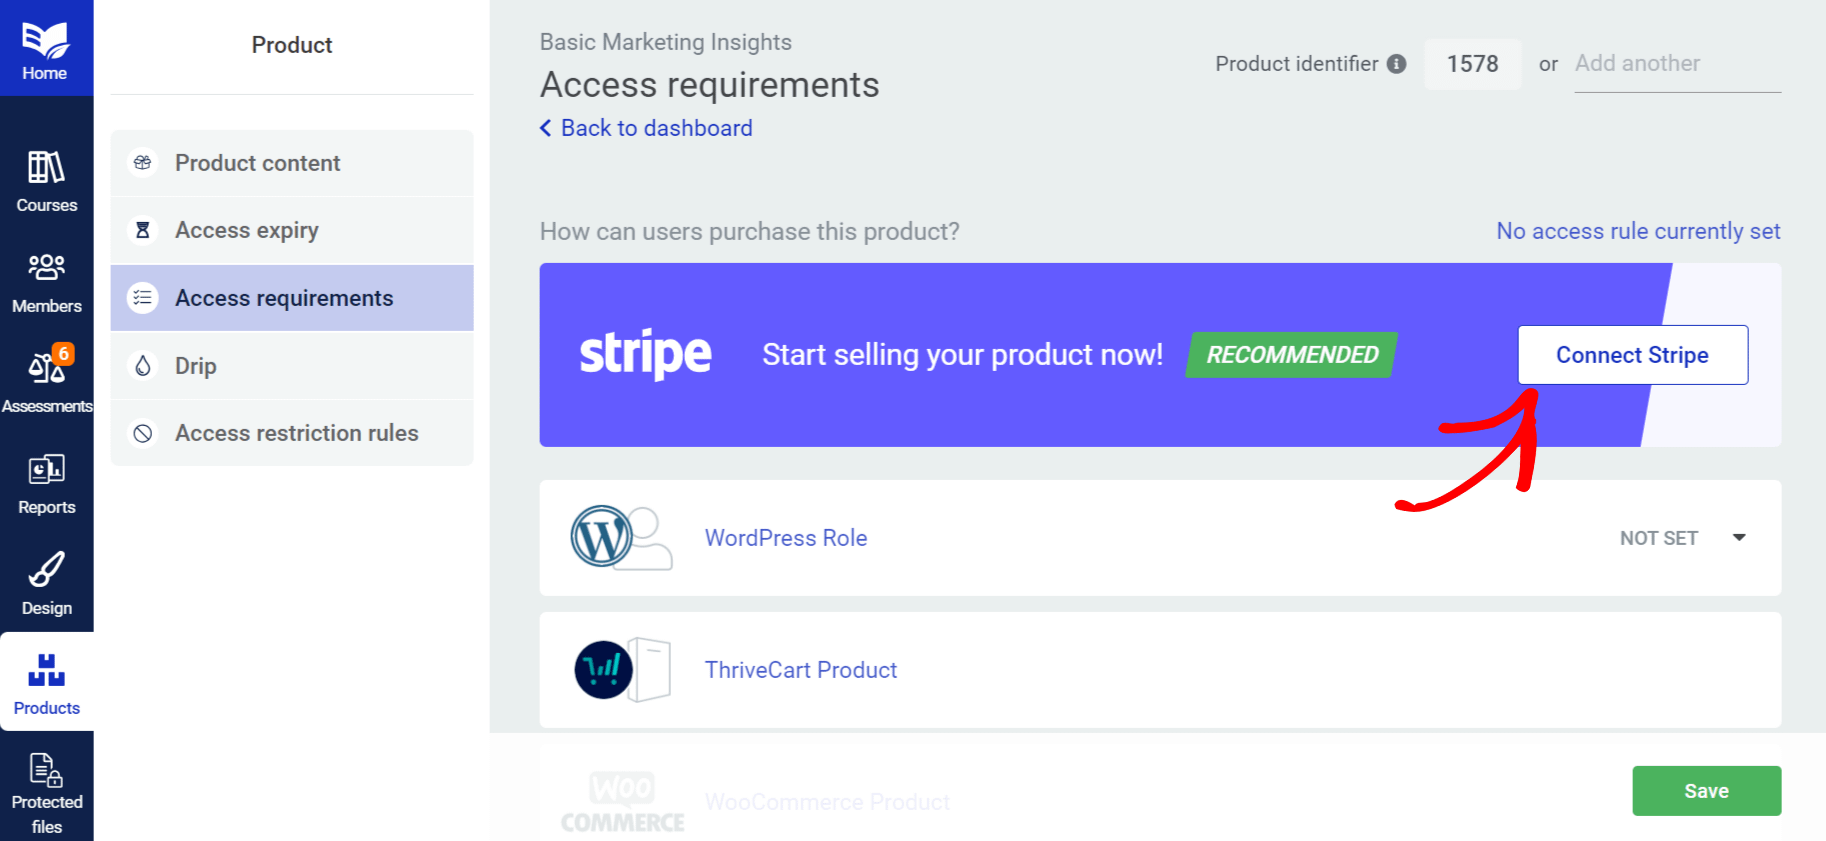
- Click the Access requirements tab.
- Choose Stripe as the payment method.
- Configure your pricing: – One-time payment: Set a single price for lifetime access. – Subscription: Set a recurring price (monthly, yearly, or custom interval). – Free trial: Optionally add a trial period before billing begins.
- Save your changes.
You can create multiple pricing options for the same product—for example, a monthly subscription and an annual subscription—giving your customers the flexibility to choose.
Step 3: Configure Payment Settings
Fine-tune how payments are handled in your Thrive Apprentice setup.
- Go to Settings > Payments in Thrive Apprentice.
- Review the following settings: – Currency: Set the currency you want to charge in (USD, EUR, GBP, etc.). – Success page: Choose where customers are redirected after a successful payment. – Cancellation behavior: Decide what happens when a subscription is cancelled—immediate access revocation or access until the end of the billing period.
How Access Works with Stripe
Once Stripe is set up, the customer experience looks like this:
- A visitor clicks the purchase button on your course or product page.
- A Stripe checkout form appears (either embedded on your page or as a Stripe-hosted page).
- The customer enters their payment information and completes the purchase.
- Stripe processes the payment and notifies Thrive Apprentice.
- Thrive Apprentice automatically creates a user account (if needed) and grants course access.
- The customer can immediately start learning.
For subscriptions, Stripe automatically handles recurring billing. If a payment fails or a subscription is cancelled, Thrive Apprentice updates the customer’s access accordingly.
Testing Your Setup
Before going live, test the entire purchase flow:
- Switch your Stripe connection to Test mode in the Payments settings.
- Use Stripe’s test card number (4242 4242 4242 4242) with any future expiration date and any CVC.
- Complete a test purchase on your site.
- Verify that course access was granted to the test account.
- Switch back to Live mode when you’re ready to accept real payments.
Troubleshooting
- Stripe connection failed: Make sure you’re logged in to the correct Stripe account and that you’ve authorized the connection. Try disconnecting and reconnecting.
- Payment not processing: Verify you’re in Live mode (not Test mode) if you’re trying to accept real payments. Check that your Stripe account is fully activated with all required verification completed.
- Customer didn’t receive access: Confirm the product has Stripe pricing configured in the Access requirements tab. Check the Stripe dashboard to verify the payment was successful.
- Webhook errors: Thrive Apprentice relies on Stripe webhooks to receive payment notifications. If your hosting provider has a strict firewall, you may need to whitelist Stripe’s webhook IP addresses.
That’s it! You’ve successfully connected Stripe to Thrive Apprentice and can now sell courses with automated payment processing and access management.
Related Resources
- Stripe Customer Portal: How to Enable the Stripe Customer Portal for Thrive Apprentice Members
- PayPal setup: How to Set Up PayPal in Thrive Apprentice
- Choosing an integration: How to Choose the Right Integration for Thrive Apprentice
- WooCommerce setup: How to Get Started with WooCommerce and Thrive Apprentice
- ThriveCart connection: How to Connect ThriveCart to Thrive Apprentice