If you’re using a “Lead Generation” element on your post or page, and you connect your form to a service, you can add various types of custom fields to that form. The “Checkbox” type is one of them.
This article will explain how to set up a “Checkbox” type of custom field, and how to customize it, as well.
Set Up a Checkbox Field
First of all, you have to connect your “Lead Generation” element to your desired services. Click on the “Lead Generation” element, to select it, and go to the left sidebar menu to click on “Add Connection”:

Make sure to check out this list and click on any of the services that we support, to see a tutorial on how you can establish an API connection. Then, after setting up a connection, you will have to add a new form field.
As an example for this article, I have connected my “Lead Generation” element to Mailchimp.
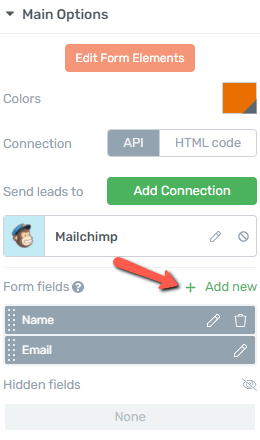
In order to add a new field, in the “Form Fields” section of the left sidebar, click on “Add New”:
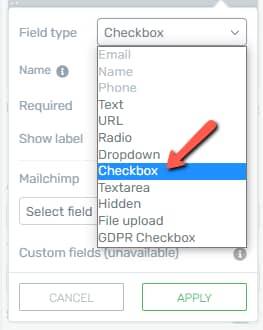
A pop-up will open, and you can start setting up the form field. First of all, click on the “Field Type” section, in order to open a list with all of the available field types:
After this, optionally, you can provide a name for the field:
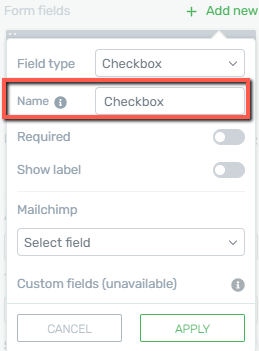
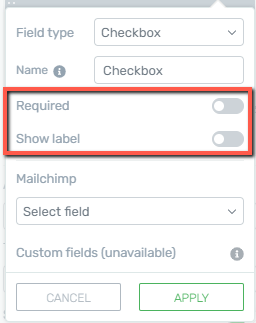
Naming the field will help you identify the “Checkbox” fields if you have used multiple ones. Then, you will have to set whether this should be required or not, as well as if you want to show the label or not:
Then, depending on the chosen connection, you are also able to set up the field mapping. Since I’m using Mailchimp as an example, I will have to click on the “Select field” section, to choose a field where the information should be sent to, in my Mailchimp account:
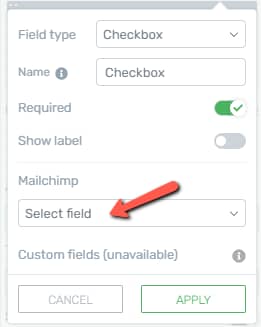
When you’re finished setting up the field, click on “Apply”:
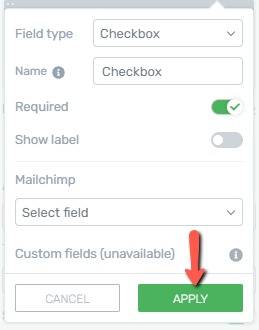
Then, the new “Checkbox” field will be added to your form.
Edit the Checkbox Field
There are two ways to edit the field. Firstly, in the “Form Fields” section of the “Lead Generation” element options, you can click on the pencil icon next to the “Checkbox” field:
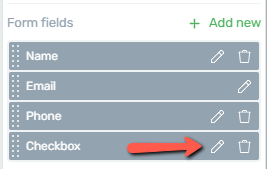
This is going to open the same pop-up that opened when the field was set up, and you can modify the field options as you wish.
Moreover, if you enter the “Edit Mode” of the “Lead Generation” element, you will be able to further customize this field. If you want to do that, while the “Lead Generation” element is selected, click on the “Edit Form Elements” option:
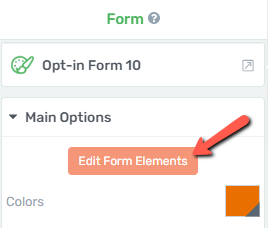
Since this type of field is very similar to the “Radio” custom field type, the options are exactly the same. If you want to see how to use all of these, please take a look at the ones we have explained in this article.
Edit the Checkbox Field Options
Of course, you can also use edit each option of the “Checkbox” field, as well. For that, click on one of the options, in the editor, and the settings will appear in the left sidebar:
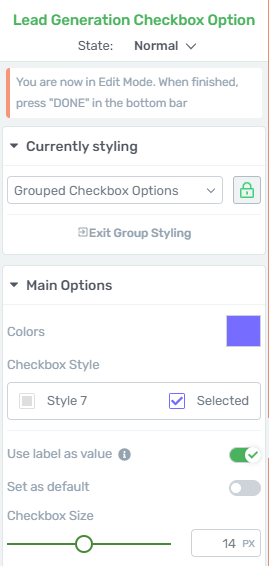
Again, since this field is very similar to the “Radio” one, the options found here are the same. Please check the explanations given here, if you want more details about how to use these.
Remove the field
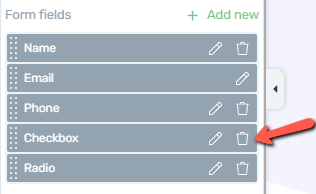
If you want to delete this “Checkbox” field, all you have to do is go back to the “Lead Generation” element options, and, in the form fields list, click on the trash can icon next to the field you want to eliminate:
Besides the “Currently Styling” and “Main Options” sections, feel free to use all of the other general options for even more in-depth customization of this field.
For all of the other options, you will be able to find articles in our knowledge base.
Also, make sure you also check out this article, to see what other types of custom fields can be added to this element.