Let’s see how the “Borders and Corners” element setting works.
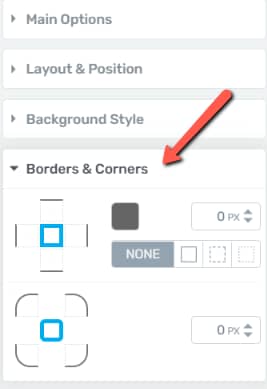
In order to use this setting, first, click on the element to access its options. Then, select the “Borders and Corners” drop-down.
This comes in handy if you want to build borders to a certain element and adjust its corners:

1. Borders
You can choose from 3 predefined border types (c). Furthermore, you have the possibility to adjust the color of the borders and set the opacity by using the color picker (a). You can also set the thickness of the border from here (b):

If you wish, you may set up borders only for a certain side of an element, for example, a side-border or a bottom border.
What you have to do is select the desired border manually, by clicking on the respective line and defining the other aspects for it, just as mentioned above.
2. Corners
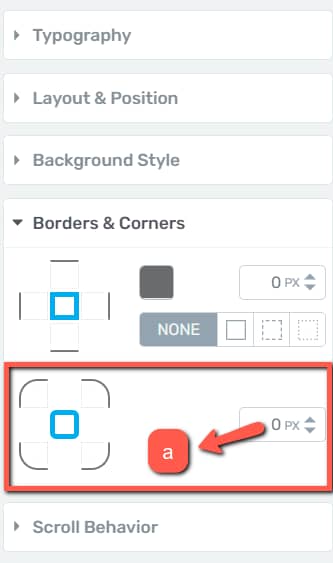
After you have finished setting up the borders of your element, you can move on to defining the corners as well. There is only one option you need to consider here: selecting the intensity of the corners (a):

Just like with borders, here you can adjust the corners all at once (leave the item in the center selected) or you can choose to adjust them one by one (click on the corner-line you wish to adjust).
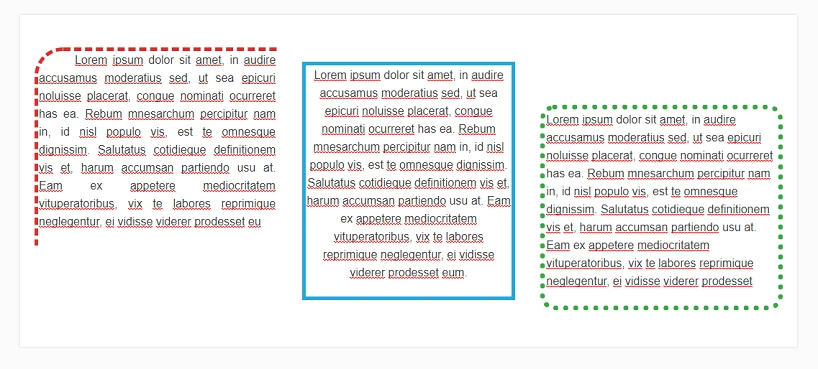
The below image is an example of how different ‘Borders and Corners’ settings look like for text elements:

If you wish to find out more about how other Thrive Architect elements and settings work, click on this link.
We hope this article was useful for you. If so, give us a smile below 🙂