Are you looking for a way to display parts of content based on the audience you’d like to show it to? The Conditional Display feature in Thrive Architect will help you display part of a page or post based on the condition you set.
For example, you want to display a call-to-action promoting a new purchase for users visiting your website for the first time. You’d like to replace that call-to-action with a link to knowledge-base articles for users who’ve already made a purchase. This is precisely what you can do using the Conditional Display feature.
In this article, we’ll see how you can use the conditional display for different elements using Thrive Architect.
Note: The Conditional Display feature can only be used for a few Thrive Architect elements listed below.
- The Block element
- The Text element
- The Background Section element
- The Content Box element
- The Custom Menu element
Let’s proceed to learn more about conditional displays.
- Finding the Conditional Display Option
- Creating and Editing a Display
- Advanced Options in Display Conditions
Finding the Conditional Display Option
As mentioned above, the Conditional Display option is available for only a few elements of Thrive Architect.
So, if you’d like to add a conditional display to any of the elements, such as the Block element, the Text element, the Background Section element, the Content Box element, or the Custom Menu element, click on it to select, and click on the Conditional Display option seen in the left-side panel.
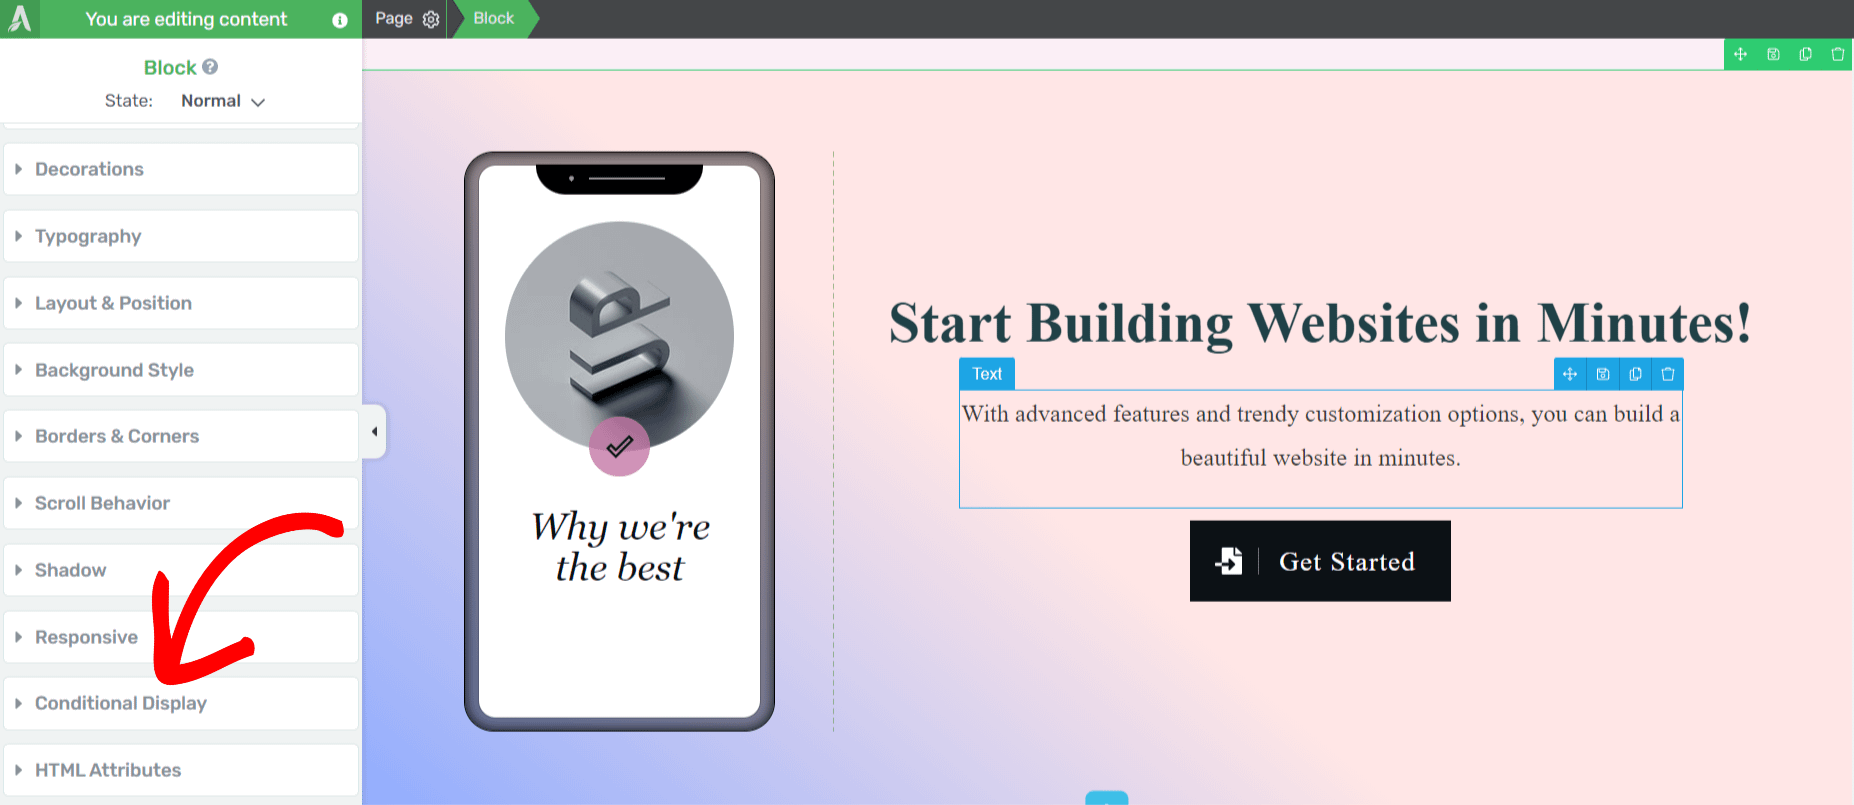
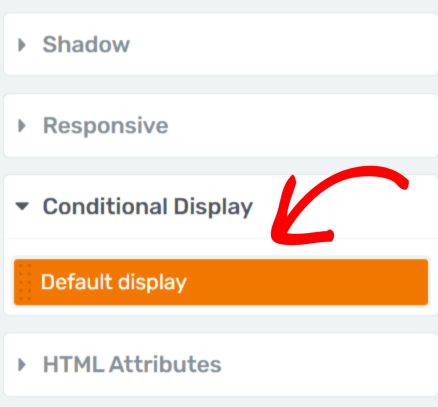
You’ll find the Default Display orange tab when you click to expand the Conditional Display option. The Default Display is the same design you see on the screen and have chosen to apply the conditional display to.
Creating and Editing a Display
After you add a conditional display, you’ll need to design an alternative design you’d like to display instead of the first.
To begin designing a new display, open the Conditional Display option for the selected section, as mentioned here.
When you hover over Default Display under Conditional Display, you’ll see a copy or duplicate icon on the right. Click on this duplicate icon.

After you’ve duplicated the display, you can edit the display and create an alternative display you’d want to show.
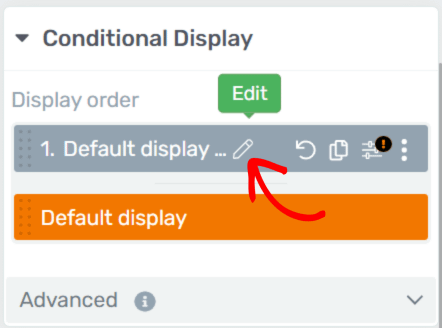
When you choose to edit the display, you’ll need to add a display name and click on the Apply button.
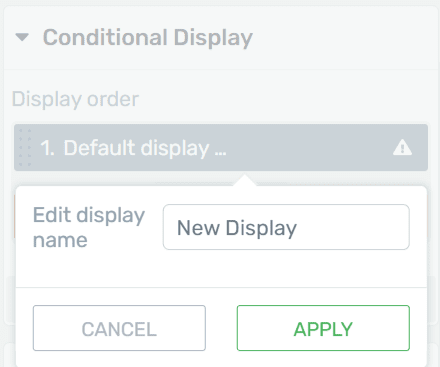
Once the new display is created, you can proceed to the editor and edit the content within the chosen block.
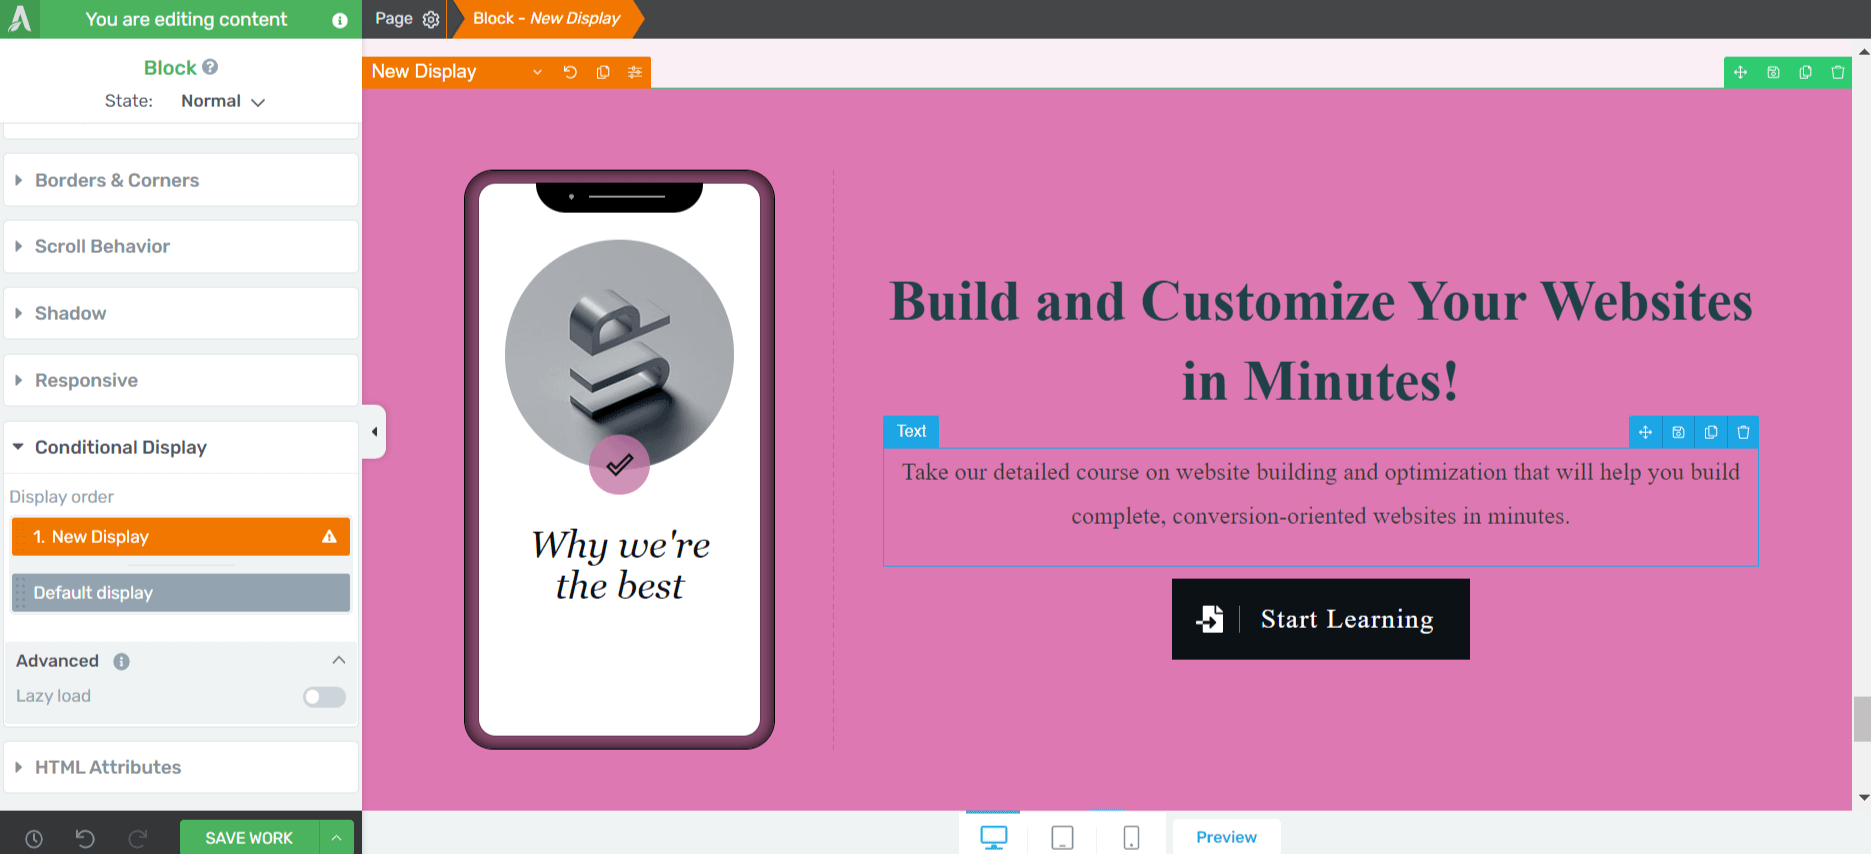
When the display is ready, click the Save Work button on the bottom left of the screen.
Now that you have two displays, you can set up display conditions to decide when each will be displayed.
To set up display conditions, hover on the New Display tab and click on the filters icon that will allow you to add display conditions.
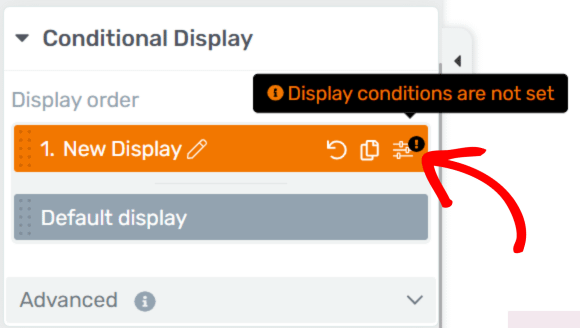
When you click on this icon, you’ll see a popup where you can set display conditions for the new display.
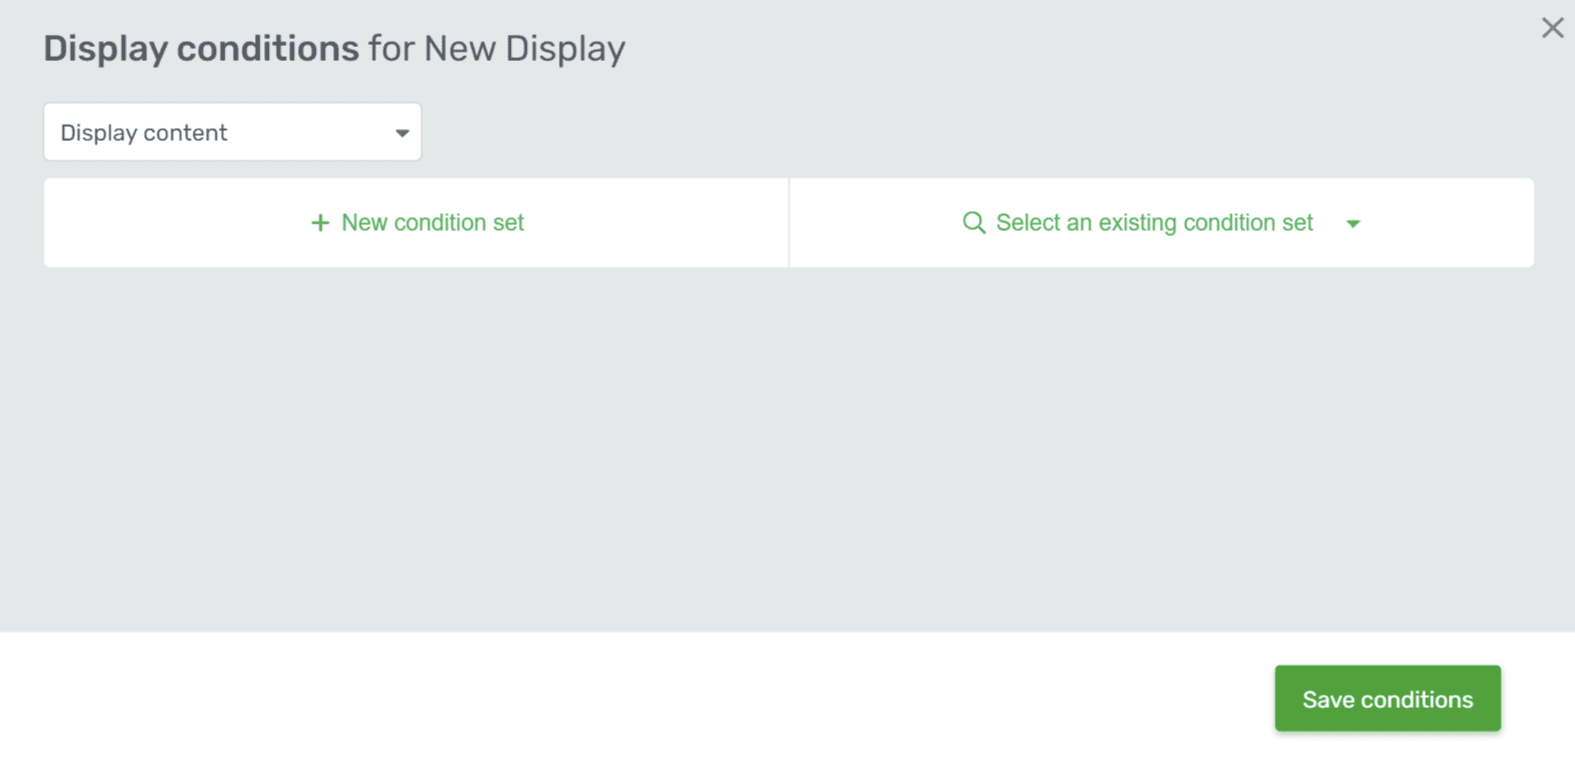
On this popup, you can add a new condition set or select an existing one you might have added before.
Let’s choose to display this New Display to users who are logged in and are registered as subscribers or customers.
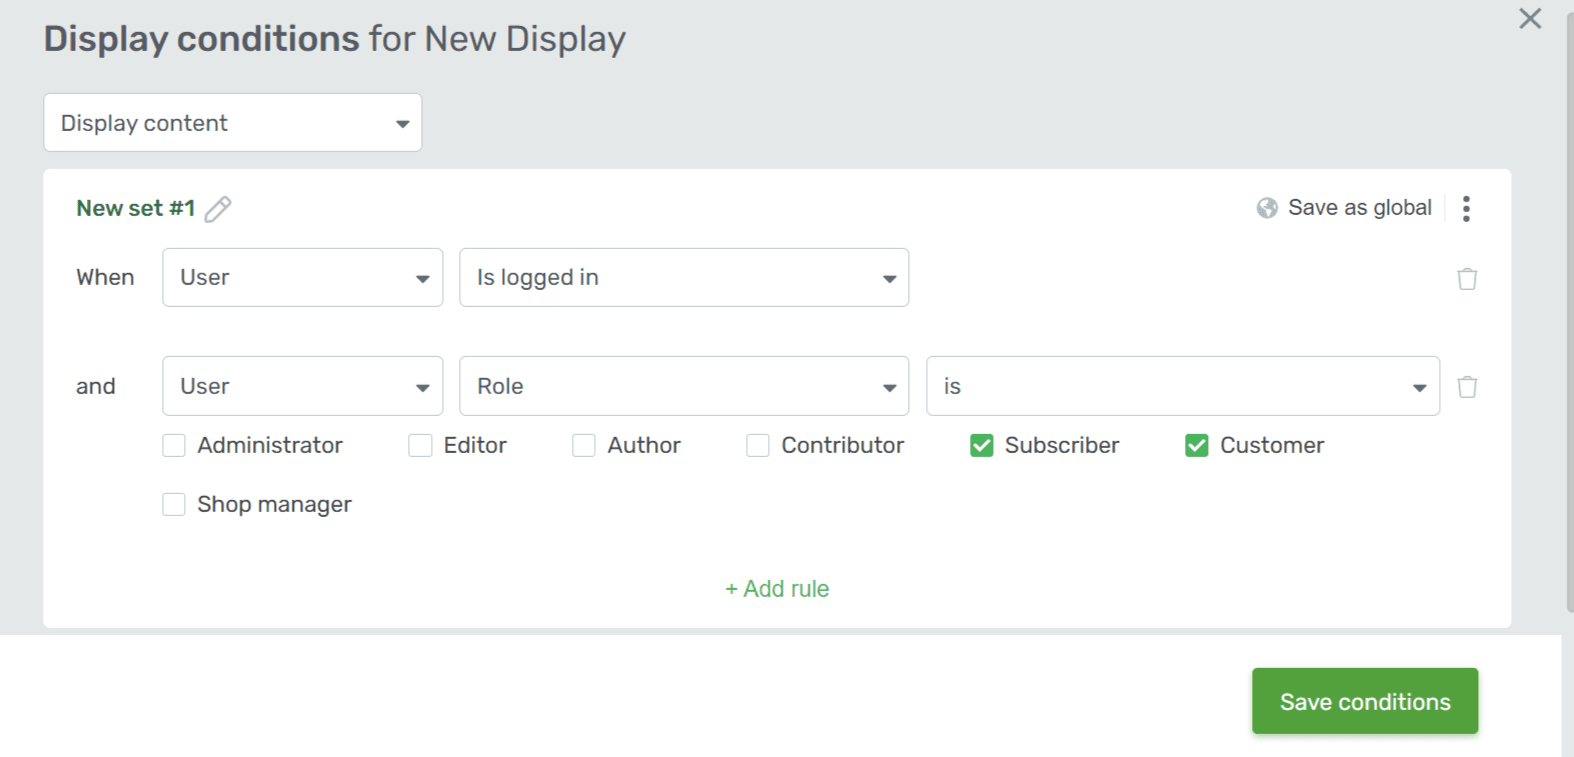
Similarly, you can add more rules to filter out the audiences for this display. You can also choose to hide the display from a certain audience.
After you add the display conditions, click the Save conditions button on the bottom right of the popup.
When you add a conditional display to a block on a page or post, you’ll see the filter icon with a highlight in the right side panel when you open the page or post in the Thrive Architect editor.
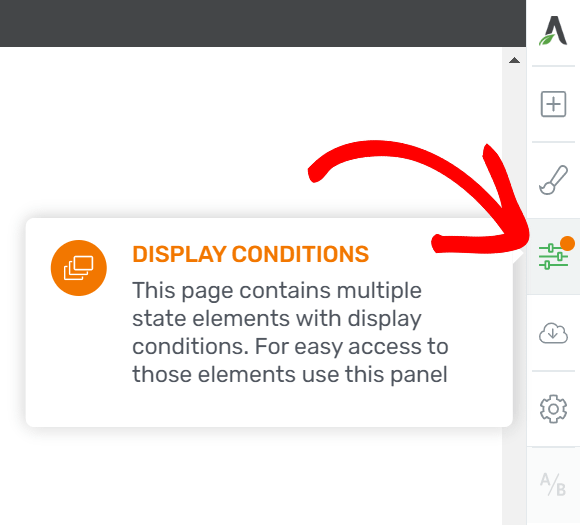
You can click on that icon to get an overview of the display conditions applied.
Advanced Options in Display Conditions
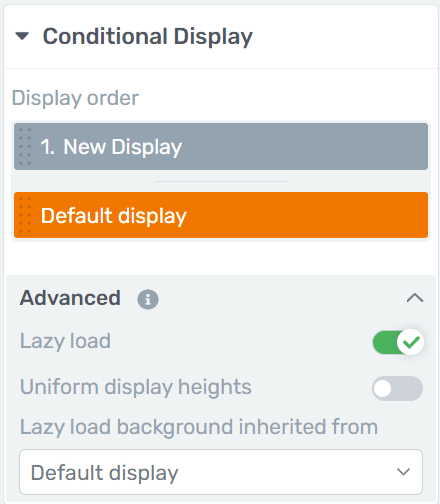
When creating multiple displays, you can use the advanced options to decide how you want them to appear on the page.
You can choose to lazy load a display. This option is recommended on websites that use cache.
Since lazy loading can cause layout shifts, you can enable the uniform display option to avoid them.
You can also choose a source to inherit the lazy load background from these options.
We’ve just seen how to add a conditional display on a page using Thrive Architect. You can add similar conditional displays on your website’s same or different pages.
Next, if you want to hide a specific content block from certain user roles, you can read the document on how to use conditional display to hide content on specific pages.