In this article, you’ll learn how to use dynamic links and dynamic text in Thrive Architect. Dynamic links are URLs that change automatically based on the current context — such as the post URL, author archive URL, or a URL stored in a custom field. Dynamic text is content that updates automatically, pulling live data like the post title, author name, current date, custom field values, and more.
Together, these features let you build templates and pages that display personalized, up-to-date information without manual editing — perfect for blog post templates, author pages, copyright notices, and data-driven layouts.

Understanding Dynamic Links
A dynamic link is a hyperlink whose destination URL is determined automatically based on the current page context rather than being hardcoded. For example, instead of manually entering a specific blog post URL, you can set a link to always point to “the current post’s URL” — and Thrive Architect resolves the actual URL at display time.
Dynamic links are especially useful in:
- Thrive Theme Builder templates — Where the same template is used across many posts or pages
- Post List elements — Where each item needs to link to its own post
- Author bio sections — Where links should point to the current author’s archive page
- Custom field-driven designs — Where URLs are stored in post meta fields
Adding a Dynamic Link
To add a dynamic link to a text element, button, or image:
- Open your page, post, or template in the Thrive Architect editor.
- Select the element you want to add a dynamic link to (e.g., a Text element, Button, or Image).
- For text, highlight the text you want to link and click the link icon in the top floating toolbar. For buttons and images, use the link option in the left sidebar.
- In the link input field, click the dynamic link icon (a small icon with a lightning bolt or dynamic symbol, located to the right of the URL field).
- A dropdown will appear showing the available dynamic link sources.
- Select the desired source (e.g., Post URL, Author URL, Custom Field).
- If the source requires additional configuration (such as selecting which custom field), complete the settings.
- Click Apply to save the dynamic link.
The link will now display a dynamic tag label instead of a static URL. At display time, Thrive Architect replaces the tag with the actual URL based on the current context.
Available Dynamic Link Sources
Thrive Architect provides the following dynamic link sources:
Post URL
Links to the URL of the current post or page. This is the most commonly used dynamic link, especially in post templates and post list items.
Author URL
Links to the author archive page of the current post’s author. Useful for author bio sections where clicking the author name takes visitors to a page listing all posts by that author.
Author Website URL
Links to the website URL entered in the author’s WordPress user profile. This is different from the author archive — it links to the external website the author has specified in their profile settings.
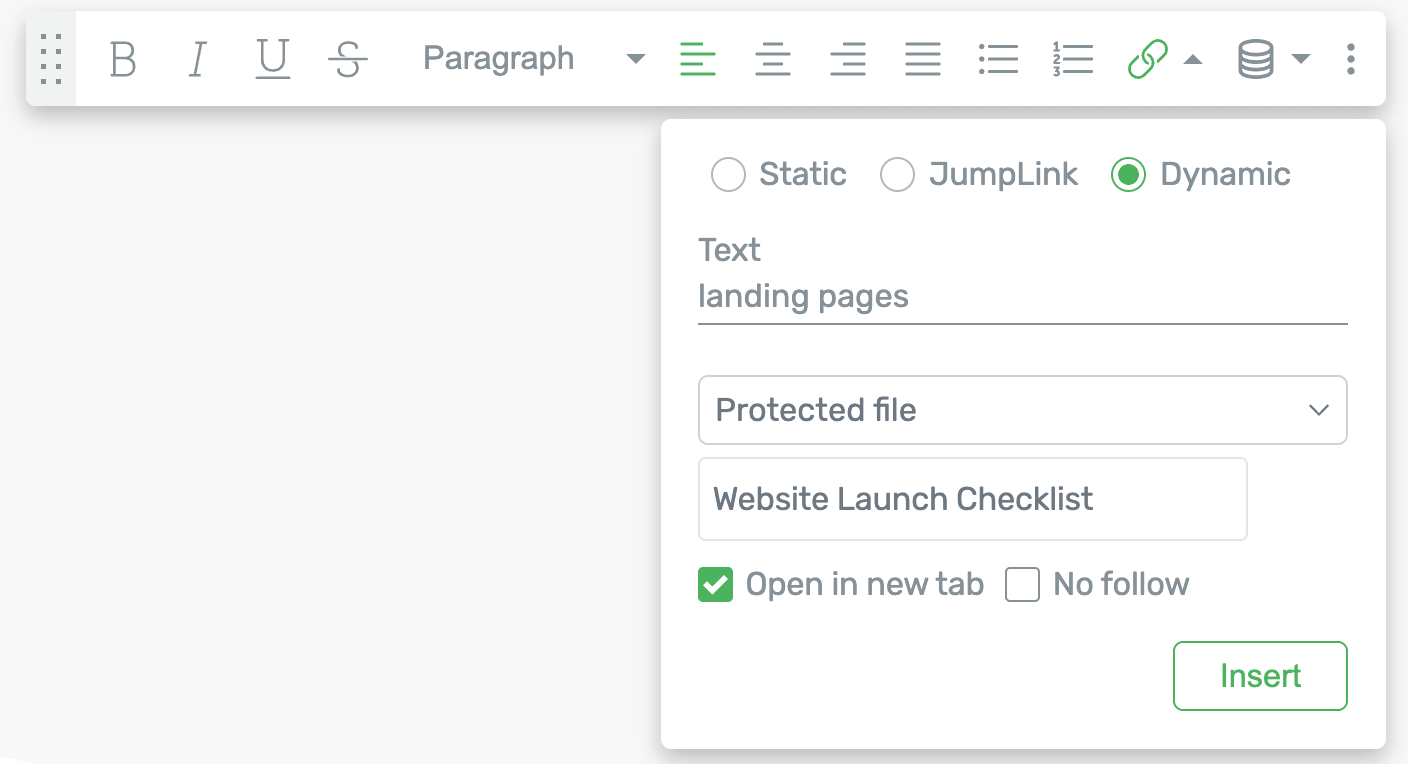
Custom Field URL
Links to a URL stored in a custom field (post meta) on the current post or page. This is powerful for:
- Linking to external resources associated with a post
- Affiliate links stored per-post
- Product URLs stored in custom fields
- Any scenario where each post needs a unique outbound link
To use a custom field as a dynamic link:
- Click the dynamic link icon in the link field.
- Select Custom Field.
- Type the name of the custom field that contains the URL, or select it from the autocomplete suggestions.
- Click Apply.
Featured Image URL
Links to the URL of the current post’s featured image file. Useful for creating lightbox effects or direct image links in templates.
Homepage URL
Links to your site’s homepage. Useful for logo links and “return to home” buttons in templates.
Understanding Dynamic Text
Dynamic text is a placeholder tag that Thrive Architect replaces with real data when the page is displayed to visitors. Instead of typing static text that you must update manually, you insert a dynamic text tag that always shows current information.
For example:
- A post title tag in a blog post template always displays the title of whichever post is being viewed
- A current year tag in a footer always displays the correct year without manual updates
- An author name tag in a post byline automatically shows the correct author for each post
Inserting Dynamic Text
To insert dynamic text into a text element:
- Open your page, post, or template in the Thrive Architect editor.
- Click on a Text element to select it and place your cursor where you want the dynamic text to appear.
- In the top floating toolbar, click the dynamic text icon (represented by a lightning bolt or data symbol).
- A dropdown menu will appear showing the available dynamic text sources.
- Select the source category (e.g., Post, Author, Site, Date/Time, Custom Fields).
- Select the specific field you want to display (e.g., Post Title, Author Name, Current Year).
- The dynamic text tag will be inserted at your cursor position, displayed as a highlighted placeholder in the editor.
Common Dynamic Text Sources
Post Data
- Post Title — The title of the current post or page
- Post Excerpt — The excerpt of the current post
- Post Date — The publish date of the current post (various format options available)
- Post Modified Date — The last modified date of the current post
- Post Author Name — The display name of the post’s author
- Post Category — The category or categories assigned to the post
- Post Tags — The tags assigned to the post
- Post Comments Count — The number of comments on the current post
Author Data
- Author Display Name — The author’s display name from their WordPress profile
- Author Bio — The biographical info from the author’s profile
- Author Email — The author’s email address
Site Data
- Site Title — Your WordPress site title
- Site Tagline — Your WordPress site tagline
Date and Time
- Current Year — The current calendar year (e.g., 2026)
- Current Date — The current date in your chosen format
- Current Time — The current time
Custom Fields
- Custom Field — Any custom field (post meta) value stored on the current post or page
Displaying the Current Year Dynamically
One of the most popular uses of dynamic text is displaying the current year in copyright notices. This eliminates the need to manually update your footer every January.

Adding a Dynamic Year to Your Footer
- Open your footer template in the Thrive Theme Builder editor, or navigate to the footer section of your page in Thrive Architect.
- Click on the Text element that contains your copyright notice (or add a new Text element).
- Type your copyright text up to where the year should appear — for example, type “Copyright “.
- Place your cursor after the space.
- Click the dynamic text icon in the top floating toolbar.
- Select Date/Time from the source category.
- Select Current Year.
- The year tag will be inserted. Continue typing the rest of your copyright text — for example, ” Your Company Name. All rights reserved.”
The final text will read: “Copyright 2026 Your Company Name. All rights reserved.” — and the year will automatically update each year.
Use Cases for Dynamic Text
Dynamic text is versatile and can be applied across many scenarios:
Personalized Calls to Action
Insert the Post Title dynamic text tag inside a CTA to create contextually relevant messages. For example: “Enjoyed reading [Post Title]? Subscribe for more!” — where the post title changes automatically on every post.
Auto-Updating Copyright Notices
As described above, use the Current Year tag in your footer to keep your copyright year current without manual edits.
Post Metadata Display
Build rich post header or footer sections that automatically display the post’s publish date, author name, categories, and tags. This is especially powerful in Thrive Theme Builder templates where one design serves all posts.
Custom Field-Driven Content
Store unique data in custom fields (such as product prices, event dates, or resource URLs) and display them on the page using dynamic text. When you update the custom field value, the displayed text updates automatically.
Author Bio Sections
Create author bio templates that automatically pull the author’s name, bio, and website from their WordPress profile. Each post displays the correct author information without any manual configuration.
Dynamic Text Formatting
Dynamic text tags inherit the formatting of the surrounding text element. To style dynamic text:
- Select the Text element containing the dynamic tag.
- Highlight the dynamic text tag on the canvas (click and drag over it, just like selecting normal text).
- Apply formatting using the top toolbar or the Typography panel in the left sidebar — including font color, size, weight, style, and text decoration.
Frequently Asked Questions
Can I Use Dynamic Text Outside of Templates?
Yes. Dynamic text works on regular pages and posts as well as templates. However, dynamic text is most powerful in Thrive Theme Builder templates where the same design is applied to multiple posts or pages, and the dynamic tags resolve differently for each one.
What Happens If a Dynamic Text Source Is Empty?
If a dynamic text source has no value (for example, a custom field that has not been filled in for a particular post), Thrive Architect displays nothing in place of the tag. The surrounding static text will still appear, but the dynamic portion will be blank.
Can I Use Multiple Dynamic Text Tags in the Same Element?
Yes. You can insert as many dynamic text tags as needed within a single Text element, and you can combine them with static text freely.
Do Dynamic Links Work with Buttons and Images?
Yes. Dynamic links can be applied to any element that supports links, including Text elements, Button elements, Image elements, and any other element with a link option.
How Do I Edit or Remove a Dynamic Link?
To edit a dynamic link, click on the linked element and open the link settings. Click the dynamic link icon again to change the source, or clear the link field and enter a static URL to replace the dynamic link with a standard hyperlink. To remove the link entirely, click the unlink icon.
Related Resources
- Hyperlinks and Link Styling: How to Use Hyperlinks and Link Styling — Adding standard hyperlinks, phone links, email links, and anchor links
- Post List Element: How to Use the Post List Element — Displaying dynamic post lists with contextual links
- Conditional Display: How to Use Conditional Display — Showing or hiding content based on dynamic conditions
- Text Element: How to Use the Text Element — Working with text elements and inline formatting
That’s it! You’ve successfully learned how to use dynamic links and dynamic text in Thrive Architect. By leveraging these features, you can build templates and pages that display context-aware URLs, auto-updating dates, personalized content, and custom field data — all without manual editing.