This article will explain how to use the “About the Author” element and how to customize it to your liking using Thrive Theme Builder. The element allows you to add information about the author of one or more posts, in a structured way.
Complete the Info About the Author
In order to make the best out of the element, we recommend that you first make sure that you have completed the author information before using the element.
This is because, if you do not insert the author information or image before, the element will have a “No information about the author” message, as well as a standard image. This will not be as aesthetically pleasing as displaying an actual image of the author and some bio about them.
Here is how you can easily complete the info.
In your WordPress Admin Dashboard, on the left sidebar, go to the “Users” section:

Then, if there are more authors, find the one that you want to write the info for, and hover over it. Click on “Edit”:

A page will open, where you can edit the profile information. Scroll down until you see the “About Yourself” section. This is where you can input the “Biographical Info” about the user, as well as upload a picture:

For the “Biographical Info” field, simply write the information about the author inside the field. Here is an example:

If you want to upload a picture, the way to do that is by using Gravatar. If you are not familiar with the process, check out this article that explains just how you can do that.
After you have entered the information, scroll down to the bottom of the page and click on “Update Profile”:

Then, you should be all set to start using the element with Thrive Theme Builder.
Add the Element to Your Template
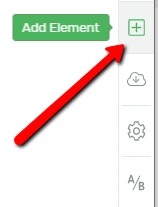
In order to use the “About the Author” element, you first have to add it to your page. To do that, in the Thrive Theme Builder Editor, go to the right sidebar and click on the plus sign:
This will open a list with all of the elements that you can use. Look for the “About the Author” one or search for it in the search bar:

Then, click on it and drag and drop the element wherever you best see fit on your template:

When you drop it, a pop-up will automatically open, asking you to select an “About the Author” Template:
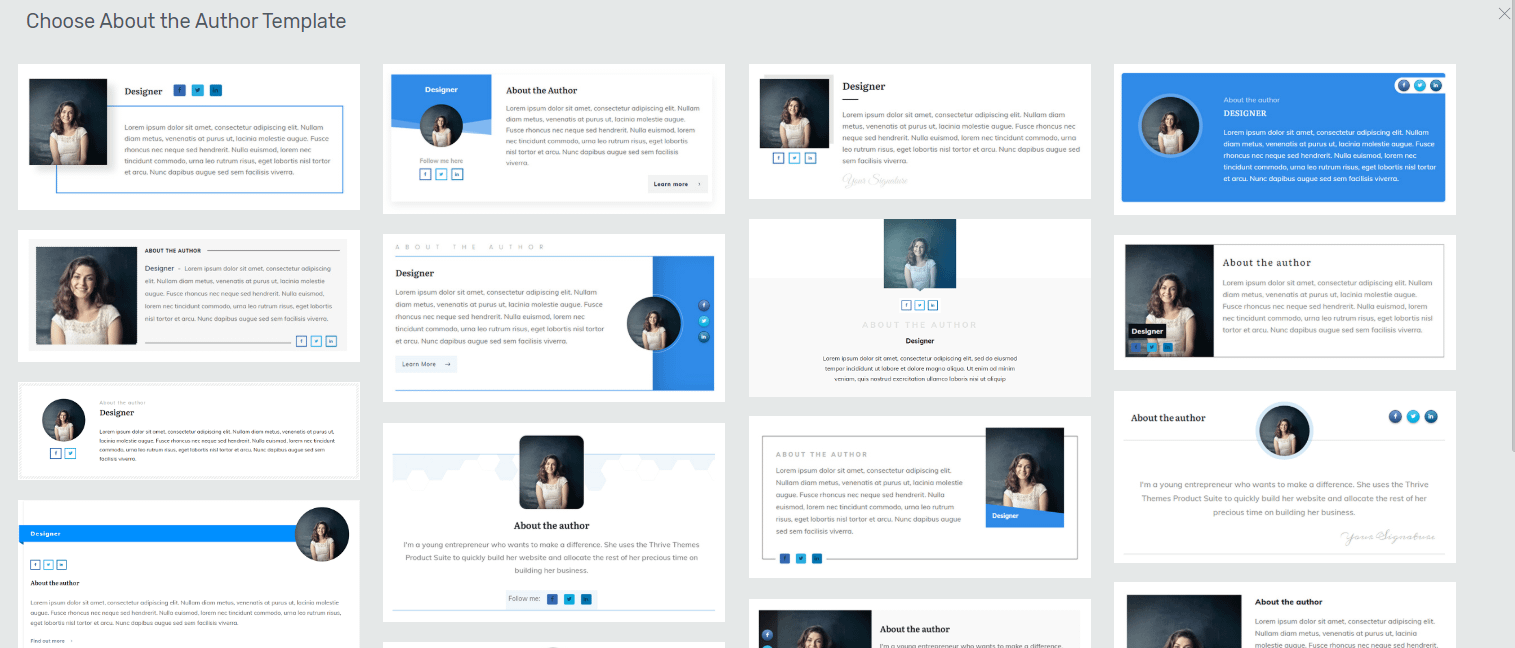
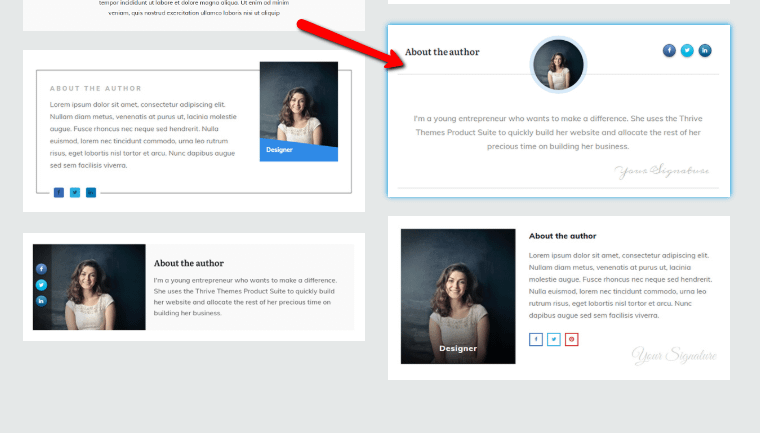
Scroll down to find the one that you like best, click on it, and it will automatically be applied to the element:
Note: Please keep in mind, that the element will not be available for “List Templates”, since the content for those are generated automatically and therefore they don’t have authors.
Nevertheless, you can use the element on any of your “Post Templates” or a “Page Templates”. However, you should know that:
-
if you are using the element on a “Post Template”, the author will represent the user that has written the post;
-
if you are using the element on a “Page Template”, the author will be the person that created the page initially.
Use the Template Options
You will notice that, on the left sidebar, there are a few options. You can use them in order to edit the element.
The first section of the left sidebar is the “Template Options” one. If you want to change the template that you have previously chosen, go to this section and click anywhere on the field next to the option:

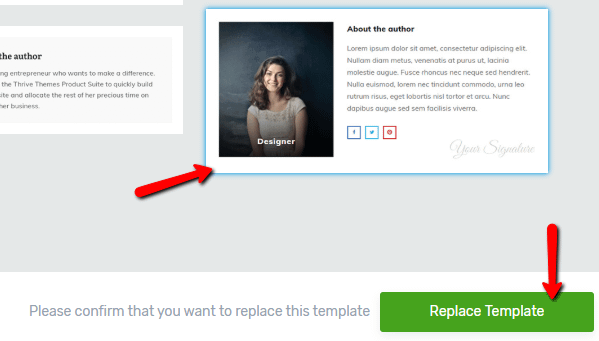
This will open the same pop-up mentioned here. Simply click on the template that you want and then click on “Replace Template”:
Note: We recommend that you change the template before adding any content to it. This is because, when you choose another template, all the content and modifications that you have made to the previous one will be lost.
Use the “Edit Design” Option
After the “Template Options” section, there is also the “Main Options” one. Under this section, there is only one option, called “Edit Design”:
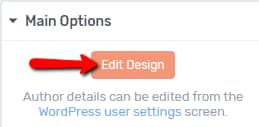
Note: If you did not get the chance to establish the author information, you can click on the “WordPress user settings” part of the info message, below the “Edit Design” button, and you will be taken straight to the WordPress settings.
From there, you can enter the information just as described here.
For now, if you click on the element in the editor, the whole “About the Author” element will be selected. If, however, you want to edit the items of the element separately (for example, the author image, or the description, etc. ), you have to click on “Edit Design”.
This will allow you to choose each element inside the element and customize it on its own.
Once you click on it, you will be taken into ‘“Edit Mode”. You will be able to select each element that is a part of the “About the Author” element and edit it separately.
There are a few types of elements that can be incorporated inside the “About the Author” element. You can find them described below.
Author Social Links
An important and independent element that can be useful to add to your “About the author” element would be the “Author Social Links” one:

This will help you add link pages/posts to the social media profiles of the authors from your website in a very quick and easy manner.
We have written a separate article that includes just about everything you need to know about this element, and you can check it out here.
Content Box
If you click on a “Content Box” element, just like in the case of all the elements, the options will appear on the left sidebar:
You can edit the width, height, template, etc. The ways to do that are described in this article, about the “Content Box” element.
Image
If you want to edit an “Image” element, click on the image inside the “About the Author” element:

Once you do that, the options will appear on the left sidebar. This article goes into in-depth details about how to customize an “Author Image” element. We also have an article about how to use the options of the “Image” element, you can find it here.
However, besides the options presented in the article, there are a few extra options that you can use while editing a picture inside the “About the Author” element:
Image type
The first option that you can use is the “Image Type” option. Here, you can choose between the two available image types – static or dynamic:

-
Static:
If you want to choose a “Static” image, click on the “Static” option next to the “Image Type” section:

Choosing a static image means that you are able to upload an image just like you normally would. The steps of doing that are presented in the article mentioned above.
-
Dynamic:
This option comes in pretty handy when using an “About the Author” element. To use the “Dynamic” option, simply click on it:
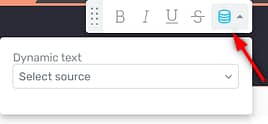
Right below the option, there is the “Dynamic Source” option. Click on the field below the option in order to open a drop-down menu with the options:

There are two options: “Featured Image” or “Author Image”. If you choose to display the “Featured Image”, the image will be exactly the photo that you chose as the “Featured Image” when you have created the post.
If you choose the “Author Image”, this will import the author image chosen by each author. This is useful when there is more than one author writing content on the website since the images will correspond to the authors.
Add link to an image
Another extra option that you have when customizing the image inside an “About the Author” element is related to the “Add link to an image” option.
When choosing to add a static link or a jump link, everything goes the same as explained in this article. However, when choosing a “Dynamic Link”, there is one more option that you can use, specific to the “About the Author” element:
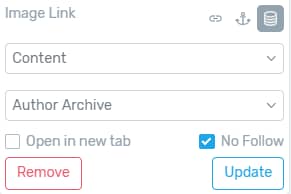
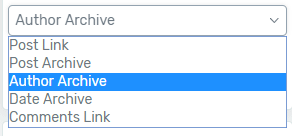
The first drop-down, which represents the main source of the link, has one extra field, “Content”. Once you choose the “Content” option from the first dropdown, go ahead and also choose an option from the second drop-down, below it. This is where you choose what opens when someone clicks on the image:
Besides these options, the element can be customized just the same as you would normally customize an “Image” element, as described here.
Text
Moving forward, an “About the Author” element consists of various “Text” elements, which you can customize to your liking. When you click on a “Text” element, its options will show on the left sidebar:

You can find out all about how to use these options in this article.
All the other elements that you might find inside an “About the Author” element, depending on the template chosen, also have separate articles about how to use them. You can find all of them in our Knowledge Base.
Once you’re done customizing everything, click on the orange “Done” button in order to exit the editing mode:

This will take you back to the “About the author” element options. In the left sidebar, besides the “Template Options” and the “Main Options” sections, there are also some general options that you can use in order to further customize the element (such as “Borders & Corners”, “Layout & Position“, etc.). For all of them, you can find articles in our Knowledge Base.
As a final example, here is how the “About the Author” element looks like. Keep in mind that the author info and image have been inserted as described at the beginning of the article, from the WordPress Admin Dashboard:

These were the ways in which you can customize the “About the Author” element using Thrive Theme Builder.
If you want to find out more about various elements and features, make sure to read the articles from the Thrive Theme Builder section of our knowledge base.
I hope you found this article useful. If so, make sure to rate it with a smile below 🙂