You can use the “Capture Testimonials” element from the Thrive editor to easily gather written testimonials from your users.
If you are new to Thrive Ovation and would like to learn more about how you can capture testimonials, then this article from our knowledge base might be helpful to you:
Add the Element
First, open the page or post on which you plan to add your element:
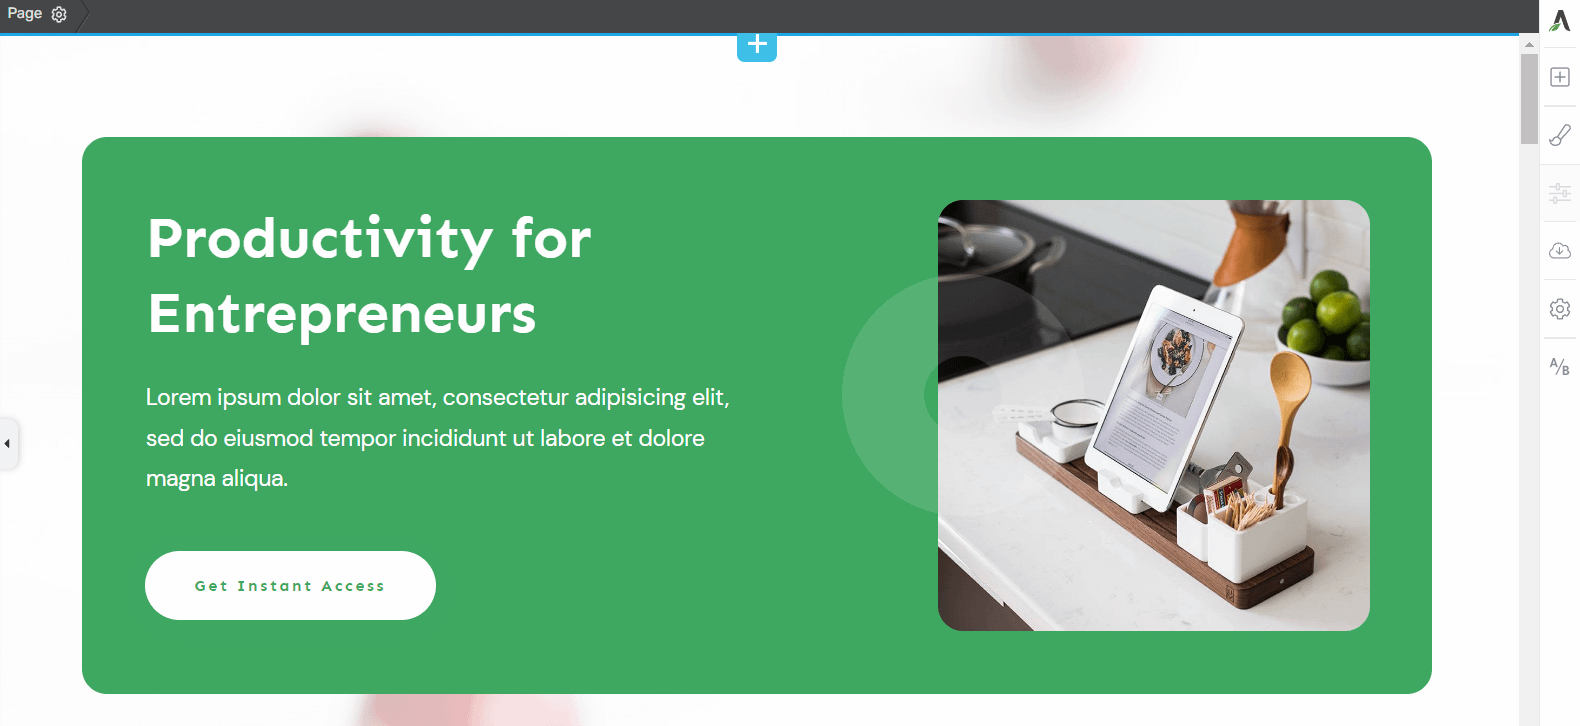
Look for the “Capture testimonials” element in the right sidebar and drag and drop it onto your canvas:

This will trigger the template library:

Main Options
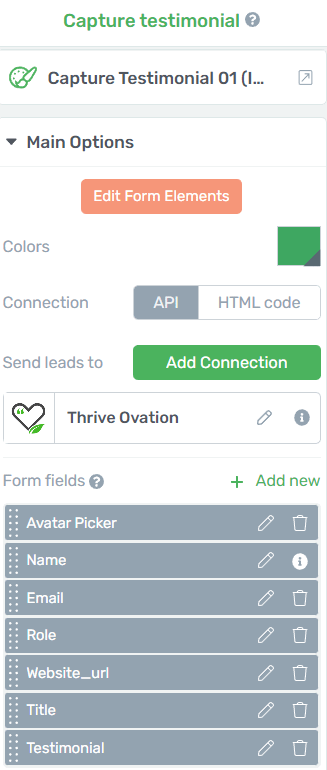
After you pick the template you’ll be able to start using the main options of the element:
Change Template
Right from the top, you’ll be able to go back into the template library and pick a different template:
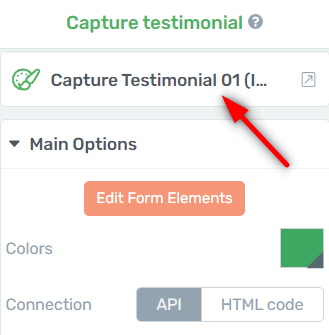
Note
Keep in mind that if you decide to replace the template after you start customizing the element, all the changes will be lost. Change the template as many times as needed before using the remaining left sidebar options.
Edit Form Elements
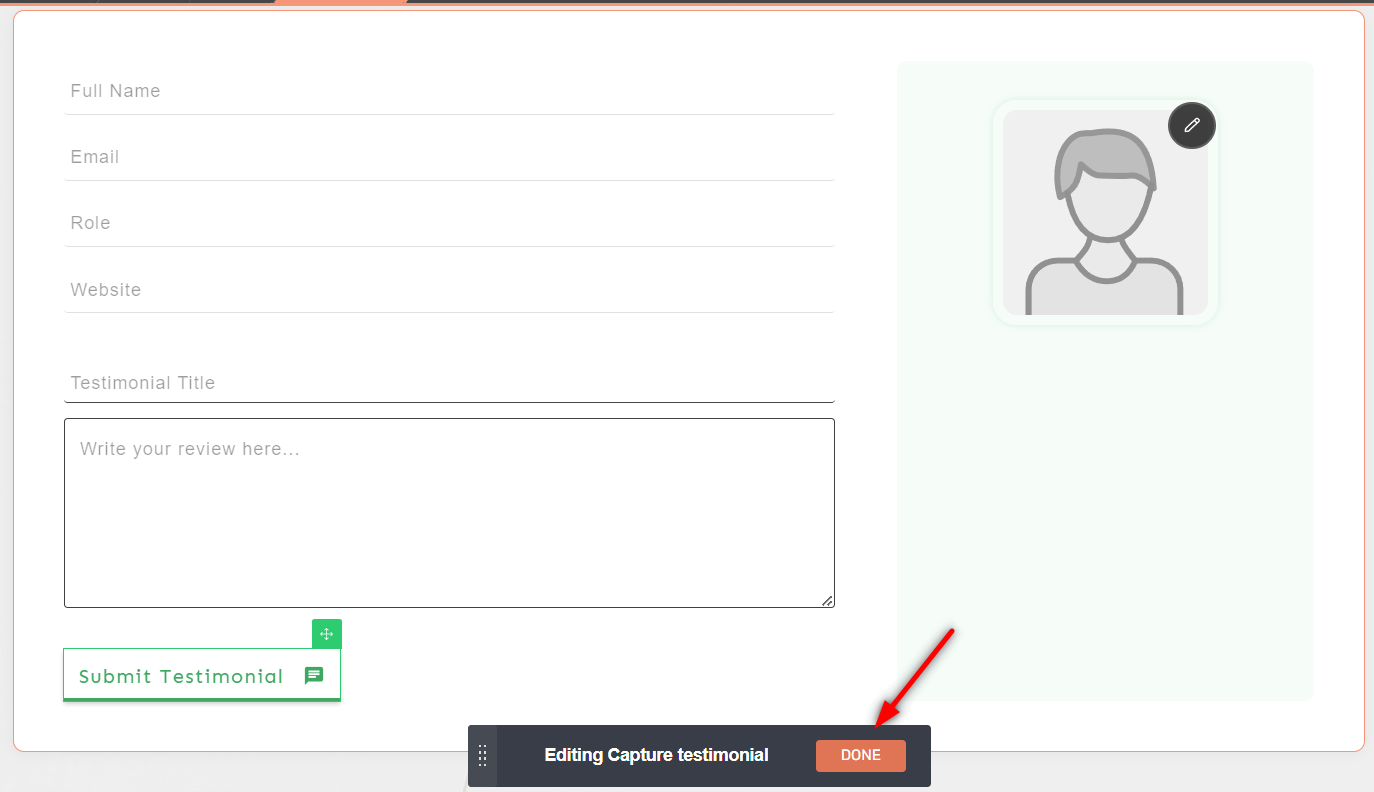
Click on the “Edit Form Elements” button to start editing various parts of the form:
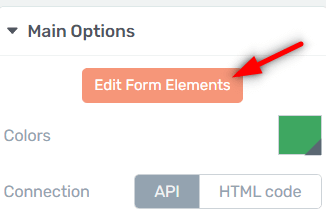
This will trigger the edit mode:
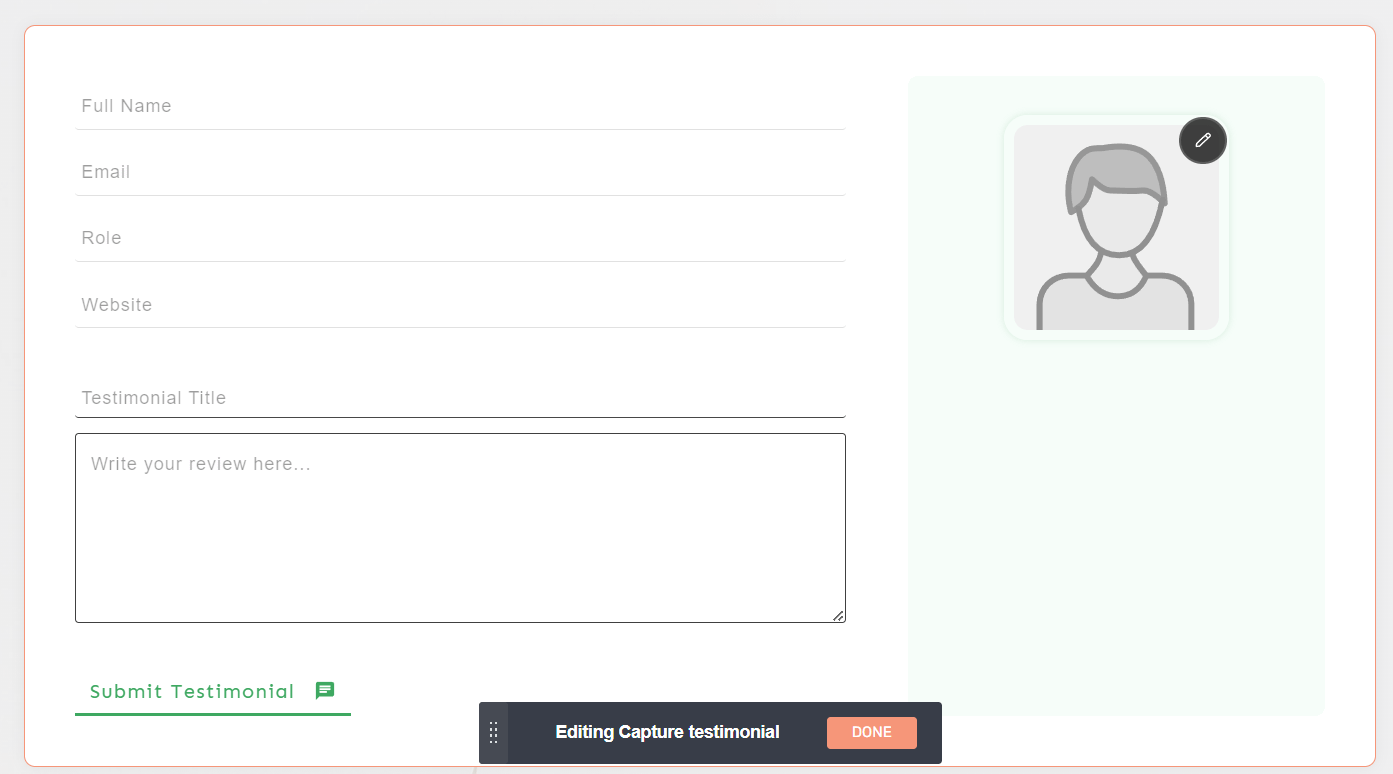
Click on the form item you want to edit, to access the corresponding options.
Avatar Picker
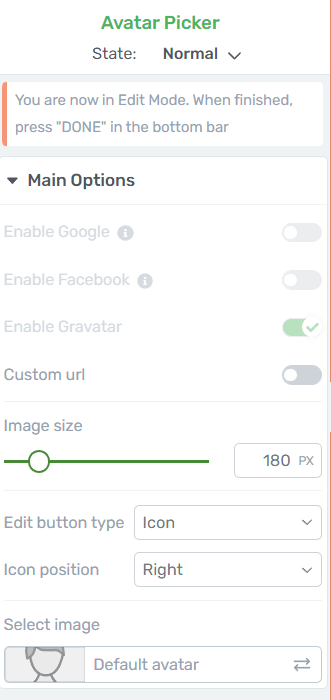
The avatar is a clickable object inside the capture form:

Here’s an example of the options available if you are clicking on it:
-
Google and Facebook
As you can see, the first options are greyed out. You need to enable Google and Facebook on your website to be able to use those.
If you already have these connections set up, then you will be able to use these toggles as well.
-
Gravatar
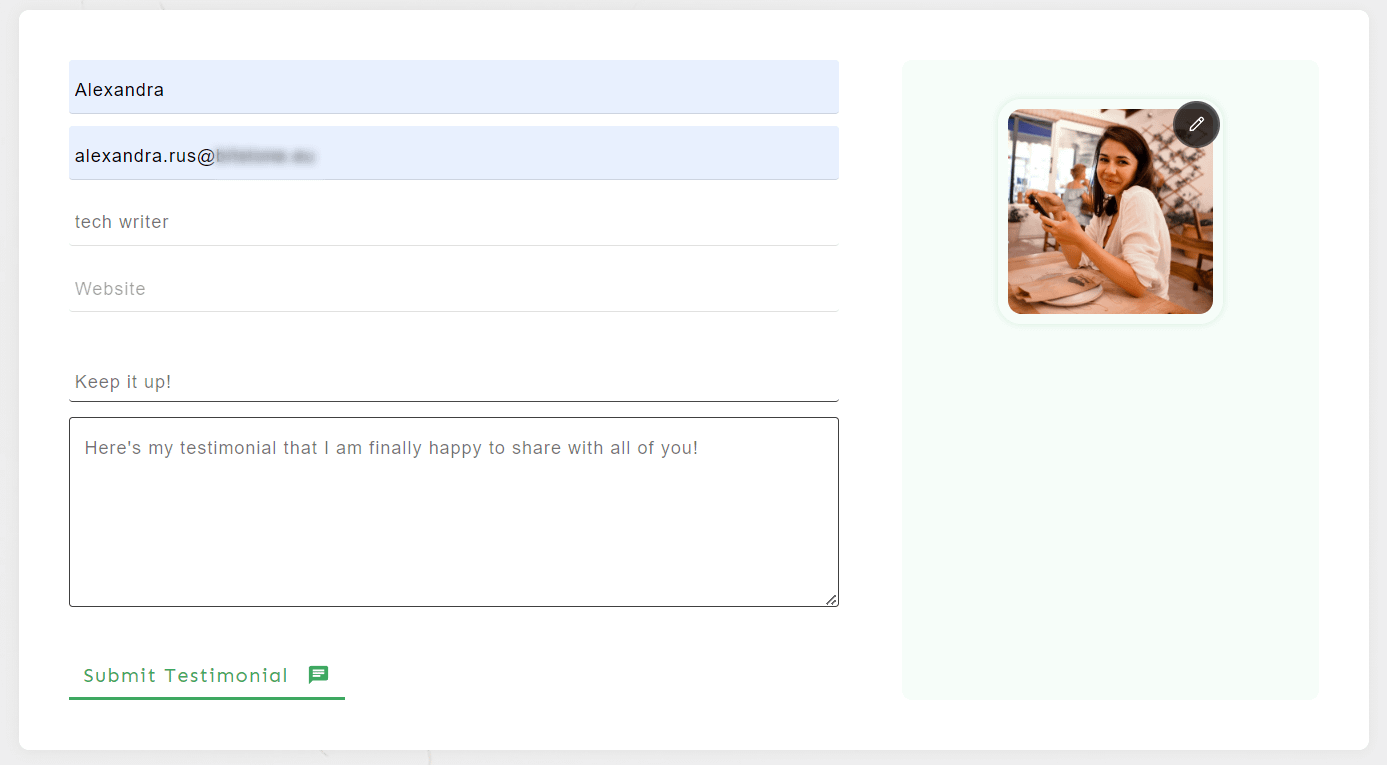
The Gravatar picture is selected by default. As long the person submitting the testimonial has an account set up on Gravatar, then the image associated with that e-mail address will be displayed here.
This will only be visible on the front end, after the users fill in their e-mail addresses:
-
Custom URL
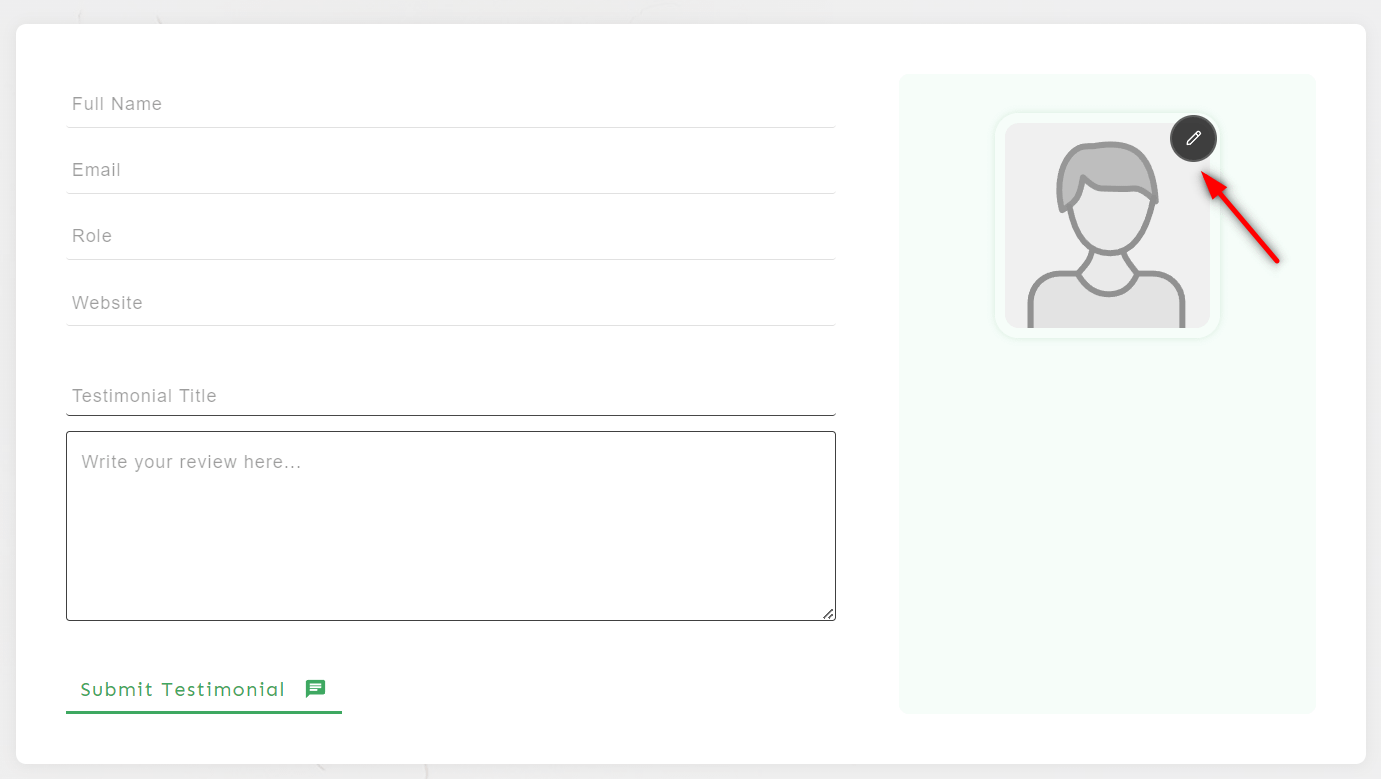
You can also link to a custom URL for displaying your avatar:
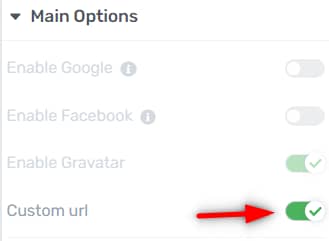
This too will only be visible only the front end. Click on the pencil icon:
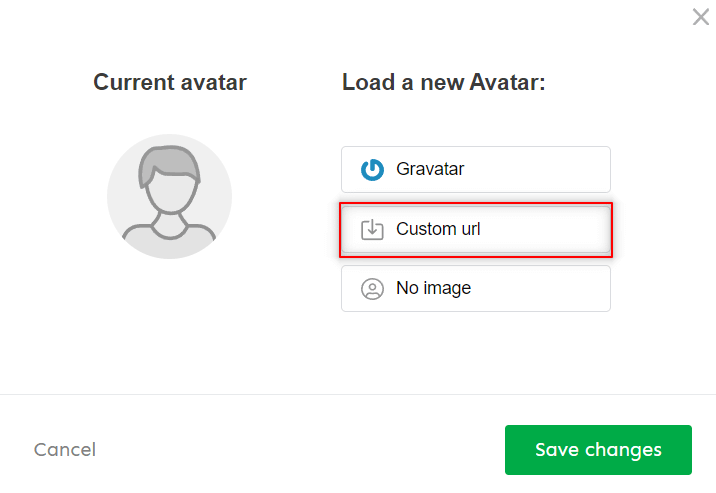
Select the “Custom URL” from the pop-up and link to your image:
Back in the editor, use the remaining options to customize the avatar further:

Adjust the size of the icon from the slider:

For the “Edit button type” section, you have these two options to choose from:

The pencil icon is selected by default:

If you go for the overlay, it will only show up on hover:

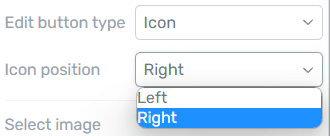
If the icon option is selected, then you’ll also be able to adjust the positioning:
If you want to replace the default avatar image with another one, you can so that. Use this field to access the media library and pick a different one:

These are the options available for the “Avatar picker” element that comes with the form.
If, for example, you want to customize the button, all you have to do is click on it:

And start using the corresponding options that appear in the left sidebar:
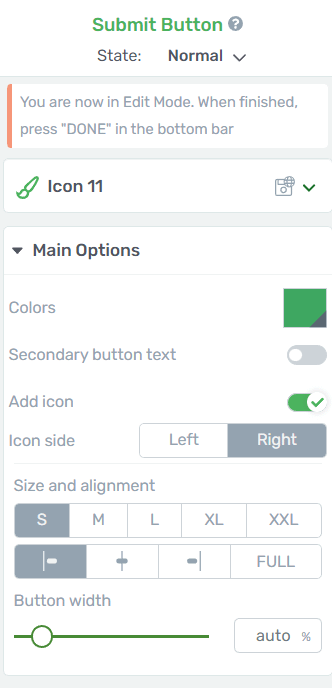
Here’s a separate article that guides you through the process of customizing a button:
After you finish editing the form in this state, click on “Done” and return to the main options of the element:
Colors
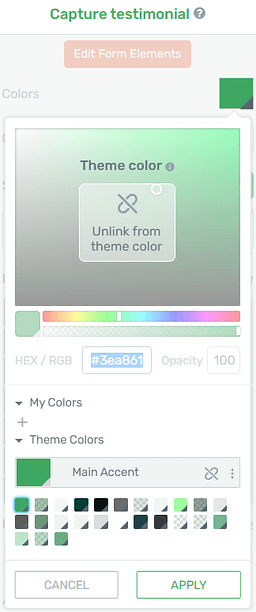
You have the option of selecting a different color for your form:

Use the color picker to unlink from the theme color (if that is the case), and select a new one:
Connection
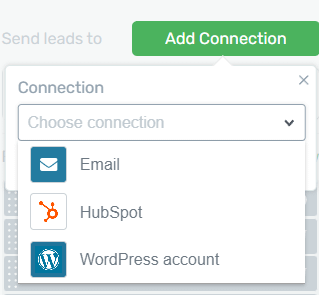
The following section of the main option consists of the options you needed for connecting the form to an e-mail service provider.
If you set up such a connection, the form data will pass through to your selected connection:
This feature comes in handy if you want to follow up with a promotional campaign, targeted at those users who have left a testimonial on your website.
Thrive Ovation is automatically connected, and cannot be removed:
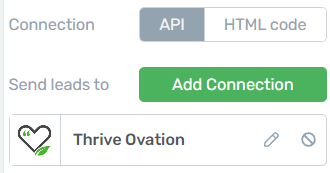
However, you are able to add tags to it, if you click on the pencil icon:
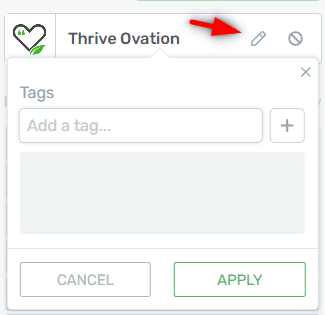
The tags will show up in your Thrive Ovation dashboard:
If you have multiple capture forms throughout your website, you can use the tagging feature to distinguish and group them, or to find out which forms bring you the most testimonials.
Form fields
This section of your left sidebar allows you to customize the form fields:
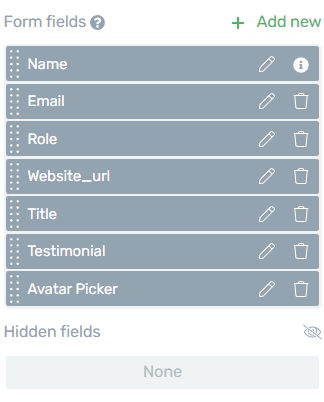
You can edit or hide existing ones, or add new fields.
After the form submission
The next step is to choose what happens after someone successfully submits the form:
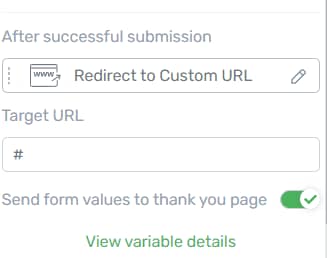
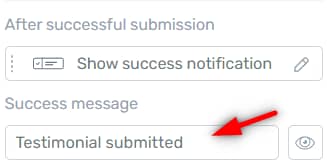
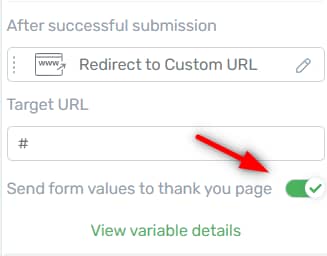
You have two possible options here: you can either redirect the users to a custom URL or show a success notification:

The redirect link can be added in this empty field:
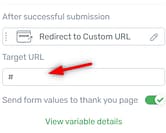
You can link to an external URL, or look up an already existing page or post from your website.
If you decide to show a success notification, you can customize it from here:
The “Send form values to thank you page” option will send the values completed by users in the form (e.g. their name, email address, etc.) to the personalized thank you page as URL query-string variables:
Advanced section
In the “Advanced” section you can use several other features that are available for the Thrive forms:

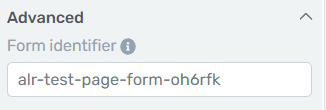
You can get the form identifier, uniquely assigned to each form, and use it with other Thrive Suite products:
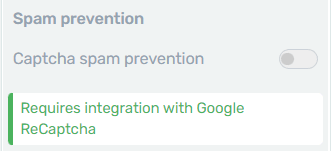
If you wish to get ahead of spam signups, you can add a captcha system to your “Capture Testimonials” element. In order to do this, you must first have an API connection set up with Google ReCaptcha. If you need help with this, please check out this tutorial:
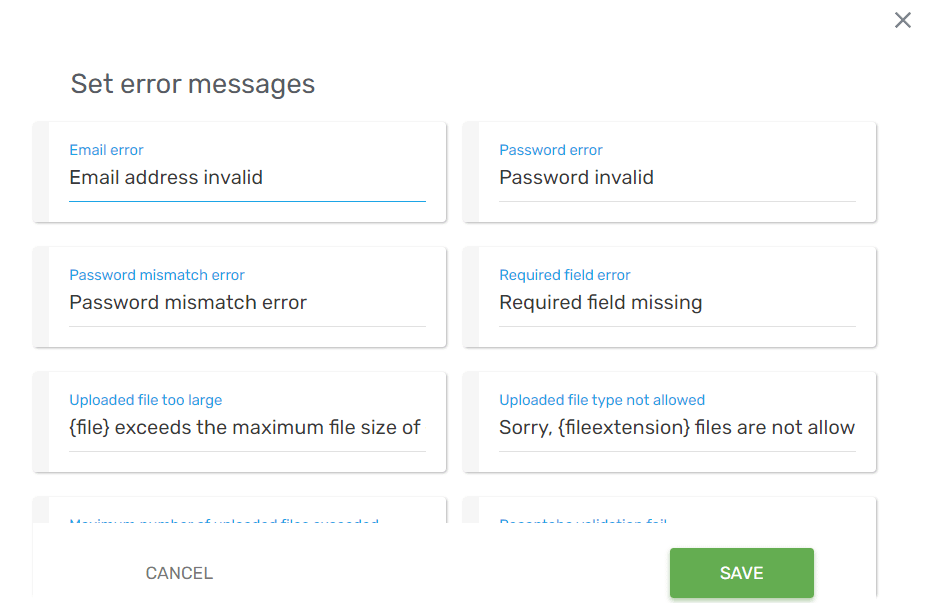
Lastly, you can replace the default error messages by typing in the messages that you want your users to see if they do not fill out the respective fields correctly:

You can remove and re-type the message you want, in the corresponding card:
These are all the options you can use with the “Capture Testimonial” element but keep in mind that the element is ready to be used as is, as soon as you add it to your page or template.
Feel free to leave this article a thumbs up below if you enjoyed reading it, and don’t hesitate to check out our knowledge base if you want o learn more about Thrive Suite.