Do you want to add custom HTML code to a page created using Thrive Architect? You can use the Custom HTML element to do that.
In this article, we’ll show you how you can use the Custom HTML element on page and embed a Google Map too.
Using the Custom HTML Element on Page
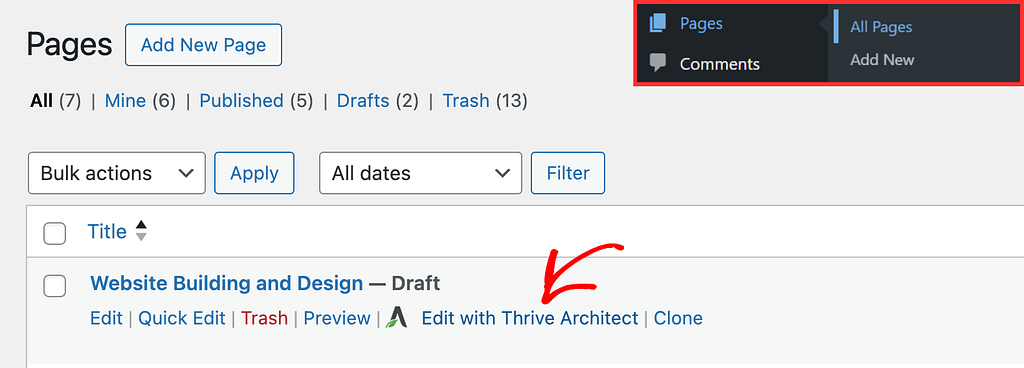
To use a Custom HTML Element on page, open the page in the Thrive Architect editor. To do so, open your WordPress admin area, navigate to Pages >> All Pages, hover on the page you want to edit, and click on Edit with Thrive Architect.
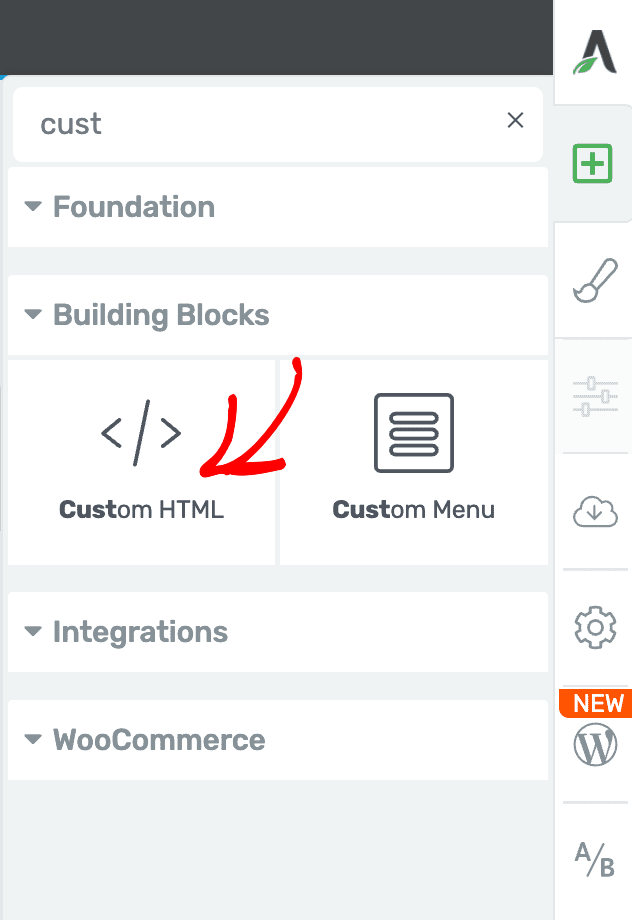
In the editor, click on the plus icon in the right column.
From the list of elements, drag and drop the Custom HTML element on the page.
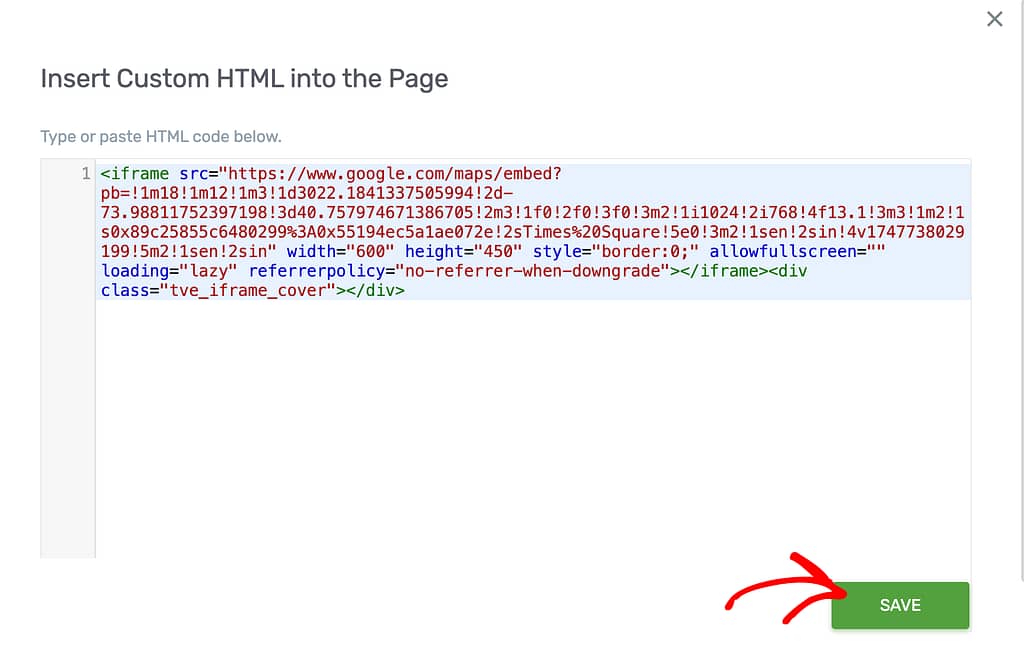
When you drag and drop the Custom HTML element on the page, you’ll see a popup where you have to enter the HTML code.
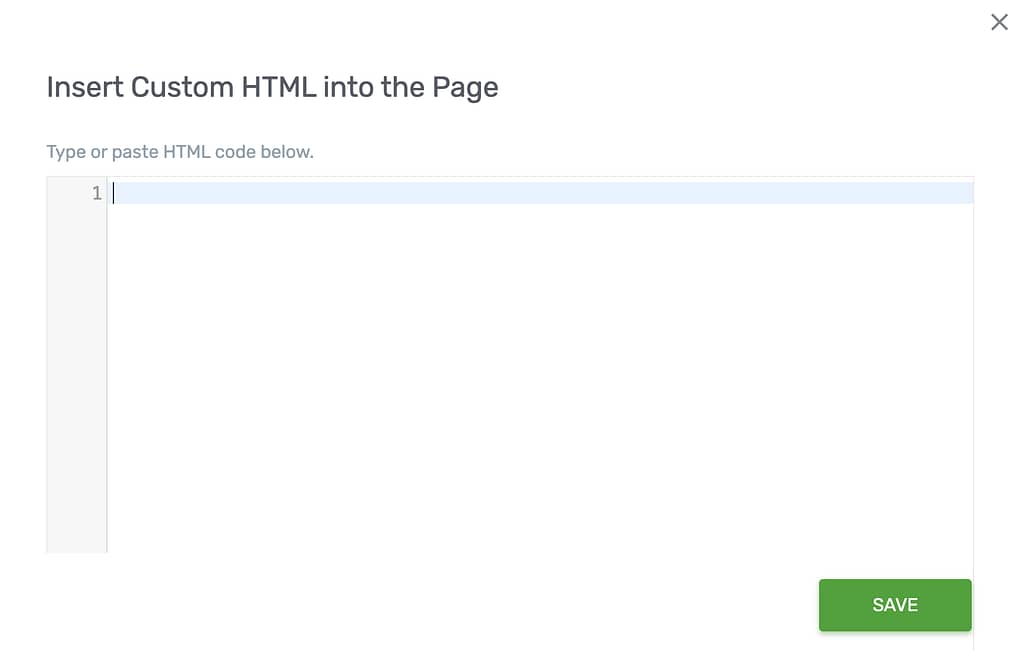
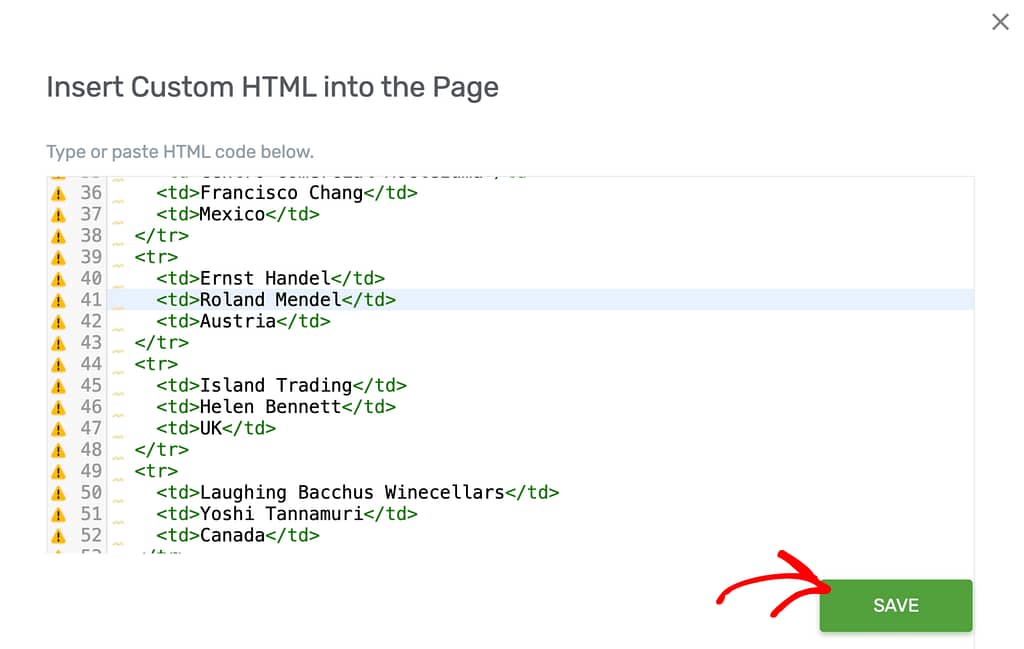
In this popup, enter the custom HTML code you want to add and click the Save button.
To edit an already added custom HTML code, click the Custom HTML element on the page and click the Edit HTML content button in the left panel.
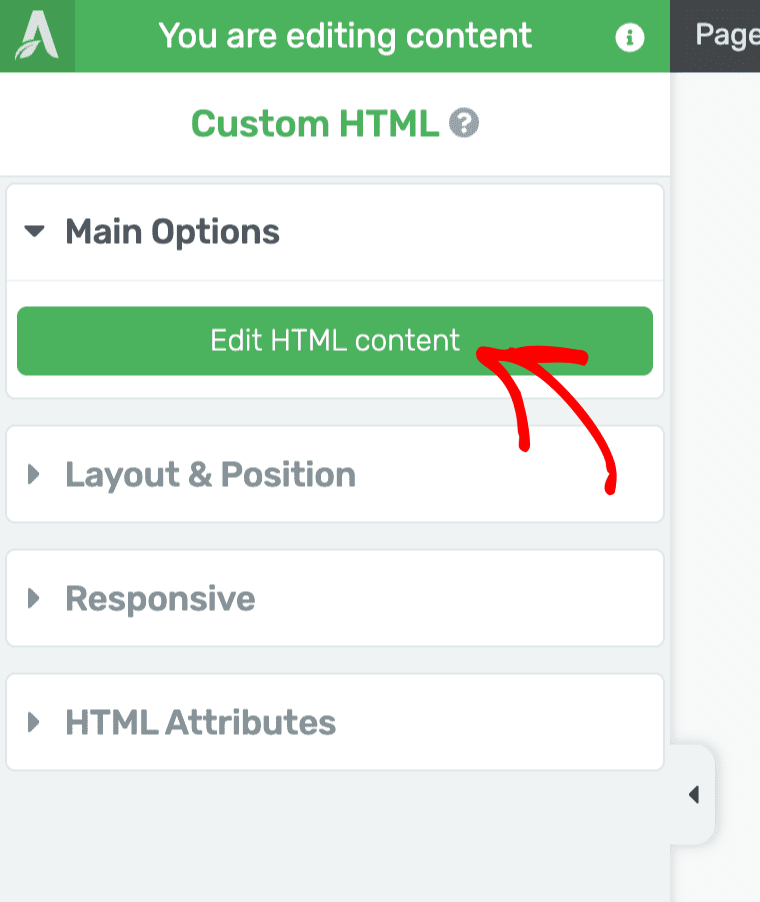
Clicking the Edit HTML content button will open the popup again for you to edit the HTML code in the element.
Embedding a Google Map Element on Page
Adding a Google Map on your website can help your website visitors know your location. This is beneficial when you are a local business or want to display your location on the Contact page.
You can add a Google Map using two different methods in the Thrive Architect editor.
Using the Google Map element
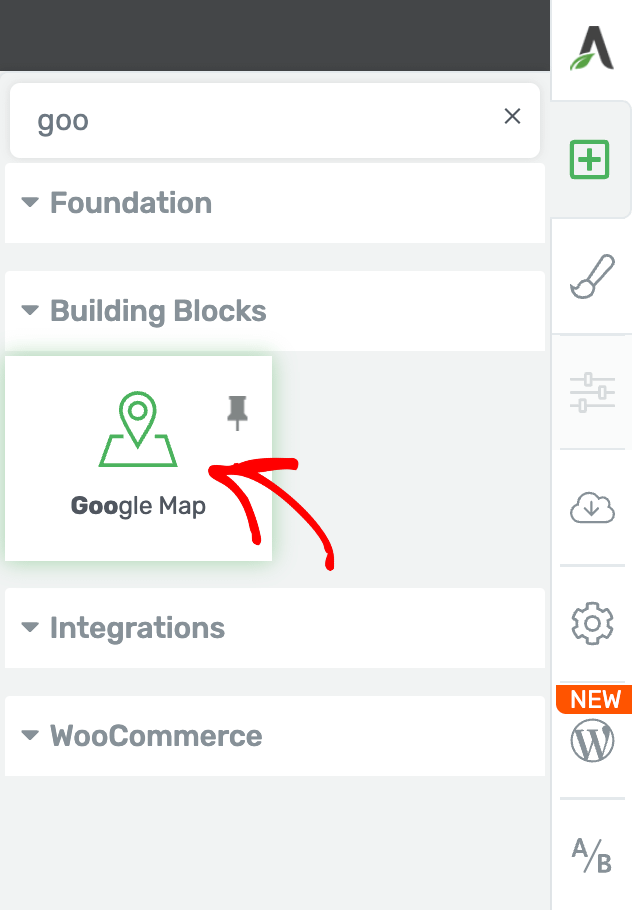
To use the Google Map element, open the page in the Thrive Architect editor and click the plus icon in the right panel.
Among the Thrive Architect elements, select, drag and drop the Google Maps element on the page.
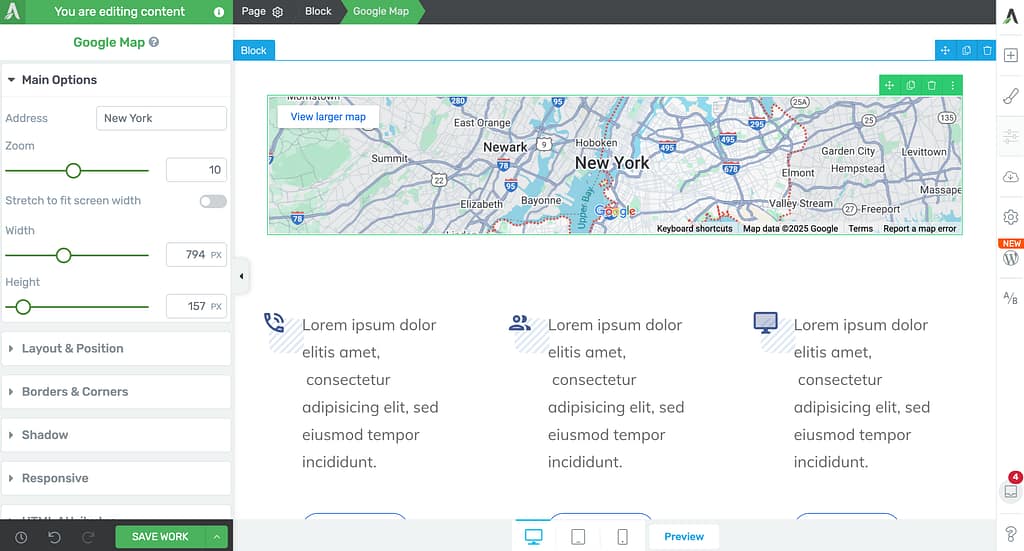
Dragging and dropping the element will display a Google Map with a default location marked on it and its Main Options opened in the left column.
In the Google Map’s Main Options, enter the Address you want to mark in the Address field.
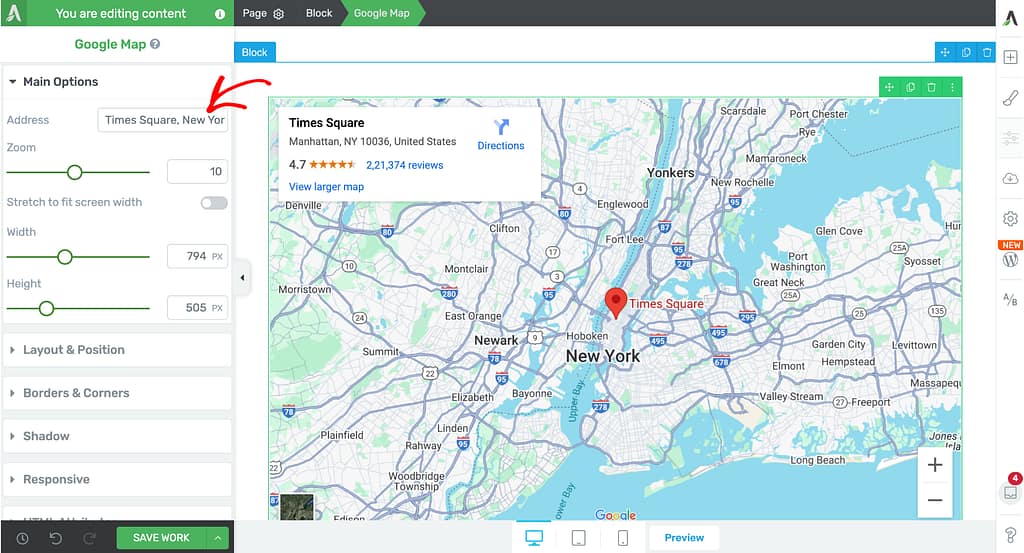
After entering the address, manage the Zoom level, the height, width, etc. of the Google Map.
Like any other Thrive Architect element, you can manage the layout and position, borders and corners, shadow, responsiveness, and HTML attributes for the Google Map element too.
Using the Custom HTML element
If you don’t want to use the Google Map element directly, you can also choose to embed the map on a page using the Custom HTML element.
Copying the Google Maps Embed Code
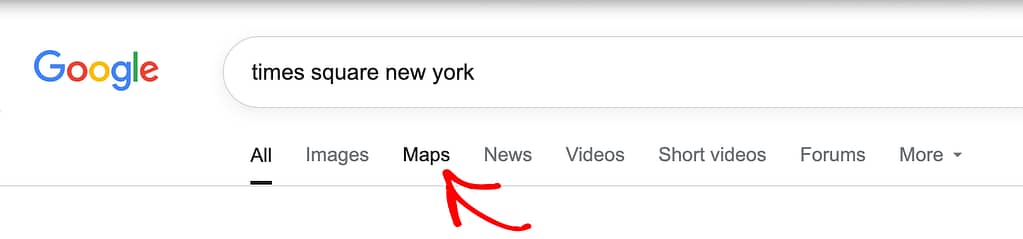
To copy the embed code, search the location on Google and open it in the Maps.
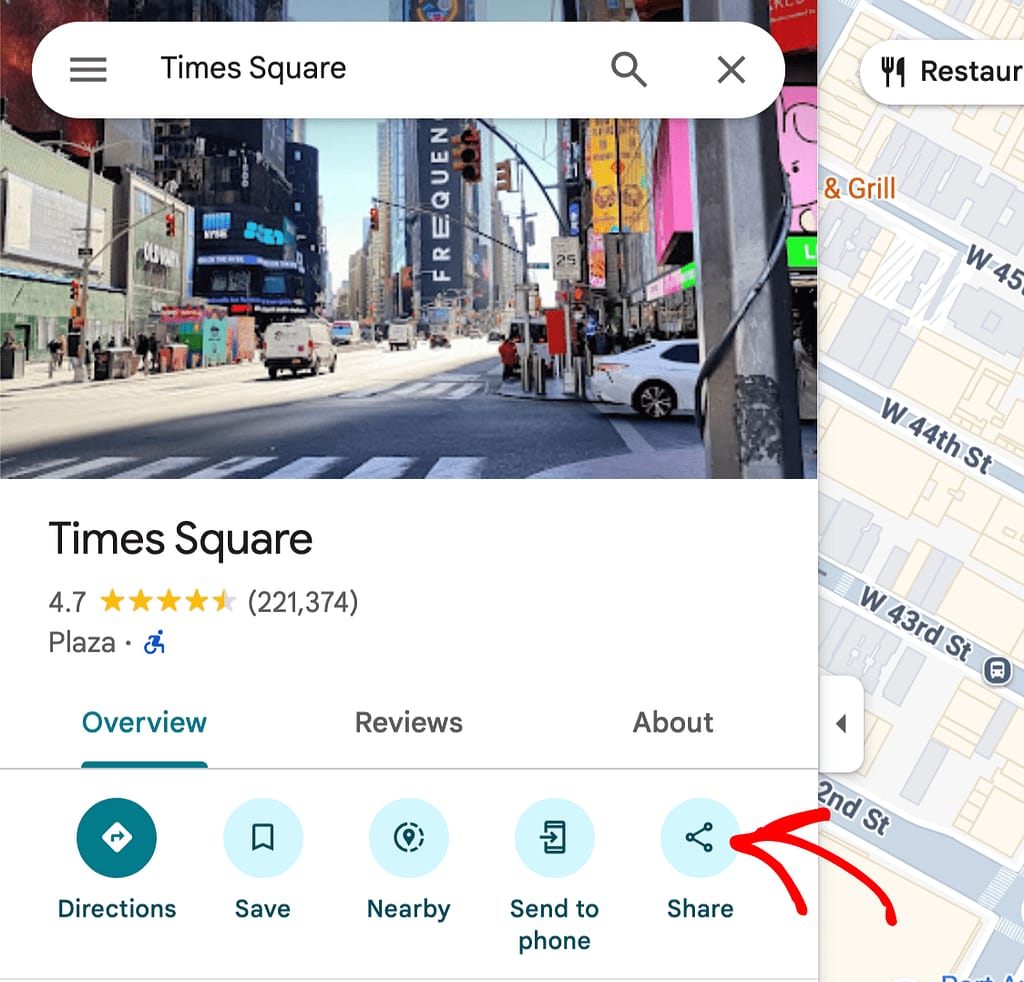
When on the maps, click the Share icon in the left panel.
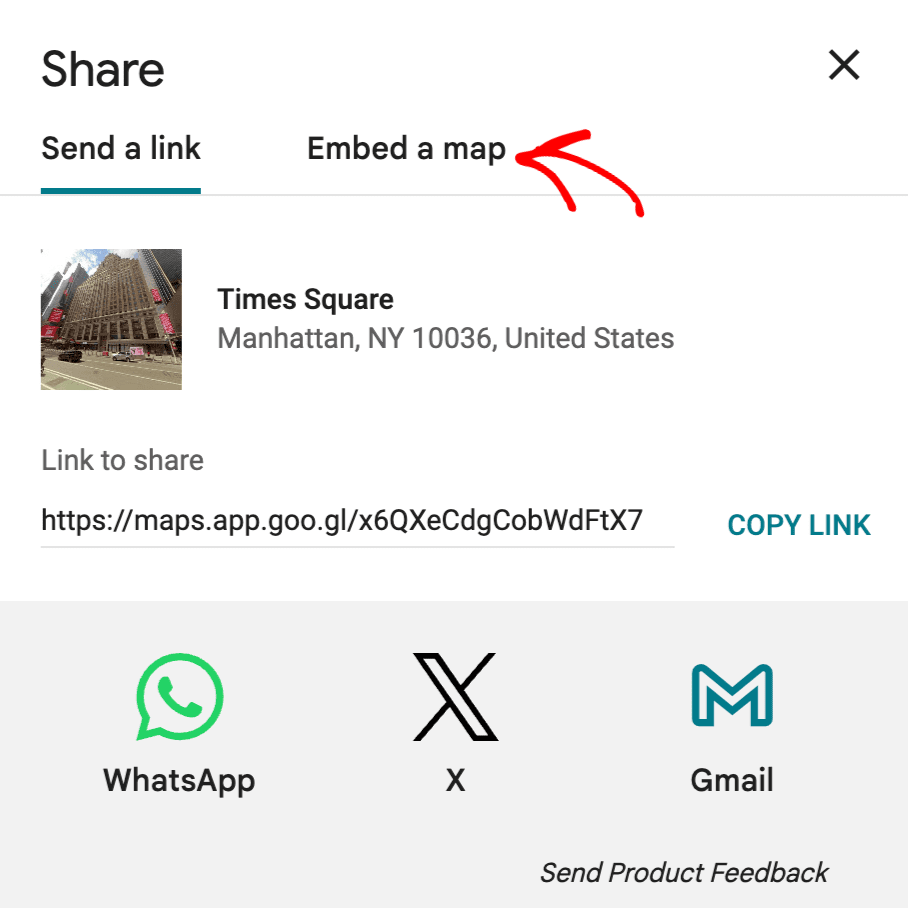
In the popup that appears, click to open the Embed a map tab.
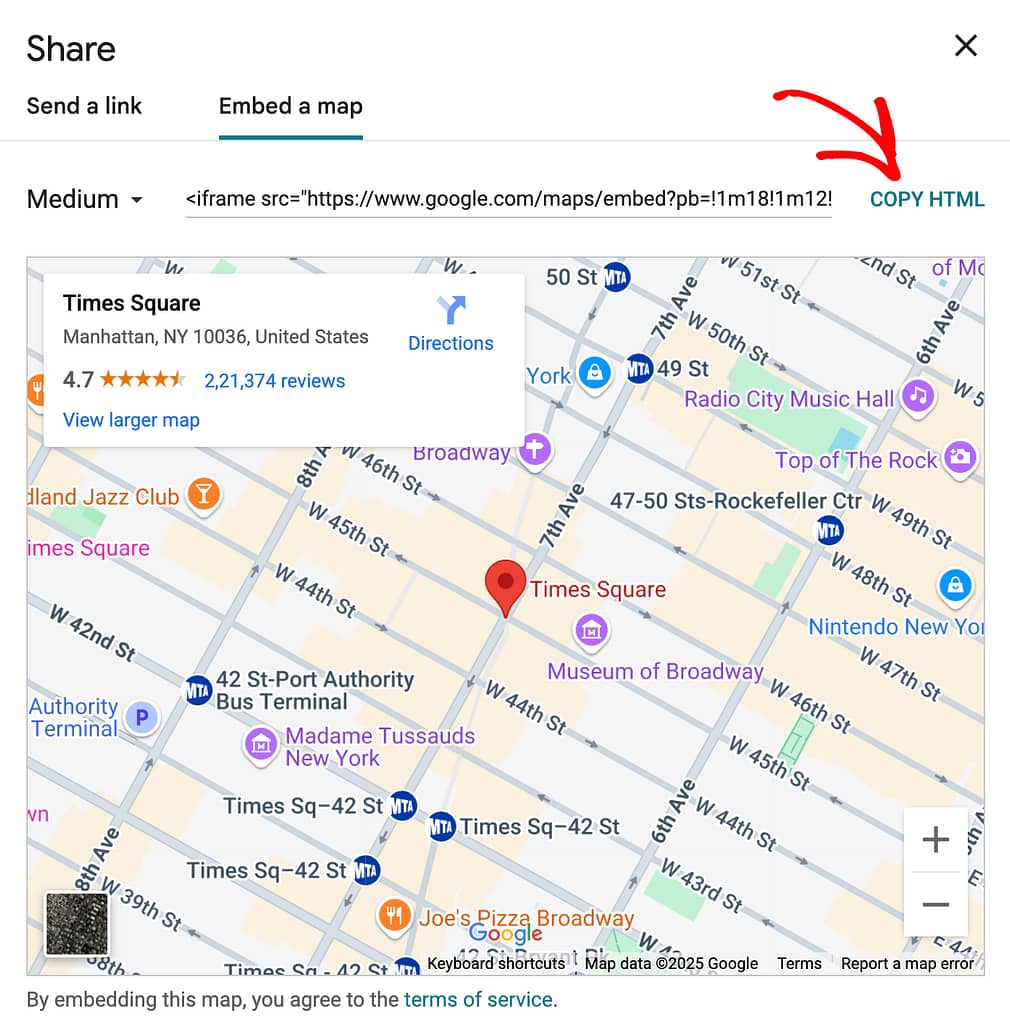
Under the Embed a map tab, click Copy HTML to copy the embed code generated for the map of the selected location.
Adding the Google Maps Embed Code to a Custom HTML Element
To add the copied embed code to a Custom HTML element, follow the steps here and add the Custom HTML element on the page.
In the popup that appears, paste the HTML code you copied from the Embed a map tab in Google Maps and click Save.
Adding the Google Map code to the Custom HTML element will add the selected Google Map on the page and let you manage the Layout and Position, Responsiveness, and HTML Attributes for it.

We’ve just seen how you can use a Custom HTML element on page and embed Google Maps using Thrive Architect.
You can watch the video below to get a virtual picture of the steps above and also on how to embed a Google Map on a page using the WordPress Content element in Thrive Architect.
Next, if you want to track conversions on your website, you can do that using the Custom HTML element in Thrive Architect.