Do you want to build a Custom Menu that matches the look and feel of your website? You can do that using the Custom Menu element in Thrive Architect.
In this article, we’ll show you how you can add a Custom Menu element and customize it using Thrive Architect.
- Adding a Custom Menu Element to a Page
- Customizing the Custom Menu Element on Page
- Customizing Menu Items Inside a Custom Menu
- Editing and Previewing Custom Menus on Different Device Screens
- Other Customizations Options for a Custom Menu
Adding a Custom Menu Element to a Page
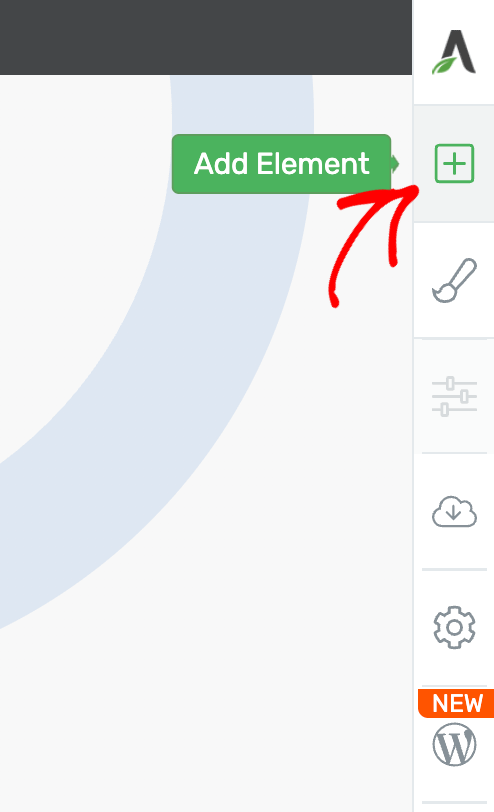
To add a Custom Menu element on a page, open the page in the Thrive Architect editor, click on the plus icon in the right panel.
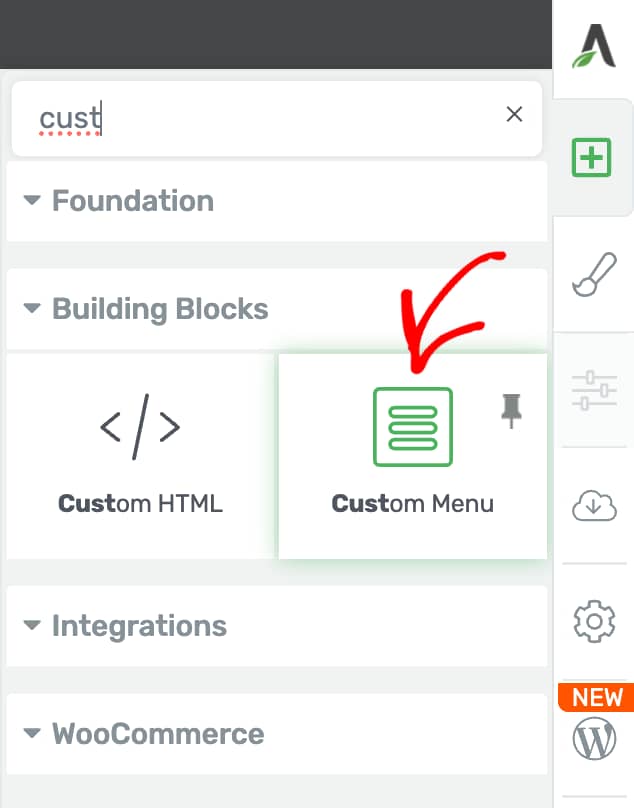
In the Thrive Architect elements list, search the Custom Menu element and drag and drop it on the page.
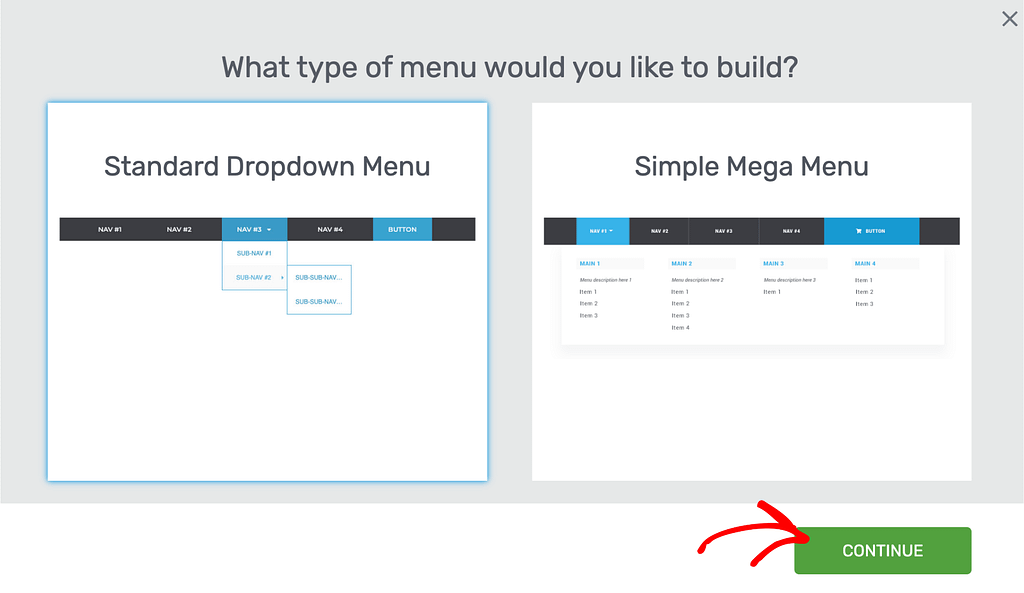
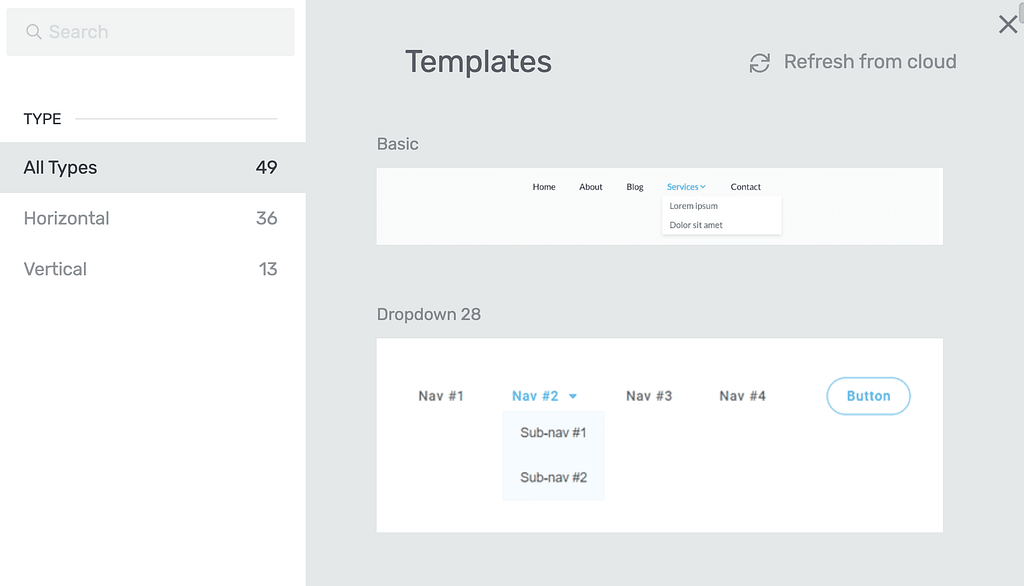
After dragging and dropping the Custom Menu element on the page, you’ll see a popup where you select the type of Custom Menu you want to add to the page.
- Standard Dropdown Menu: This one will show the menu items in a dropdown and the sub-menu follows like a branch.
- Simple Mega Menu: This one will display all the menu items together without the branched layout.
On this popup, select the Custom menu template you want to use and click the Continue button.
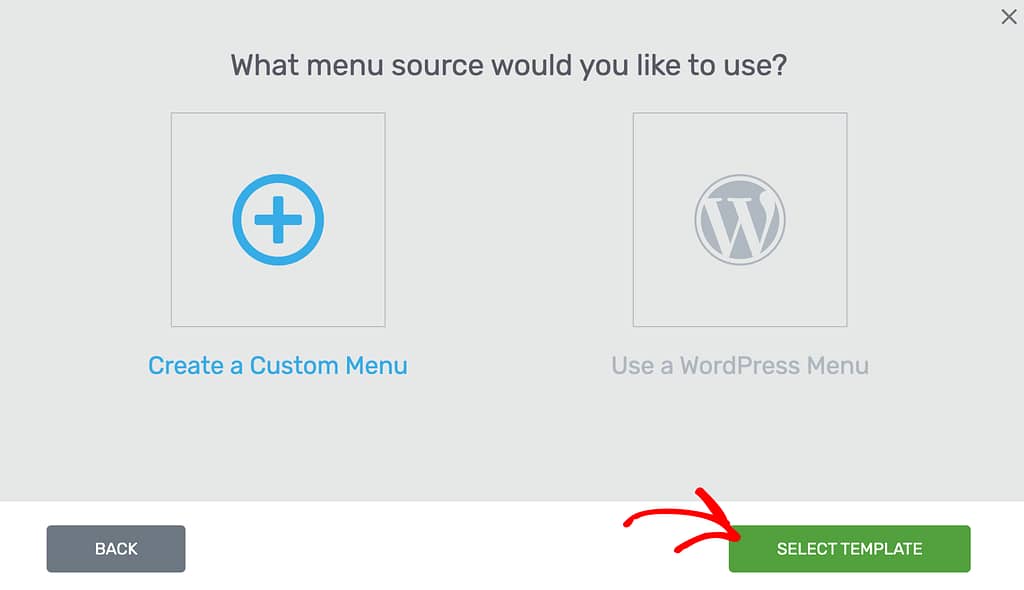
When you select the type of Custom Menu you want to add, the next popup asks you to select the source of the menu. Here, you can choose to build a new custom menu or fetch a WordPress menu you may have on the website. Select the menu source and click Select Template.
After selecting the source, select a Custom menu template in the next step.
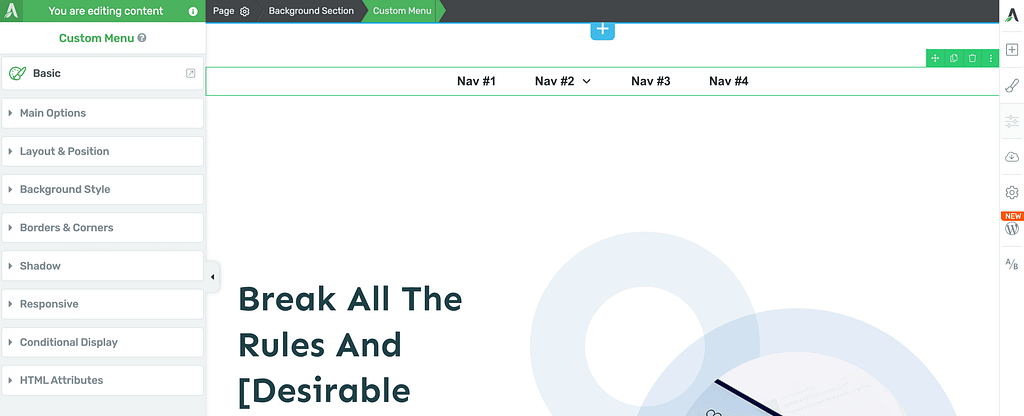
Once you select the Custom Menu element, you’ll see that added on the page with its settings and options open in the left column.
Customizing the Custom Menu Element on Page
Just like the other Thrive Architect elements, you can customize the Custom Menu element too.
To customize the Custom Menu element, click on the custom menu added to the page and see the options open in the left column.
Changing the Template of the Custom Menu Element
To change the template of the added custom menu, click on the template name you see in the left column.

When you click on the selected custom menu template, it opens a popup where you can select the template you want to apply to the custom menu on the page.
The next things in the left column allow you to manage the Main Options of the Custom Menu.
The Main Options change according to the type of Custom Menu you select.
- Customizing a Horizontal Custom Menu
- Customizing a Vertical Custom Menu
- Customizing a Hamburger Custom Menu
We’ll take a look at these Custom Menu types further on in this document.
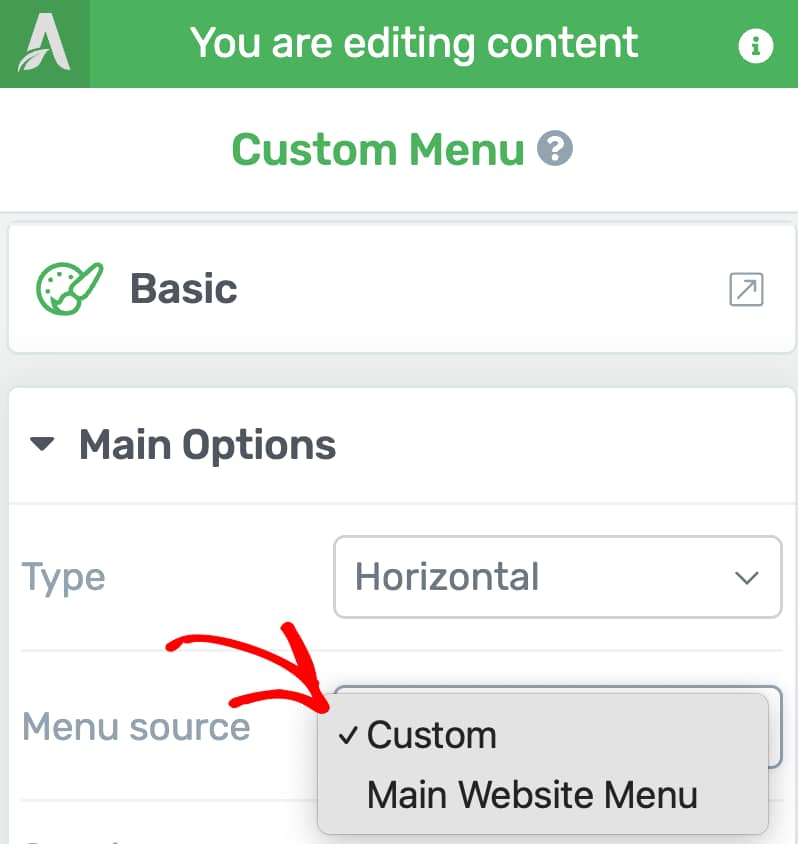
Selecting the Custom Menu Source
Thrive Architect lets you select a menu source when you add the Custom Menu element on page. You can choose a source from among a created WordPress menu or a custom menu that you can create.
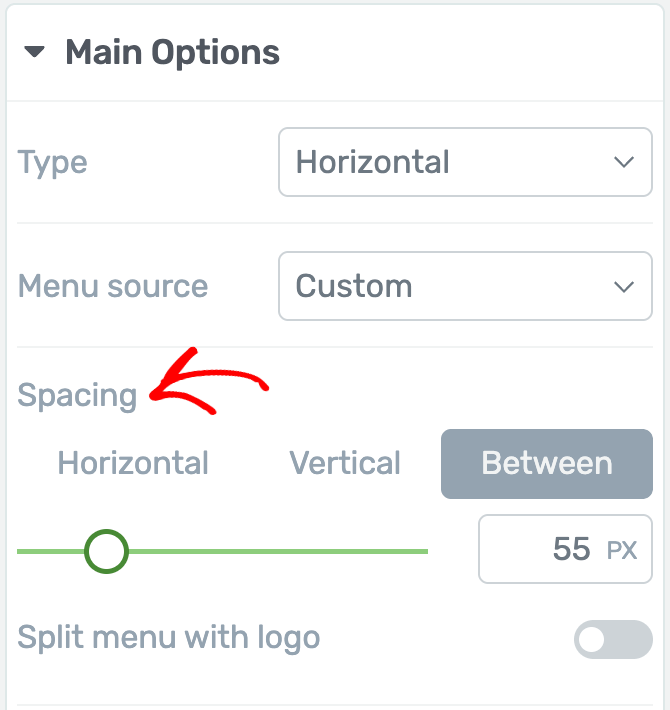
Managing the Spacing for Custom Menu
The Spacing options of the Custom Menu element allow you to manage the vertical, horizontal and the in-between spacing for the menu.
- Vertical spacing: The spacing above and below the entire menu.
- Horizontal spacing: The sideways spacing that includes the width of the menu and the space in between.
- Between: This is the space between the menu items without affecting the total menu width.
To manage the spacing of the custom menu, select whether you want to manage the horizontal, vertical, or in-between spacing and use the slider to manage it on the page.
Customizing a Horizontal Custom Menu
A horizontal custom menu is one that will display the menu items in a horizontal line across the width of your page.

To change the current custom menu to Horizontal, select Horizontal in the dropdown beside the Type option.
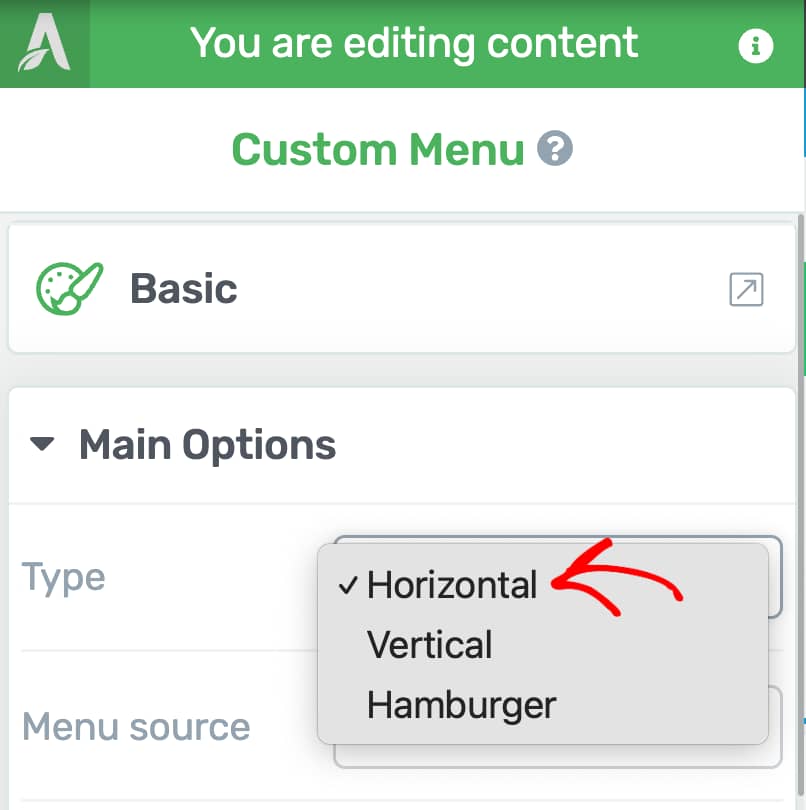
When you select a Horizontal Custom Menu for your page, you’ll see a number of options you can manage for this menu type.
Splitting the menu with logo
When enabled the Split menu with logo option will add your website logo right in-between the menu.
To enable this, simply click on the toggle button beside the Split menu with logo option.
Enabling this will place your logo between the menu.
Sub menu options for a horizontal menu
The sub menu options for a horizontal menu allow you to manage the styling of the sub menu within the main custom menu.
This includes the following:
- Dropdown icon: This lets you change the icon shown to identify a dropdown which when clicked opens the sub menu. You can select between an Angle, Chevron, Triangle, Caret, or None.
- Dropdown animation: This lets you select the animation used to open the sub menu. You can select between Fade In and Out, Slide Down #1, Slide Down #2, Fold Out, or None.
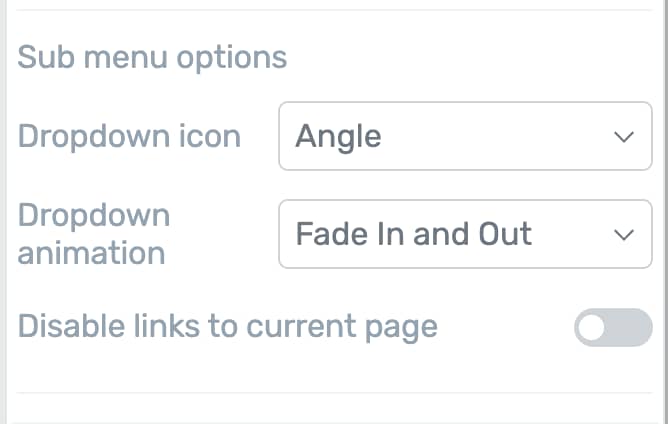
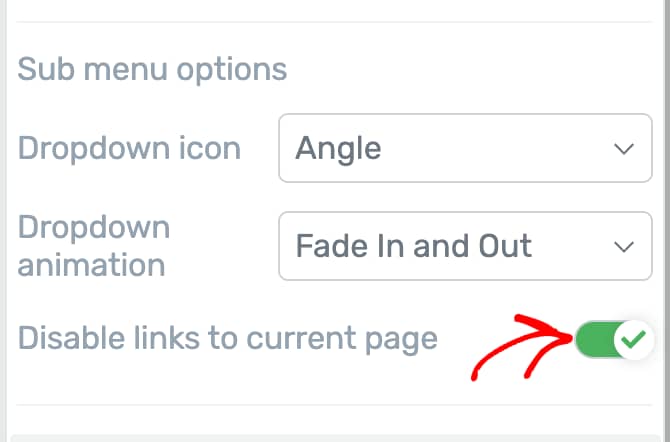
Disable links to current page
It is a good idea to turn off links to a menu item that leads you to a page you are on. So, this option lets you disable links to the page the user is on.
To enable this, click on the toggle button beside the option.
Customizing a Vertical Custom Menu
A vertical menu is one that will place the menu items vertically on the page. You can manage the alignment of this menu as you want.

To change the current custom menu to Vertical, select Vertical in the dropdown beside the Type option.
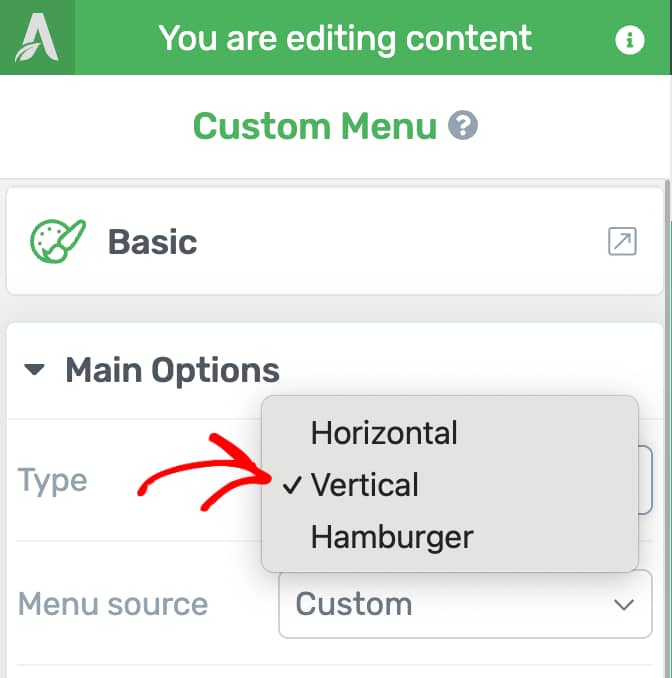
When you select a Vertical Custom Menu for your page, you’ll see a number of options you can manage for this menu type.
Content alignment
This option lets you decide the content alignment of the vertical menu. You can select it to be left, center or right aligned.
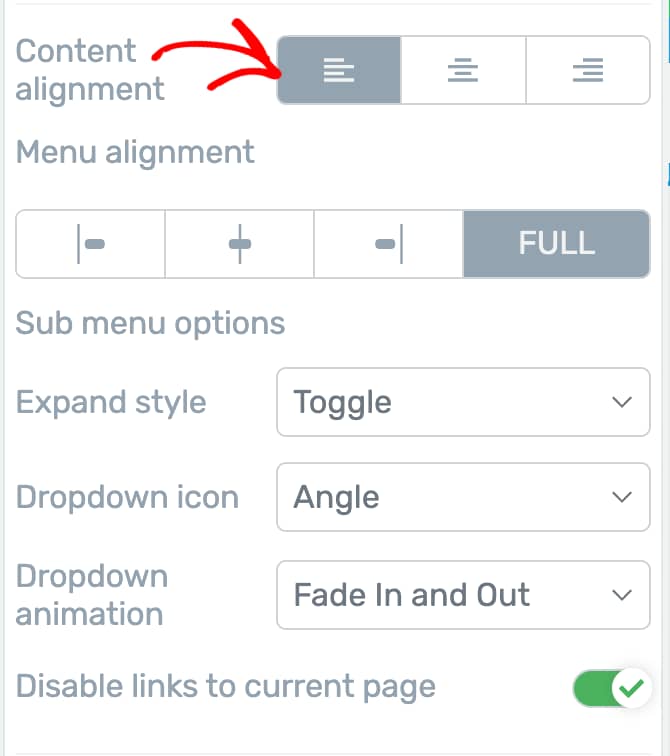
Menu alignment
The menu alignment setting lets you select the alignment for the entire vertical menu.

Sub menu options for vertical menu
The sub menu options for a vertical menu allow you to manage the styling of the sub menu within the main custom menu.
This includes the following:
- Expand style: This lets you select the style of the expanded menu. You can select between Toggle, Drop right, or Drop left.
- Dropdown icon: This lets you change the icon shown to identify a dropdown which when clicked opens the sub menu. You can select between an Angle, Chevron, Triangle, Caret, or None.
- Dropdown animation: This lets you select the animation used to open the sub menu. You can select between Fade In and Out, Slide Down #1, Slide Down #2, Fold Out, or None.
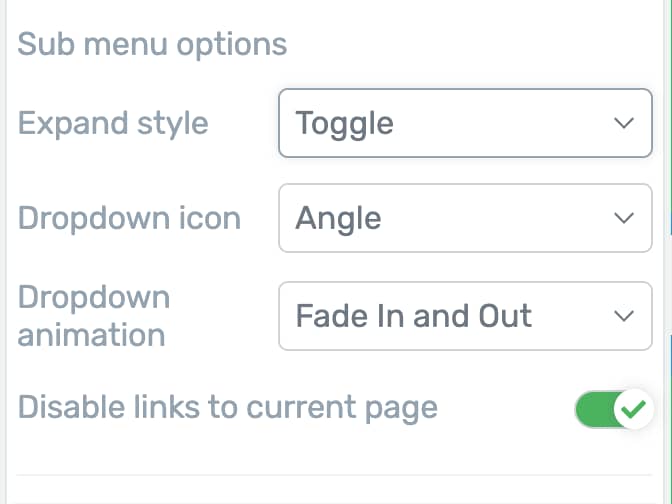
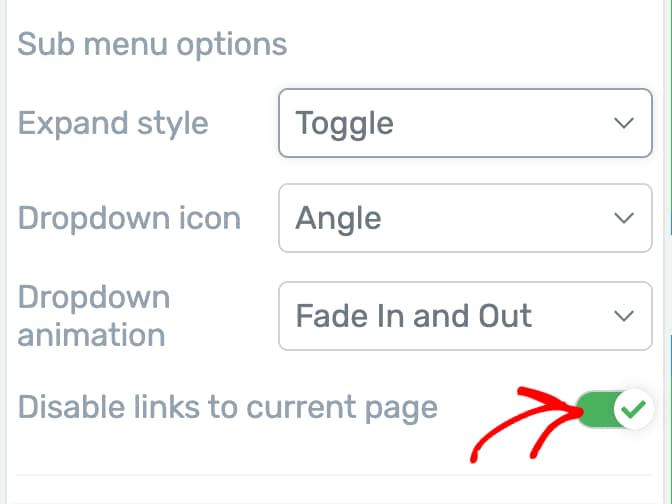
Disable links to current page
It is a good idea to turn off links to a menu item that leads you to a page you are on. So, this option lets you disable links to the page the user is on.
To enable this, click on the toggle button beside the option.
Customizing a Hamburger Custom Menu
The Hamburger menu is a compressed menu that is useful when you want the menu to look good on smaller screens like those of tablets and mobile phones.
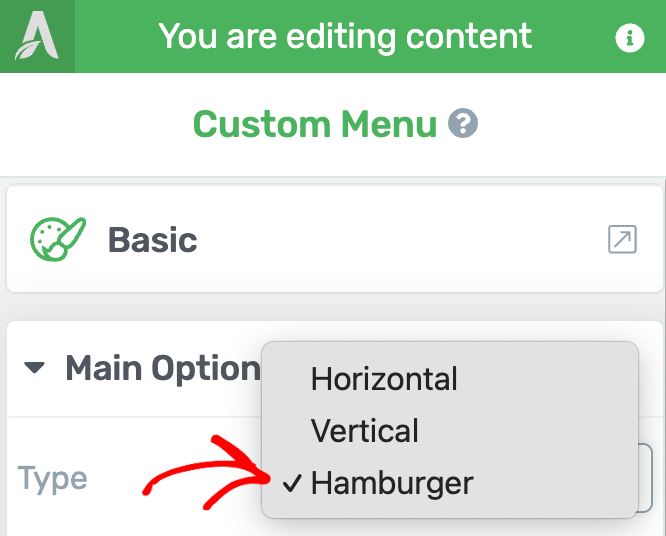
To change the current custom menu to a Hamburger, select Hamburger in the dropdown beside the Type option.
When you select a Hamburger Custom Menu for your page, you’ll see a number of options you can manage for this menu type.
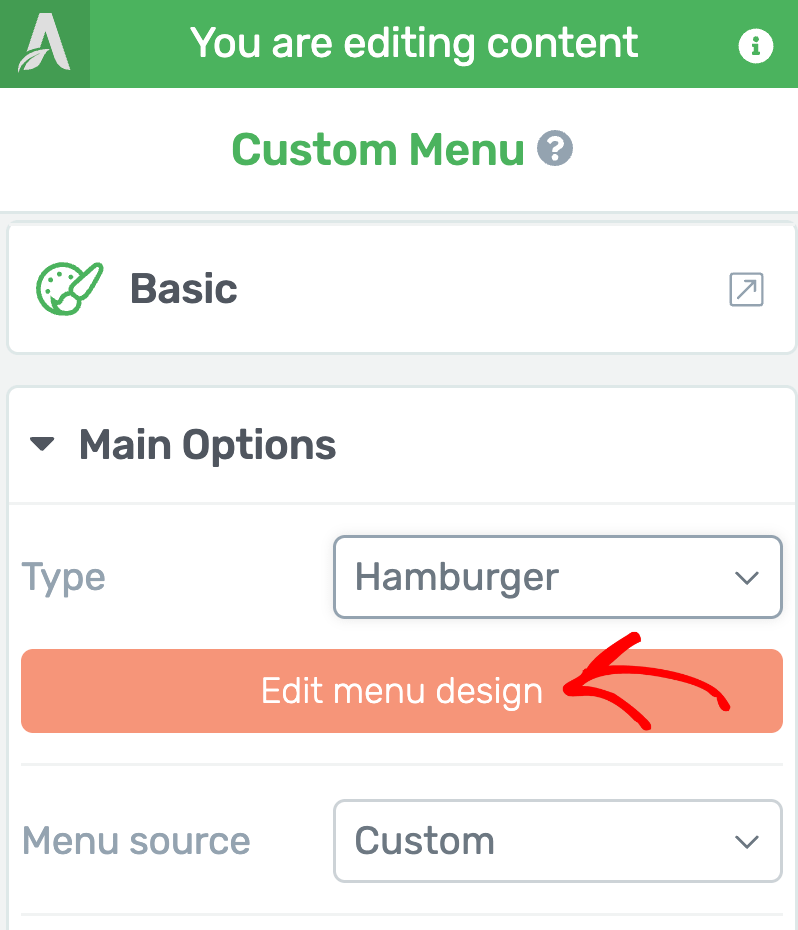
Edit menu design
This option lets you edit the Hamburger menu design. To do so, first click the Edit menu design button.
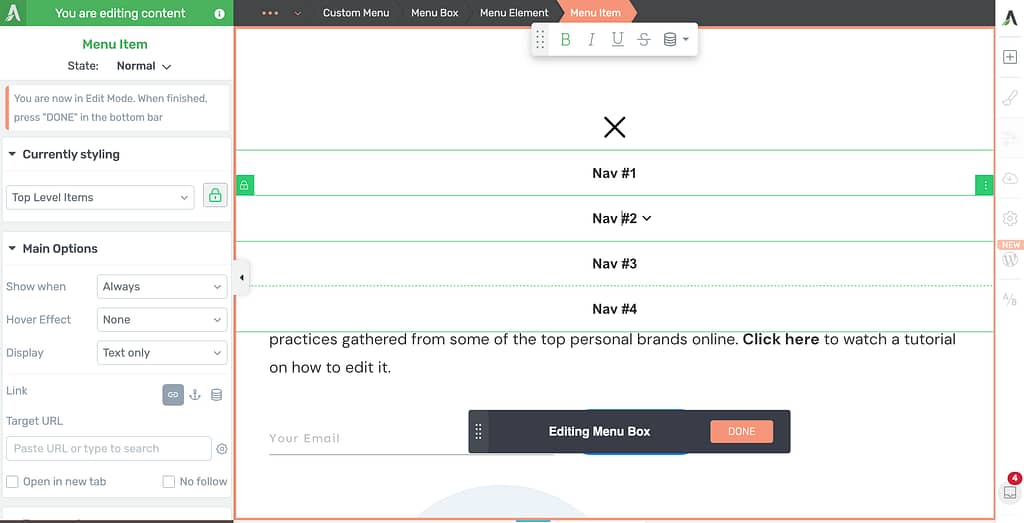
Clicking the button will open the menu in the Edit Mode where you can edit all the aspects of the menu.
Sub menu options for Hamburger menu
The sub menu options for a hamburger menu allow you to manage the styling of the sub menu within the main custom menu.
This includes the following:
- Menu display: This lets you decide on how the menu will be displayed. You can select from options like dropdown, off screen – right, off screen – left, or Full screen overlay.
- Dropdown icon: This lets you change the icon shown to identify a dropdown which when clicked opens the sub menu. You can select between an Angle, Chevron, Triangle, Caret, or None.
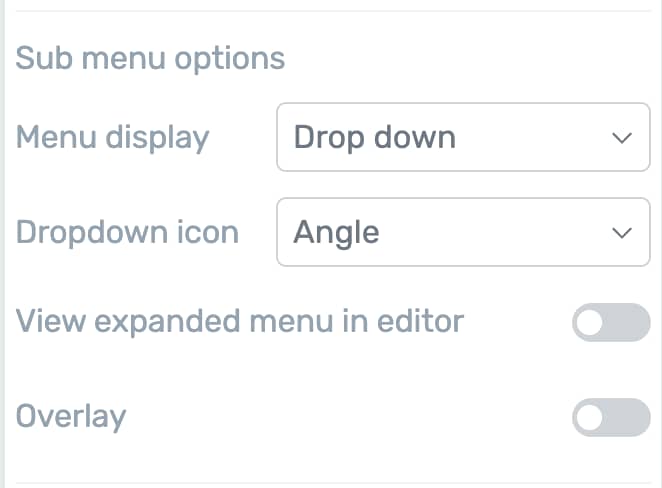
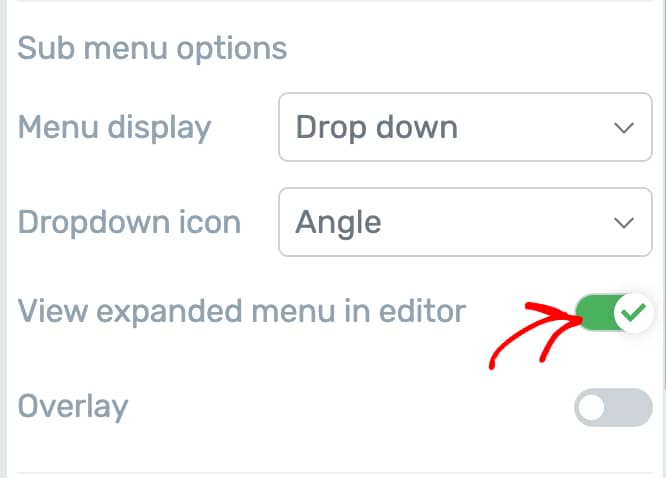
View expanded menu in editor
Enabling this option will open the expanded menu in the editor so you can see all the sub menus while you edit the menu.
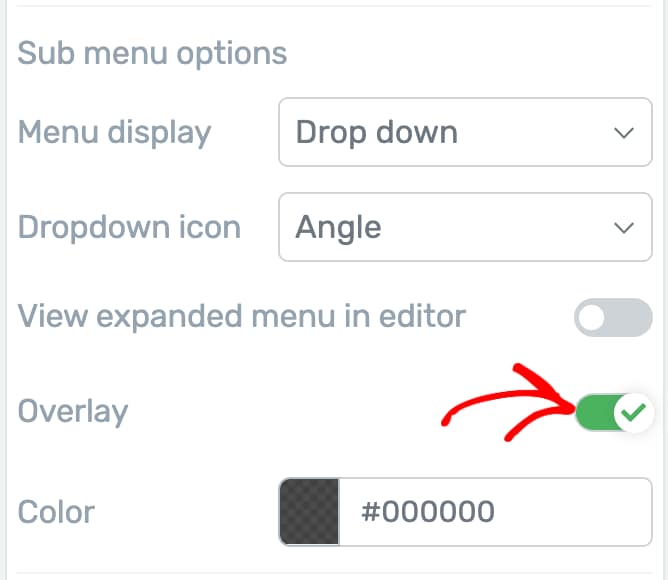
Overlay
Enabling an overlay will expand the hamburger menu as a popup adding an overlay on the page. After you enable this option, you’ll be able to select the color for the overlay being added.
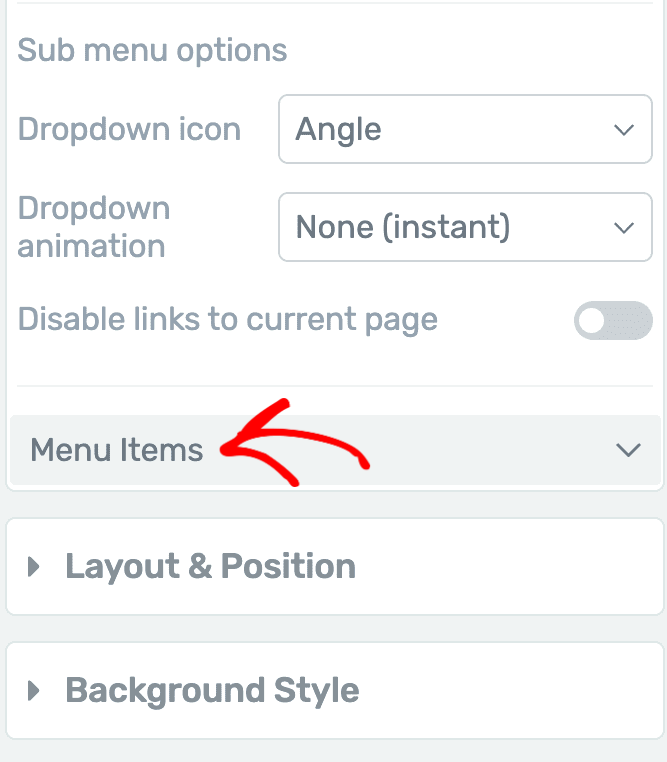
Customizing Menu Items Inside a Custom Menu
After you’ve finished selecting a Custom menu template and completed the customization, the next step is to customize the menu items it includes.
To edit the Menu Items inside a menu, click to expand the Menu Items option in the left column.
Here’s a list of things you can do under menu items.
Adding a New Menu Item
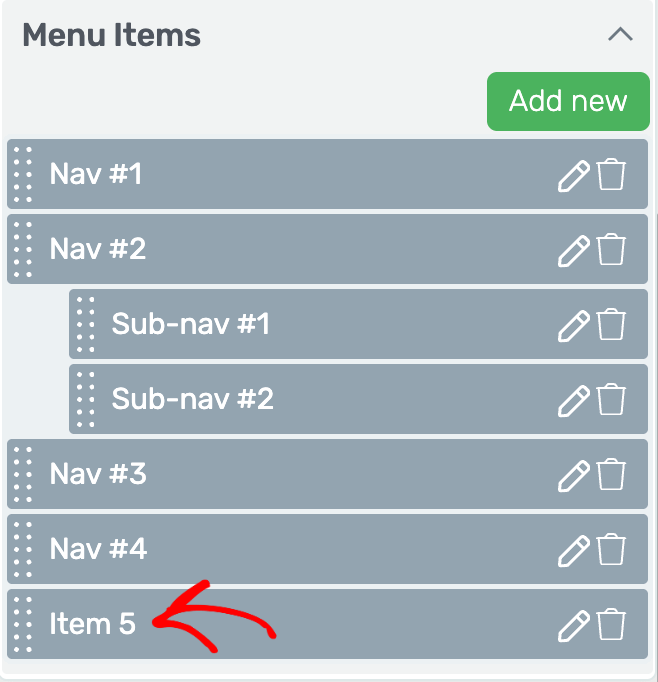
To add a new menu item, click the Add New button when you expand the Menu Item section.
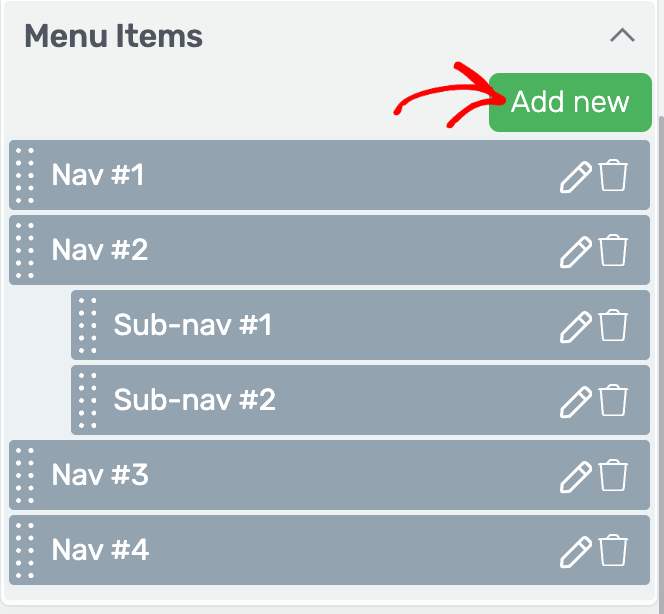
Clicking the Add New button will add a menu item to the list.
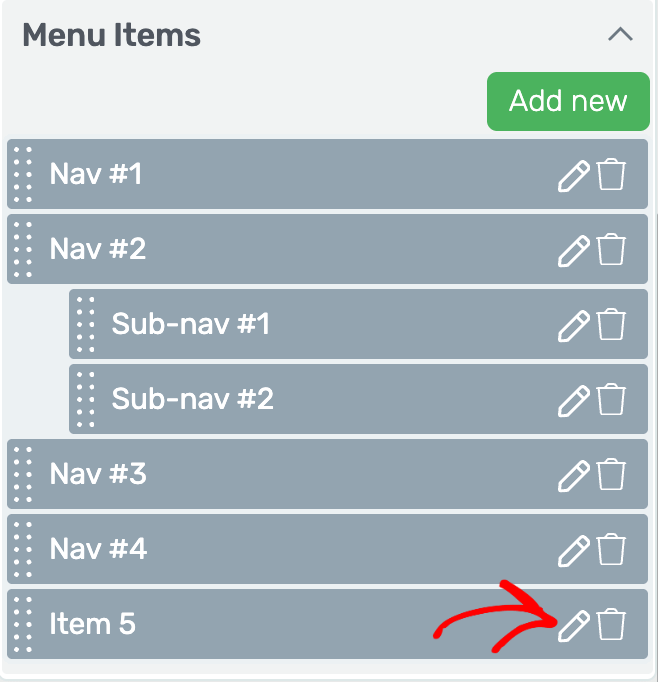
Editing or Deleting a Menu Item
To edit a menu item click the pen icon on the item.
When you click Edit, it will open a dropdown where you enter the menu item name, the target URL, other details, and click Apply.
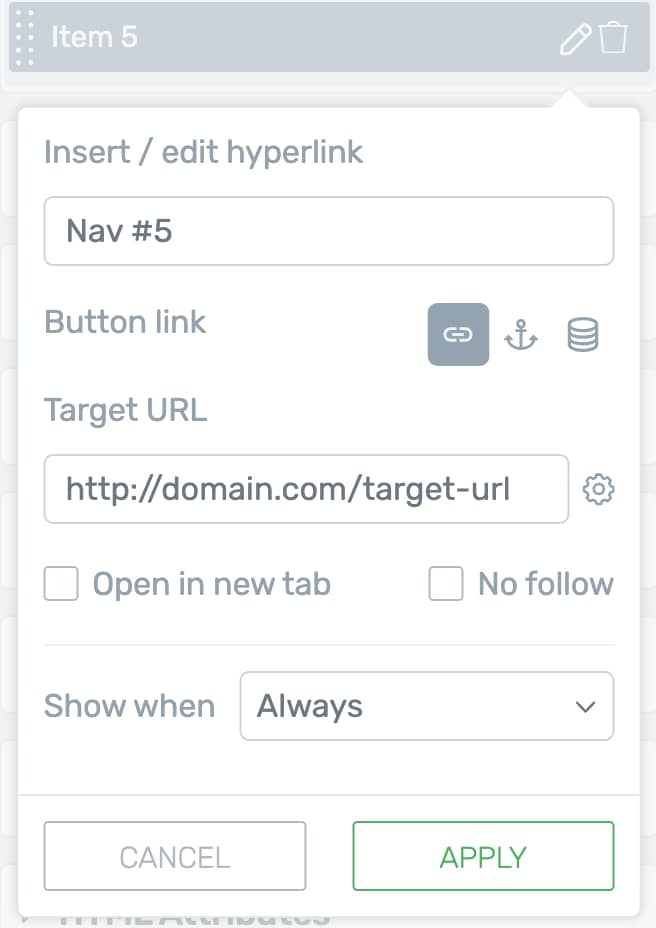
The menu item details you enter here include:
- The menu item name: The name or the display name of the menu item.
- Button link: The type of link you want to add – a simple link, a jumplink, or a dynamic link.
- Target URL: The target URL of where you want to send users when they click this item.
- Open in a new tab: Decide whether you want the link to open in a new tab.
- No follow: Decide whether you want the link to be marked as No follow.
- Show when: Decide when should this menu item show up – Always, or only to logged in or logged out users.
To delete a menu item click the Trash icon beside the menu item name.

Clicking the trash icon will directly delete the menu item from the list.
Reordering Menu Items
When adding a custom menu, you can reorder the menu items by holding and dragging an item to where you want to place it.
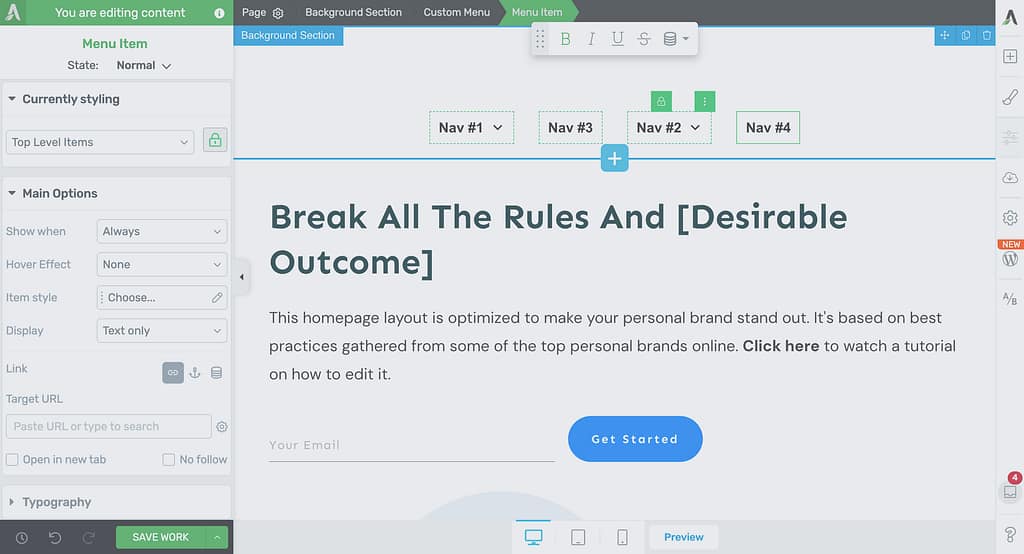
Styling Menu Items
Thrive Architect allows you to style individual menu items too.
To open the menu item styling options, click on a Menu item on the page editor. This will open the styling options of a menu item in the left column.
Editing and Previewing Custom Menus on Different Device Screens
You can use the buttons at the bottom to preview how the custom menu will look on different screens.
Other Customizations Options for a Custom Menu
Just like the other Thrive Architect elements, the Custom Menu element comes with additional options where you can manage the layout and positioning, borders and corners, background styling, shadows, etc. of it.
To learn more about these options, read the documents listed below.
- Using Layout and Position Options in Thrive Architect
- Using the Background Style Option in Thrive Architect
- Using Borders and Corners Settings in Thrive Architect
- Adding Shadows to Thrive Architect Elements
- Using the Responsive Option in Thrive Architect
- Using Conditional Display in Thrive Architect
- Using HTML Attributes in Thrive Architect
We’ve just seen how you can add and customize a Custom Menu element on a page using Thrive Architect.
Next, do you want to add a simple mega menu on your website? You can read our document here.