Do you want to highlight specific posts and draw more attention to your most important content? The Featured Content option in the Post List element of Thrive Architect lets you easily showcase selected posts, helping you guide visitors to the content you want them to see first.
It allows you to display your most important posts or pages such as Thrive Apprentice content, custom post types, etc. above the content you display with the Post List element.
In this article, we’ll show you how you can use the Featured Content Option in the Post List element of Thrive Architect.
- Enabling the Featured Content Option
- Understanding the Featured Content List Element
- Changing the Template of the Featured Content List
- Post List Settings of the Featured Content List Element
- Other Settings of the Featured Content List Element
Enabling the Featured Content Option
The Featured Content option is a setting that’s available when you use the Page List element in Thrive Architect.
To add Featured Content to a post list, first ensure that you’ve added the Post List element on the page.
When on the page, click the Post List element in the editor to open its settings in the left column.
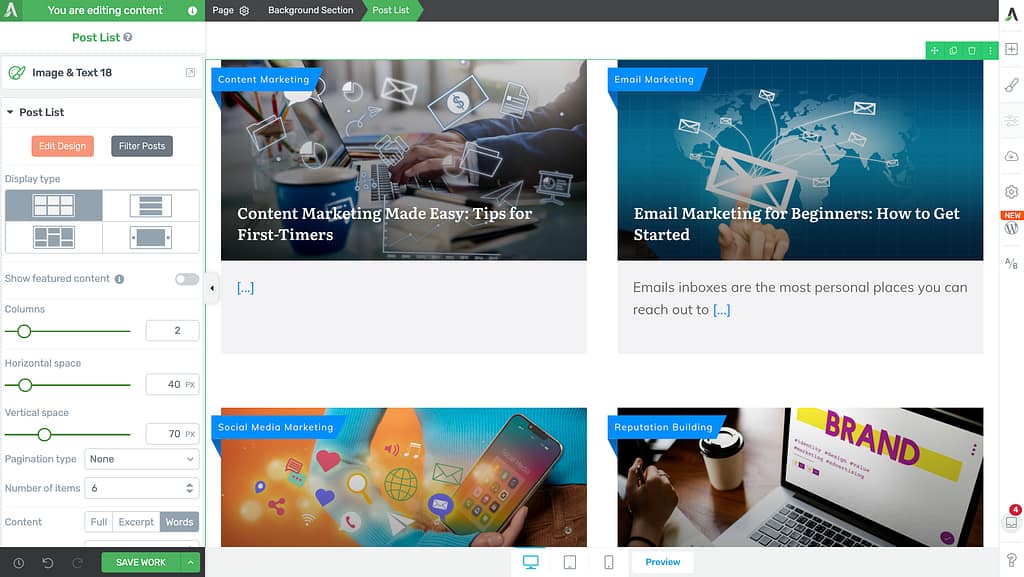
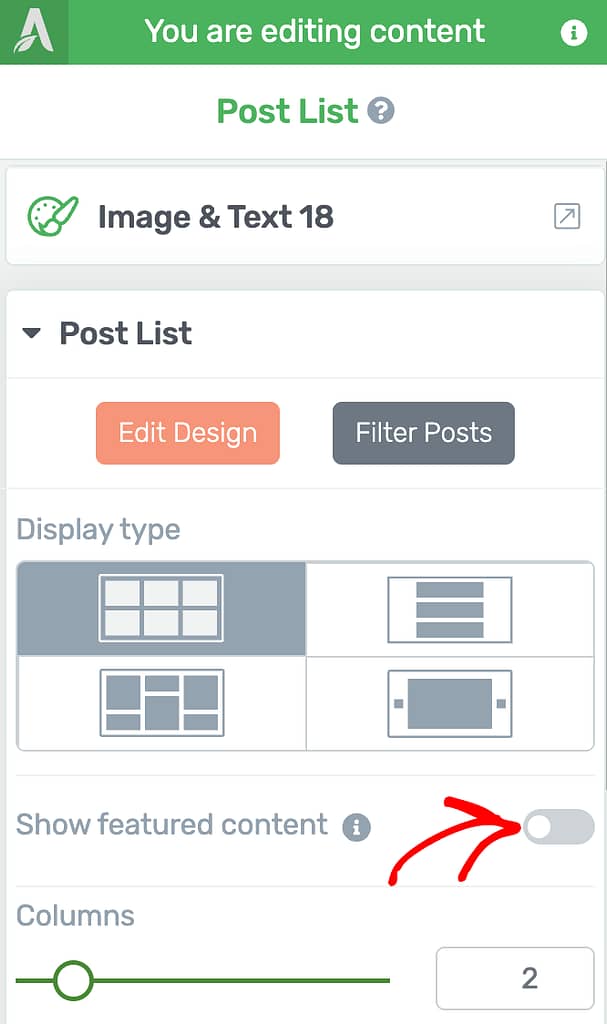
In the left column options, under Post List, scroll down to Show featured content and click on the toggle button beside it.
When you enable this option, you’ll see a section added on top of the post list on the page. In this section, click the Insert Featured Content List button.

Clicking on the button will open a popup where you can select a Featured Content list template.
In this popup, click on the template you want to use on the page.

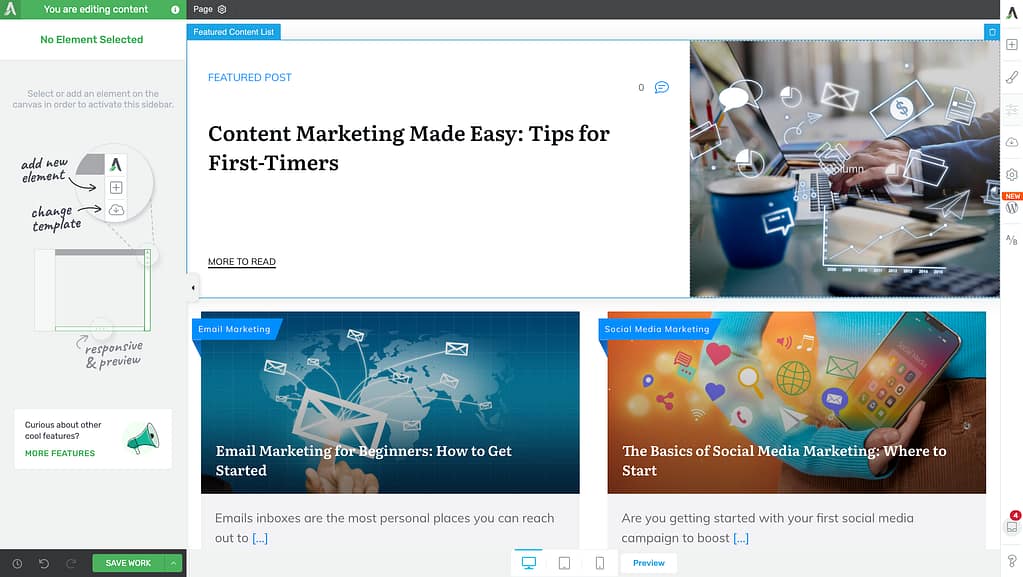
Once you click on a template, the popup will close and you’ll see the Featured Content added on top of the Post List element on the page.
Understanding the Featured Content List Element
When you turn on Featured Content, it will appear as part of your page above the Post List element. You can click on the Featured Content section to see and change its settings on the left side, just like you do with other elements.
However, the Featured Content element is linked to the Post List element, so it can’t exist by itself. If you remove the Post List, Featured Content will also be removed automatically. You can only have Featured Content on your page only when there is a Post List.
Changing the Template of the Featured Content List
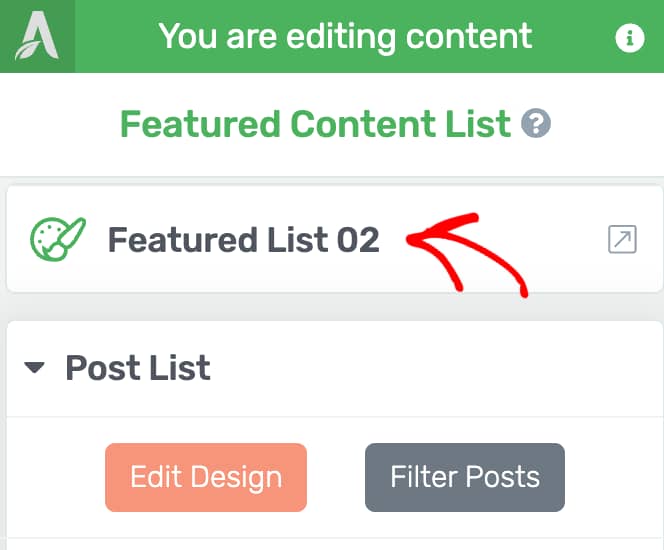
You may want to change the template used to display the featured Content. To do so, first, click on the Featured Content on the page to open its settings in the left column.
In the left column, click on the current Featured Content List template.
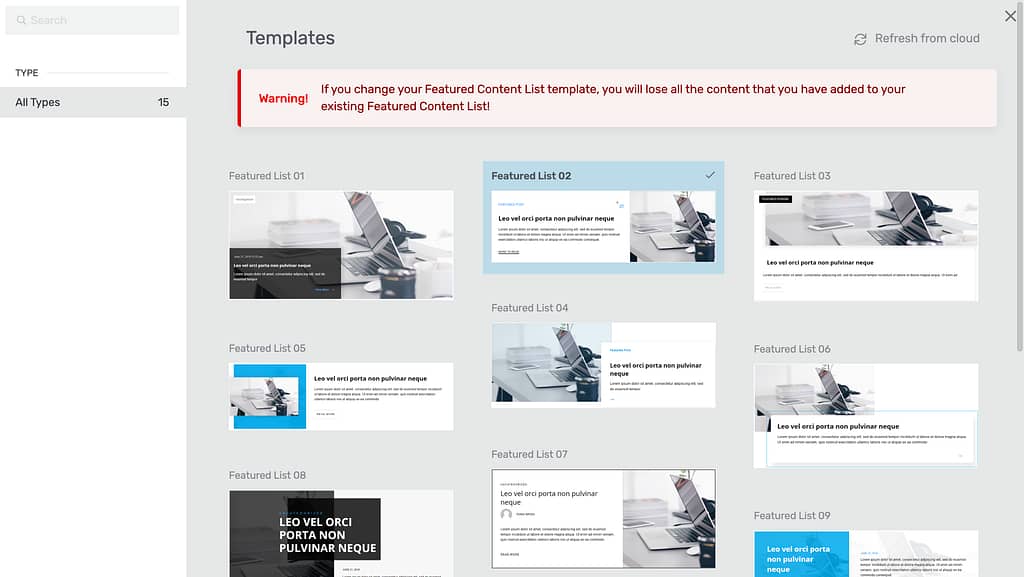
When you click the current template, you’ll see a popup with available Featured Content List templates.
On this popup, click to select the template you want to apply.
Note: Changing the template will remove all the customizations added to the Featured Content List.
Post List Settings of the Featured Content List Element
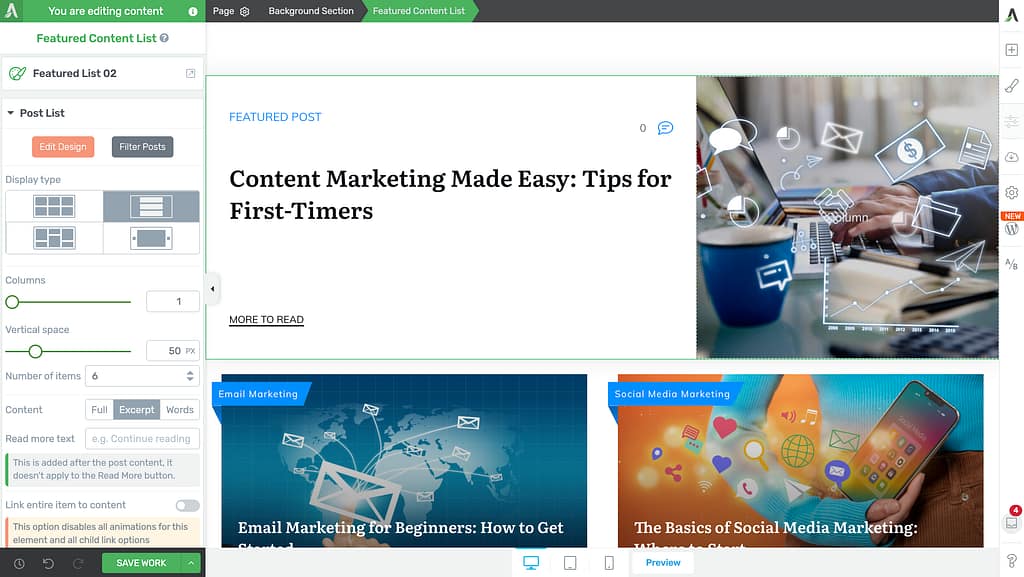
Like any other Thrive Architect element, you can edit the Featured Content List element too. To manage the settings, click on the Featured Content block on the page to open its settings in the left column.
In the left column, you’ll see a Post List section that gives you a number of settings to customize the Featured Content List on the page.
The Post List options of the Featured Content List can be used for:
- Editing the Design of the Featured Content List
- Filtering Posts Shown in the Featured Content
- Selecting the Display Type
- Setting the Number of Columns
- Managing the Vertical Space in Featured Content List
- Setting the Number of Items
- Deciding the Content to be Displayed
- Setting the Word count in the Featured Content Block
- Adding a Read More Text
- Linking the Entire Item to Content
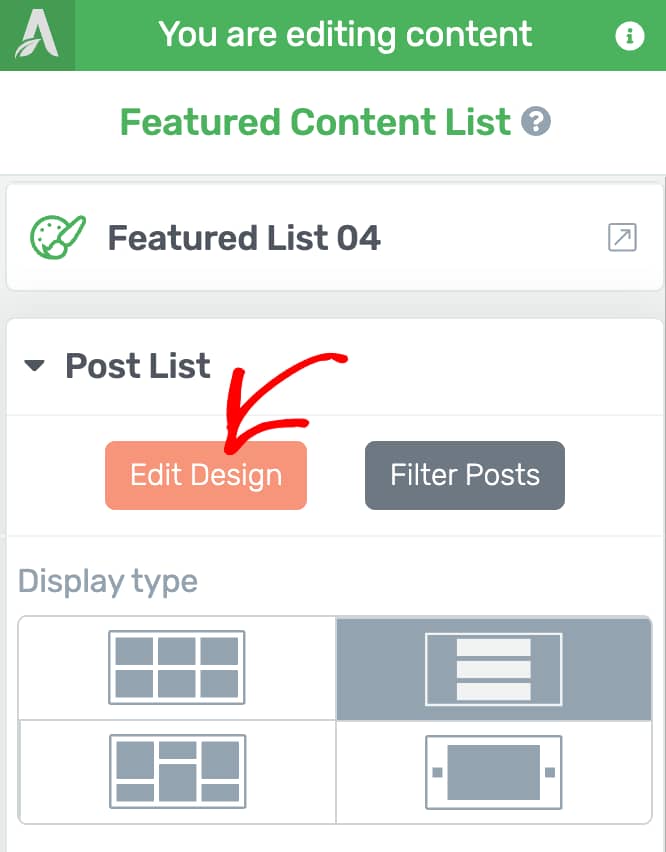
Editing the Design of the Featured Content List
With the Edit Design option, you can change how the Featured Content List looks on your page. To do this, go to the left sidebar, under Post List click the Edit Design button.
Clicking the Edit Design button will open an editing mode, shown by orange borders around the content. In this mode, the editing tools will change, letting you update each part inside the Featured Content List.
To change a part of the Featured Content List, click on it, then use the options on the left to customize it.

In the Edit mode, you can use Group styling when you have multiple items added inside the Featured Content List. This means that if you make a change to one element – like a button or a title – the same change will automatically happen to all similar elements in the list. This helps keep the design looking the same across every item.
Changing the design of Featured Content List elements works just like editing the Post List elements. If you need more details, you can read the guide here.
When you’re done making changes, click the Done button on the floating panel in the edit mode.

Filtering Posts Shown in the Featured Content
The Filter Posts option helps you choose exactly which posts or pages you want to show in the Featured Content List. This option can be used when you want to highlight 1 or 2 important posts or pages, such as announcements, top articles, or special offers.
The Filter Post option lets you control exactly what shows up as featured content, so only the most important or relevant posts appear. It can also be used to highlight certain posts, like your latest news or most popular articles.
The option can also be used to display related posts to show content that is most likely to interest your visitors.
To filter posts in a Featured Content List, in the left column, under Post List, click the Filter Posts button.

When you click to filter posts, you’ll see a popup where you can set the filters.
On the popup, you have two ways you can filter posts.
- Custom Query
- Related Posts
Custom Query
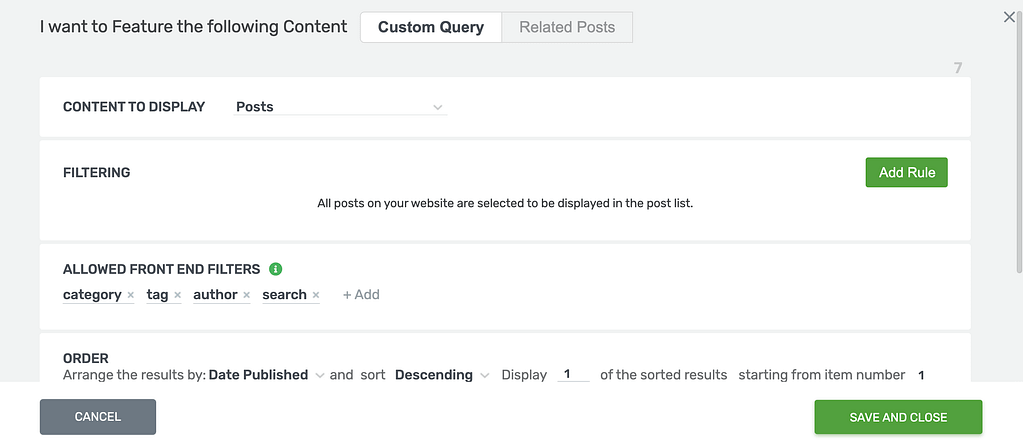
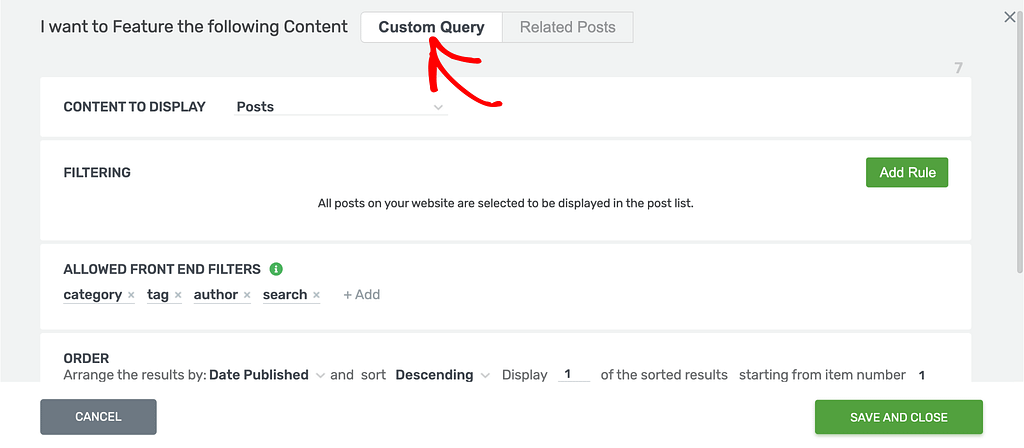
If you want to filter posts using Custom Query, click on the Custom Query in the popup.
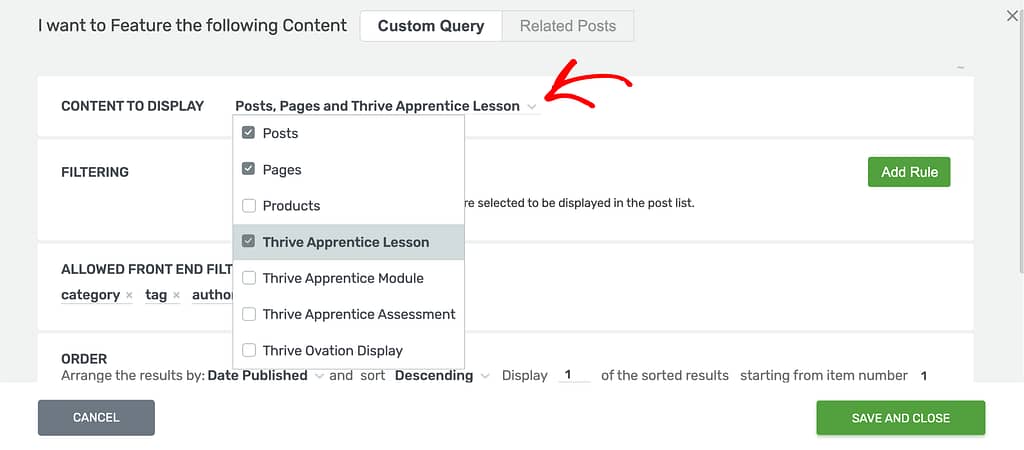
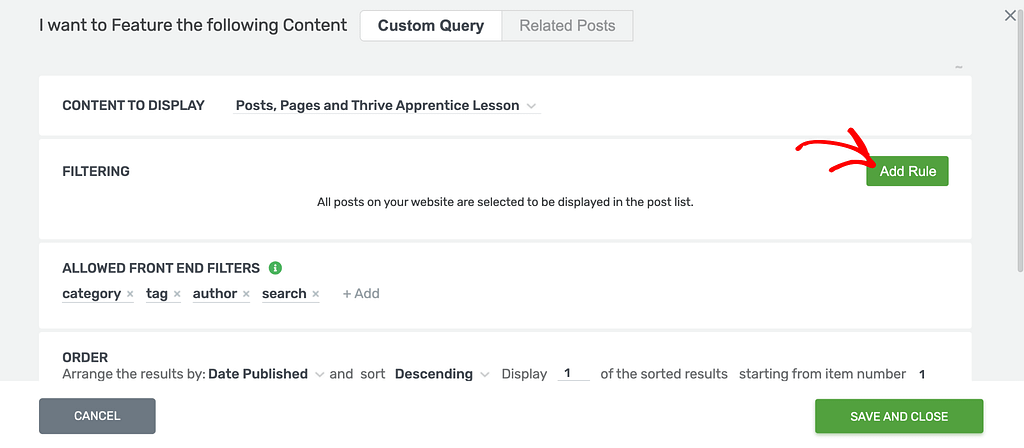
After selecting Custom Query, click on the dropdown to select the Content to be displayed in the Featured Content List.
When you select the content you want to display, in the Filtering block click on the Add Rule button.
Once you click on Add Rule, select what you want this display rule to be based on – post author or title.
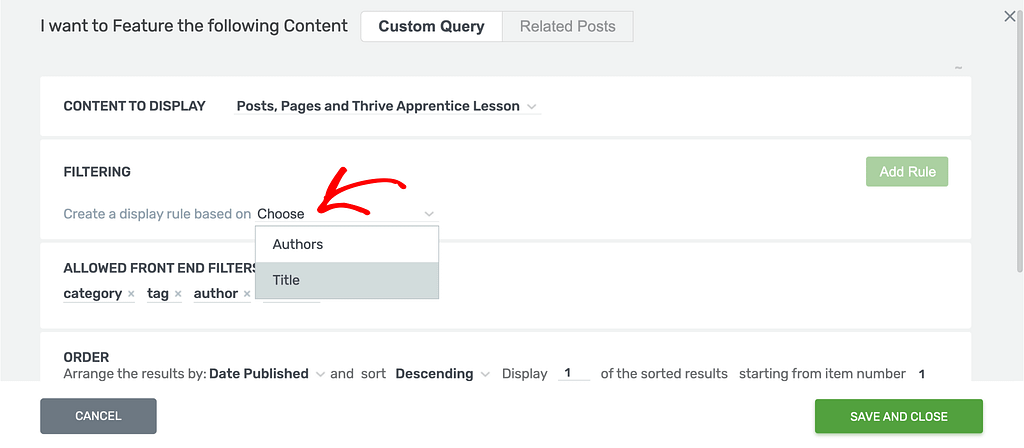
After you select the factor for the display rule, add the rule you want to apply to filter the posts being shown in the Featured Content list.

Next, select the filters you want to allow in the front end.
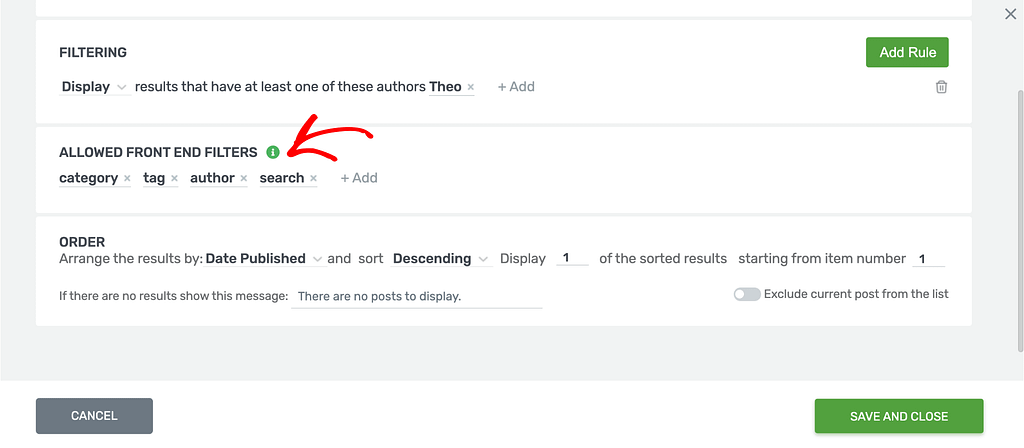
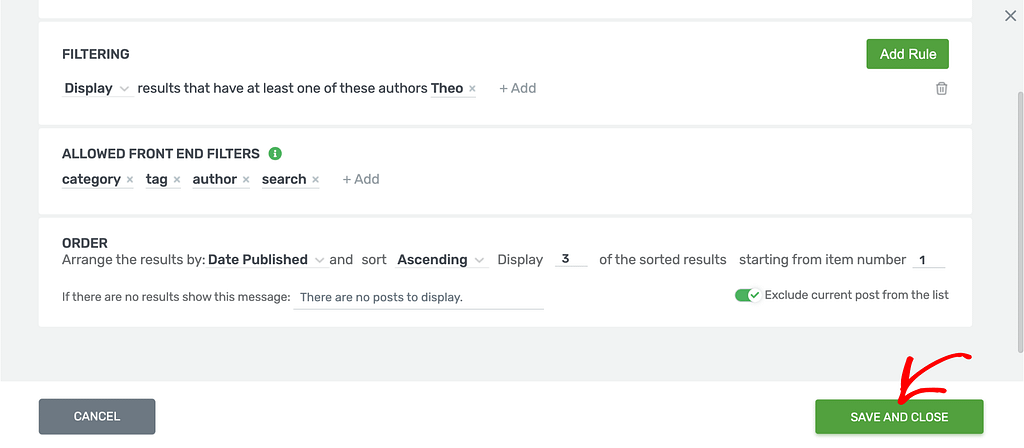
After selecting the front end filters, set the order you want to apply to this filter.

Finally, after you’ve selected the content to be displayed, the filters and the order, click the Save and Close button to save this filter and close the popup.
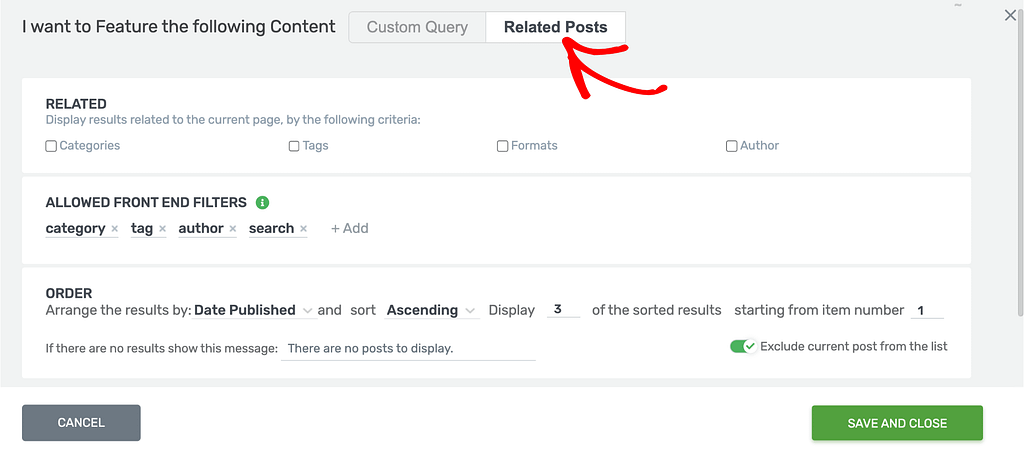
Related Posts
If you want to use the Featured Content List to display related posts or pages to those in the post list, in the popup, select Related Posts.
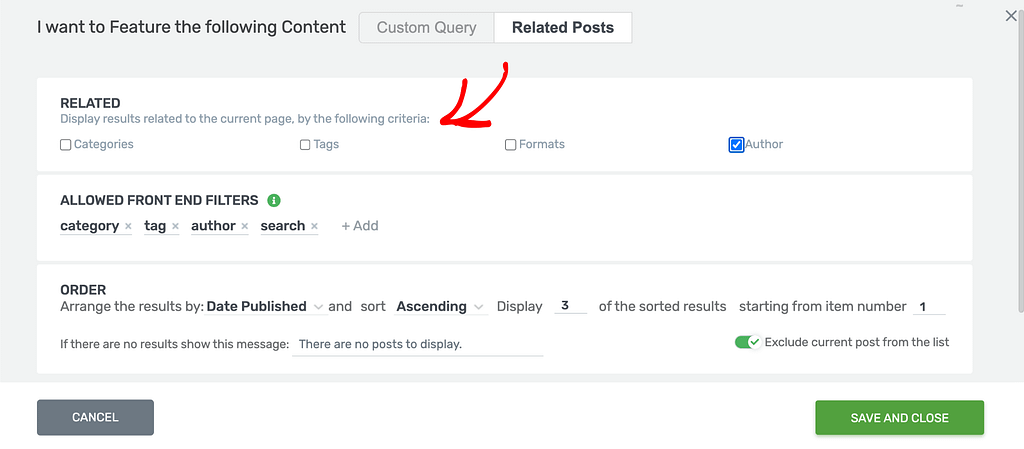
When you choose to add related posts, select the criteria on the basis of which the relativity will be checked.
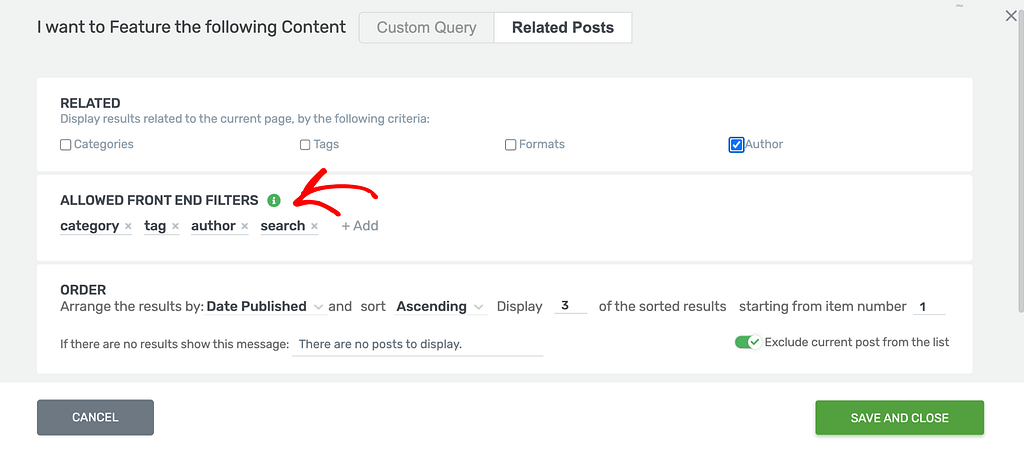
After you select the criteria, select the allowed front end filters in the next block.
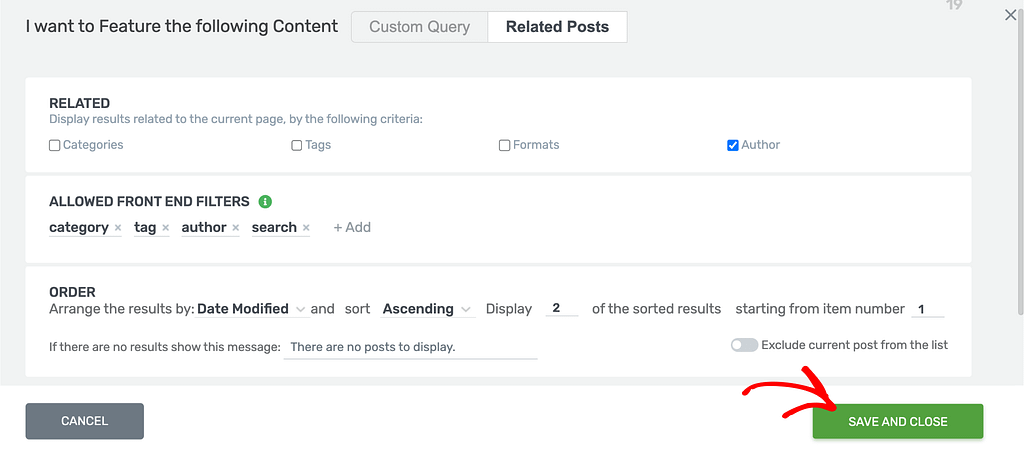
Next, add an order you want to apply to this Featured Content list filter.

After you’ve added the order, click the Save and Close button to save the filter and close the popup.
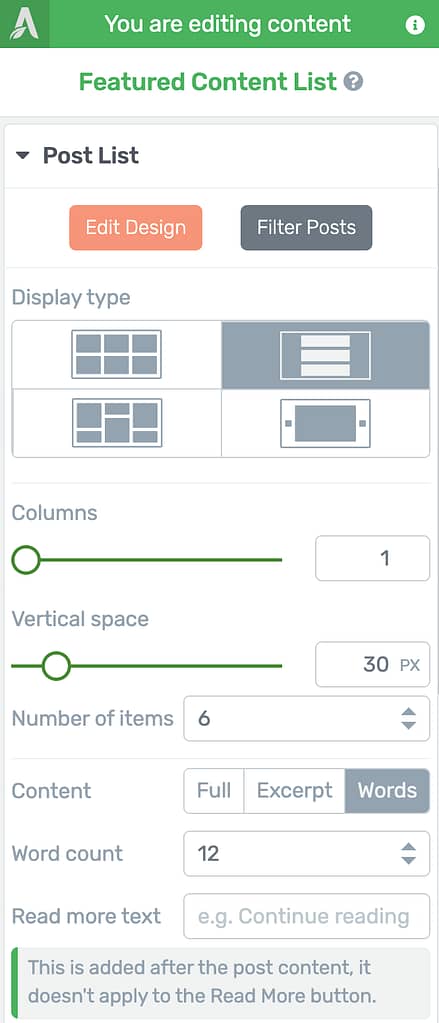
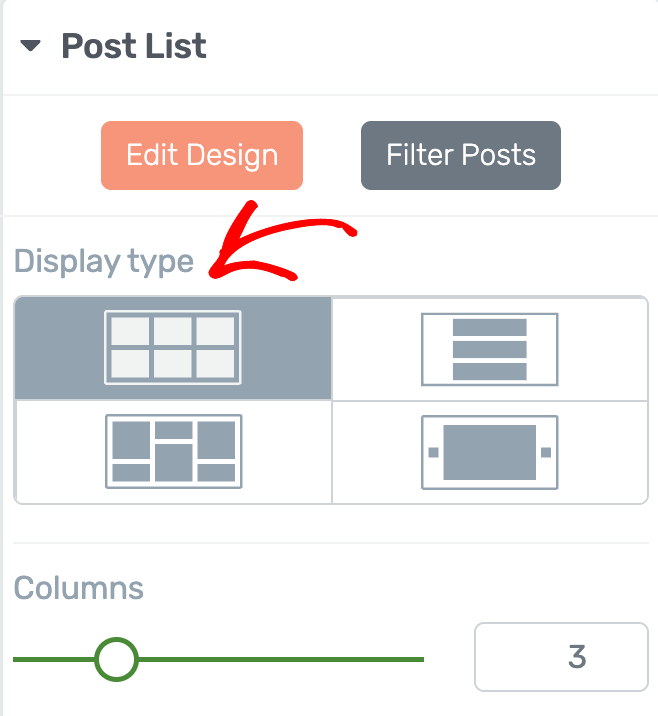
Selecting the Display Type
The Display Type setting lets you decide the layout for the Featured Content section. Selecting an option here will decide how the items in the Featured Content List will be displayed on the page.
The available display types are as follows:
- Grid: Featured posts will be displayed as a grid with equal spacing.
- List: Featured posts will be displayed as a list one below the other.
- Masonry: Featured posts will be displayed as a maze adjusting their display sizes.
- Carousel: Featured posts will be displayed in a horizontally scrollable carousel.
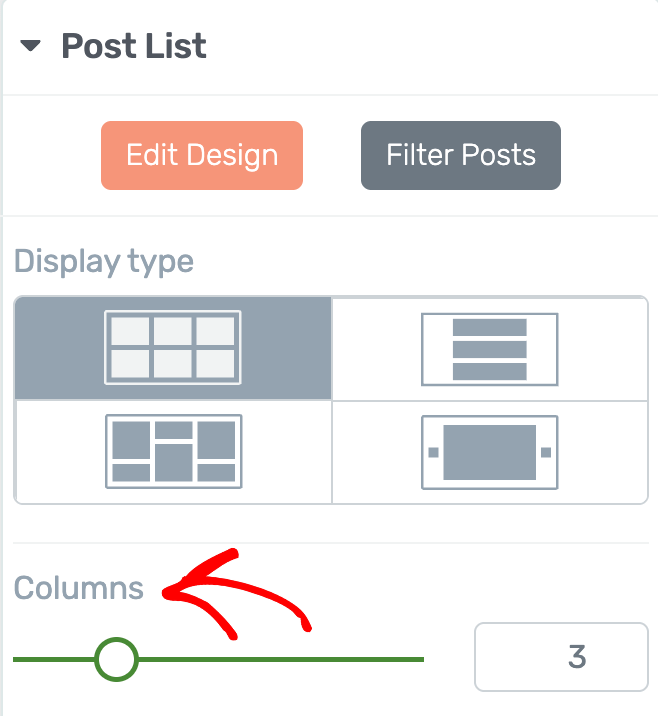
Setting the Number of Columns
The Columns setting lets you decide the number of columns you want the posts within the Featured Content List to be displayed.
Managing the Horizontal and Vertical Space in Featured Content List
As the name suggests, the Horizontal and Vertical Space options let you decide the spacing between the items in the Featured Content List.

The Horizontal Space option is seen and can be used only when you select the Grid or the Masonry display type for the Featured Content list.
The Vertical Space option is seen and can be used only when you select the Grid, Masonry, or List display type in the Featured Content list.
Setting the Number of Items
The Number of Items option allows you to define the number of items that should be displayed in the “Featured Content List” from the posts/pages or other types of content that you have selected for the list.
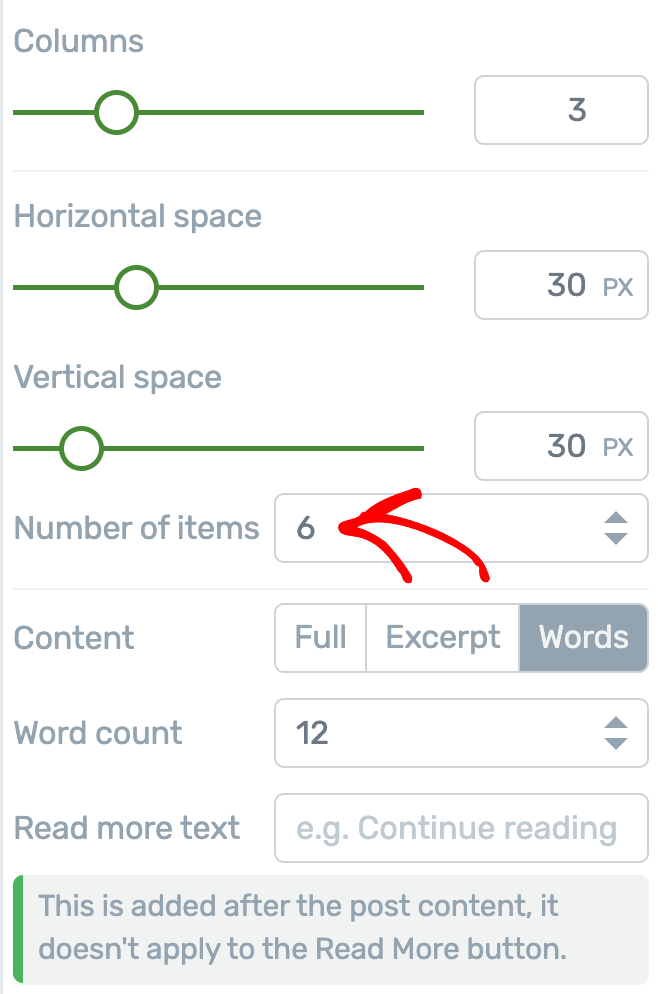
Deciding the Content to be Displayed
The Content option lets you choose how much of each post or page you want to show in the Featured Content List.
All you have to do is click the option you like best. Here are the choices:
- Full: Shows the entire post or page.
- Excerpt: Shows just a short summary. You can decide what the summary says in the WordPress editor using the “Excerpt” box for that post or page.
- Words: Lets you show a set number of words. After choosing this, you’ll see a “Word Count” box where you can pick how many words to display from each post or page.

Setting the Wordcount in the Featured Content Block
The Word count option will be seen and can be used only when you select Words in the Content option above.
This option lets you decide the number of words you want to display in a Featured Post item.

Adding a Read More Text
The Read More Text option lets you add a link at the end of each item in your Featured Content List. This is helpful if you are only showing part of a post or page, like an excerpt or a few words.
To use it, type the words you want (like “Read more” or “Continue reading”) into the Read More Text box.
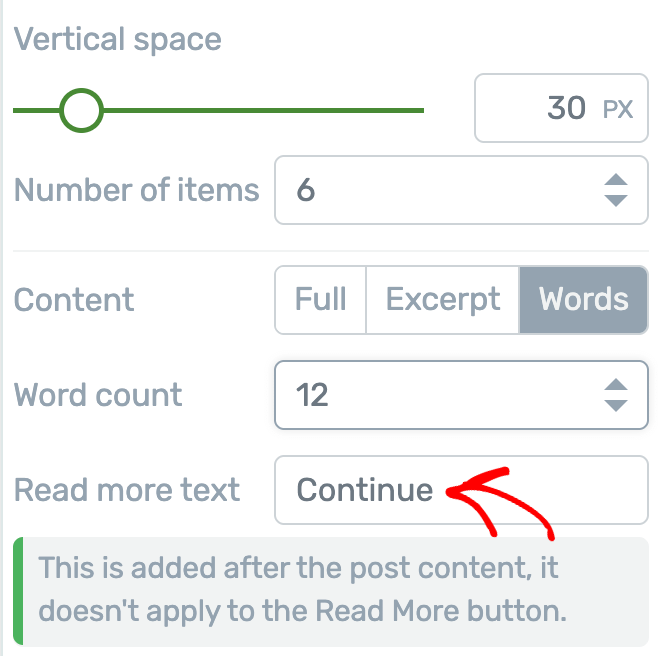
After you do this, this linked text will show up at the end of each featured item. When people click it, they’ll go straight to the full post or page.
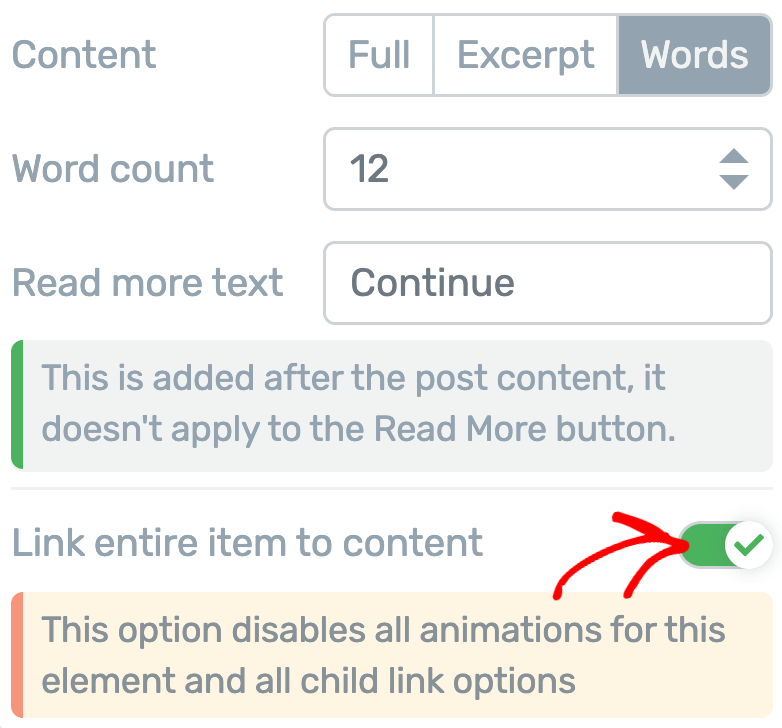
Linking the Entire Item to Content
The Link entire item to content option lets you make the whole item in the Featured Content List clickable. If you turn on the “Link entire item to content” option, each item will link to the post or page it shows.
This means visitors can click anywhere on the item – not just on the title, button, or image to go to the full post or page.
To turn this on, click the toggle button next to the option. The toggle button will turn green, showing that it’s active and every item is now a link to its content.
Other Settings of the Featured Content List Element
As mentioned above, when added the Featured Content List works like an element. Therefore, just like the other Thrive Architect elements, the Featured Content List element comes with settings that help manage its layout and positioning, background styling etc.
- Using Layout and Position Options in Thrive Architect
- Using the Background Style Option in Thrive Architect
- Using Borders and Corners Settings in Thrive Architect
- Adding Shadows to Thrive Architect Elements
- Using the Responsive Option in Thrive Architect
We’ve just seen how you can enable the Featured Content option and customize it on a post list element in Thrive Architect.
Next, do you want to let users filter the posts they see in the Post List element? The Post List Filter element in Thrive Architect will help you implement that.