Having trouble displaying your Thrive Apprentice lesson attachments on your website? With the “Lesson Resources” element, you can easily showcase attachments added to your Thrive Apprentice lessons directly on your posts, pages, or within Thrive Apprentice templates!
This element allows for seamless integration of your lesson resources throughout your website.
In this article, we’ll show you how you can add the Lesson Resources element to a page and use it further to display your Lesson assets there.
- Adding the Lesson Resources Element on Page
- Changing the Template of the Lesson Resources Element
- Using the Main Options of the Lesson Resources Element
- Grouped Styling in the Lesson Resources Element
- Other Options for the Lesson Resources Element
Adding the Lesson Resources Element on Page
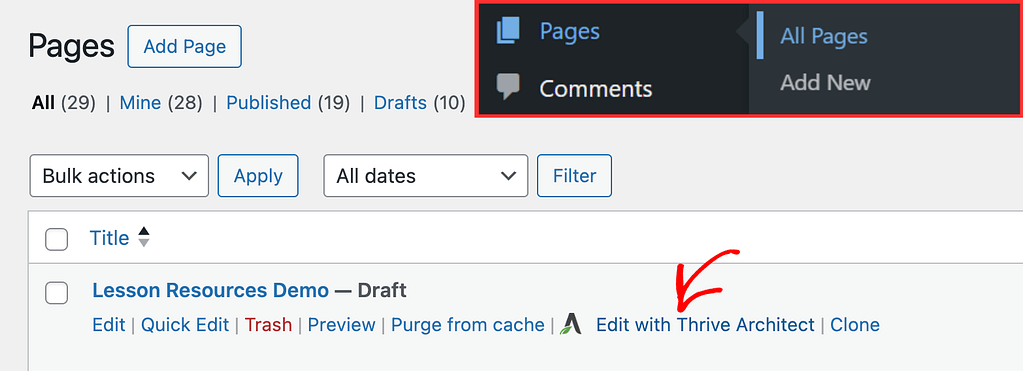
To begin, open your WordPress admin area, navigate to Pages >> All Pages, hover on the page you want to edit, and click on Edit with Thrive Architect.
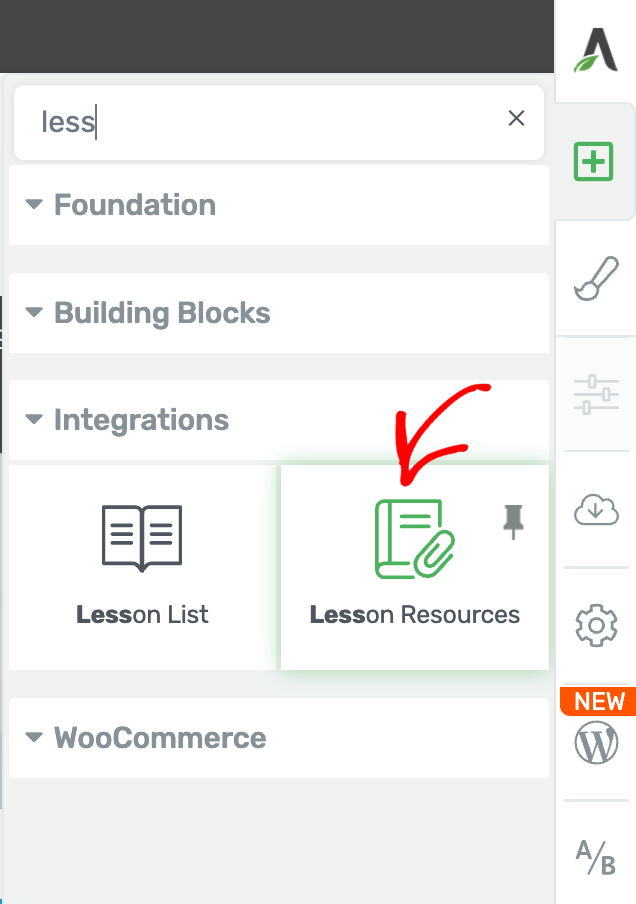
In the Thrive Architect editor, in the right panel, click the plus (+) icon.
Clicking the plus icon will display a list of Thrive Architect elements that you can use on page. In this list, search Lesson Resources and drag and drop it on the page.
When you drag and drop the Lesson Resources element on the page, you’ll see a dropdown that you click to select the course that contains the lesson.

Clicking on the dropdown will display the Thrive Apprentice courses on your website. To continue, select the course that contains the lesson.

After selecting the course, click on the next dropdown and select the lesson.

When you select the lesson in this dropdown, you’ll see the Lesson resources added on the page.
Changing the Template of the Lesson Resources Element
When you add the Lesson Resources to the page, it picks a default styling for this block.
Thrive Architect also offers a number of Lesson Resources templates that you can choose from and use.
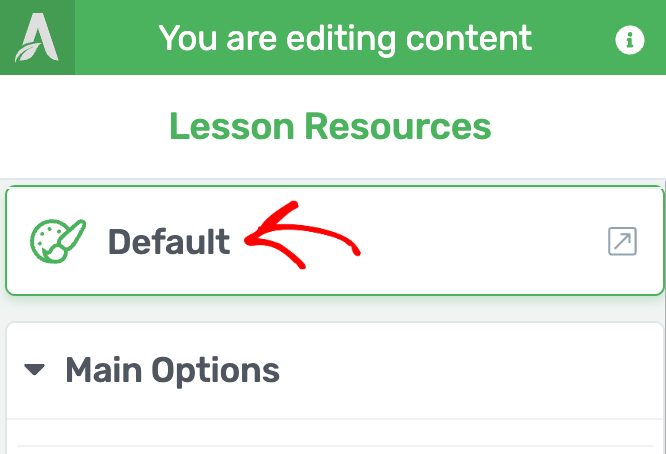
To change the Lesson Resources template, click on the Lesson Resources element on the page and see the left column options. In the left column options, click on Default.
When you click Default, it opens a popup where you select the template you want to apply to the Lesson Resources element and click the Replace Template button.

Clicking Replace Template will close the popup and you’ll see the new template applied to the Lesson Resources on page.
Using the Main Options of the Lesson Resources Element
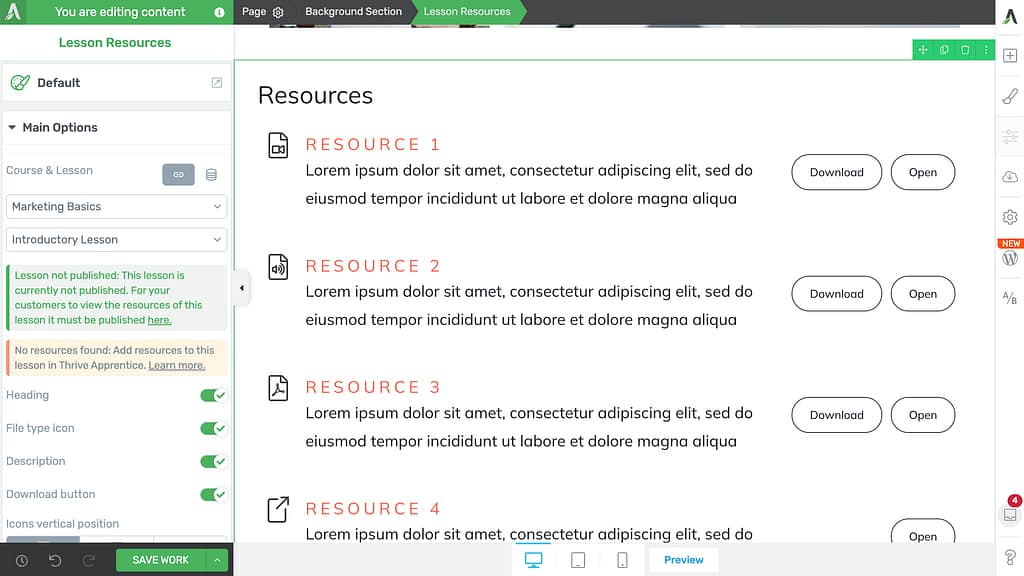
Like the other Thrive Architect elements, the Lesson Resources element also has some Main options that you can manage from the left column.
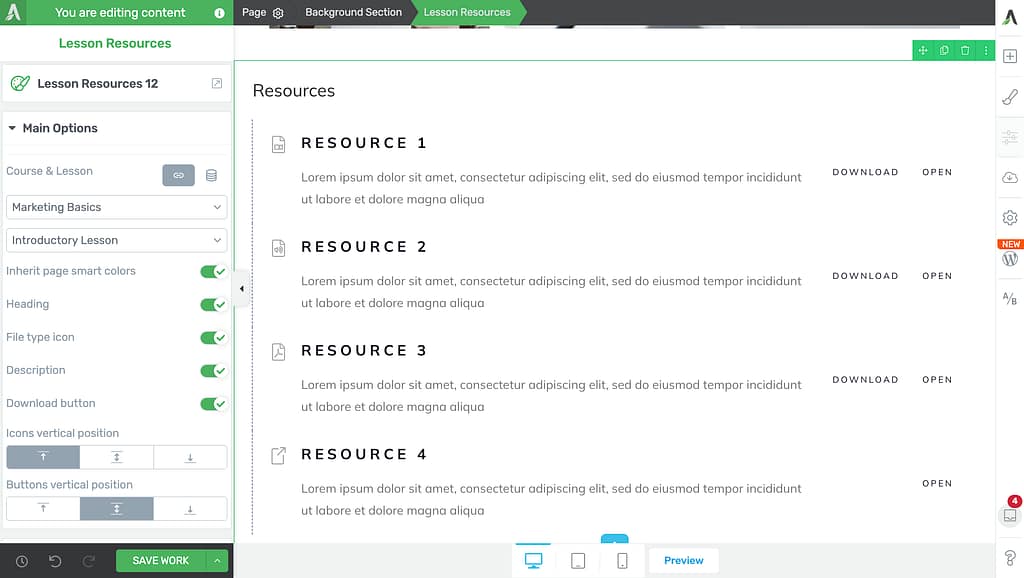
To access the Main Options, click on the Lesson Resources element on the page and see them open in the left column.
Under the Lesson Resources element’s Main Options, you can.
- Select the Course and Lesson
- Inherit Page Smart Colors
- Show or Hide Heading
- Show or Hide File Type Icon
- Show or Hide the Description
- Show or Hide the Download Button
- Manage the Icon’s Vertical Position
- Manage the Button’s Vertical Position
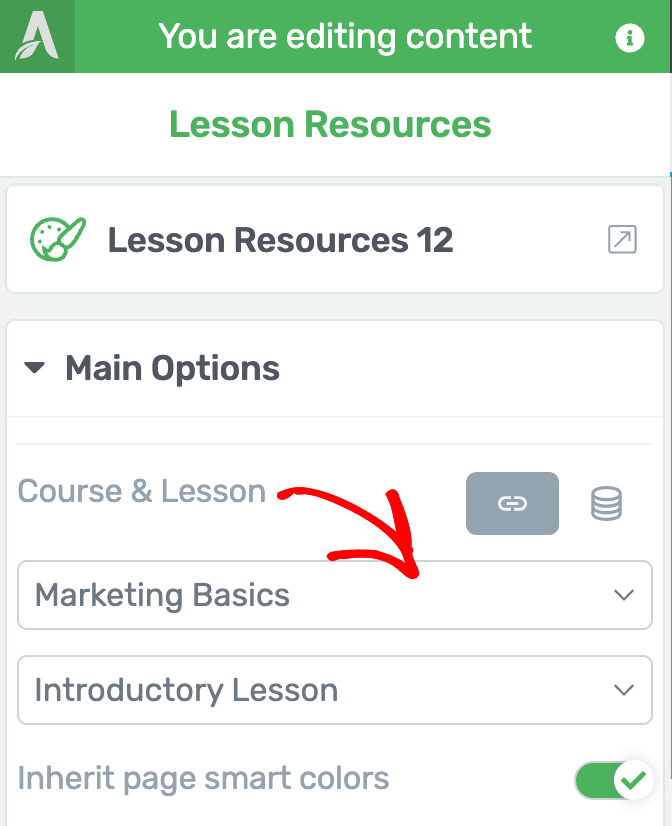
Select the Course and Lesson
You are already asked to select the course and lesson while adding the Lesson Resources element to the page. This option under the Main Options lets you change the course and lesson if you want to do so in the future.
To select the course and lesson, open the Main Options, select Static beside the Select course & Lesson option and select the course and lesson in the respective dropdown below.
Inherit Page Smart Colors
The Inherit page smart colors option lets you decide whether you want the Lesson Resources element to inherit the colors from the page.
To enable this, click on the toggle button beside this option under Main Options.

If you turn this option off, you’ll see a color block which when clicked will open a color picker that you can select the color from.
Show or Hide Heading
The Heading option under the Main Options of the Lesson Resources element will let you decide whether you want to display the element heading or not.
To do so, use the toggle button beside the option.
Show or Hide File Type Icon
This setting under the Main Options of the Lesson Resources element lets you decide whether you want to show the file type icon beside each lesson resource.
To do so, use the toggle button beside the File type icon option.
Show or Hide the Description
The Description setting under the Lesson Resources element’s Main Options lets you decide whether you want to show or hide the Resource description on the page.
To do so, use the toggle button beside the Description option.
Show or Hide the Download Button
Like the other options seen above, you can use the Download button setting to decide whether you want to show or hide the Download button alongside the lesson resources on the page.
To do so, use the toggle button beside the option under Main Options.

Manage the Icon’s Vertical Position
The Icon’s vertical position setting allows you to manage the positioning of the icons seen in the lesson resources element.
To manage the icon positioning, click on the alignment you want to use.
Manage the Button’s Vertical Position
Like the Icon positioning, the Button vertical position setting lets you manage the vertical alignment of the button beside the lesson resources.
To manage the button positioning, click on the alignment you want to use.
Grouped Styling in the Lesson Resources Element
The Lesson Resources element displays the list of lesson resources you’ve added to the selected lesson.
Each of these Lesson Resources items contain different elements like Text, Icon, Button, etc. These elements can be edited just like any other Thrive Architect element. Here are a few articles you can refer to.
- Using the Text Element in Thrive Architect
- Using the Button Element in Thrive Architect
- Using the Icon Element in Thrive Architect
Grouped Styling in Lesson Resources
When you select an element in a Lesson Resources item, you’ll see a section that shows the element you are currently styling. This enables you to edit those elements present in each Lesson Resources item. This is referred to as Grouped styling.
This means that editing an element in a single Lesson Resource will be applied to that element in another item too.
Other Options for the Lesson Resources Element
Just like the other Thrive Architect elements, the Lesson Resources element comes with additional options where you can manage the layout and positioning, borders and corners, background styling, shadows, etc. of them.
To learn more about these options, read the documents listed below.
- Using Layout and Position Options in Thrive Architect
- Using the Background Style Option in Thrive Architect
- Using Borders and Corners Settings in Thrive Architect
- Adding Shadows to Thrive Architect Elements
- Using the Responsive Option in Thrive Architect
- Using HTML Attributes in Thrive Architect
We’ve just seen how you can add and customize a Lesson Resources element on a page using Thrive Architect. As mentioned, you can use this element on any page, post or Thrive Apprentice template on your website.
Next, do you want to use Thrive Apprentice elements on a page built using Thrive Architect? Here’s our document that’ll help you with it.