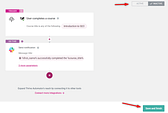
In Thrive Architect, you can now use the “Redirect after successful logout” option for deciding were the users should be redirected on log out:
This feature can be applied to buttons, hyperlinks, menu items, content boxes or any other large element that you can apply a link to.
It will allow you to choose where the visitors of you website will be redirected when they decide to log out.
I will be using a “Custom Menu” for the purpose of showcasing this option, but keep in mind that you can use it on the above mentioned elements as well.
So one of the most common uses cases in which this option would come in handy is for menu items like this one:
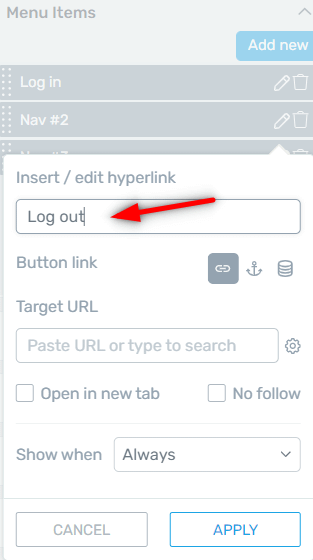
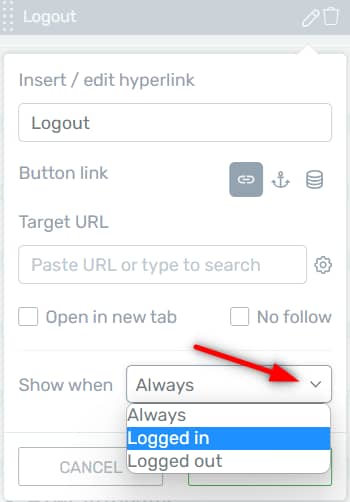
First of all, you can set the “Logout” menu item to only be displayed when the user is logged in:
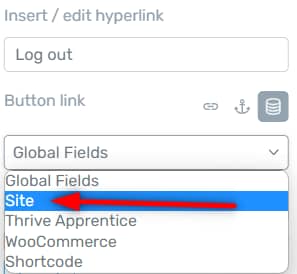
And then apply a “Dynamic link” to it:
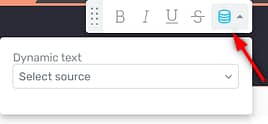
Select “Site” in the first drop-down:
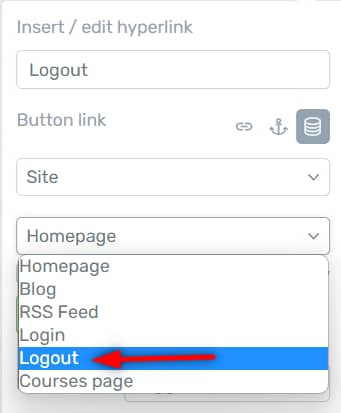
And then pick the “Logout” option from the following drop-down:
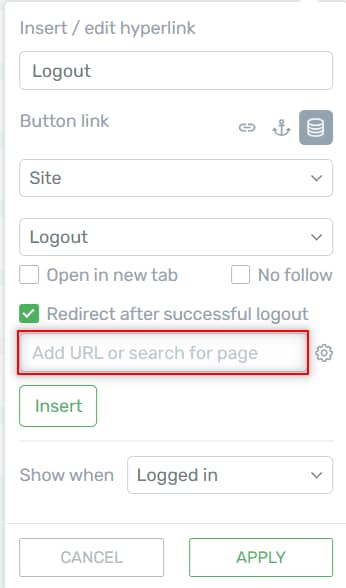
As soon as you do that, you will see this “Redirect after successful logout” checkbox:
Select the option and proceed with adding your redirect link:
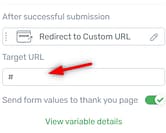
Here, you can search for a page from your site:

You can also type in a direct URL. However, keep in mind that it will not work for pages that are not on that domain.
So if you are adding an external link, you will get this error, letting you know that only the internal links are allowed for the redirect option:
Now whenever your website users will click on this menu item, they will be logged out of your website and redirected to the page you set up here.
I hope this tutorial was useful to you. Our knowledge base is one click away if you want to learn more about our products.