Do you want to improve navigation and make it easier for visitors to browse through your posts? The ‘Pagination Type’ option in Thrive Architect allows you to customize how your post lists are divided into pages, creating a smoother and more organized browsing experience.
In this article, we’ll show you how you can use the Pagination Type option to customize a Post List element using Thrive Architect.
- Enabling the Pagination Type Option
- Understanding the Pagination Element
- The Number Pagination Type
- The Load More Pagination Type
- Other Settings of the Pagination Element
Enabling the Pagination Type Option
The Pagination Type option is a setting that’s available when you use the Page List element in Thrive Architect.
To enable pagination to a post list, please ensure that you’ve added the Post List element on the page.
When on the page, click the Post List element in the editor to open its settings in the left column.
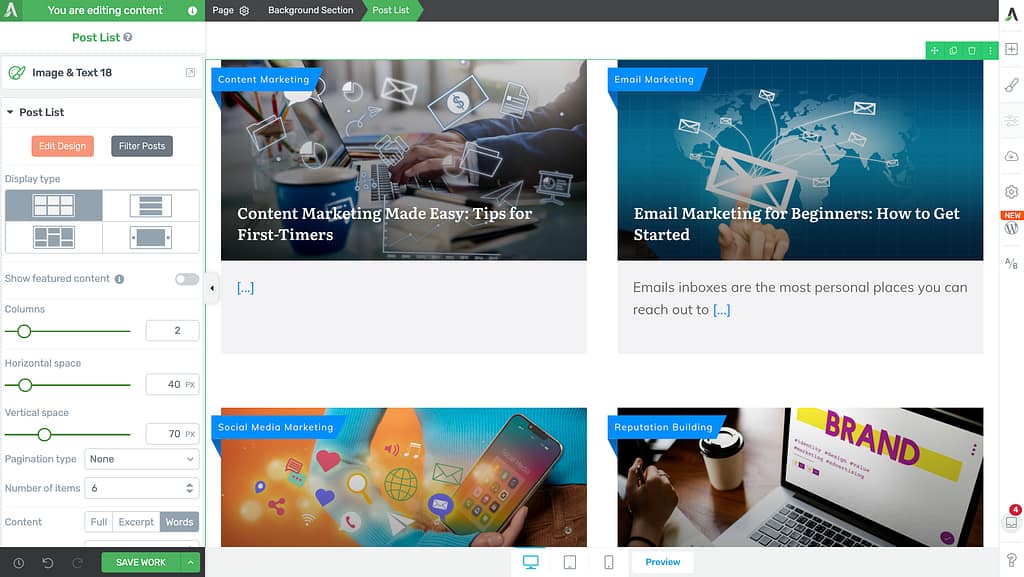
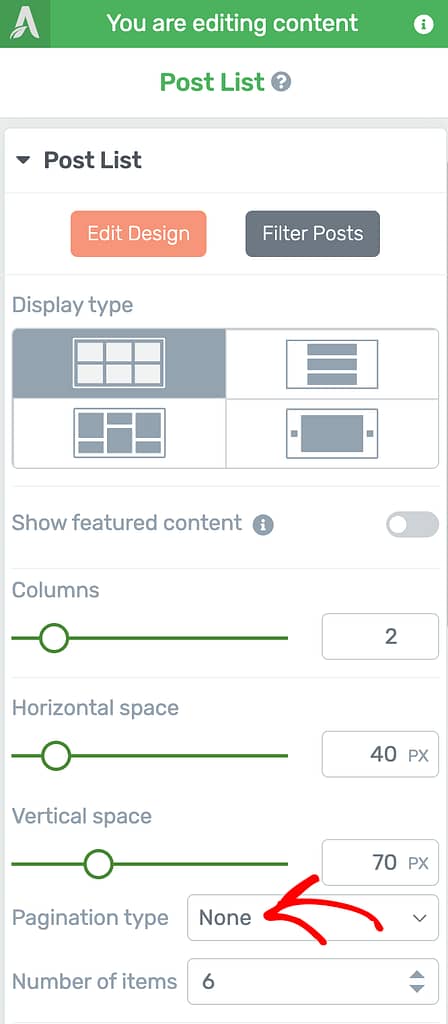
In the left column options, under Post List, scroll down to Pagination type and click the dropdown beside it.
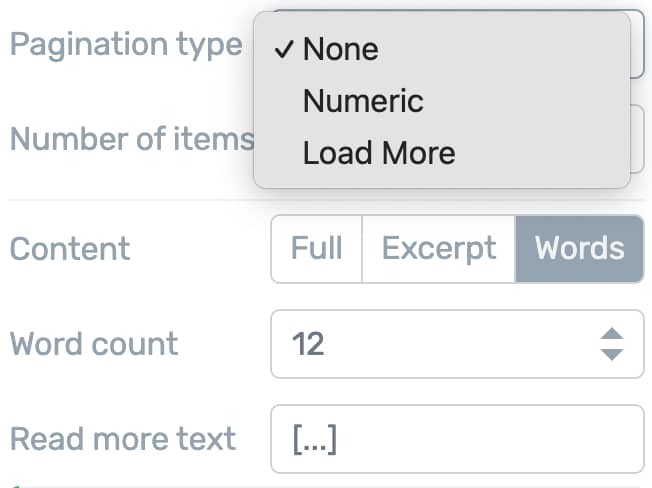
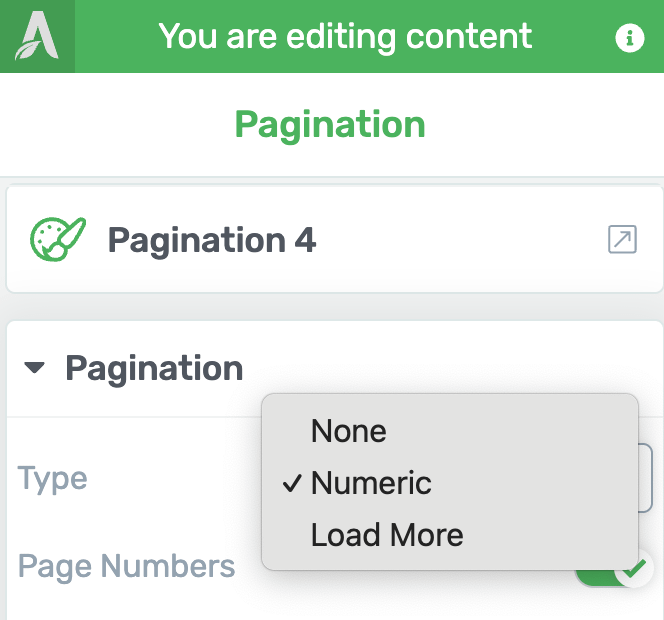
Clicking on the dropdown will open the available pagination types – Numeric or Load More.
- Numeric Pagination type: Adds numbers to help navigate through the post pages.
- Load More Pagination type: Add a load more link to load more posts under the page list.
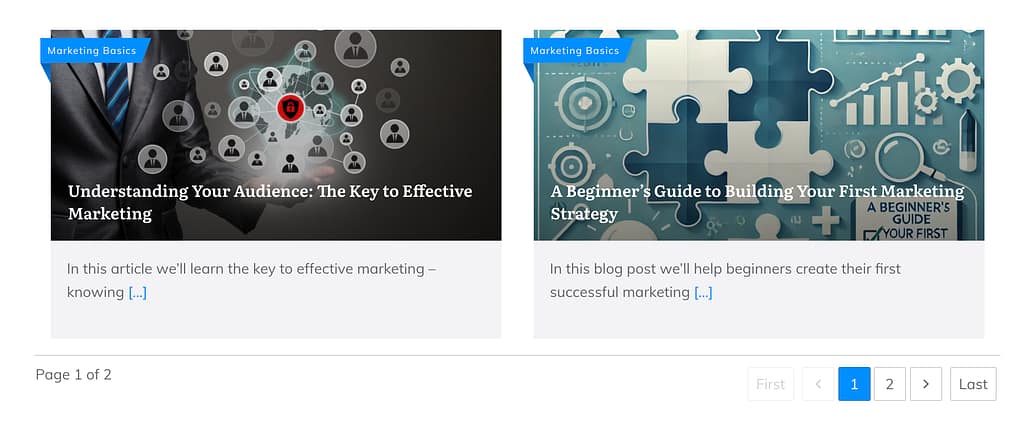
When you select the Pagination type in the dropdown, you’ll see the pagination enabled to the post list.
Understanding the Pagination Element
When you turn on Pagination, it will appear as part of your page under the Post List element. You can click on the Pagination section to see and change its settings on the left side, just like you do with other elements.
However, Pagination is linked to the Post List element, so it can’t exist by itself. If you remove the Post List, the Pagination will also be removed automatically. You can only have Pagination on your page if you also have a Post List.
The Number Pagination Type
The Number pagination type is enabled when you select Numeric under the dropdown beside the Pagination type setting.
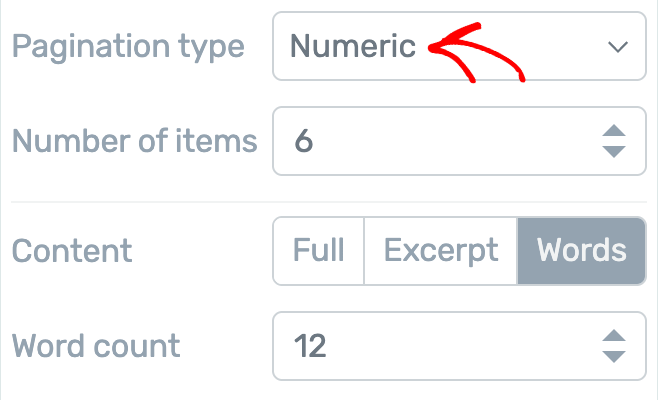
When you select the number pagination type, you’ll see the pagination added under the post list element on the page.
Selecting the Numeric Pagination type will give you more options where you can change the template of the pagination, decide whether you want to add page numbers, and other styling options.
To use these options, first click on the Pagination element to open its settings in the left column.
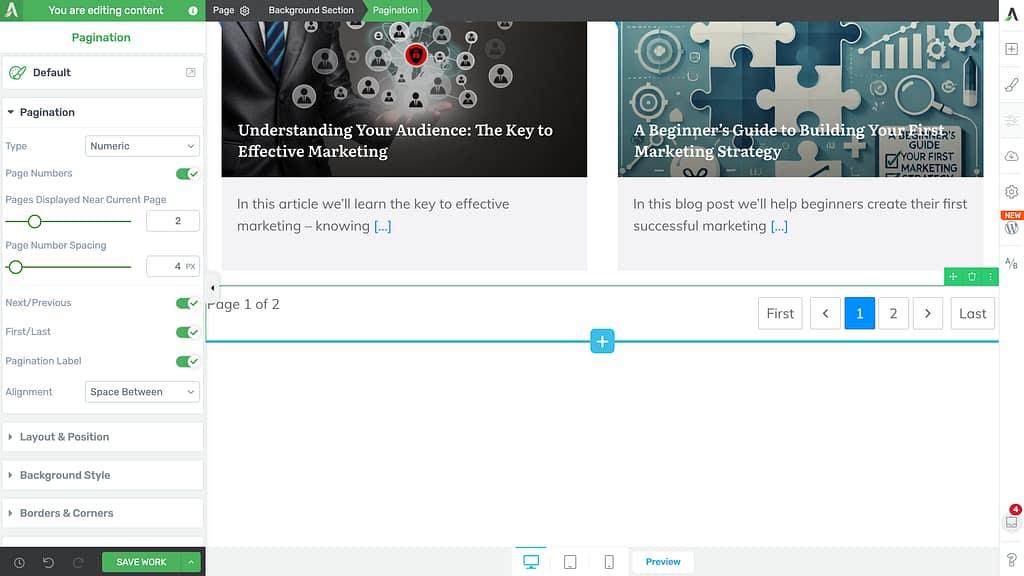
In the left column options, you’ll see a number of settings that will help you with the following.
- Changing the Template of the Numeric Pagination Type
- Changing the Pagination Type
- Hiding or Displaying Page Numbers
- Deciding the Pages Displayed Near Current Page
- Managing Page Number Spacing
- Hiding or Displaying the Next and Previous Buttons
- Hiding or Displaying the First and Last Buttons
- Hiding or Displaying the Pagination Label
- Managing the Alignment
Changing the Template of the Numeric Pagination Type
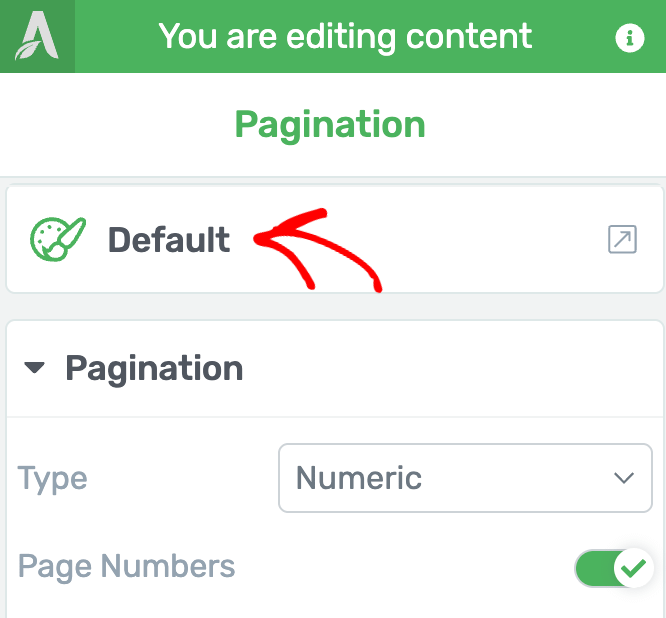
When you add pagination on page, it comes with a default template. To change the template of the pagination element, click on it to open its settings in the left column.
In the left column, first click on the Pagination template.
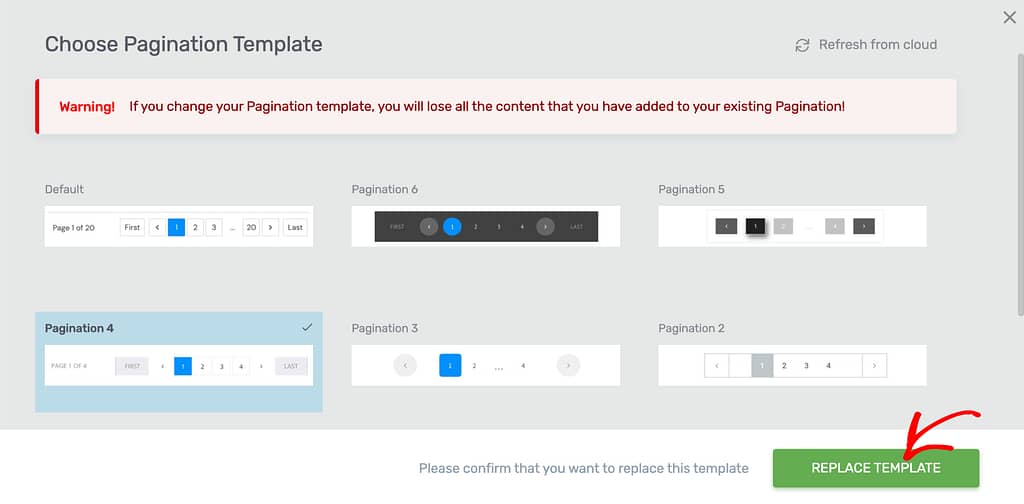
When you click on the pagination template, you’ll see a popup where you select the template you want to apply and click Replace Template.
Changing the Pagination Type
When you’ve selected the Numeric Pagination type and want to switch to the other type, you can still use the Pagination type field to switch.
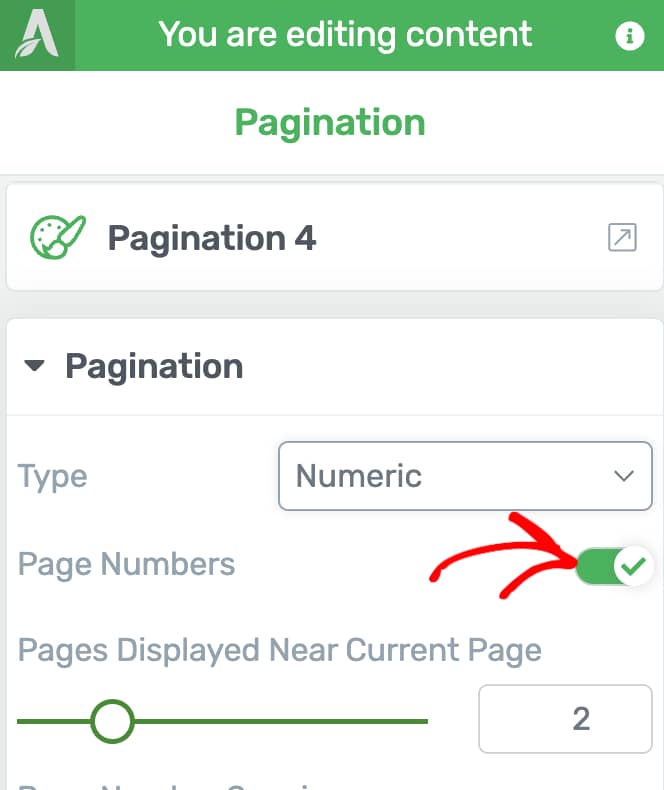
Hiding or Displaying Page Numbers
The Page Numbers setting lets you decide whether you want to hide or display page numbers.
To hide or display the page numbers, use the toggle button beside it.
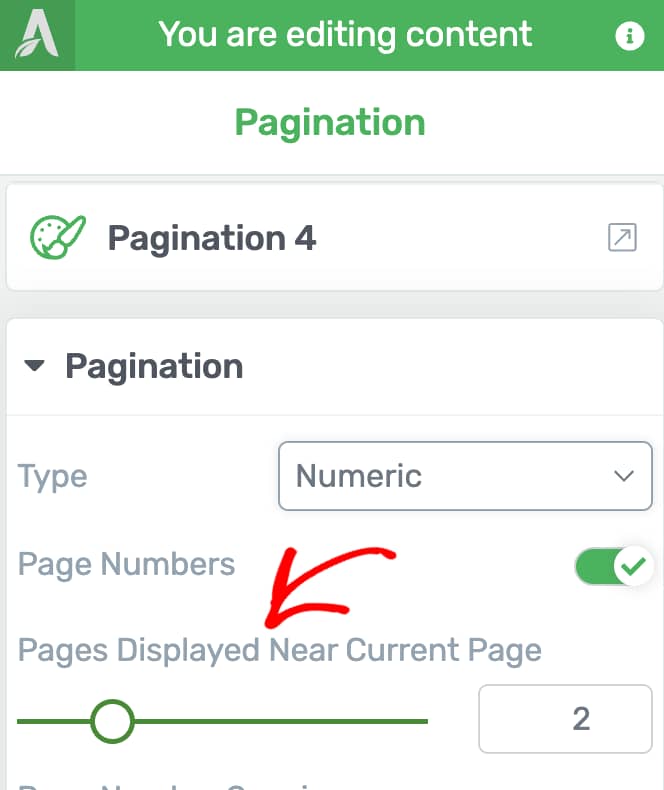
Deciding the Number of Pages Displayed Near Current Page
The Pages Displayed Near Current Page setting lets you decide the number of pages that are displayed next to the current page. The current page number will be highlighted, and the option allows you to choose how many page numbers will be displayed next to it.
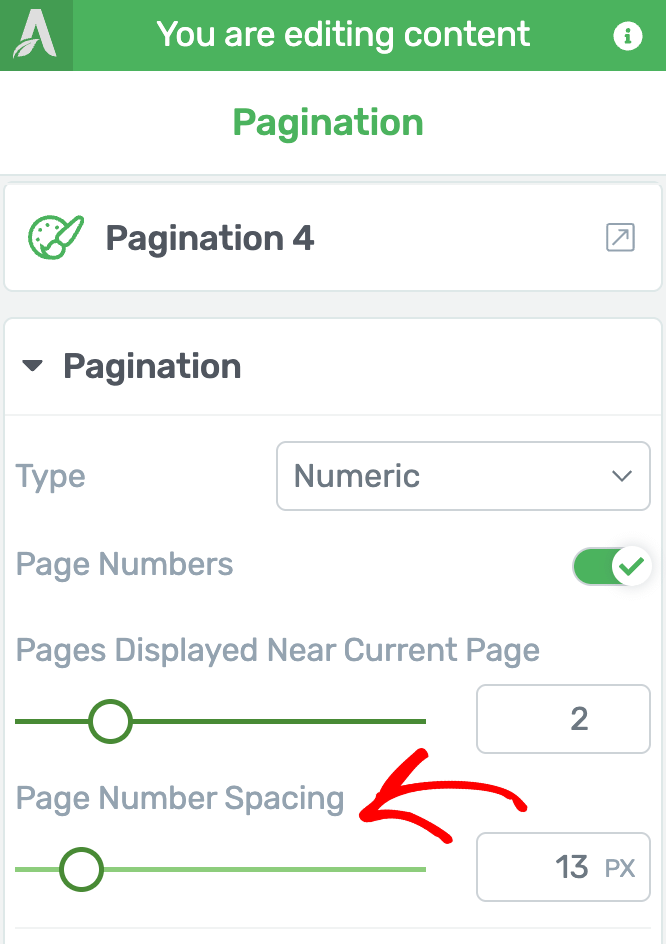
Managing Page Number Spacing
Once you’ve set how many pages to show, you can adjust the space between them. To do this move the slider left or right, or by type a number in the box next to the slider.
Hiding or Displaying the Next and Previous Buttons
The Next and Previous buttons in the pagination make it easier for users to navigate through the post list. The Next/Previous option lets you decide whether you want to hide or display the next and previous buttons in the pagination.
Hiding or Displaying the First and Last Buttons
The First and Last buttons in the pagination make it easier for users to navigate through the post list. The First/Last option lets you decide whether you want to hide or display the first and last buttons in the pagination.
Hiding or Displaying the Pagination Label
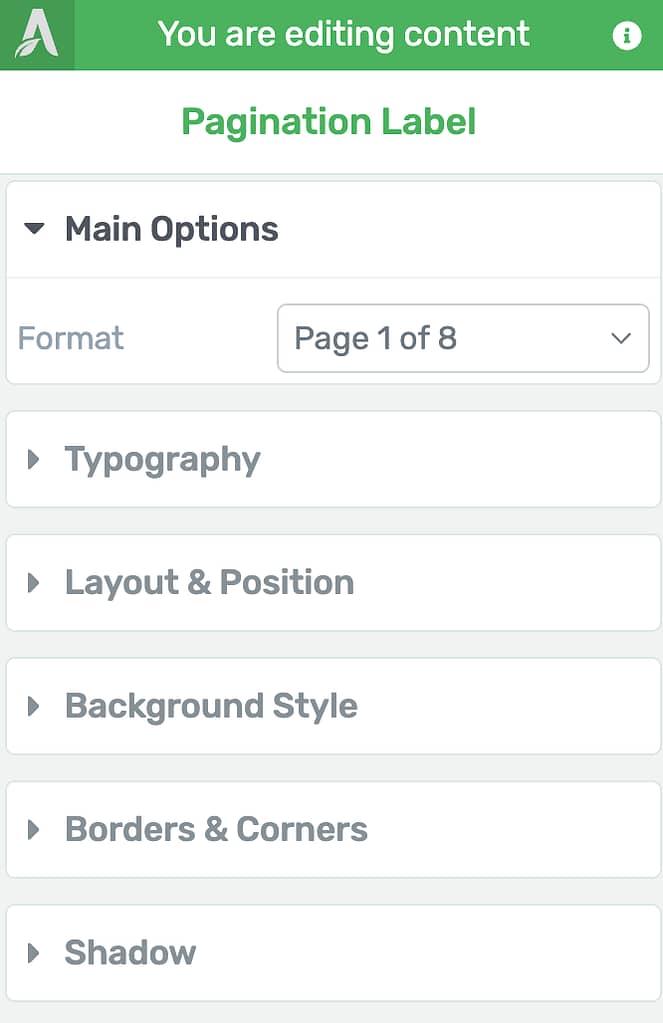
A pagination label is the text that accompanies the navigation button to inform users where they are among all the pages. The Pagination Label option allows you to decide whether you want to show or hide the label.

When you add the pagination label, you can further select the format and edit it using the left column options that appear when you click on it.
Managing the Alignment
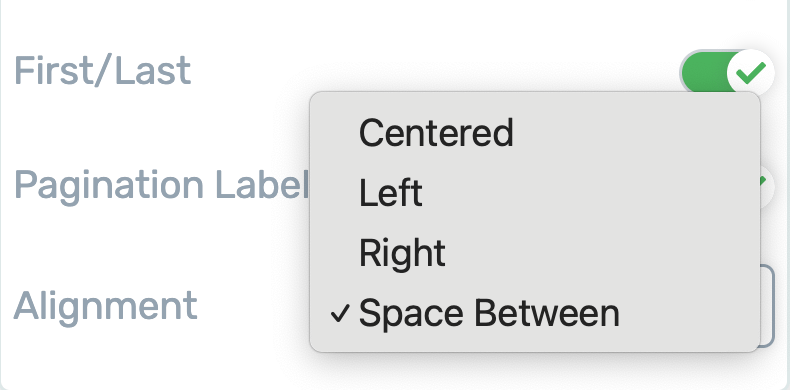
The Alignment setting lets you decide where you want the pagination to be displayed. You can choose one among four alignment options for the Pagination element.
- Centered: Center aligns the pagination element. If selected, you’ll see the navigation buttons and the pagination label in the center.
- Left: Left aligns the pagination element. If selected, you’ll see the navigation buttons and the pagination label on the left.
- Right: Right aligns the pagination element. If selected, you’ll see the navigation buttons and the pagination label on the right.
- Space Between: This option adds a space in between the pagination label and the navigation buttons – which means the pagination label will be placed on the left and the navigation buttons on the right. If you’ve disabled the pagination label, the navigation buttons will be moved to the left.
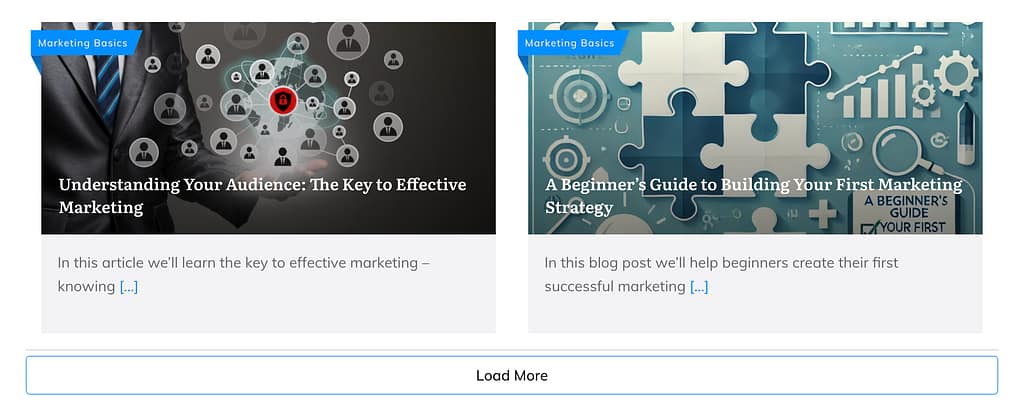
The Load More Pagination Type
To enable a Load More Pagination type, click on the Post List element on the page, to open its settings in the left column.
In the left column, under the Post List options, select the Pagination type as Load More.

Selecting the Load More Pagination type will add a Load More button below the post list on your page.
Other Settings of the Pagination Element
As mentioned above, when added the Pagination works like an element. Therefore, just like the other Thrive Architect elements, the Pagination element comes with settings that help manage its layout and positioning, background styling etc.
- Using Layout and Position Options in Thrive Architect
- Using the Background Style Option in Thrive Architect
- Using Borders and Corners Settings in Thrive Architect
- Adding Shadows to Thrive Architect Elements
- Using the Responsive Option in Thrive Architect
We’ve just seen how you can enable pagination and customize it on a post list element in Thrive Architect.
Next, do you want to let users filter the posts they see in the Post List element? The Post List Filter element in Thrive Architect will help you implement that.