In Thrive Architect (and Thrive Theme Builder), you are able to add a “Post List Filter” element, which will give the users/visitors of your site the possibility to filter the items they are seeing from the “Post List” element:

Here’s how to add and use this element:
Add the Element
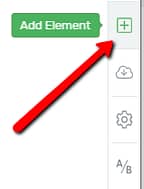
In your Thrive Architect editor, click on the plus sign from the right sidebar. This is where you can add a new element from:
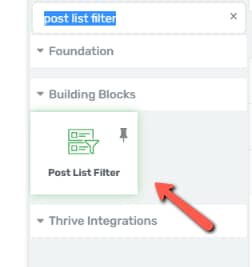
Look for the “Post List Filter” element or search for it in the search bar. Drag and drop it on your page wherever you desire:
You will now notice that you have all the available options that you can apply to the element – in the left sidebar:
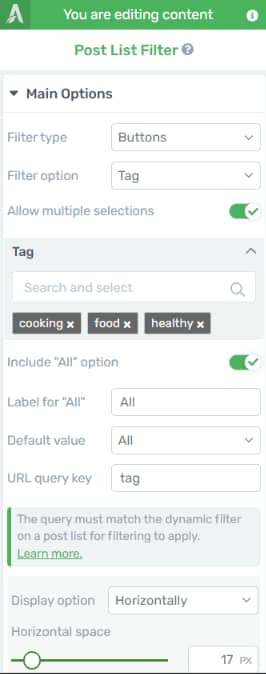
Under the “Main Options” section of the left sidebar, you will be able to find some ways to quickly customize your element.
Main Options
Filter Type
The first option lets you choose which field type will be used in this element:
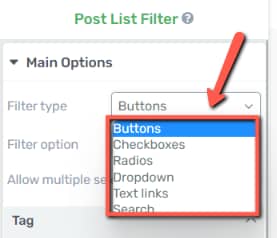
You can choose between:
- Buttons:

- Checkboxes:

- Radio buttons:

- Dropdown:

- Text links:

- Search:

Filter Option
The “Filter Option” section is where you can decide the criteria used by your users to filter the posts:

The “Post List Filter” can show items of the “Post List” element based on the tags, categories or authors, or any other custom post types you might have created.
Allow multiple selections
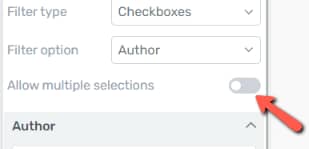
The “Allow multiple selections” option can be enabled or disabled, depending on whether you want to let users or visitors stack up the tags/categories/authors so that the results will show items from all selected criteria.
If you want the users or visitors to only be able to choose one filtering item at a time, make sure this toggle is disabled:
Adding/removing items
From the next section, you can add or remove items to be shown in your element:

You can remove items from the element either by unchecking them from the list or by clicking on the “x” sign next to each one:

Include “All” option
Next, you can choose whether you want to have an “All” option available in the “Post List Filter” element:

Label for “All”
If you decide to keep the “All” option available, you can change its name/label, and that can be done from this field:

Default value
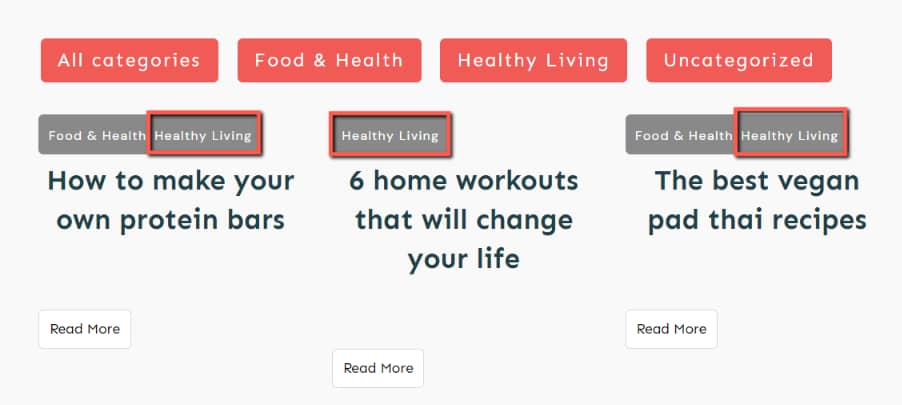
A default value can be chosen, if you want the visitors/users to see the items from a certain category/tag/author. For example, if I choose the “Healthy Living” category, when someone accesses the page/post, the “Post List” element will only show the posts from the “Healthy Living” category:
Based on the chosen filter option, the relevant items will be available as a choice for the default value:
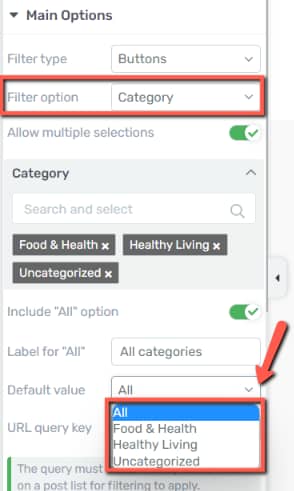
For example, if the chosen filtering option is “Categories”, the “Default value” dropdown will show a list of all the categories. Moreover, if you want all the posts to be shown, you can leave “All” as the default value.
URL query key
The URL query key will have a default value, the same as the taxonomy chosen in the “Filter options” (‘category’, for example).
However, you can change it, if you want. This will come in handy if you are using custom taxonomies here, for example.
If that’s the case, you will have to ensure that the key has also been added to the “Post List” element options.
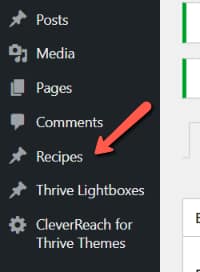
For example, let’s say I want to be able to filter my posts by “Recipes”. The first thing I need to do is add the custom taxonomy (using a plugin like “Custom Post Type UI):
Next, I will rename the URL query key from this field of the “Post List Filter” element:
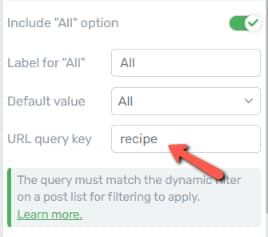
However, there is one more important step that needs to be taken here, which is to make sure that the “Post List” element itself will recognize the custom taxonomy. For that, select the “Post List” element from the editor:
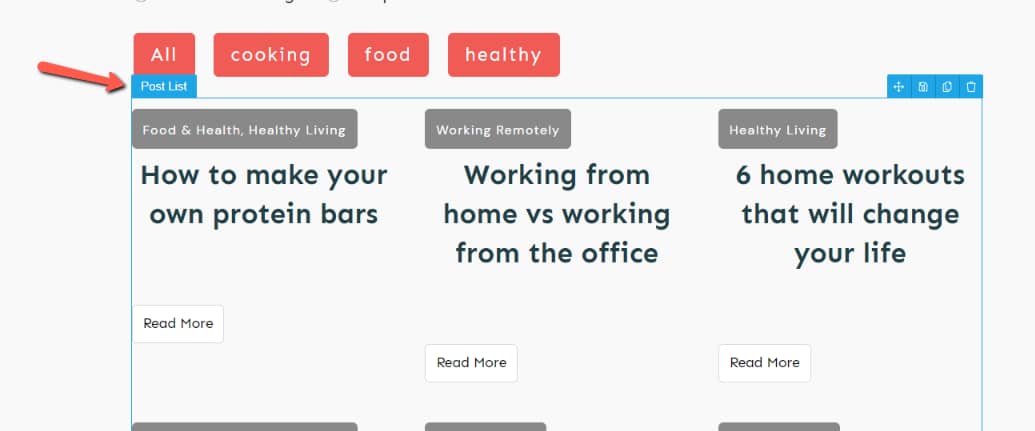
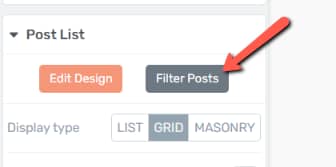
Its options will appear in the left sidebar. Click on “Filter Posts”:
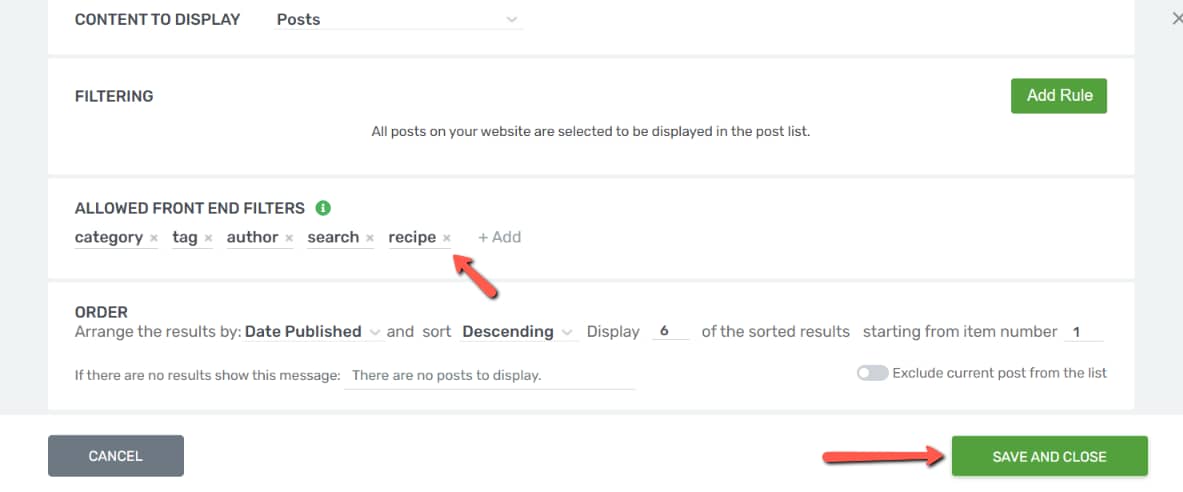
The custom taxonomy term needs to appear in this list:

If it’s not already there (only the default items will appear, unless you manually add them, just as we’re doing now), go ahead and click on “+Add”. All of the taxonomy items that are not already added will appear here, as a dropdown, and you can add them to the “Allowed front end filters” list:

Once you’ve made sure your item is on this list, save everything.
As a result, when someone filters my posts using the “Post List Filter” element, the URL will look like this:

Display Option
You can choose to display the element either horizontally, or vertically:
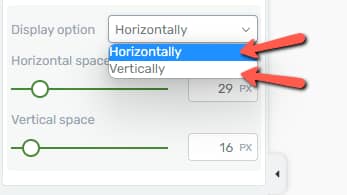
You’re also able to change the horizontal/vertical space. This can be adjusted using the two sliders, or by entering a numerical value in the fields next to the sliders.
If you choose to display the element items in a horizontal manner, you can adjust both the horizontal space, as well as the vertical space:

|
Note: The “Vertical space” slider will make sense when your element will expand over more than one row so that you can adjust the vertical distance between the rows. |
Whereas, if you display it vertically, only the “Vertical space” slider will remain available:

|
Note: If you choose the “Buttons” filters and decide to display them vertically, the buttons will automatically become full width: 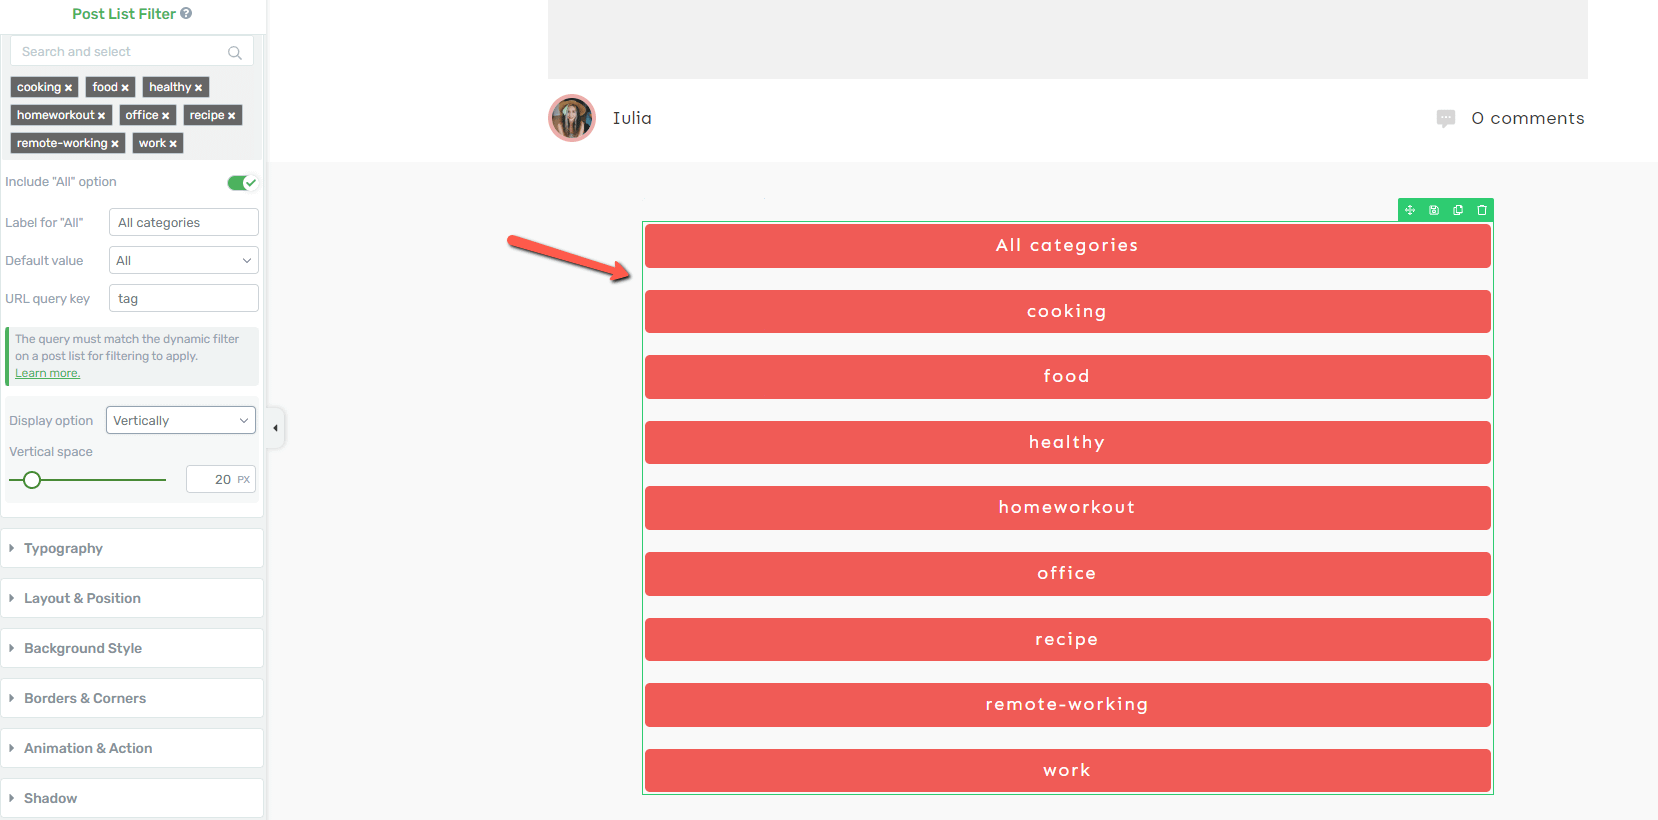 This will come in handy in situations such as adding the element to your sidebar, for example. However, if you want the buttons to not be at full width, you can quickly access the “Layout & Position” section of the left sidebar and go for one of these alignment options: 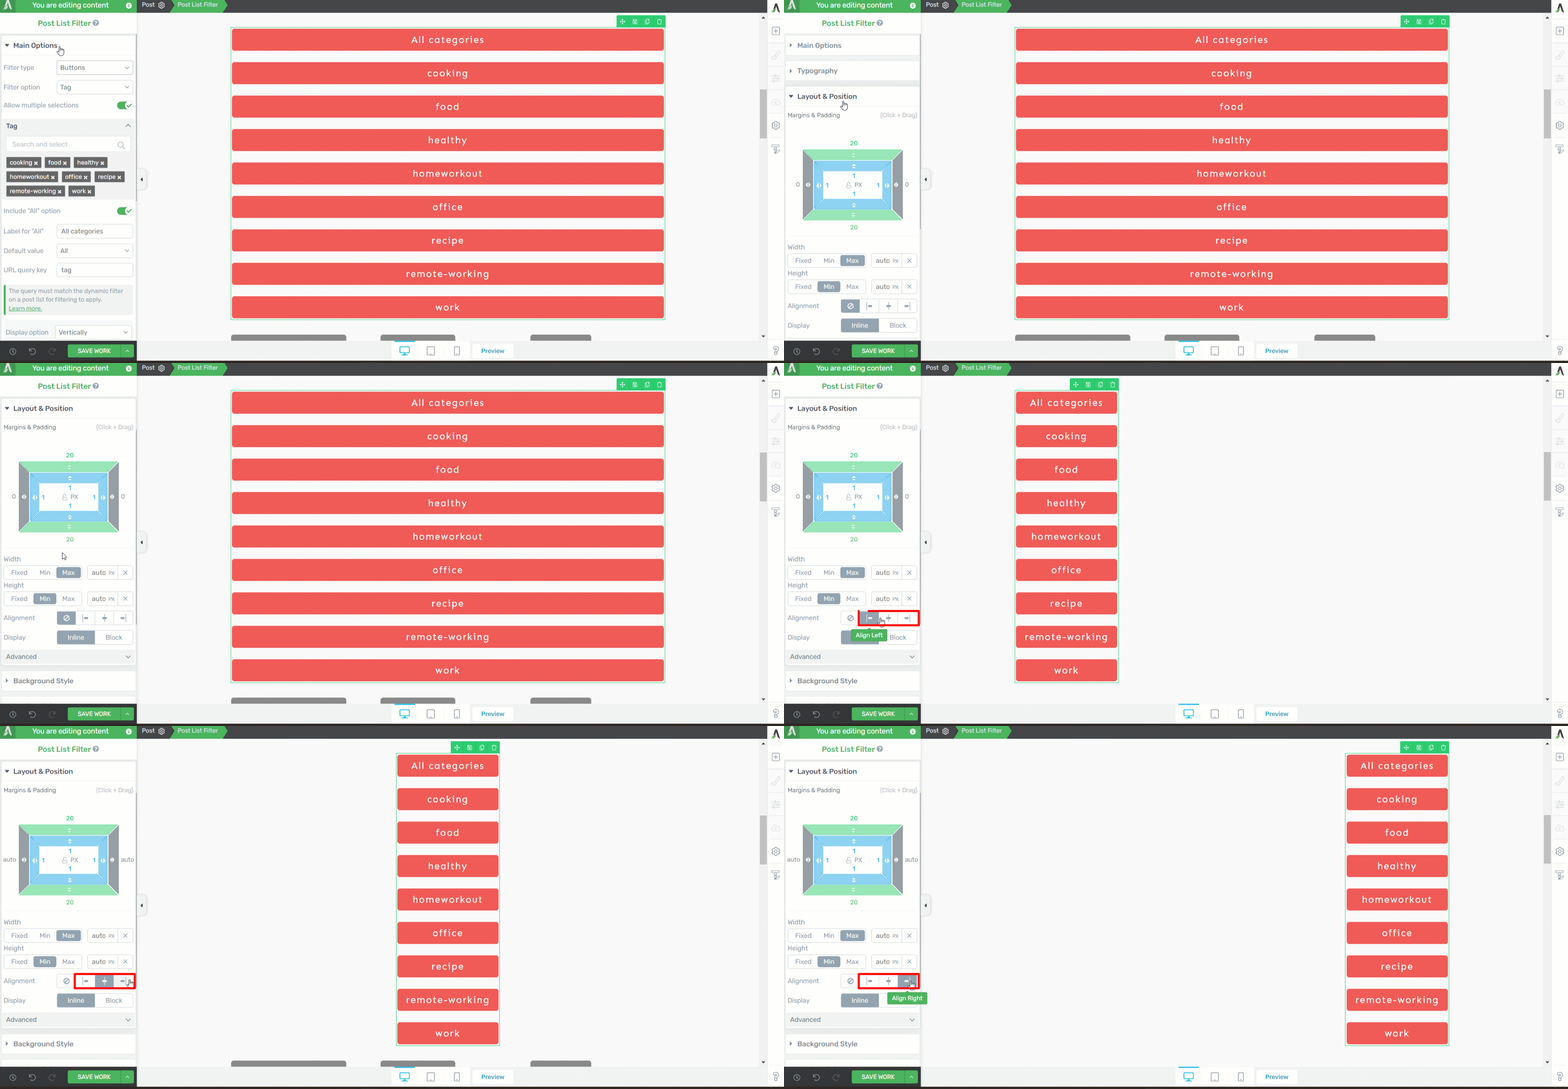 As you can see, center/right/left aligning the element will change its full-width attribute. |
These are the main options that can be used to customize the element fully. Besides these, found under the “Main Options” tab of the left sidebar, you also have some other general options, such as the “Typography” ones, the “Layout&Position” options, etc.
For all of these, we have created separate articles, and you can find them here:
- Typography
- Layout & Position
- Background Style
- Borders & Corners
- Animation & Action
- Shadow
- Responsive
- HTML Attributes
Customize each item of the “Post List Filter” element
Besides customizing the element as a whole, using its left sidebar settings, you can also edit each item (individually or using group styling).
Depending on the filter type (buttons, checkboxes, etc.), you are able to edit the “Post List Filter” items in their normal, hover or active states:
- “Button” filter type options:
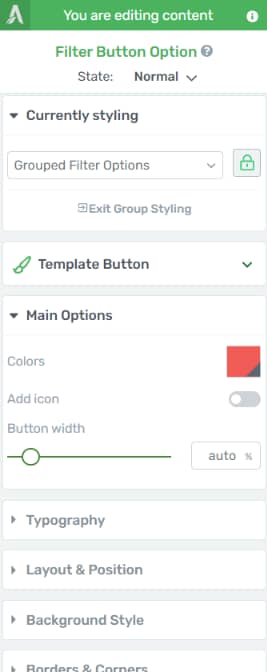
More details about the options of a “Button” element can be found here.
- “Checkbox” filter type options:
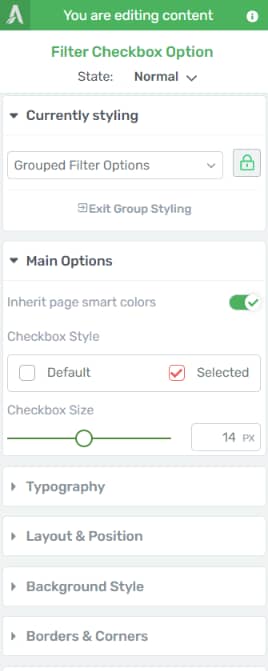
More details about the “Checkbox” filter type options can be found here.
- “Radio” filter type options:
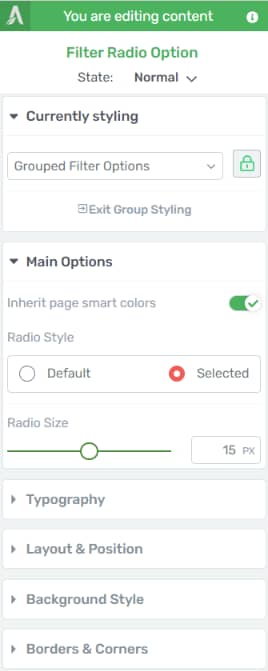
More details about the “Radio” filter type options can be found here.
- “Dropdown” filter type options:
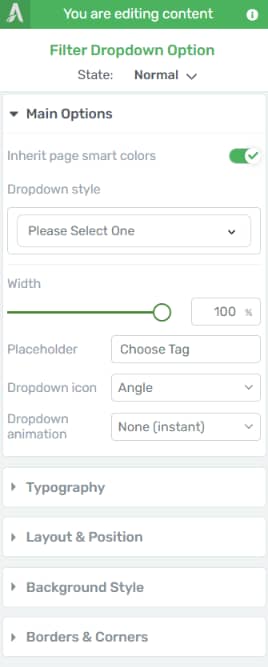
More details about the “Dropdown” filter type options can be found here.
- “Text links” filter type options:
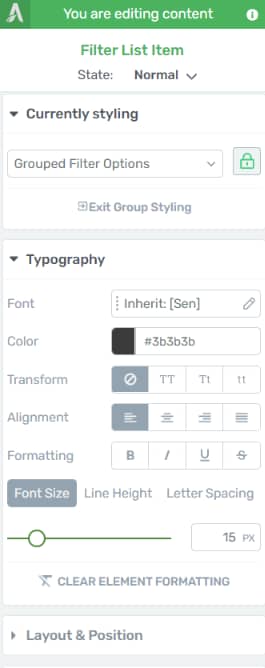
More details about the “Text links” filter type options can be found here and here.
- “Search” filter type options:
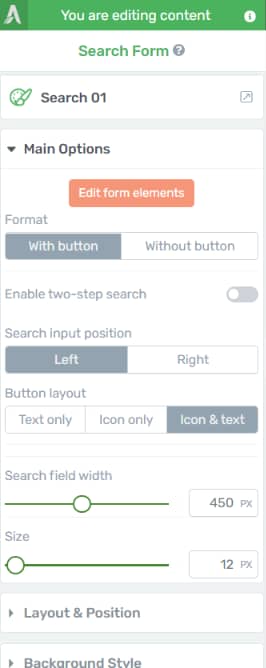
More details about the “Search” element options can be found here.
To edit the items inside the “Post List Filter” element, simply click on one of them and the available options will appear in the left sidebar:

When you want to go back to the options of the “Post List Filter” element, simply click on it in the breadcrumbs:

Edit the state of each item
Lastly, let’s take a look at how we can edit the normal, hover or active state of the items inside the “Post List Filter” element.
We will use the “Button” filter type as an example. Firstly, select one of the items:
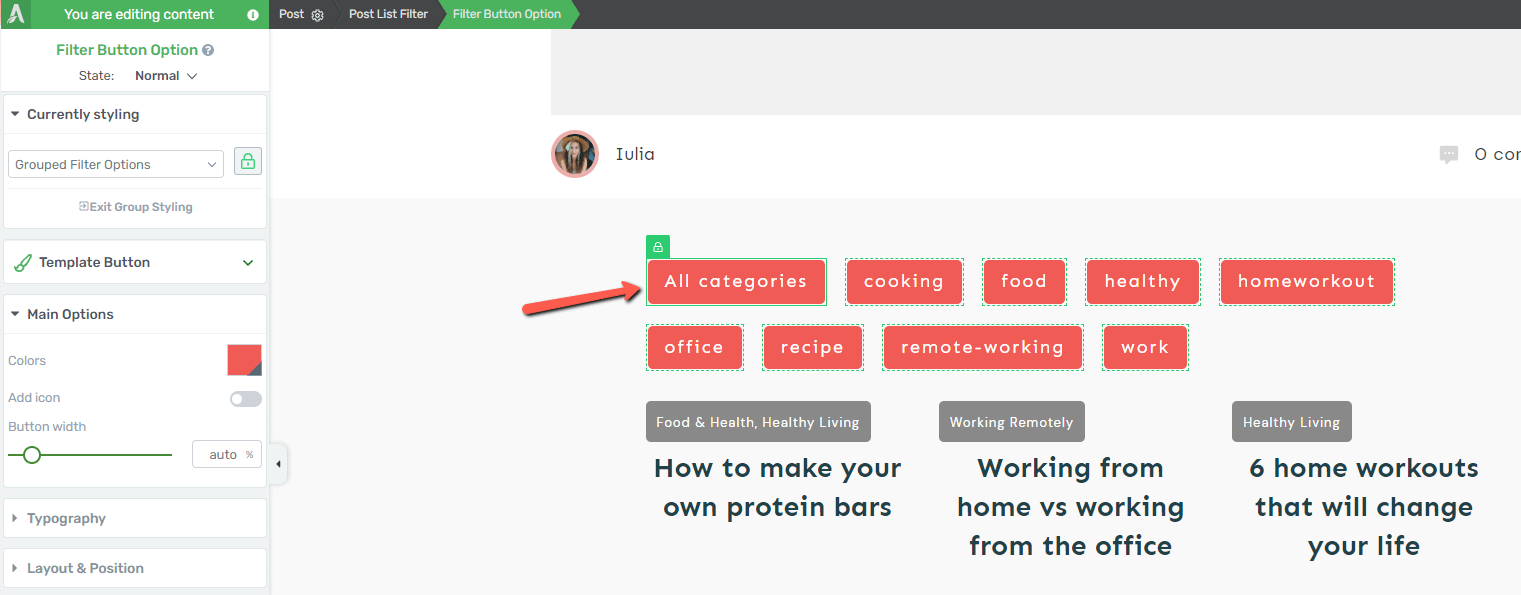
In the left sidebar, right under the name of the item, you’ll see the “State: normal” section:
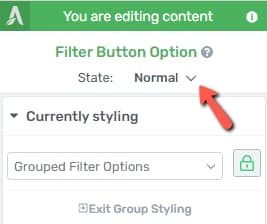
Click on the down arrow next to it, to open a dropdown with the available states:
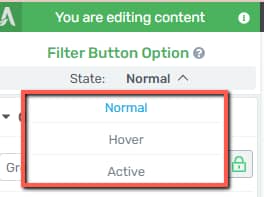
- Normal: The “Normal” state is what the item looks like normally;
- Hover: This is how the item looks like when someone hovers their mouse over it:

- Active: This state can be customized to modify how the items look when they are active, meaning that the category/tag etc. is selected:

You can open each state and make the necessary modifications, so that the items look exactly as you wish, in all of their states.
This is how to use the “Post List Filter” element, alongside a “Post List” element in the Thrive editors.
- Active: This state can be customized to modify how the items look when they are active, meaning that the category/tag etc. is selected:
- “Search” filter type options:
- “Text links” filter type options:
- “Checkbox” filter type options: