Do you want to access the SendOwl customer list in your website backend? This is possible when you open the Members section in Thrive Apprentice.
In this article, we’ll show you how you can access the SendOwl customer list and use various options around it.
- Accessing the SendOwl Customer List
- Adding New Customers to the List
- Viewing Users and Editing Access Rights
Accessing the SendOwl Customer List
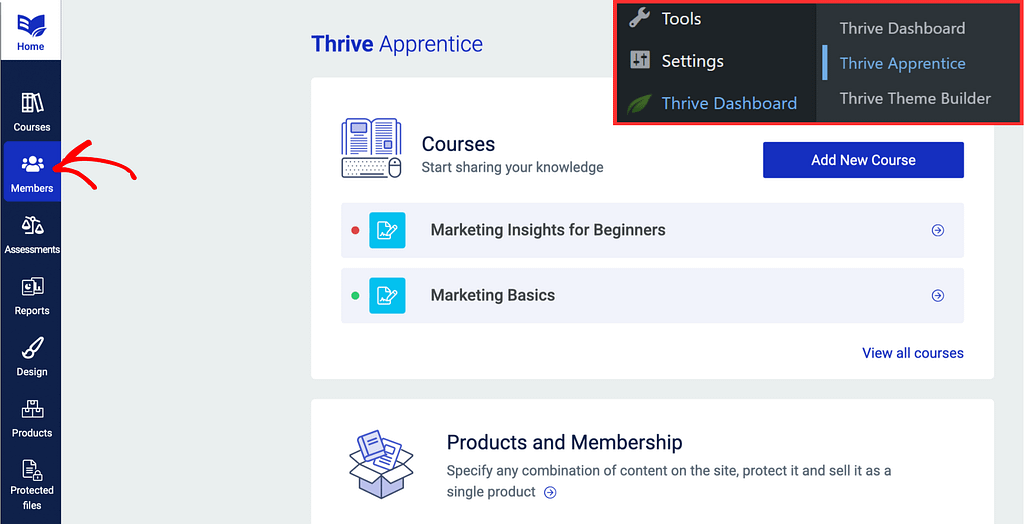
To view the SendOwl Customer List, open the Thrive Apprentice Members page. To begin, open your WordPress admin area, navigate to Thrive Dashboard >> Thrive Apprentice, and click on Members in the left panel.
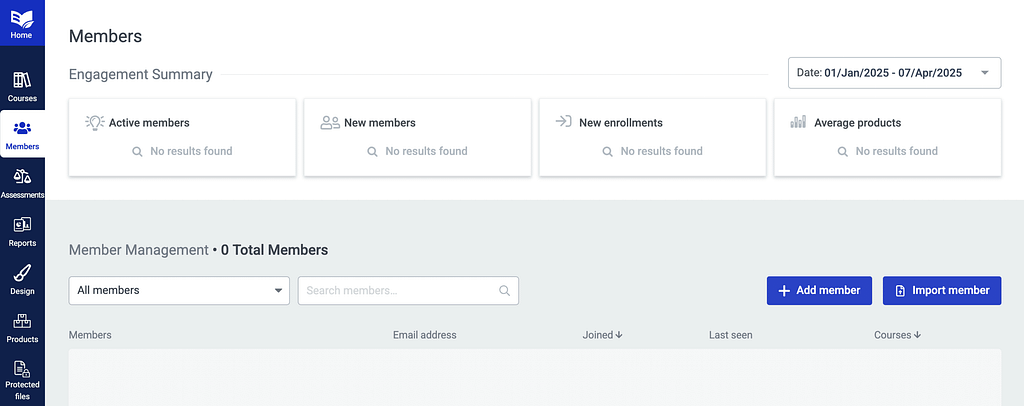
On the Members page, you’ll see details of users who’ve taken up courses from you.
When on the Members page, you can use filters to view the users who’ve purchased a particular product or bundle. To do so, open click the dropdown that has All members selected in it and select the SendOwl product you want to see the customers of.
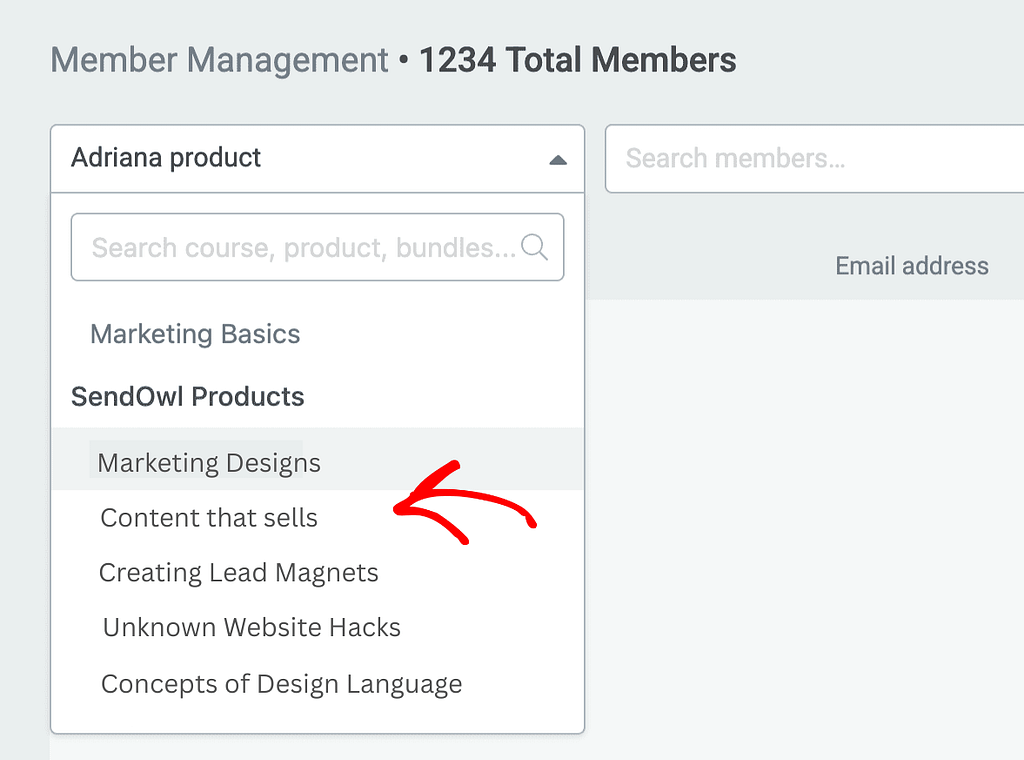
After you select the SendOwl product, you’ll find the list of users who’ve purchased it through your website.
Searching Specific Customers
The displayed customer list contains the names and email addresses of every customer that has purchased your products/bundles.
To find a specific customer use this search box above the customer list. All you have to do is to start typing in the name or the email of the customer and you will see that the respective customer will be displayed on the page.

Adding New Customers to the List
The Thrive Apprentice Members page lets you add customers from within your WordPress dashboard. You can do this by any one of the following methods.
Adding Customers Manually
To add a new customer to Thrive Apprentice, click the Add member button.

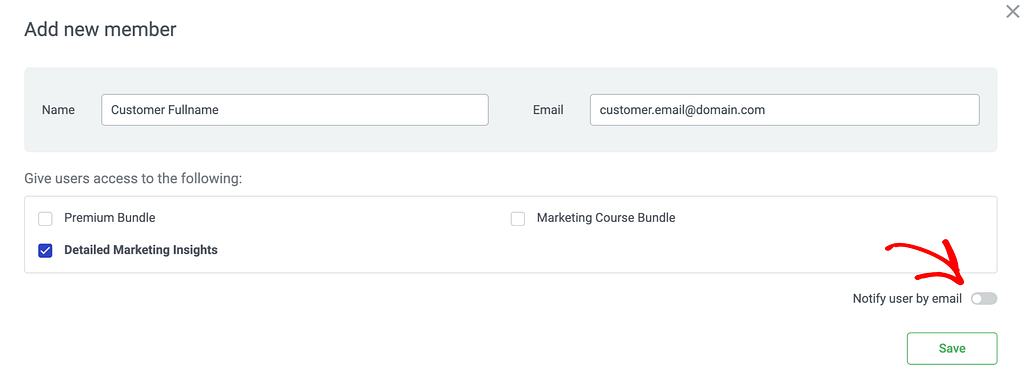
Clicking the button opens a popup where you enter the Customer name, email address and select a product you want to associate him with.
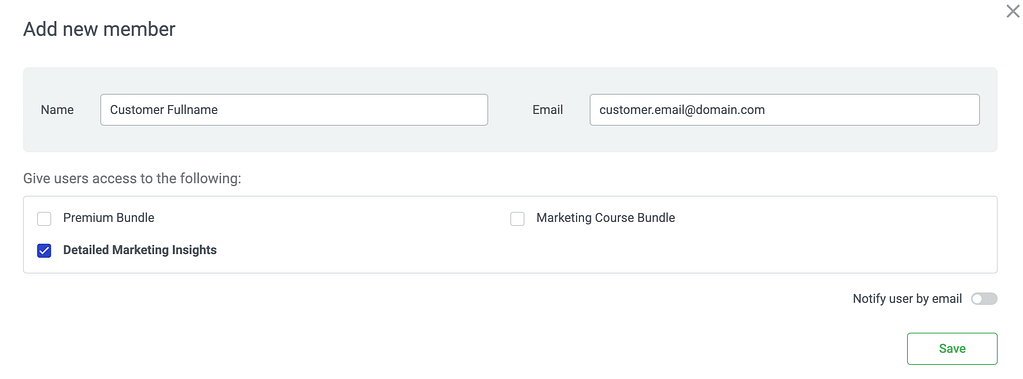
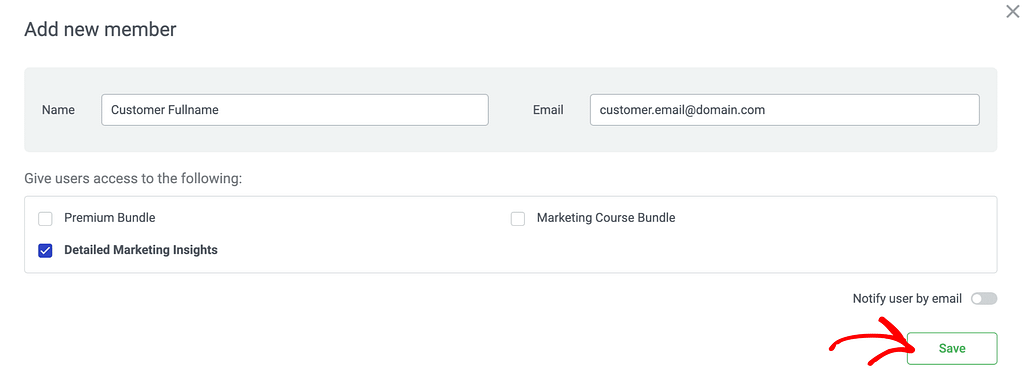
After entering customer details, you can choose to notify the customer by clicking the toggle button to Nitify user by email.
Once you enter the customer details, click the Save button.
Importing Customer List
Thrive Apprentice allows you to add customers by importing them as .CSV files.
Why will you need to import a customer list?
SendOwl offers a Quick Sell link, for every product that you have set up in your SendOwl dashboard. This link can be used to send customers directly to the page where they can complete the payment for the product.
You can use this link to provide your customers with a direct way of buying your product, without having to go to your website (the sales page or the page of the course).
If you do this, the users who buy the product directly, without accessing the website, will not be added to the “Customers List” from Thrive Apprentice.
Nevertheless, you can add them by using this “CSV File” way of importing customers.
First, you will need to get the CSV file from your SendOwl account. This article details where you can find it, how you can generate it, as a report in the form of a CSV file, and then, download it from your email.
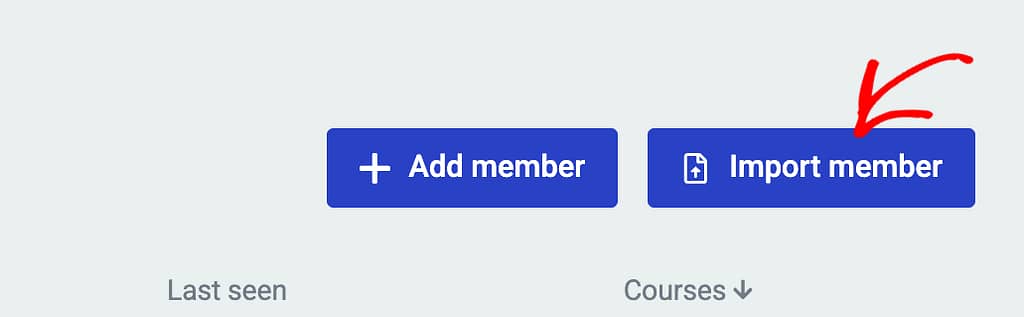
To import a customer list in Thrive Apprentice, on the Thrive Apprentice Members page, click the Import member button.
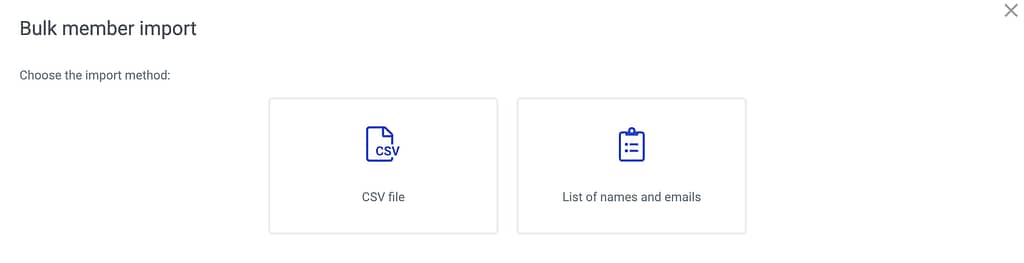
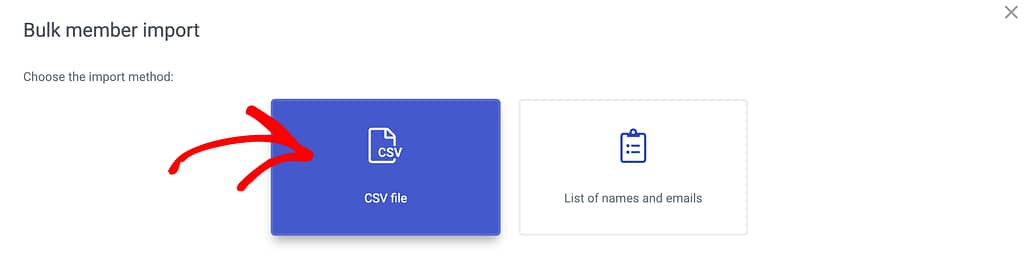
After you click to import members, you’ll see a popup where you select what file you want to import.
Importing Customer List in a .CSV File
To import a customer list in a .CSV file, click on the CSV file block.
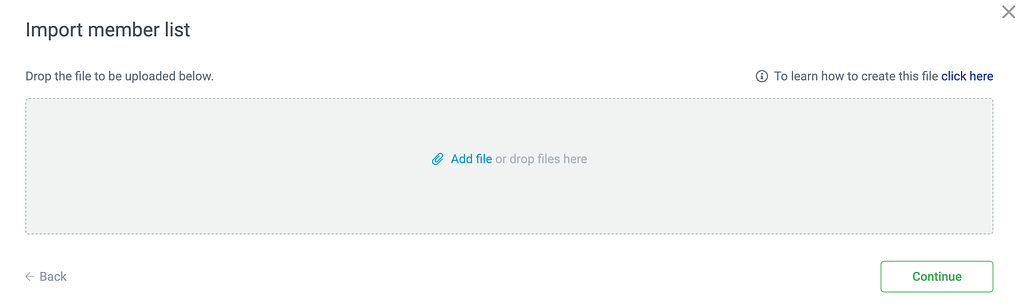
When you click the CSV file, you’ll see a file uploader where you can upload the .CSV file and click the Continue button.
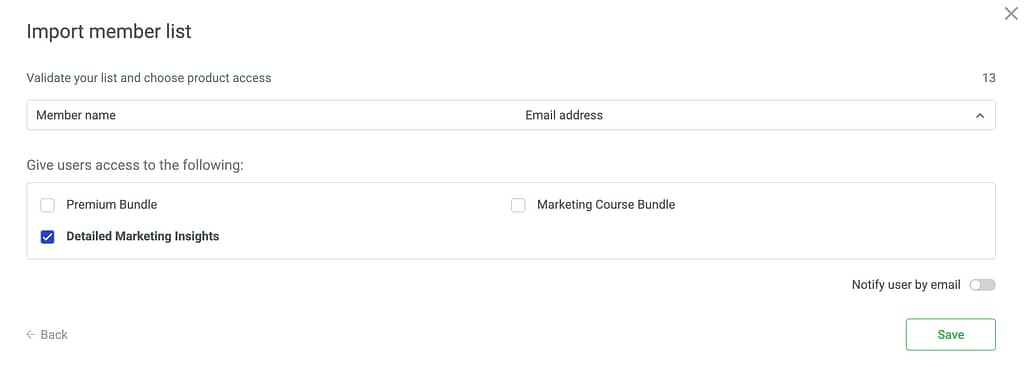
After uploading the file, the next step will ask to select the product you want to associate with the users in this list. To proceed, select the product or products and click the Save button.
Importing a Customer List
If you are importing a customer list as a normal text file, you need to ensure the user name and email addresses are separated by commas in there.
To upload a customer list select List of names and emails block.
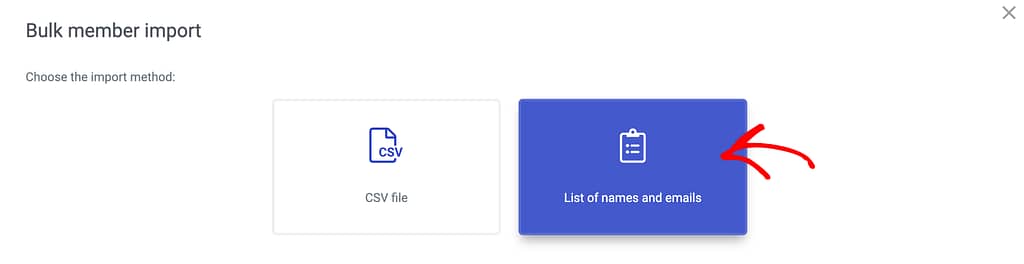
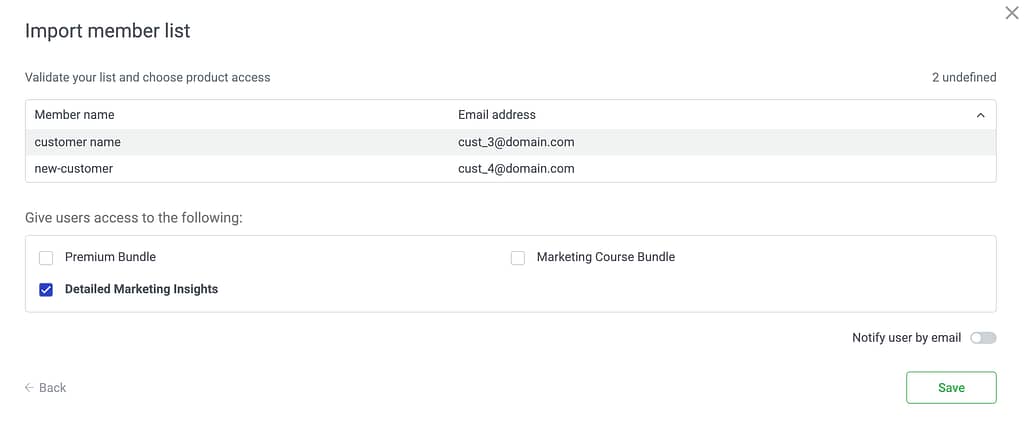
After you click the List of names and emails block, on the next step, enter the customer names and email addresses separated by commas (one on each line). Once you do that, click Continue.
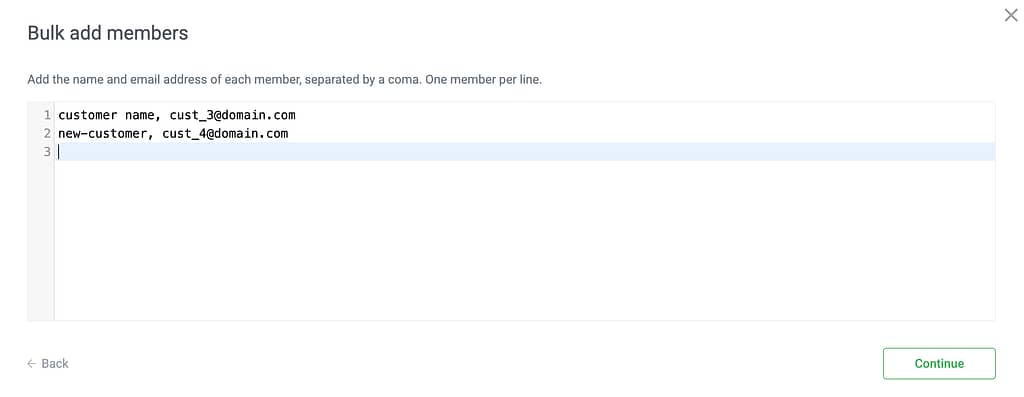
In the next step, select the product or products you want to associate with the list you are importing and click the Save button.
Viewing Users and Editing Access Rights
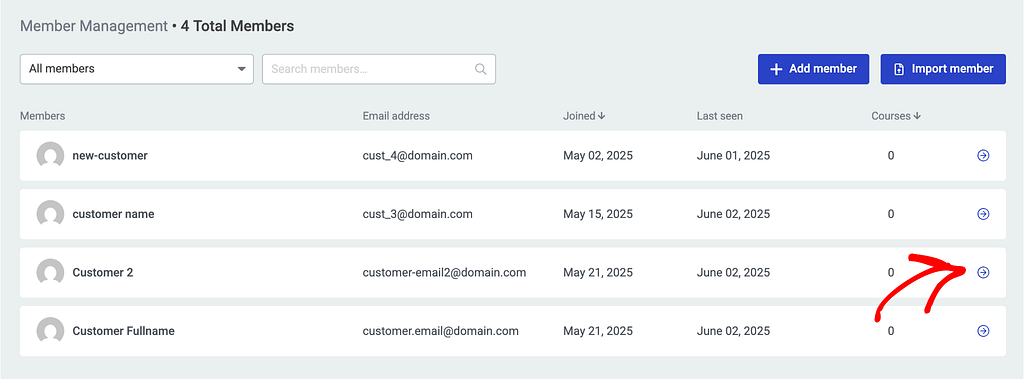
Now that you’ve added the customer list to Thrive Apprentice on your website, to can open each user page to see the courses he has access to, edit his information, view user reports, etc.
To do so, click on the arrow on the user information block.
On the user information page, you see the course the user has access to and the options we mentioned above are seen on the top of the page.
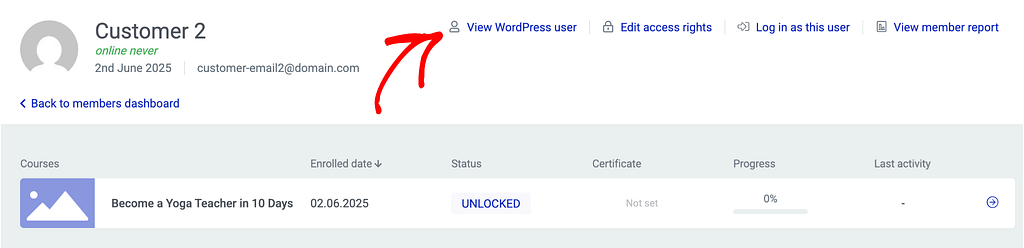
The options on an individual user page will let you do the following.
- View as a WordPress User: This lets you see and edit the user role of this user on your website.
- Edit access rights: This opens a popup with the list of products the user has access to. You can remove products or add new ones for this particular user.
- Log in as this user: You can use this option to log out from your account and log in to your website as this user.
- View member report: This takes you to the reports page to view this member’s reports.
We’ve just seen how you can access the SendOwl customer list in Thrive Apprentice, add new customers and view or edit user details from the backend.
Next, do you want to assign course access and set up SendOwl protection options for your courses? You can refer to our document here.