The “Styled List” is basically a bullet point list but with more complex options. Let’s see what those are:
Add the Element to the Post/Page
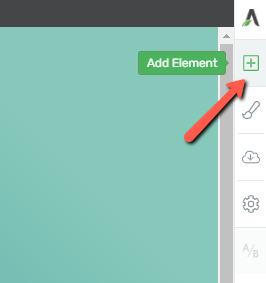
In order to start using the element, you’ll first need to add it to your page, by clicking on the plus sign from the right sidebar:
Look for it within the available list of elements (either browse the list of use the search bar):
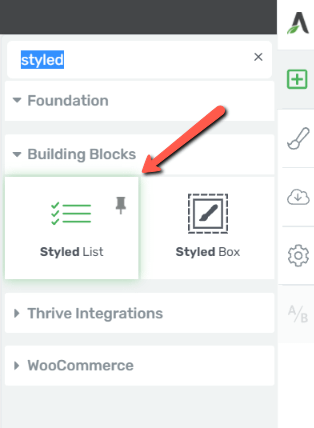
Grab the element and drag and drop it to your page or post:

Use the Main Options
Once the element has been added to your page, the main options will appear in the left sidebar:
Icon
The first option is that you can change the icon:
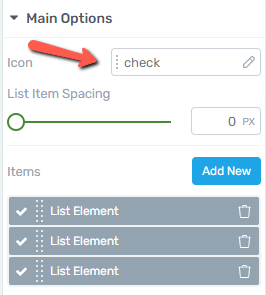
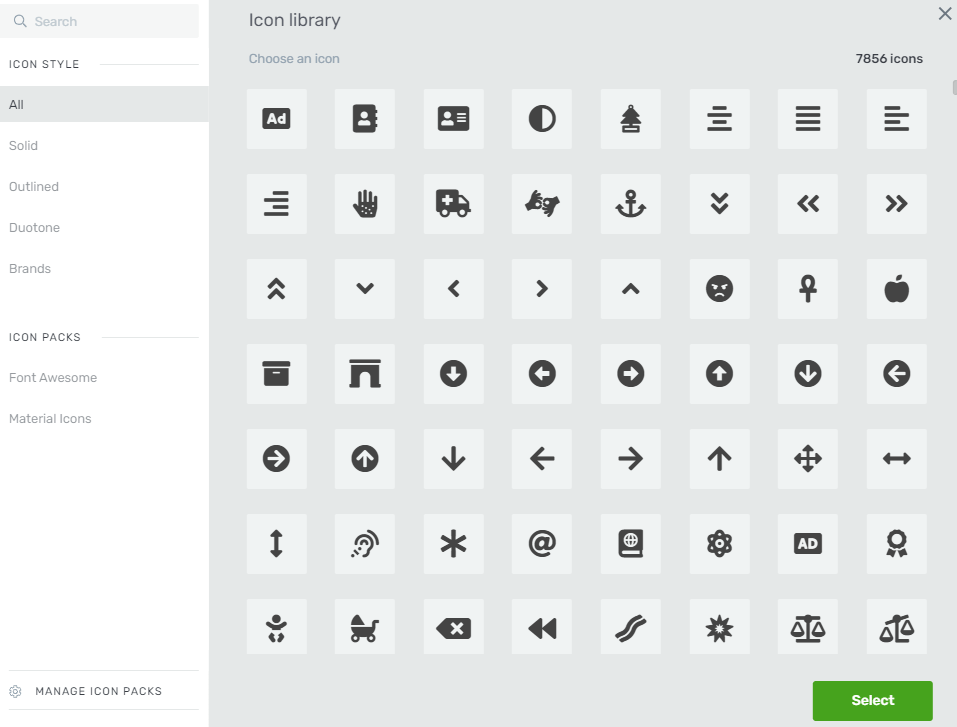
After you click on the field next to “Icon” a new popup will appear on the screen, with all the available icons from which you can choose:
List Item Spacing
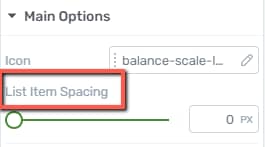
The following option from the “Main Options” sidebar is the “List Item Spacing”, from which you can customize the spacing between each item of the list.
You can do that either by dragging the slider from side to side, or by inserting a numerical value in the corresponding field:
Items
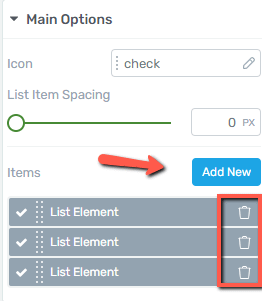
Adding or deleting elements from the list is easily done as well. You can add new elements to the list by clicking on the “Add new” button and you can remove the element by clicking on the “trash” icon next to it:
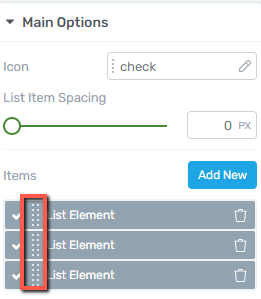
In case you want to rearrange the elements of your list, you’ll have to hover your mouse over the dotted line next to its name and then drag & drop it to the desired position:
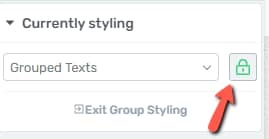
Note: If you wish you can customize any element of the “Styled List” individually too. All you have to do is click on the specific element and then on the lock-unlock button. This way you won’t be styling the grouped elements simultaneously anymore, but one by one.
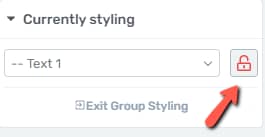
You can change the text color, font, and formatting, and you can also add highlights to it or modify the spacing between the lettering:
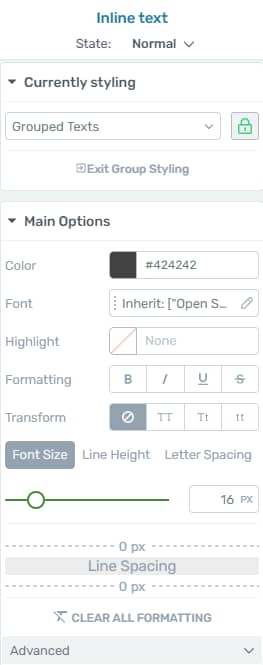
Learn more about the “Group Styling” feature here.
Note: You can use the keyboard shortcuts to add new lines to the “Styled List”.
Make sure the cursor is placed at the end of the text, under which you plan to add a new item:
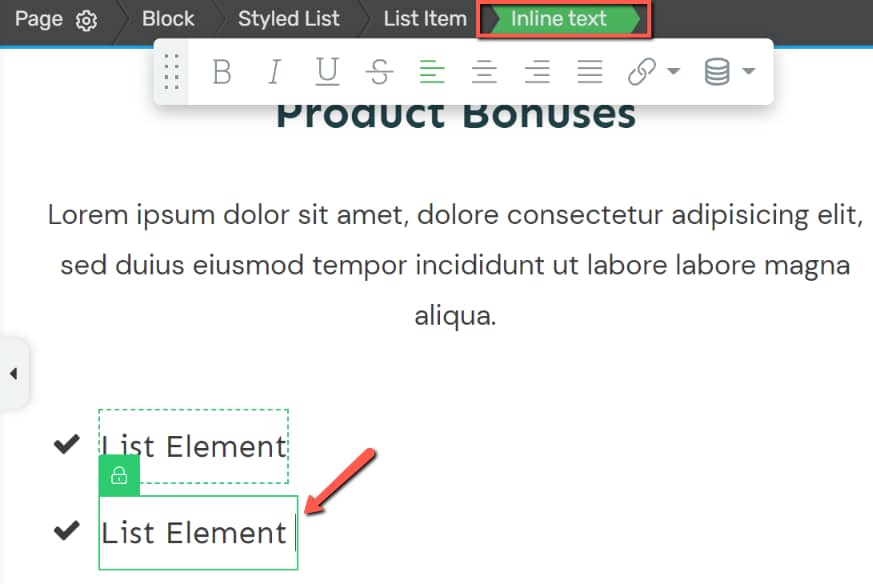
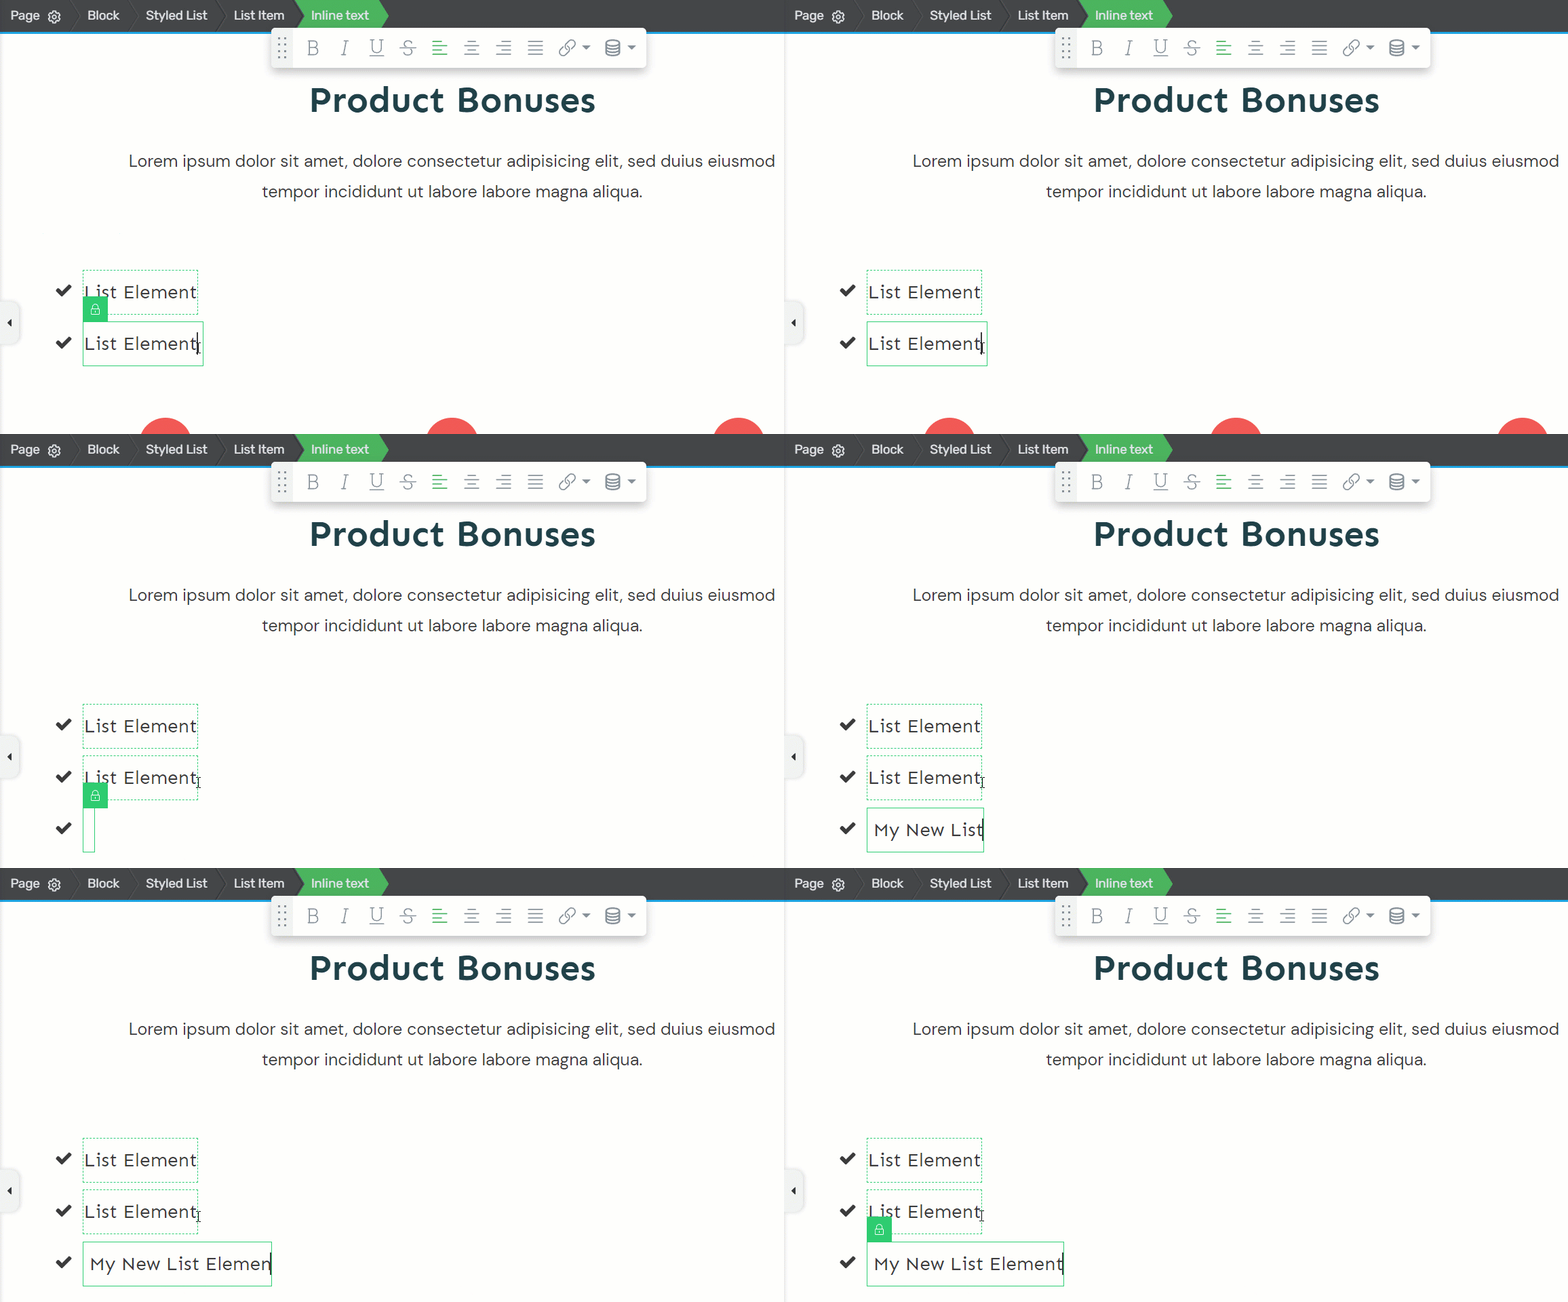
Then, simply press “Shift” and “Enter” on your keyboard, simultaneously, and a new line item will be added right under the selected “Inline text”:
In case you want to find out more about the general options or about how other elements in Thrive Architect work, just follow this link to access other articles and tutorials.