With the help of the “SmartLinks” feature of Thrive Leads you can decide which forms should be displayed depending on where your visits are coming from.
Important!
Please keep in mind that the “SmartLinks” feature is mainly designed for the Lead Group Forms. You cannot target individual ThriveBoxes or Lead Shortcodes with it!
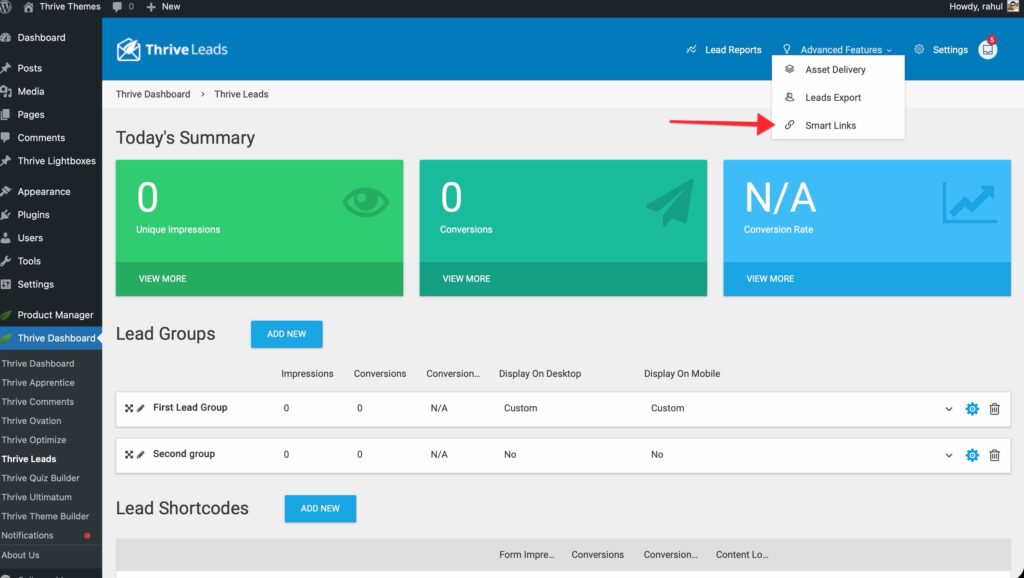
This new feature can be accessed from the “Thrive Leads Dashboard”. First, go to your WordPress admin dashboard, hover your mouse over the “Thrive Dashboard” and then, click on “Thrive Leads”:
When you access the “Thrive Leads” dashboard, you will see the “Advanced Features” option in the upper right corner of the page. Click on it to open its drop-down and select “Smart Links”:
Once you have clicked on “Smart Links”, a lightbox will appear with the “SmartLinks” builder options:
Below you will find the five steps you need to take in order to use the “SmartLinks” feature and create your custom link:
Step 1. Define where you want to send your visitors
In this step, you can set up where the user will end up when he/she clicks on the link. The drop-down menu contains more options you can choose from: a list of post and page types found on your website, your homepage, blog index and even a custom URL option:
Depending on the option you select from the above-mentioned ones, you have three scenarios:
1.1 You choose a static page (Homepage/Blog Index)
You can choose the link to point to the homepage or blog index. If you choose one of these, the set up of this step is over and you can move to Step 2.
1.2 You choose a post/page type
You can also choose one of the post/page types. In this case, an autocomplete field will appear. In this field, you can start typing the title of the post/page and suggestion for such a post/page will appear in the drop-down:
Once you have chosen the post/page you want to link to, Step 1 is finished and you can move to Step 2.
1.3 You choose the Custom URL option
If you choose this option, a new field (“Add a custom URL” field) and an “Update” button will appear. You will have to add the URL in this field, either paste it or type it in:
Once you have added the URL, click on the “Update” button. This will automatically update the link at the bottom of the “SmartLinks” builder lightbox:
After you have done this, you can move to Step 2.
Step 2. Tell us which Lead Groups you would like to target
This step consists of choosing whether to target all the forms of all your lead groups or just certain lead groups:
If you choose the first option you need to know that the feature will show the “Already subscribed” state to Lead Shortcodes as well, but it will not hide them. In this case, you can now proceed to Step 4.
If you choose the second option you will have to continue with Step 3 and select the lead groups you want to target.
Step 3. Tell us which lead groups to target
You can set up which lead group you want to target with the “SmartLinks” feature. In the case below, only the lead group called ”Weight Loss Report” will be affected/targeted, while the “Demo Lead Group” will display normally:
Step 4. What should be the behaviour of the forms?
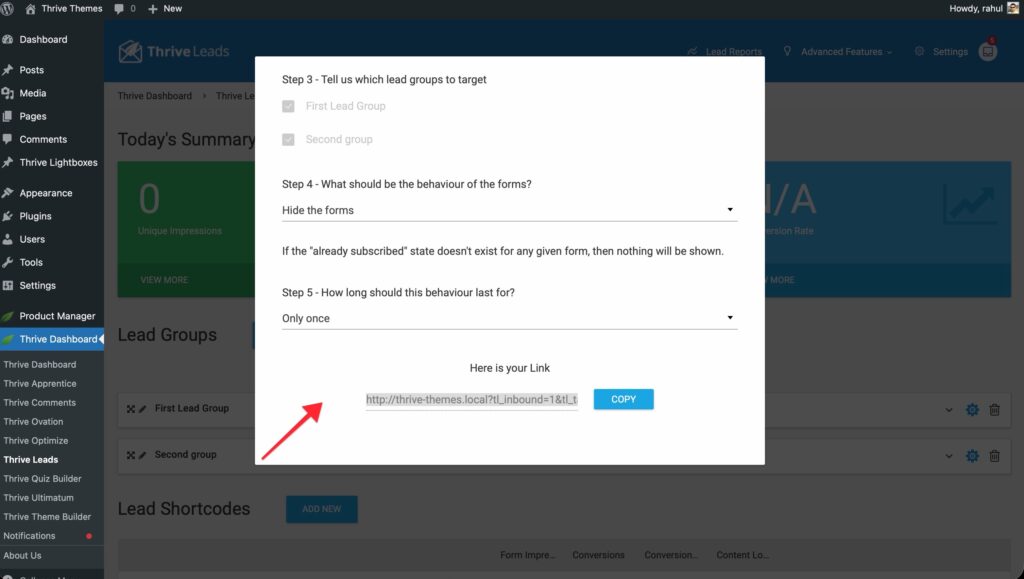
In this step, you can either hide the forms of the lead groups you have previously selected, or you can choose to display the “Already subscribed” state of those forms:
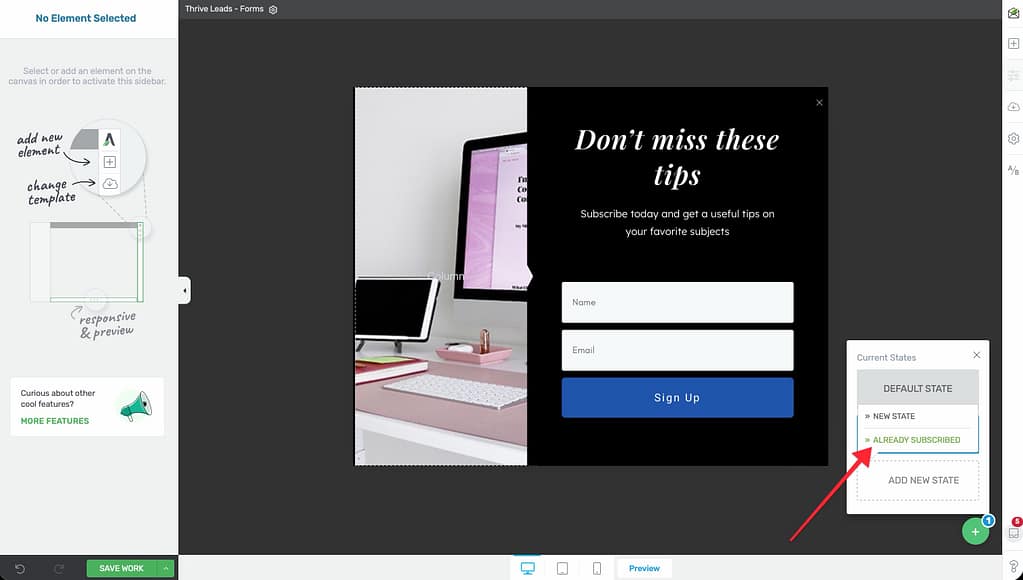
Note: Keep in mind, that in case the “Already subscribed” state does not exist for any given form, then, nothing will be displayed if you have chosen this option. The only exception is for a Lead Shortcode.
If your Lead Shortcode doesn’t have an already subscribed state, the main state will be shown regardless of the Smartlink. This is the case because it hurts conversion to have a conversion-focused page, with no information regarding the opt-in form.
Step 5. How long should this behaviour last for?
This option gives you the possibility to set how long this behaviour should last for:
Below you can see a short description of these available options:
Only once
The forms will be affected by the “SmartLink” feature only on the URL you have setup. If the visitor goes to another page/post of the website, the forms will behave normally.
Until the visitor closes the browser tab
In this case, the forms will be affected regardless of where on the website the visitor clicks away from the “SmartLink” until he/she decides to close the tab/window.
If the visitor returns to the website, after closing the tab/window, without accessing the “SmartLink” again, then the forms will be displayed normally, without being hidden or showing the “Already subscribed” state.
A custom period of time
If you choose this option, you will be able to set a custom period of time (a number of days), of how long the “SmartLink” will affect the visitor of your website, who has used it.
You will have to enter the number of these days in the field that appears after you have chosen this option:
In the example above, if a visitor accesses your website through your “SmartLink”, and he/she returns and browses your website in that 15 day period, then the setting you set up in the “SmartLink” will still be applied for that visitor.
If he/she visits the website after the 15 day period has passed, then, he/she will see all the forms, just like a new visitor would.
For as long as possible
In this case, once a visitor accesses your website through this “SmartLink”, as long as he/she does not clear his/her browser’s cookies when he/she returns to your website, the forms will either be hidden or shown in the “Already subscribed” state, depending on the setup.
Here is your link
After you have finished the setup of your “SmartLink”, this will be displayed at the bottom of the lightbox. You can copy the link by clicking the “Copy” button and then, simply add it, as you would do with a normal link, to your marketing campaign:
If you would like to know even more details about this feature, please take a look at this page.
Hopefully, this article was useful to you. If so, please give us a smile below 🙂