Do you want to ensure your Courses and Lessons added to a Thrive Architect page look enhanced and show up all the necessary information? With Thrive Apprentice elements in Thrive Architect you can seamlessly create user friendly engaging pages.
In this article, we’ll show you the list of Thrive Apprentice elements you can use in Thrive Architect and how you can benefit from each of them.
- Understanding Thrive Apprentice Elements in Thrive Architect
- Adding a Thrive Apprentice Element to a Page
- List of Thrive Apprentice Elements in Thrive Architect
Understanding Thrive Apprentice Elements in Thrive Architect
The Course List and Lesson List elements already come as a part of Thrive Architect elements you can use on a page. These two elements will allow you to display your Thrive Apprentice courses and their summaries anywhere on your pages or posts.
In addition to this, when you are in the “Edit Design” mode of these elements, you will be able to add and use new elements from the right sidebar, that are available only while you are editing the Course List or the Lesson List element on the page.
These elements are used to display dynamic data such as the status of the course, the progress, number of lessons, difficulty level, and so on.
Adding a Thrive Apprentice Element to a Page
To add a Thrive Apprentice element on a page built using Thrive Architect, first open the page in the Thrive Architect editor, ensure you’ve added the Course List or the Lesson List element on the page.
Thrive Architect lets you use different sets of Thrive Apprentice elements based on whether you use the Course List or the Lesson List element on the page. You can read more about them in the sections listed below.
In this example, we’ll see how you can access Thrive Apprentice elements for a Course List element on a page.
So, to proceed, open the page on which you’ve added the Course List element.
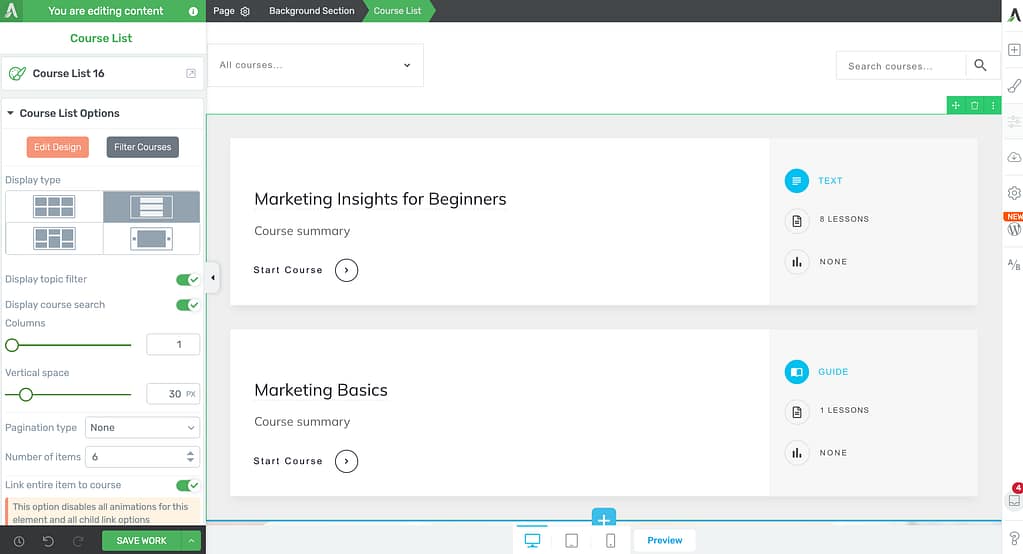
Just like the other Thrive Architect elements, the Course List element also has options you can customize in the left column.
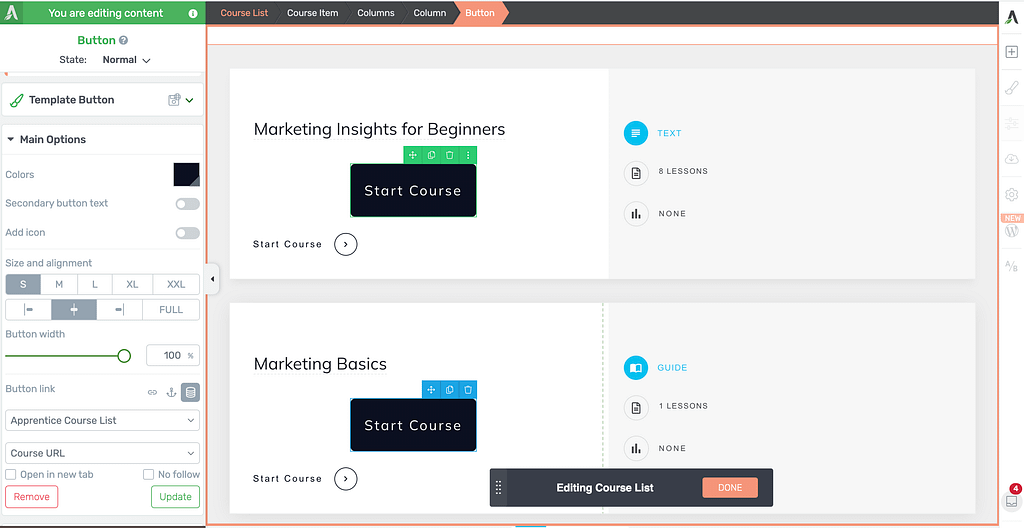
When you click on the Course List element on the page, open the Course List Options in the left column, and click the Edit Design button.
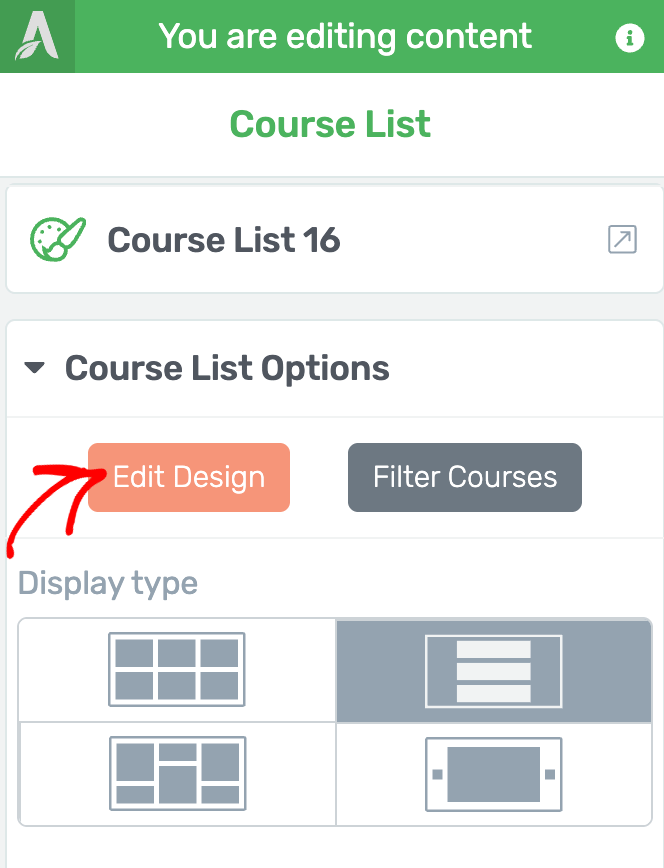
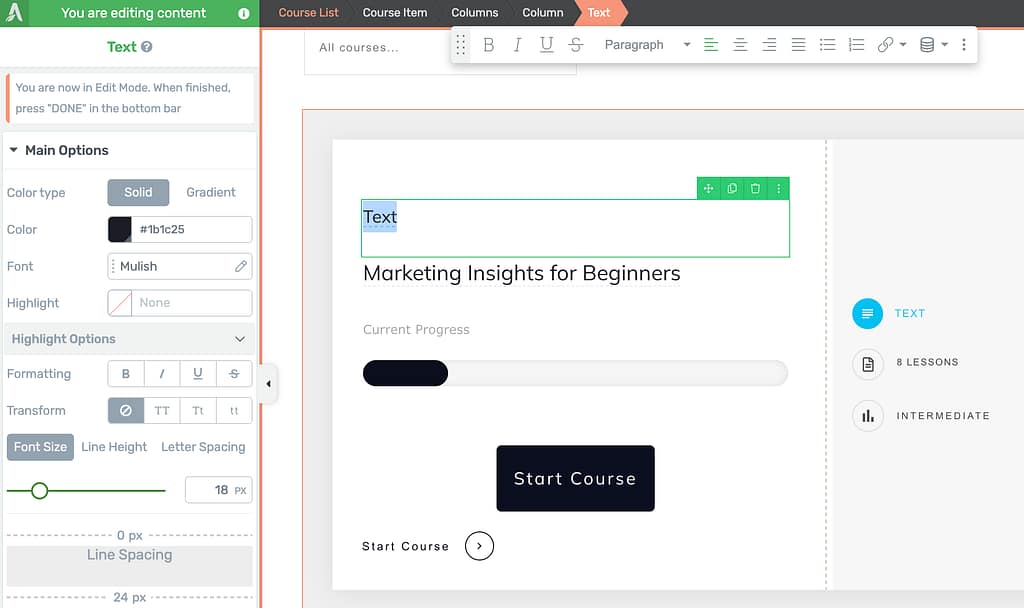
Clicking the Edit Design will open the Course List in Edit Mode where you can click on each Course List element and edit it.
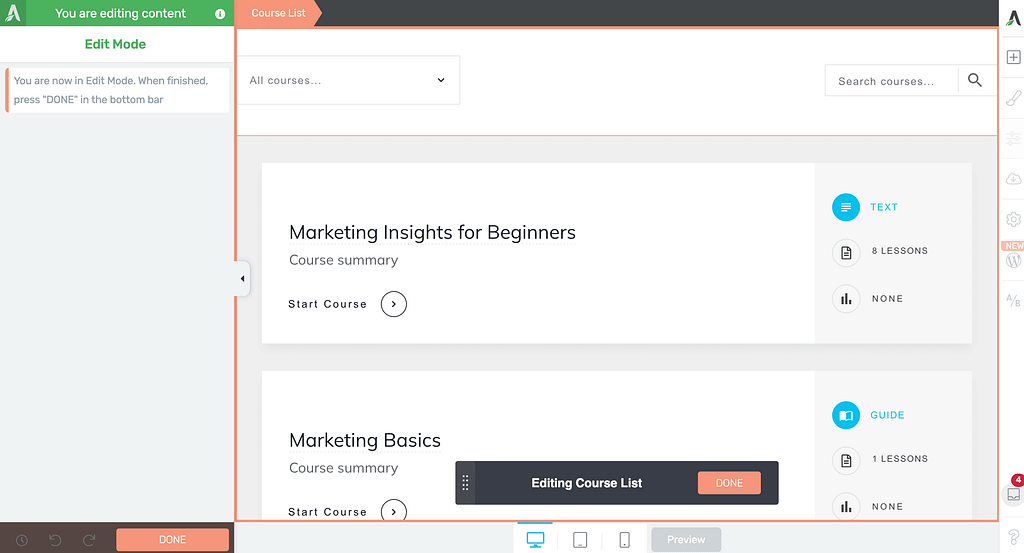
While in the Edit Mode, go to the right panel and click on the plus (+) icon.
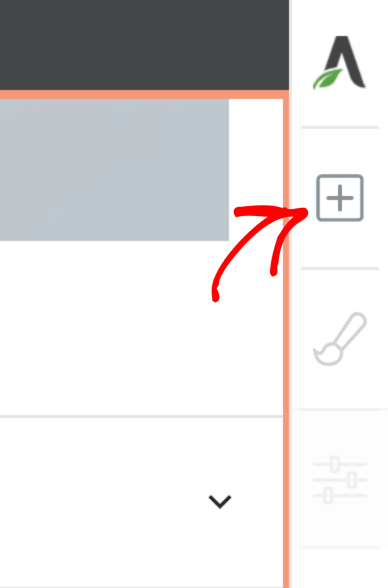
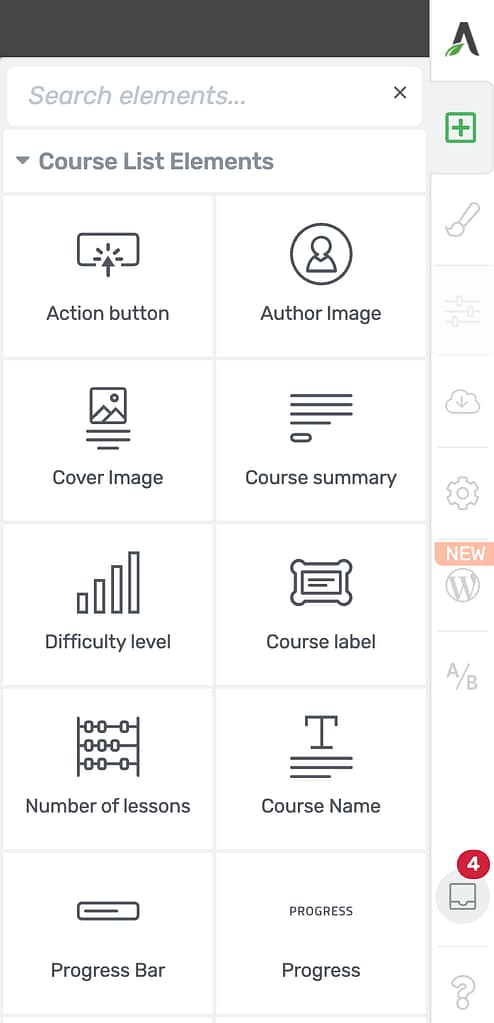
Clicking the plus icon will open a panel with 14 Thrive Apprentice elements that you can drag, drop and use on the page. We’ll be seeing each of these elements in the next section here.
Like other Thrive Architect elements, the Thrive Apprentice elements you see here can be dragged and dropped on the page.
However, when you add an element under one course on the page, it will automatically be added to the other courses on the page too. Similarly, when an element is removed from a course, it will be removed from the other courses too.
Just like the Course List element, you can add the Lesson List element on the page and access Thrive Apprentice elements for Lesson List in Edit Mode.
List of Thrive Apprentice Elements in Thrive Architect
We’ve just seen how you can access the Thrive Apprentice Elements on a page built using Thrive Architect.
In this section we’ll take a closer look at each of them.
Thrive Apprentice Elements for a Course List
When you’ve added a Course List element on page, you’ll be able to use 14 Thrive Apprentice elements on it. These elements are as listed below.
- Action Button
- Author Image
- Cover Image
- Course Summary
- Difficulty Level
- Course Label
- Number of Lessons
- Course Name
- Progress Bar
- Progress
- Topic Icon
- Topic Title
- Course Type
- Course Type Icon
Action Button
This action button, when added to a course, will capture the current status of each course directly from Thrive Apprentice, based on the Call to action button labels that you’ve configured in your dashboard. Thus, the user is able to view which courses are already started, not started at all, completed, and so on.
To add an Action Button to the courses on the page, drag and drop the Action button element from the right panel and add it to one course. It will be added to the others automatically.
When you add the Action Button element to the course, click on it so you can edit the options in the left column.
Just like adding and removing elements in a course will affect the other courses as well, any customization to an action button in one course will be applied to the action buttons in the other courses as well.
To learn more about the Action Button element and how you can use it effectively, refer to our document here.
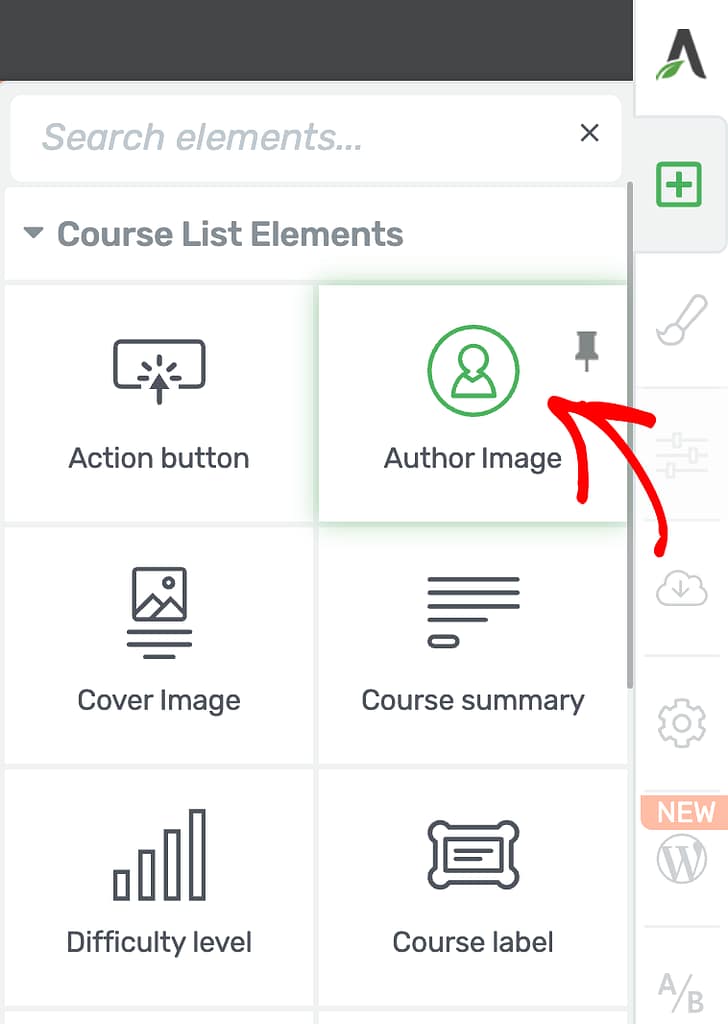
Author Image
The Author Image element can be added to courses when you want to display the course author image on the courses.
To add an author image on the courses, in the edit mode, click the plus icon in the right panel and then drag and drop the Author image element at a position you want.
Adding the Author Image to one course on page will add it to the others too.
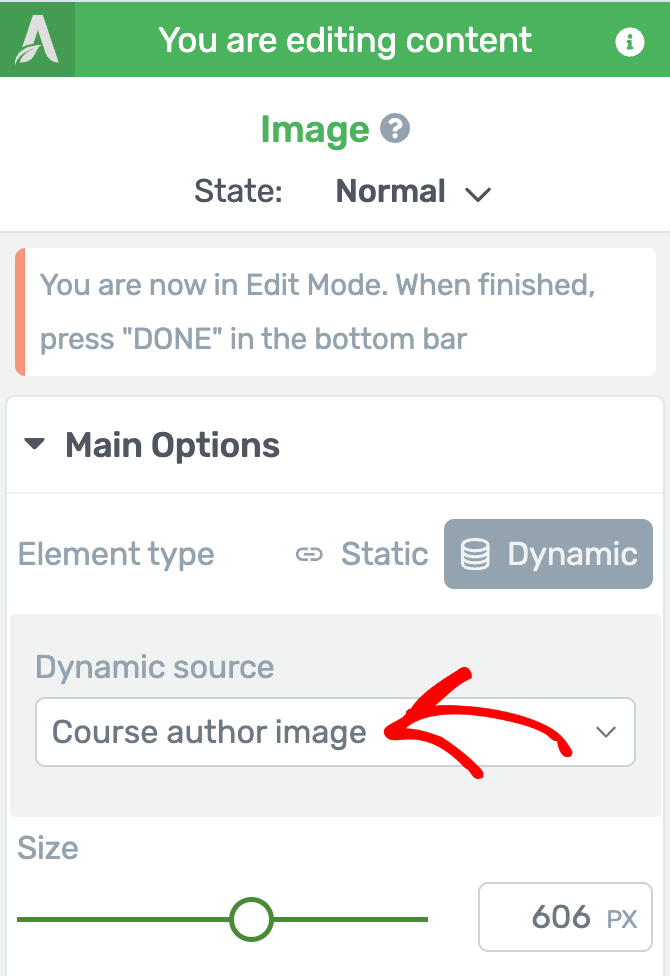
When you add the Author image on a course, you’ll see that like the other elements, you can also open the options and settings in the left column by clicking on it.
The Author Image element also lets you select a Dynamic source among the other options in the left column.
To learn more about adding and using an Author Image element effectively, refer to our document here.
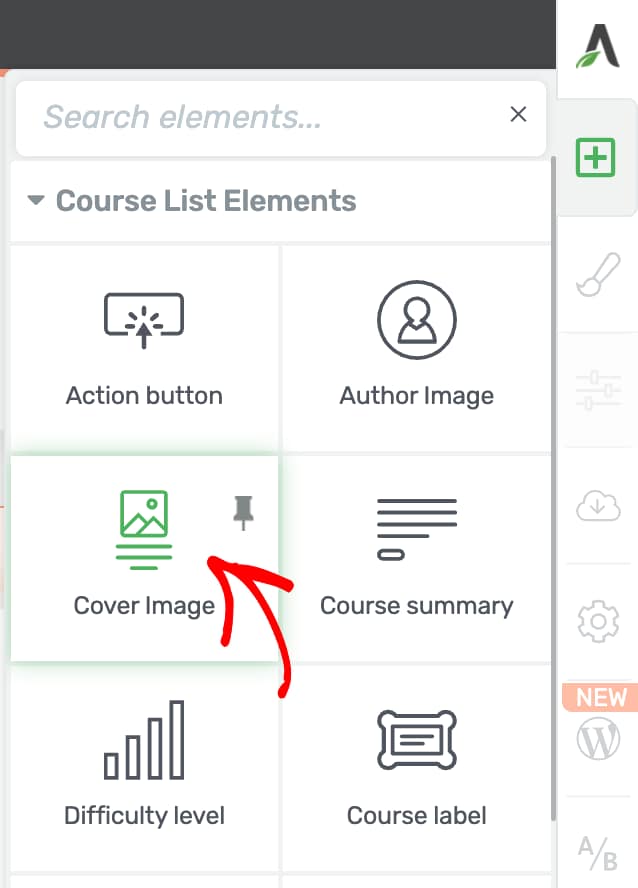
Cover Image
The Cover Image element when added to the course, fetches the cover picture you’ve added to the course in Thrive Apprentice.
To add the Cover Image element to the courses on the page, drag and drop the Cover Image element on one course and see it added to the other courses automatically.
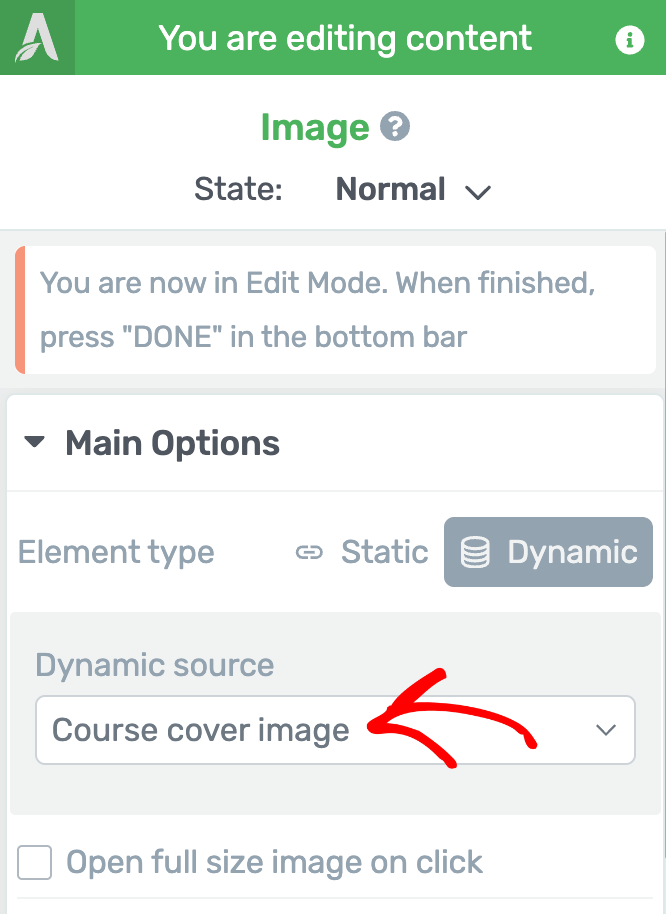
After adding the Cover Image to the courses, click on it to access and manage the settings in the left column. Like the Author Image element, the Cover Image element also lets you select a Dynamic source in the left column options.
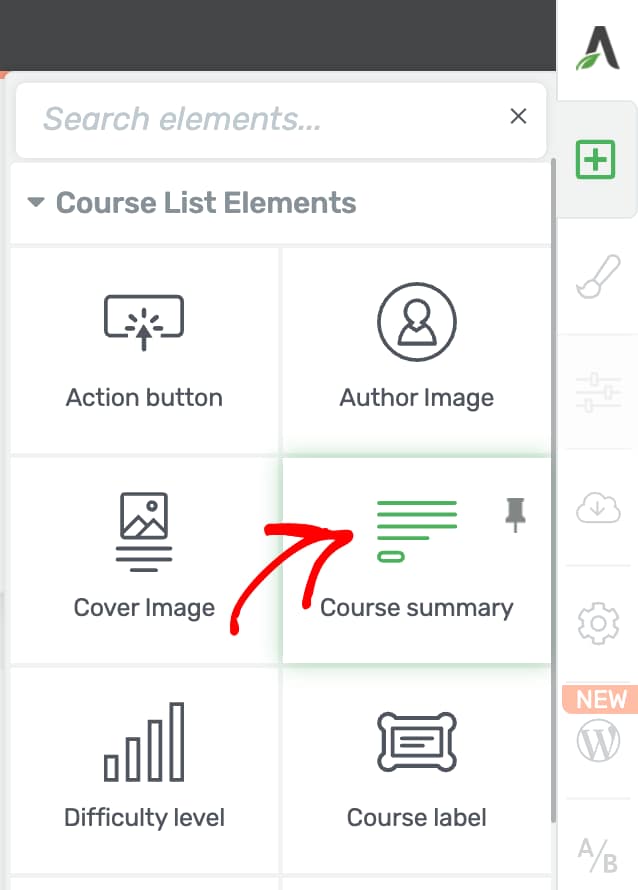
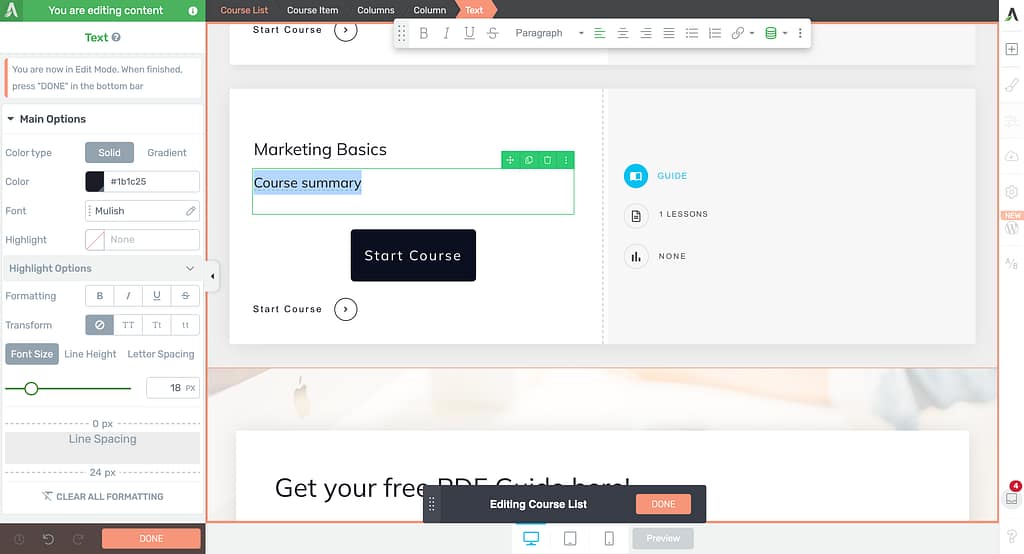
Course Summary
A course summary will give users an idea about what they are heading for. To add a summary alongside the course information, drag and drop the Course Summary element from the right panel.
Adding the Course summary element to a course will add it automatically to the other courses as well.
When added to the courses, click on the Course summary element and see its options open in the left column.
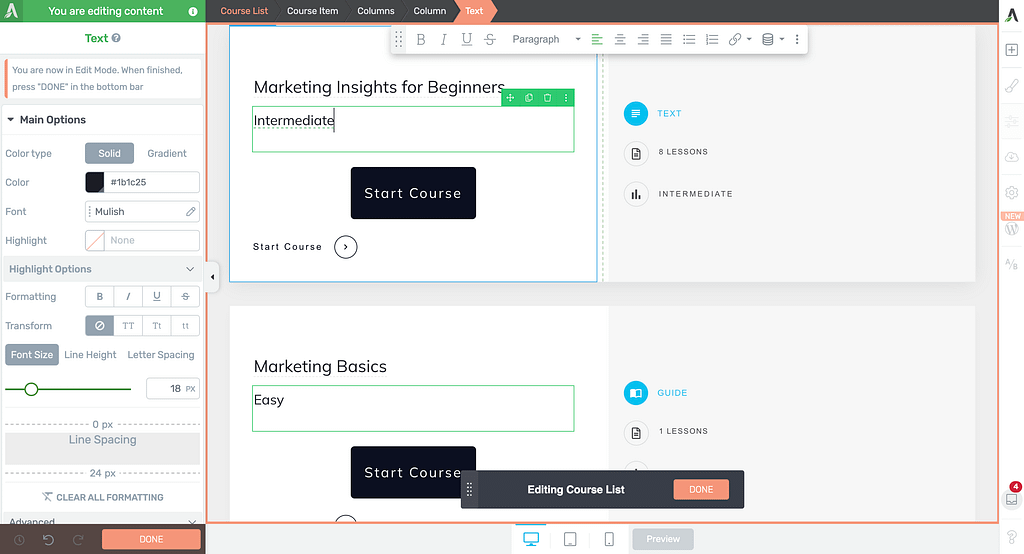
Difficulty Level
Adding the Difficulty Level element to the courses on the page will display the difficulty level you’ve set for the courses in the Thrive Apprentice dashboard.
To add the Difficulty Level element to the courses, drag and drop it on a course and see it added to the others automatically.

When added to the courses, click on the Difficulty Level element and see its options open in the left column.
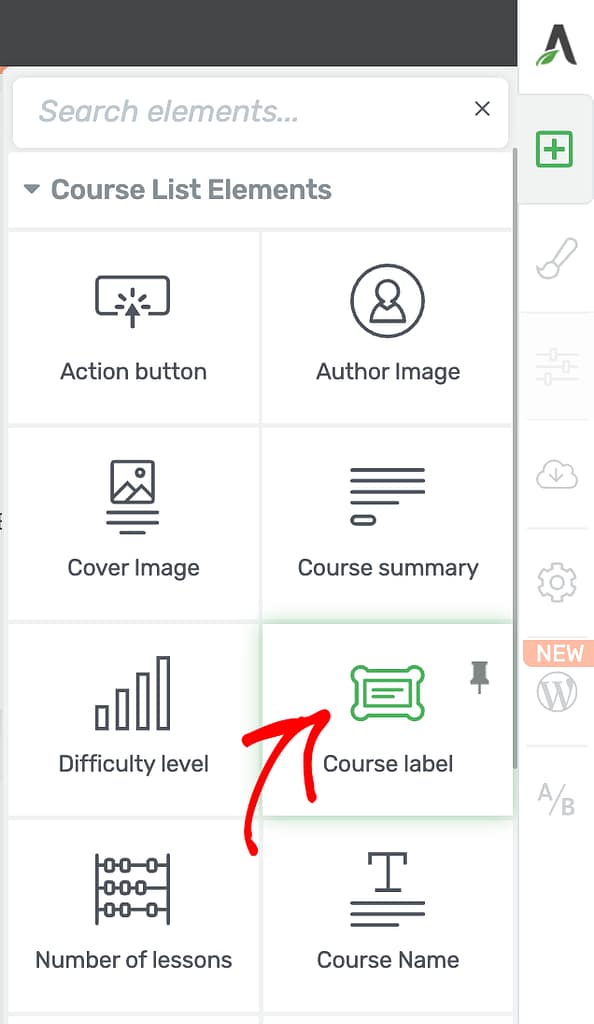
Course Label
You can add labels to your Thrive Apprentice courses according to the restrictions you want to set for them.
The Course Label element lets you fetch and display a label on the courses added to the page.
To add labels to the courses, drag and drop the Course Label element to a course and see it added to the other courses as well.
After adding the Course label to the courses, click on it to access and manage the settings in the left column.
The Course label is again a dynamic value that is fetched from your settings in Thrive Apprentice. With the Course label element you can customize the typography, layout and position, background style, etc.
Number of Lessons
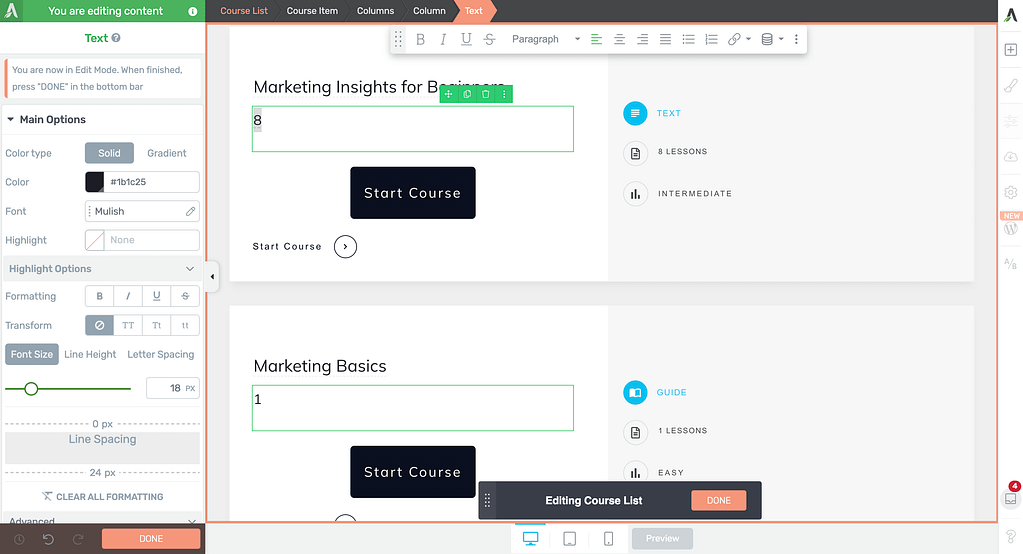
With the Number of Lessons element added to the courses will let users know the number of lessons contained in the course.
To add a Number of Lessons element to a course, drag and drop it on a course and see it added to the other courses.
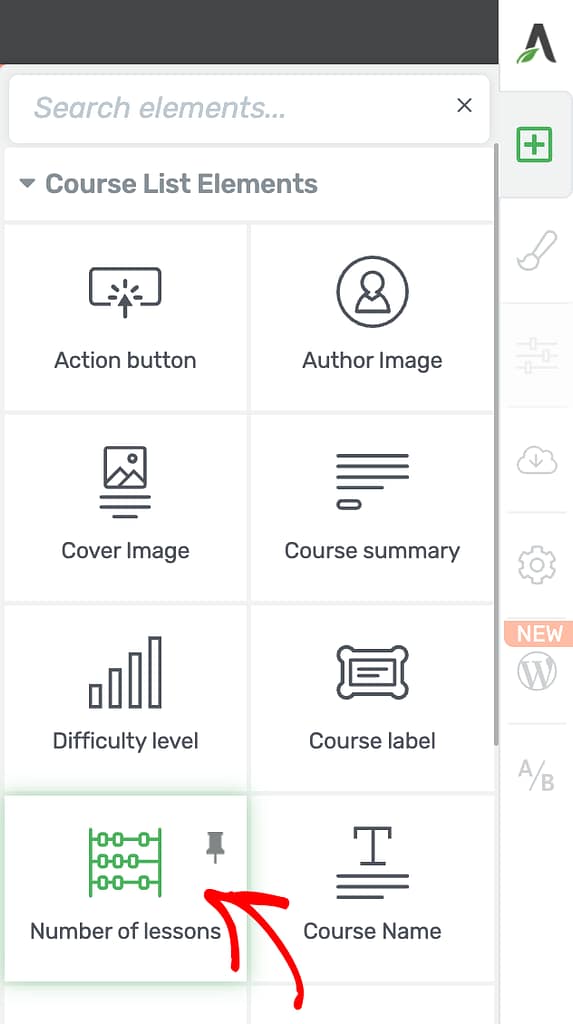
When the Number of Lessons element is added to the courses, it displays the number of lessons that course has. This is a dynamic value that changes based on the number of lessons added to the course.
Like the other elements, you can click on the Number of Lessons element and edit its options in the left column.
Course Name
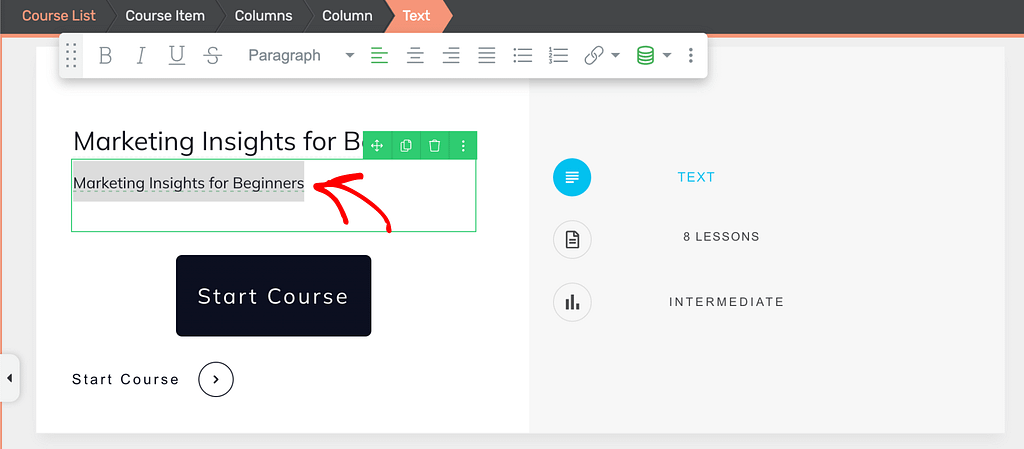
All Course List elements add a Course name element by default. However, if you want to display the course name again in a different format, you can drag and drop this element on a course.
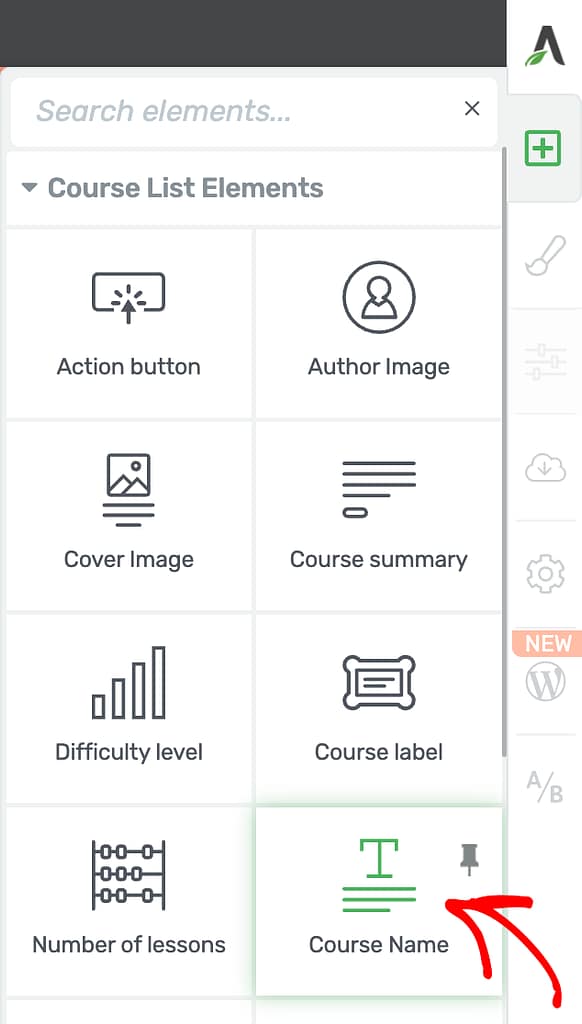
The Course name element fetches the course name that you cannot change. But, like the other elements, use the options in the left column or the floating panel.
Progress Bar
Using the Progress Bar element, you can show the users their current progress on each of the courses inside the “Course List” element.
To add a progress bar to the courses, drag and drop the Progress bar element on a course and it will automatically be added to the other courses.
When added to the course, click on the Progress bar element to open its options in the left column.
One of the settings worth highlighting is that you can set the progress bar to fetch dynamic values.

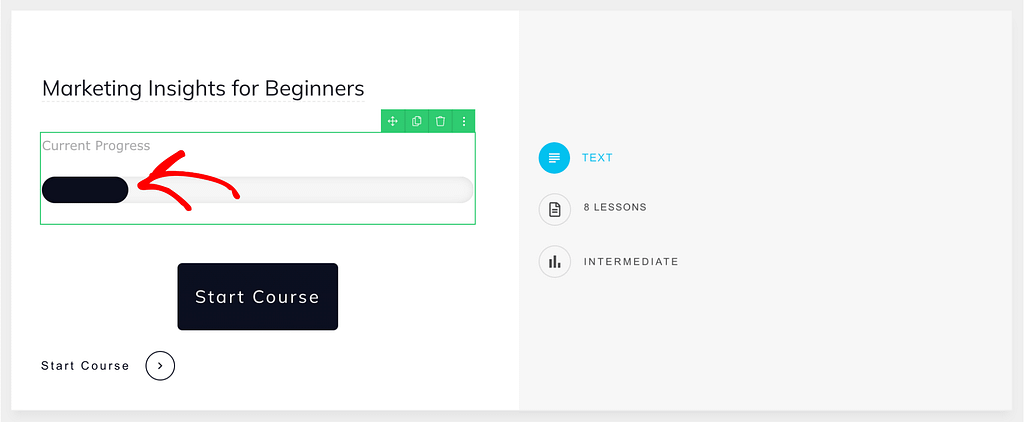
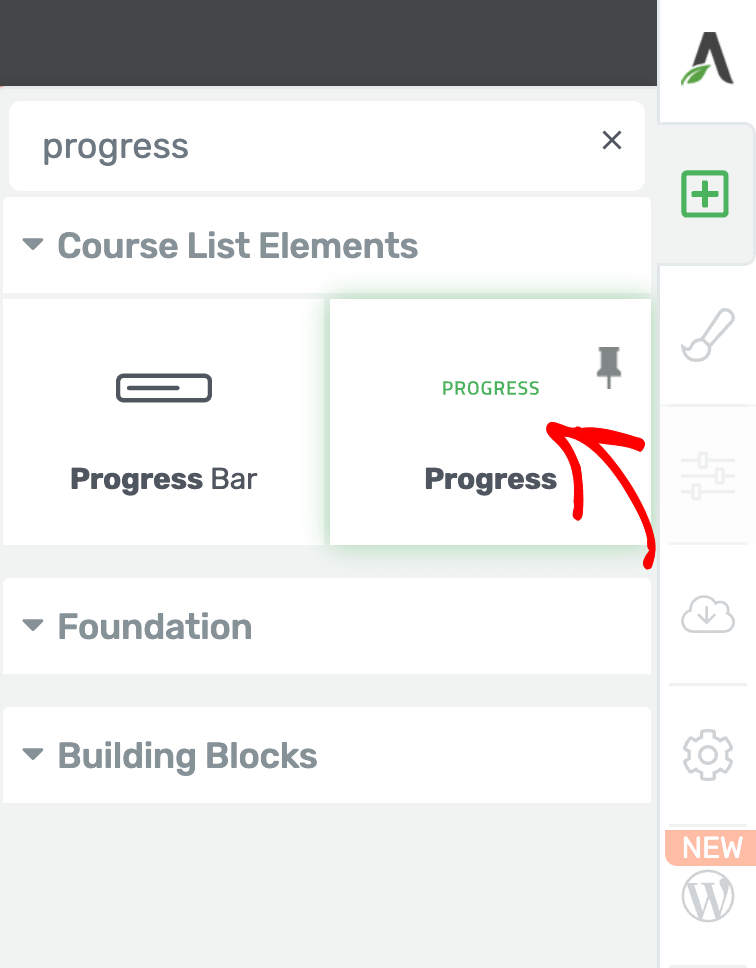
Progress
This element will show whether a course has been started, finished, is in progress, or not yet started.
To display the course progress, drag and drop the Progress element on a course and it will be added automatically to the other courses on the page.

When you add the element, you’ll see the course progress displayed on the courses and the options to customize it available in the left column.
The value of the Progress element on a course is a dynamic value based on the user’s interaction with the course that’s matched with the values you’ve set in Thrive Apprentice.
To view or edit these values, open your WordPress admin area, navigate to Thrive Dashboard >> Thrive Apprentice >> Settings >> Labels & Translations >> Course progress.

You can read more about this section in our document here.
Topic Icon
Thrive Apprentice lets you create topics for the courses you are publishing.
For every topic that you create, you can add a title and an icon associated with it.
The Topic Icon element for a course list will let you add the topic icon on the courses in the list.
To add the icon, drag and drop the Topic Icon element on a course and it will be added to the other courses on the page as well.
When added to the courses, click on the Topic Icon element that will open its options in the left column. You can use these options to manage the size, layout and position, background styling, etc.
Again, since this icon is fetched from what is set in Thrive Apprentice, you cannot change the icon here. If you want to create or update a Topic icon, refer to our document here.
Topic Title
Thrive Apprentice lets you create topics for the courses you are publishing.
For every topic that you create, you can add a title and an icon associated with it.
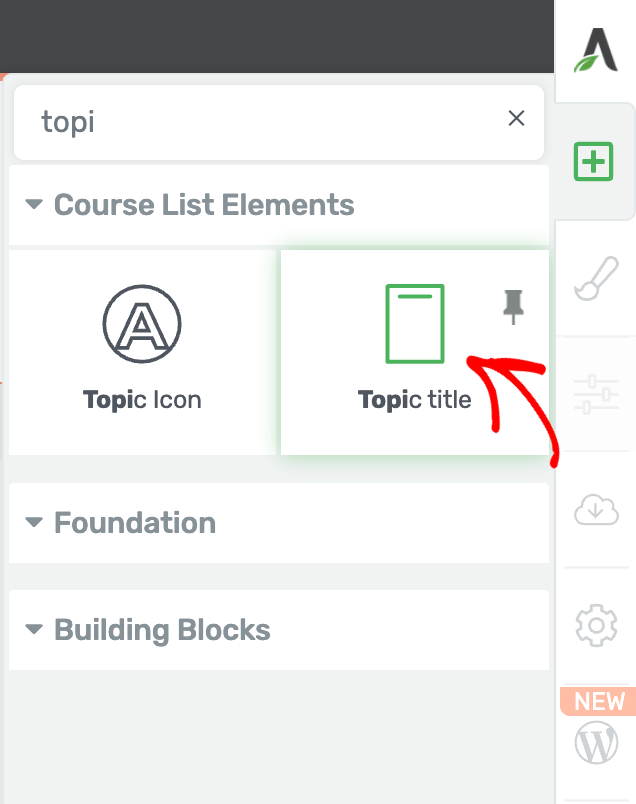
The Topic Title element for a course list will let you add the topic title on the courses in the list.
To add the title, drag and drop the Topic Title element on a course and it will be added to the other courses on the page as well.
When added to the courses, click on the Topic Title element that will open its options in the left column. All of these are quite similar to those you’d find for a Text element.
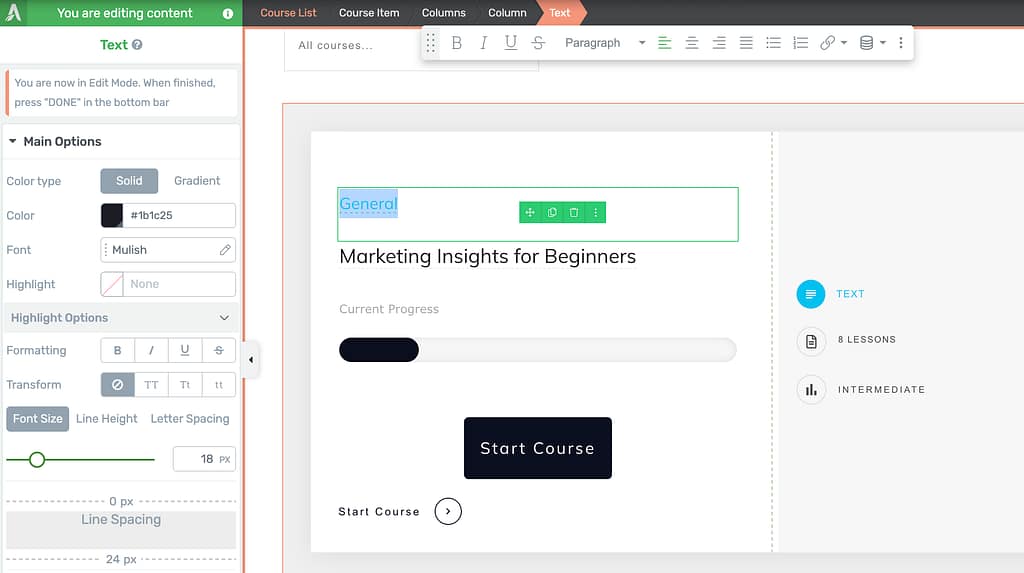
Again, since this title is fetched from what is set in Thrive Apprentice, you cannot change the title here. If you want to create or update a Topic title, refer to our document here.
Course Type
Just like the elements we’ve seen above you can fetch the course type and display it alongside courses on a page. This could be anything like Text, Video, Audio, etc.)
To display the type, drag and drop the Course Type element on the course.
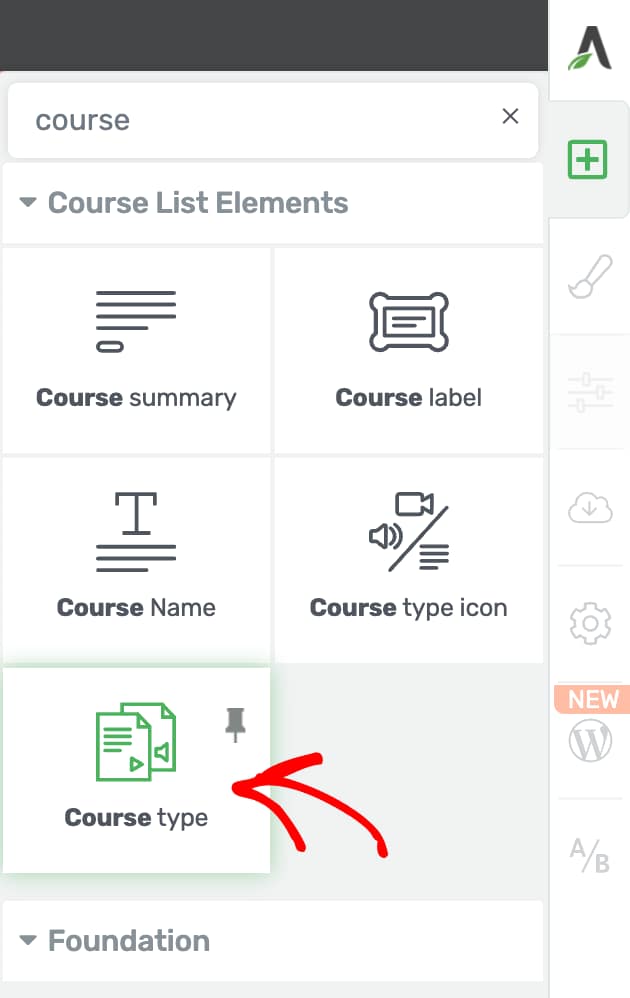
When added on the page, click on the Course type on the page and use the options in the left column to customize this element.
Course Type Icon
The course type icon as the name indicates is the icon associated with the course type.
To display the Course Type Icon on the course, drag and drop the Course Type Icon on a course.
When added on the page, click on the Course type on the page and use the options in the left column to customize this element.
Thrive Apprentice Elements for a Lesson List
When you’ve added a Lesson List element on page, you’ll be able to use 2 Thrive Apprentice elements on it.
To access the Thrive Apprentice elements for a lesson list, click on the Lesson List on the page, in the left column, click the Edit Design button, and use the plus icon in the right panel to open the Lesson List element.
These elements are as listed below.
Description
The Description element will add the description you’ve set for the selected item in Thrive Apprentice.
If you are placing the element in a module, it will display the module description. If you are placing the element, for example, in your lesson item, then the loaded description will be the one set for the lesson.
To add a description to a content inside a course, drag and drop the Description element from the right panel to the position you want to see it in.

As we’ve seen for the Course List element, any Thrive Apprentice element you add to an item in the Lesson List element will be added to all the other elements.
In the same way, any styling you apply or choose to remove an element from an item, it will be reflected in the other items too.
To edit the Description element further, click on the element in one the items and see the options open in the left column. These settings can only help you customize the look of the element – the value is fetched from the description set in Thrive Apprentice.
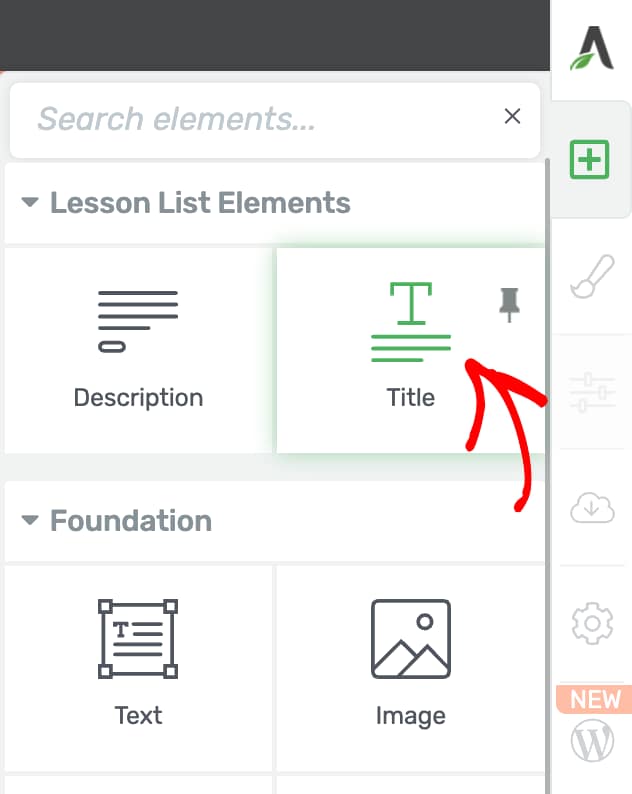
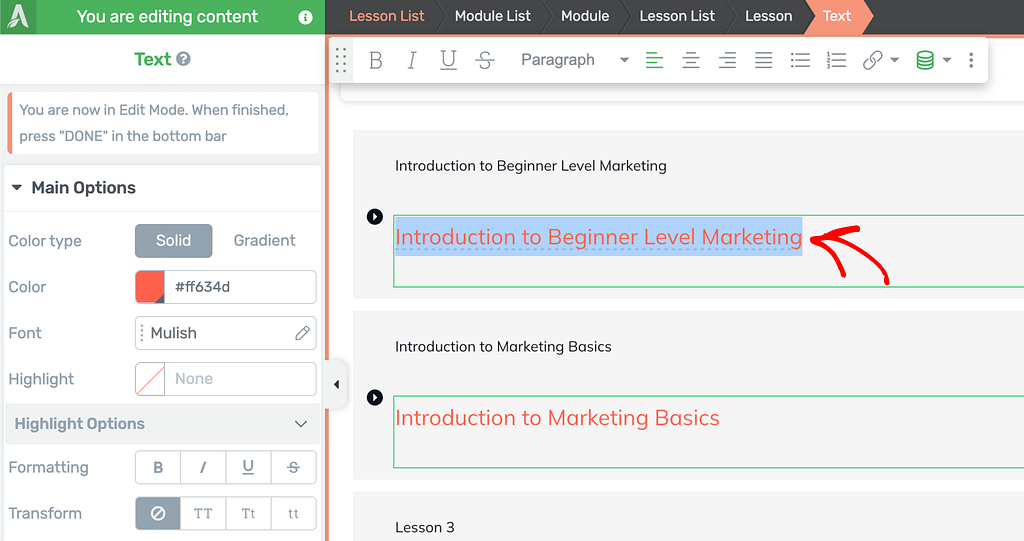
Title
The Title element lets you add a Lesson or an item title in case you delete the old one by mistake. It’s an easier way to simply drag and drop the element that fetches the titles automatically than to type each of them manually.
To add a title to an item in a Lesson List element, drag and drop the Title element to the position you want to see it at.
To edit the Title element further, click on the element in one the items and see the options open in the left column. These settings can only help you customize the look of the element – the value is fetched from what is set in Thrive Apprentice.
After adding and customizing all these Thrive Apprentice elements on the page, click Done to exit the Edit mode and save the page clicking the Save Work button.
We’ve just seen the basics of Thrive Apprentice Elements, what they are, how to use them with Thrive Architect and understood each individual element.
Next, do you want to enable assessments in Thrive Apprentice? Here’s a document that’ll help you do so.