If you have both Thrive Apprentice and MemberPress installed on your website, you’re in luck! The MemberPress plugin can now be used to set up protection options for your Thrive Apprentice courses.
Create a Product in Thrive Apprentice
First, go to your Thrive Apprentice dashboard and create a product for your online course:

After you do that, you will be taken to the settings that you can customize at product level:
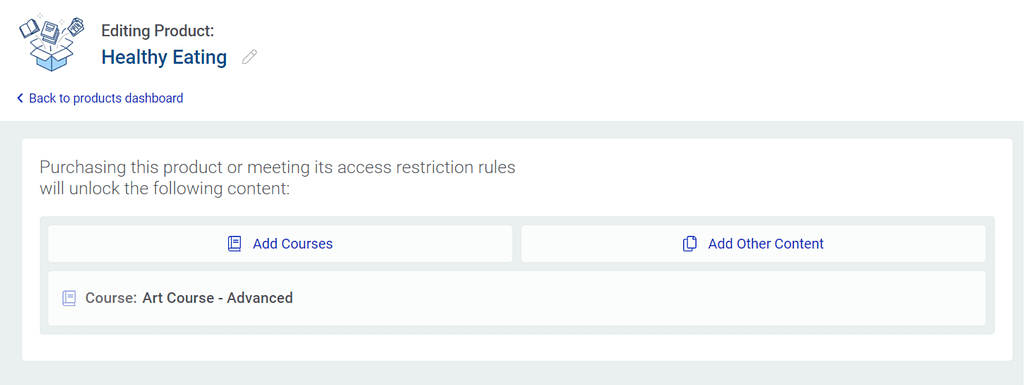
Here you need to set up the right access requirements for anyone trying to purchase this product.
But before we return to this step, let’s make sure that the right membership level is set up in MemberPress.
How does this work
This option will determine how much access your user will have to your courses. The Membership Level entries are imported straight from the MemberPress plugin.
You will have to select the levels that you want to use to protect this course. This means that the users will have to have the levels you select here in order to be able to access the course.
How to set up Membership Levels
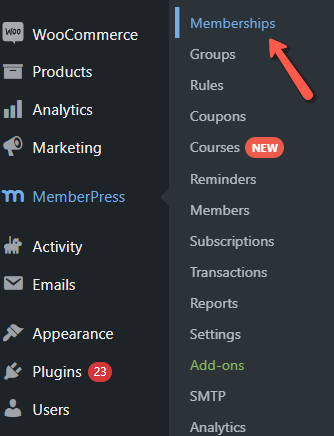
To set up these levels, you have to access MemberPress > Memberships:
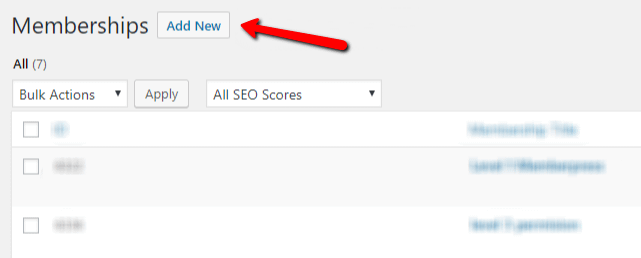
Then, to add a new membership level, simply click on “Add New”:
Moving forward, you will be able to give your new membership level a name (for internal use), as well as set all of its details and features.
Once you have done that, you can access the required rules for the product. The newly added levels will appear in the MemberPress section from the “Access requirements” tab, in Thrive Apprentice.
If you want to learn more about how you can set up the MemberPress Membership Levels and other features found in the plugin, don’t forget to check out the MemberPress Tutorials.
Set up the “Access requirements” at Product Level
Now that you have your Thrive Apprentice product set up, as well as the MemberPress membership level, you can proceed with setting up the necessary accesses at product level, in Thrive Apprentice.
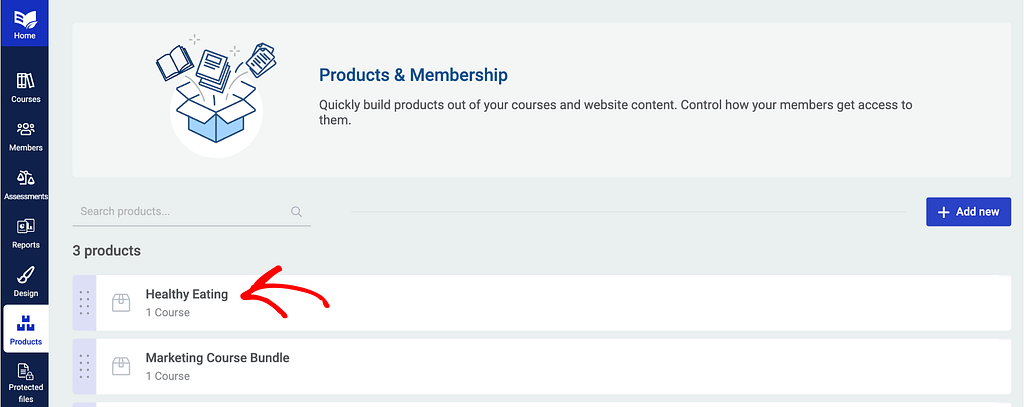
For that, access once more the product in Thrive Apprentice:
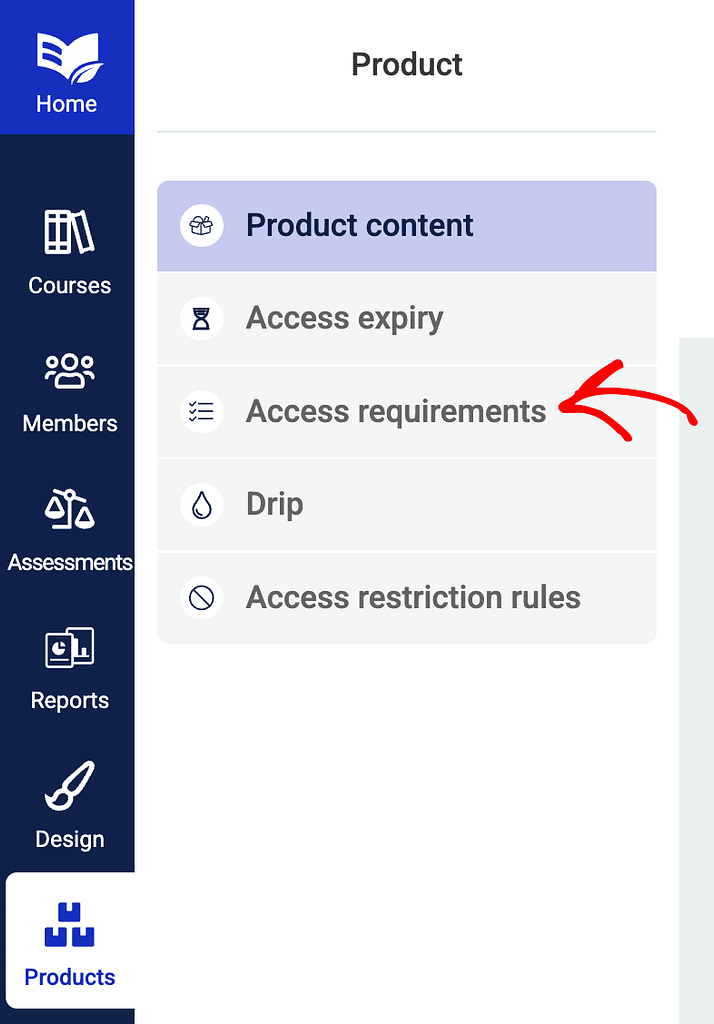
Click on the “Access requirements” tab:
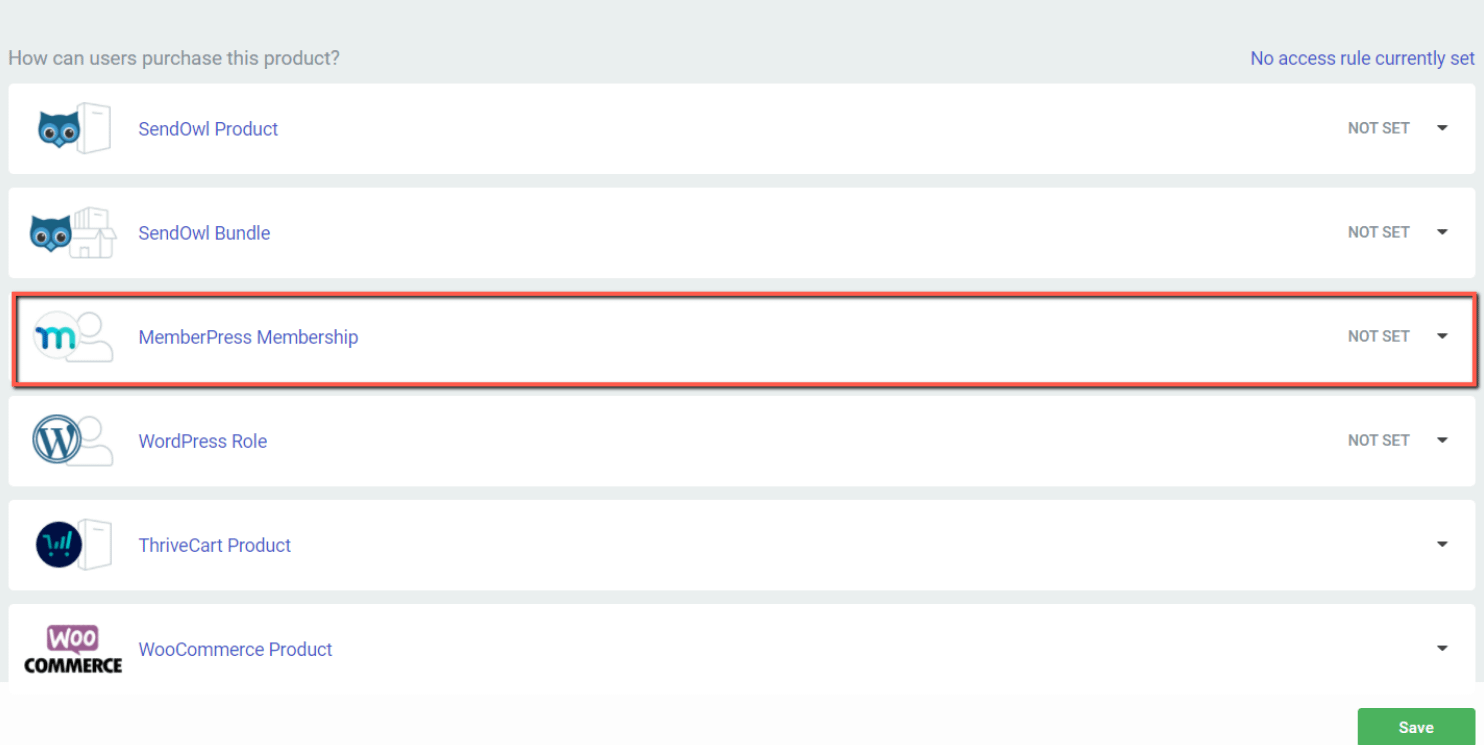
Then, in order to add a restriction rule, you need to look for “MemberPress” connection and when you found it, click on it:
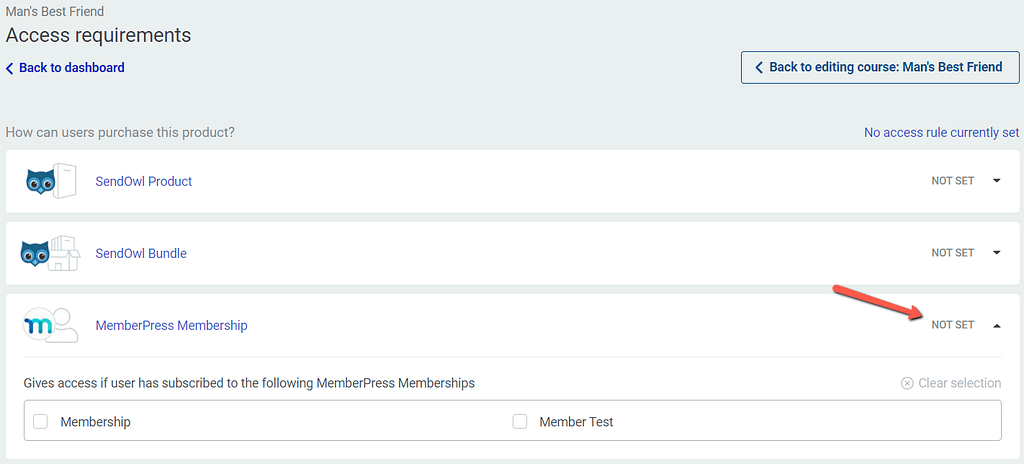
This will open a section where you can find the MemberPress protection options:
And simply select the membership that you have set up in MemberPress for this product:
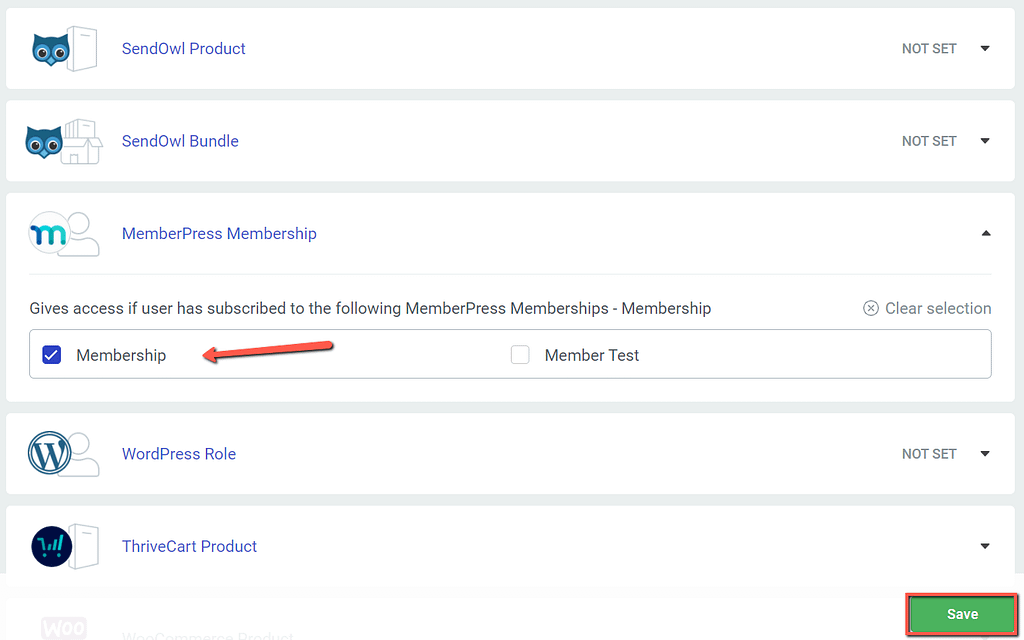
Lastly, don’t forget to save your work.
Configure the “Access restriction rules”
Next, what you also need to do here is to also configure the content that will be shown to the users who are trying to access the course without having the necessary permissions:
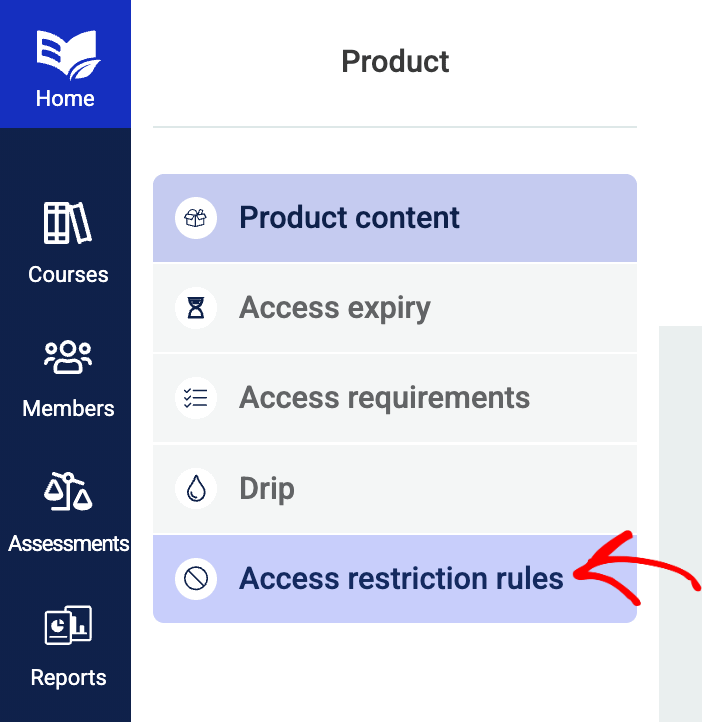
You can read more about how to set up these options in this article.
Restriction label
This option allows you to add different restriction labels to your courses. This is optional, so you can only use this feature if you want.
If you open the drop-down of this option, you will be able to select a label from here or add a new one:
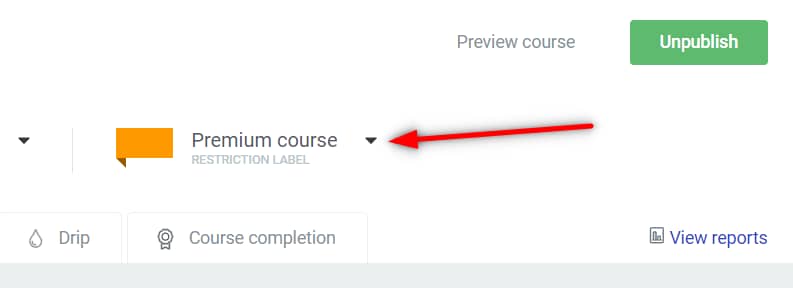
This label will be shown to anyone who’s viewing your course index page. Based on the label you set up here, your visitors will know whether this is a free course or a premium one.
And this is how you can use the MemberPress plugin to set up protection options for your Thrive Apprentice courses.
If you want to find out more about Thrive Apprentice features and options, check out our knowledge base.