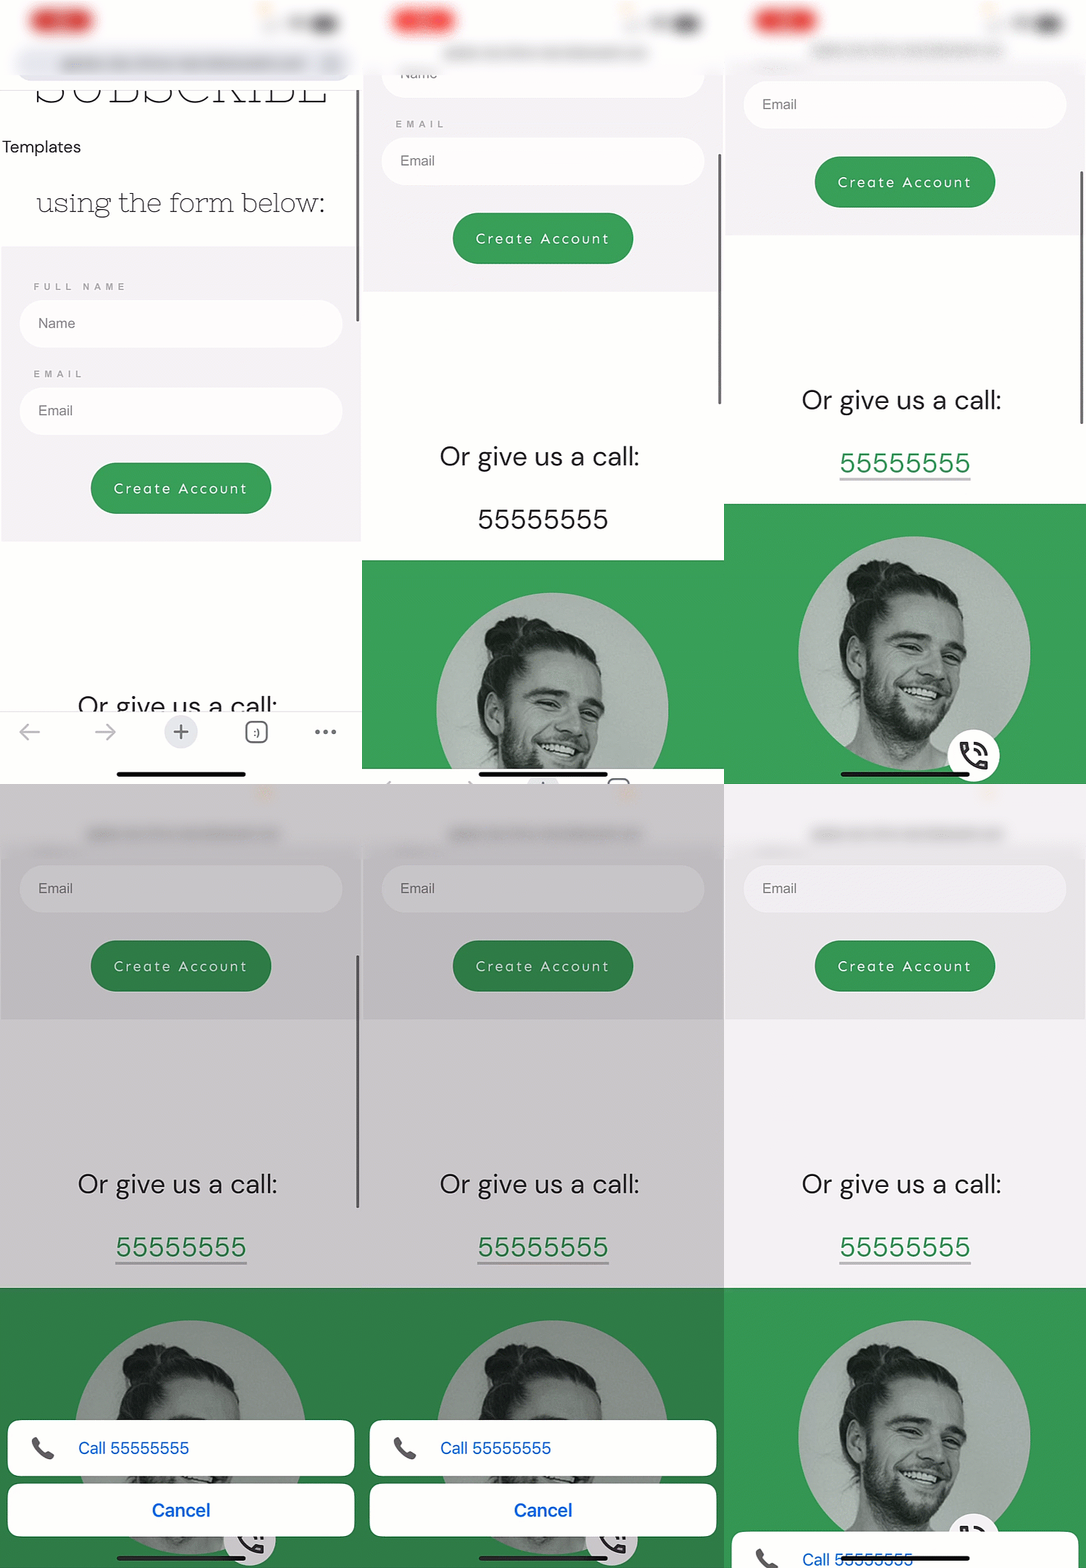
Do you want to add a Click to Call or Email button to your website? It’ll not only make it easier for users to reach you, but the ease of doing so will also increase the number of people contacting you.
In this article, we’ll see how you can enable this using Dynamic text.
Adding a “Click to Call” Phone Number
To add a “click to call” phone number, open the page in the Thrive Architect editor and click the text.
When you click the text typed on the page, you’ll see a floating panel where you click the drum icon to open the Dynamic text settings.
After you click the Dynamic icon, select the source by clicking the dropdown. Under source, select Global field.
When you select Global Fields as the source, click the following dropdown to select an option. Since we are implementing Click to call, choose the Phone number in this dropdown.
After selecting the Dynamic text source and option, check the checkbox to Enable click to call.
Once you are done with these settings, click Insert to insert the dynamic text, a phone number in this case, with the enabled click to call action.
Here’s a GIF of how this will look on the front end.

Adding a “Click to Email” Email Address
To add a “click to email” email address, open the page in the Thrive Architect editor and click the text.
When you click the text typed on the page, you’ll see a floating panel where you click the drum icon to open the Dynamic text settings.
After you click the Dynamic icon, select the source by clicking the dropdown. Under source, select Global field.
When you select Global Fields as the source, click the following dropdown to select an option. Since we are implementing Click to Email, choose the Email Address in this dropdown.
After selecting the Dynamic text source and option, check the checkbox to Enable click to email.
Once you are done with these settings, click Insert to insert the dynamic text, an email address in this case, with the enabled click-to-email action.
Here’s a GIF of how this will look on the front end.

We’ve just seen how you can enable click-to-call and click-to-email options using Dynamic text on a page.
Next, if you want to do the same using an element in Thrive Architect, you can refer to our documents to help you enable click-to-call using elements or click-to-email using elements.