Thrive Leads gives you granular control over when and where your forms appear. There are two levels of settings: Lead Group Settings (Where does it show?) and Form Settings (When does it trigger?).
Lead Group Settings (The “Where”)
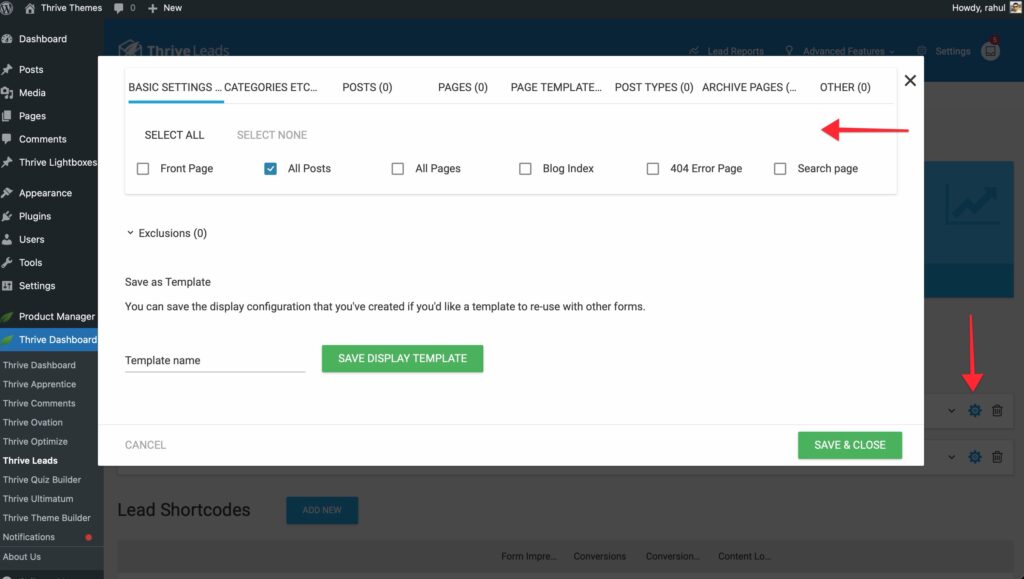
These settings control which pages of your website will display the forms in this group.
- Open the Thrive Leads Dashboard.
- Find your Lead Group and click the Cogwheel Icon.
- Display Logic: Choose the content you want to include (e.g., “All Posts”, “Front Page”, “Specific Categories”).
- Exclusions: Click the “Exclusions” tab to strictly hide forms on specific pages (e.g., your “Thank You” or “Login” pages).
- Save as Template: If you use the same rules often, give them a name and click “Save Display Template” for easy reuse later.
Form Settings (The “When” & “How”)
Once a Lead Group is active on a page, the individual form settings control its behavior.
1. Trigger
Decides the exact moment the form appears.

- Show on page load: Immediately.
- Show after a certain period: Good for timed offers.
- Scroll Triggers: Show when a user scrolls to a specific percentage or element.
- Exit Intent (SmartExit): Show when the user’s mouse moves to leave the window.
2. Display Frequency
Decides how often a visitor sees the form.
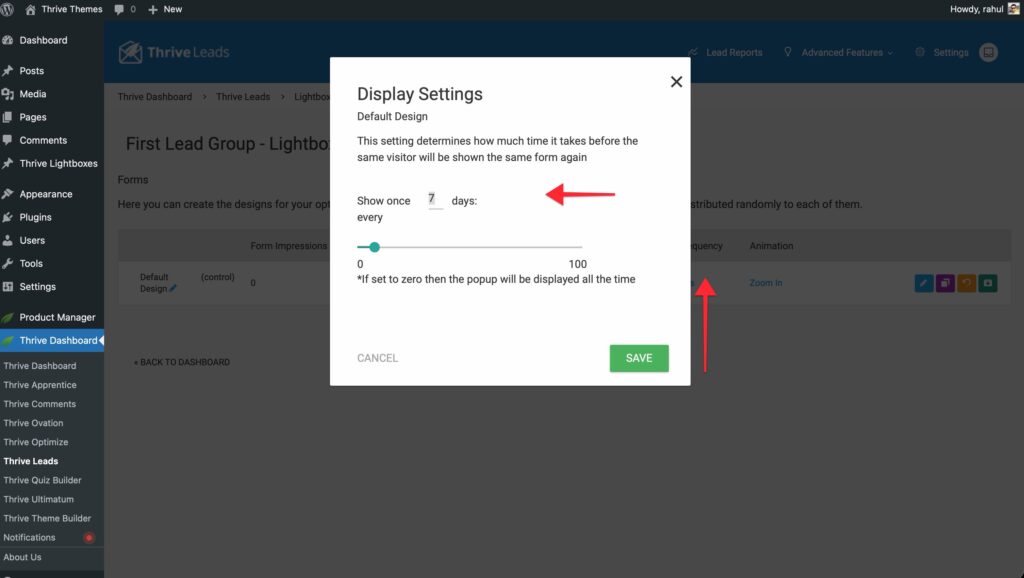
- 0 Days: Shows every single time (good for testing or critical notices).
- X Days: If a user closes the form, they won’t see it again for X days. This prevents “popup fatigue.”
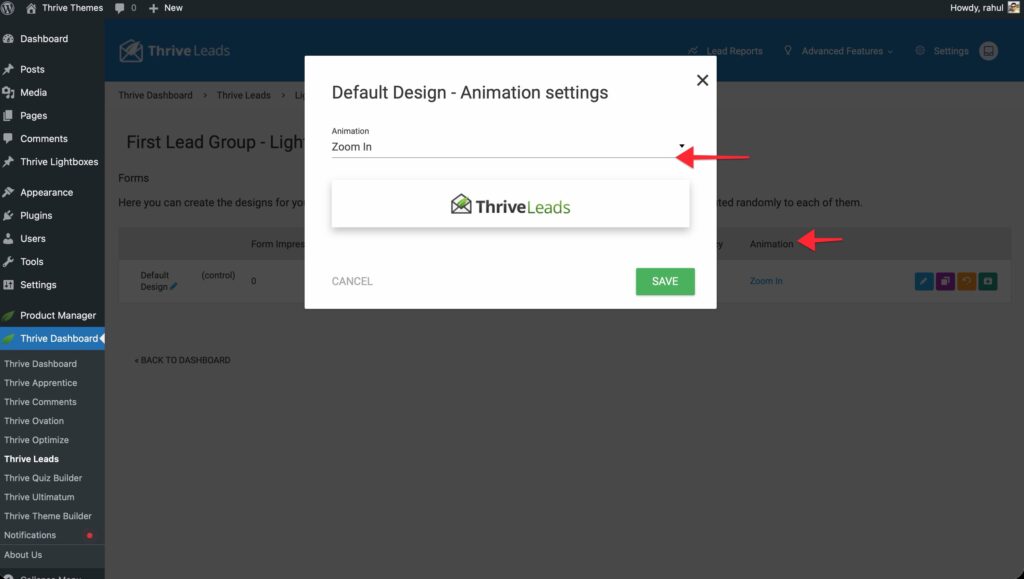
3. Animation
Choose how the form enters the screen (Zoom In, Slide Down, Rotate, etc.) to catch attention without being annoying.
4. Position
For Ribbons and Slide-ins, you can choose the position (Top/Bottom, Left/Right).
Desktop vs. Mobile Visibility
You can show different forms to desktop and mobile users, or hide them entirely on one device.
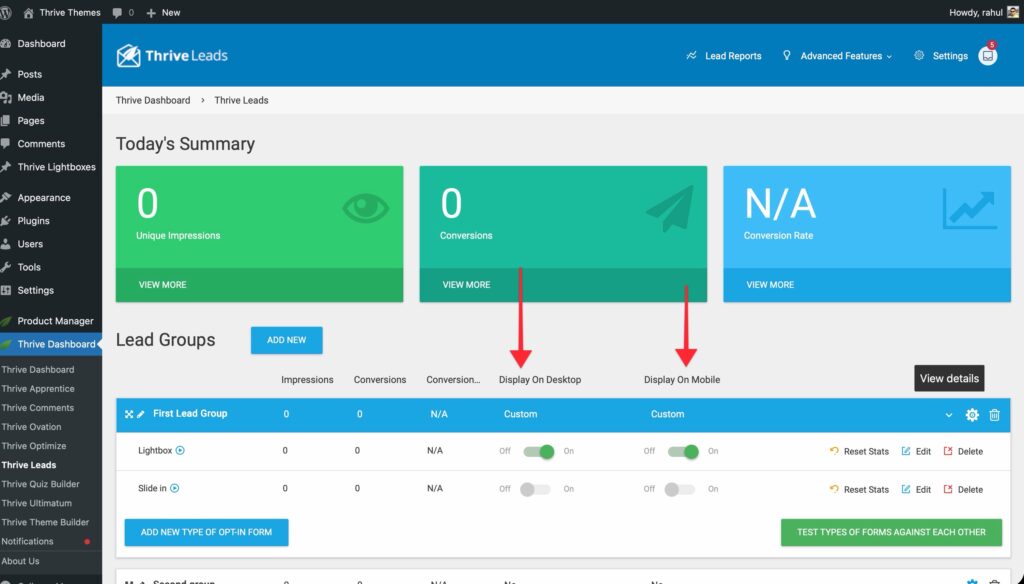
- In the Lead Group view, look at the columns for Desktop and Mobile.
- Use the Eye Icon (toggle switch) to enable or disable a specific form for that device.
- Tip: Create a large, detailed Lightbox for Desktop and a simpler, smaller one for Mobile, then toggle their visibility accordingly.