In this article, you’ll learn how to connect your Square payment processor to Thrive Apprentice so you can sell courses and restrict access to paying customers. This guide covers connecting your Square account, setting up a sandbox for testing, creating items, configuring webhooks, and displaying the buy button.
Prerequisites
Before you begin, make sure you have:
- A Square account (create one at squareup.com if you don’t have one)
- Thrive Apprentice installed and activated on your WordPress site
- At least one course created in Thrive Apprentice
Step 1: Connect Your Square Account
- Go to Thrive Dashboard > Thrive Apprentice.
- Click Settings in the left sidebar.
- Select Payment processors from the settings menu.
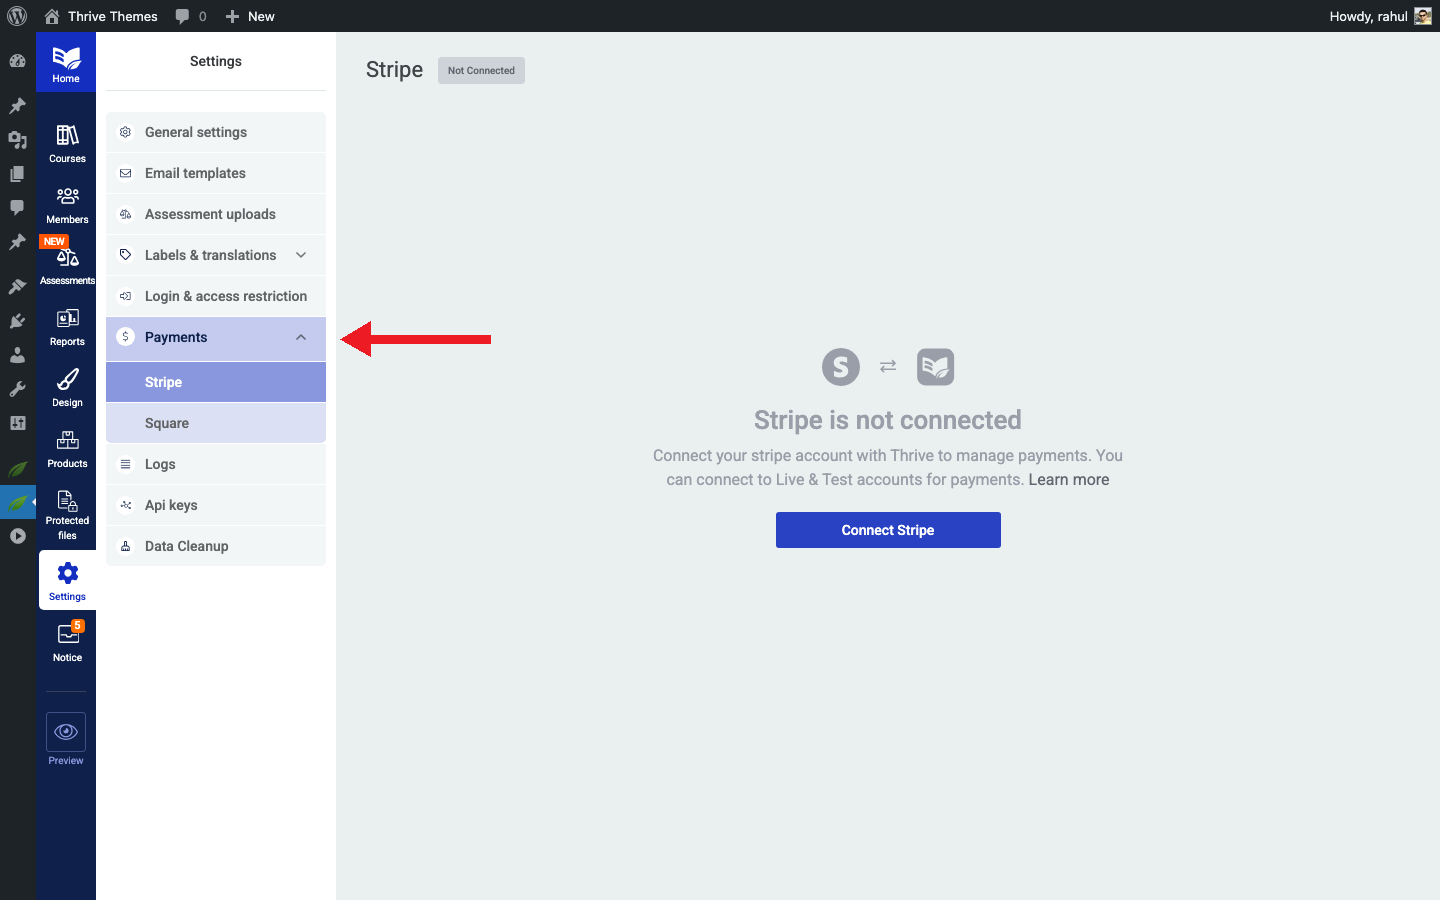
- Find the Square option and click Connect.
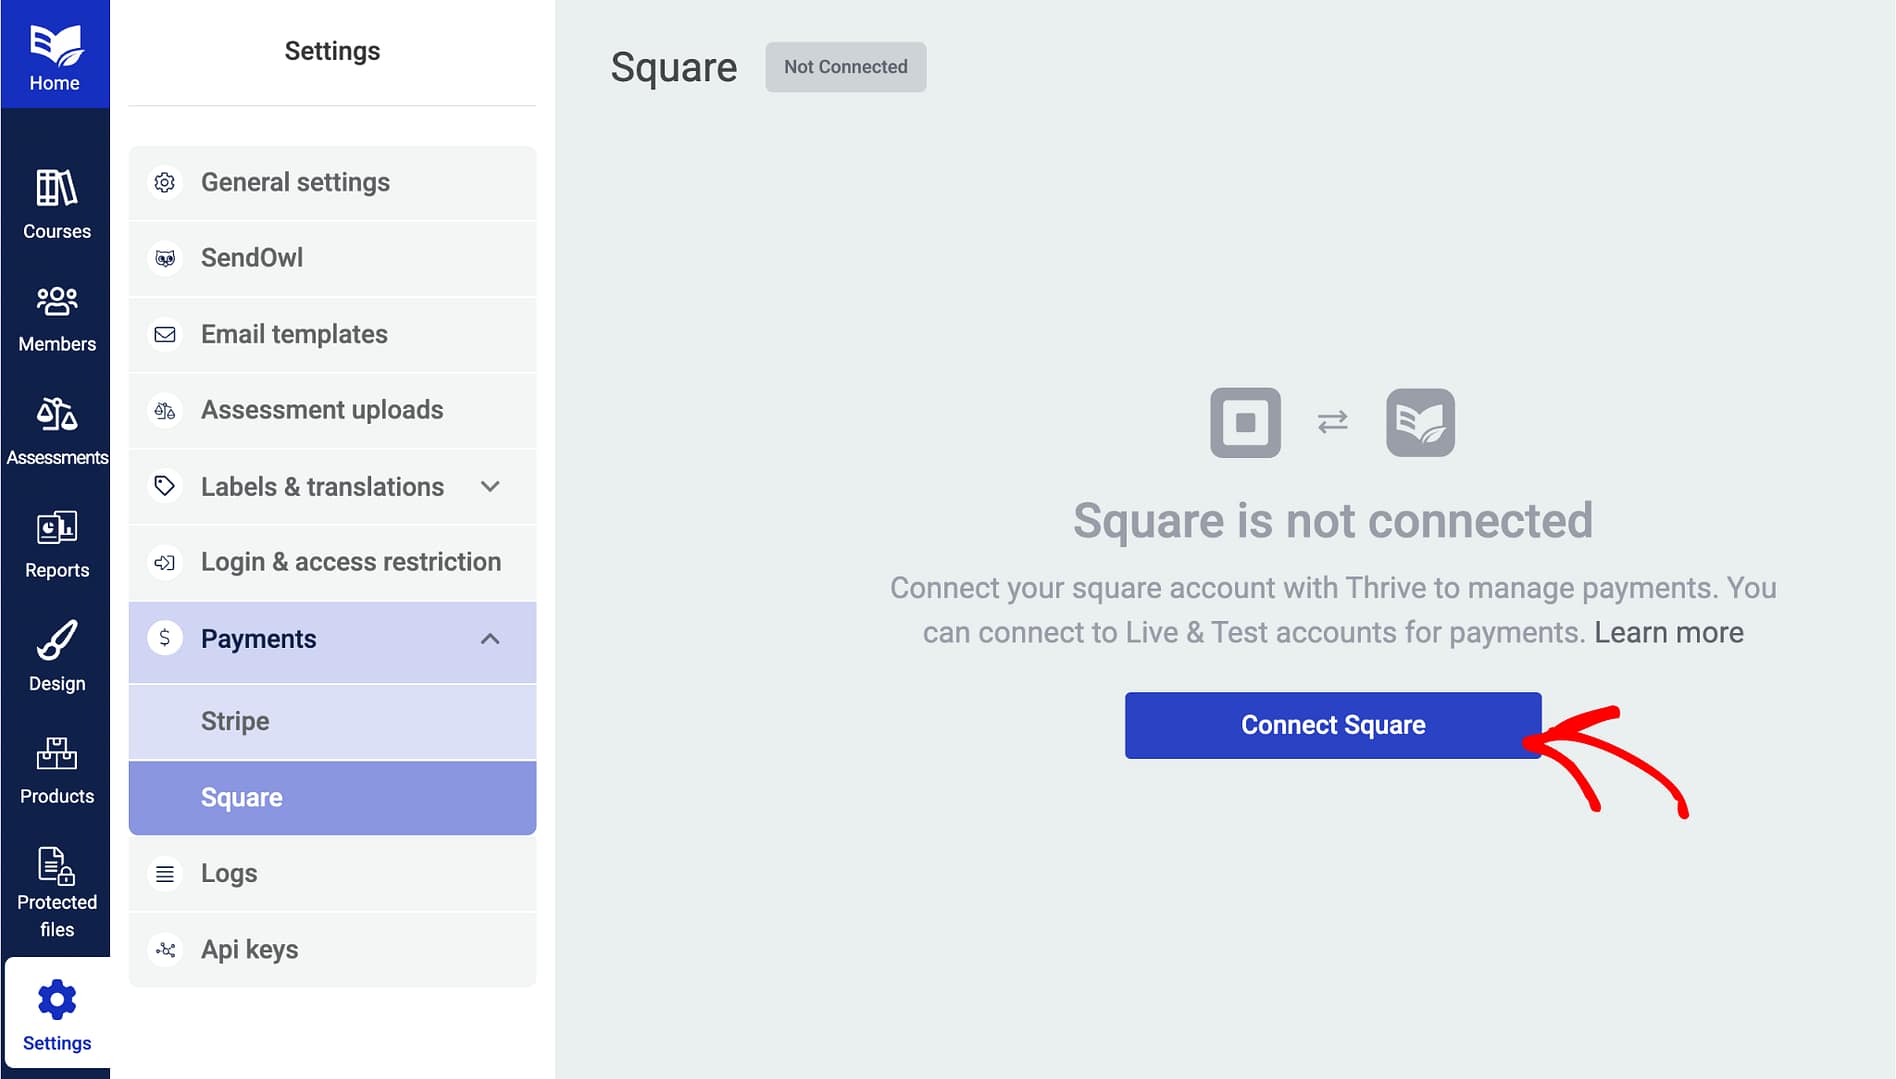
- You’ll be redirected to Square’s authorization page. Log in to your Square account.
- Authorize the connection by granting Thrive Apprentice the required permissions.
- Once authorized, you’ll be redirected back to Thrive Apprentice with a confirmation message.
Tip: Square offers both a live environment and a sandbox environment. Start with the sandbox to test your setup before accepting real payments.
Step 2: Connect Your Square Sandbox (Optional but Recommended)
Testing with Square’s sandbox lets you simulate purchases without processing real transactions.
- Log in to the Square Developer Dashboard at developer.squareup.com.
- Create or select a sandbox application.
- Copy your Sandbox Application ID and Sandbox Access Token.
- In Thrive Apprentice, go to Settings > Payment processors > Square.
- Toggle to Sandbox mode and enter your sandbox credentials.
- Save your settings.
You can now test the full purchase flow with sandbox credentials before going live.
Step 3: Create an Item in Your Square Account
You need to create an item in Square that corresponds to your Thrive Apprentice course product.
- Log in to your Square dashboard.
- Go to Items (or Item Library).
- Click Create an Item.
- Enter a name and description that matches your course product.
- Set the price for the item.
- Save the item.
Note: The item you create in Square is what your customers will be charged for. Make sure the name and price align with the course product you’ve set up in Thrive Apprentice.
Step 4: Create a Webhook in Square
Webhooks allow Square to notify Thrive Apprentice when a payment is completed, so course access can be granted automatically.
- Go to the Square Developer Dashboard.
- Select your application.
- Navigate to Webhooks in the left sidebar.
- Click Add Webhook (or Subscribe to Events).
- Enter the webhook URL provided by Thrive Apprentice. You’ll find this in Settings > Payment processors > Square within Thrive Apprentice.
- Select the relevant events to subscribe to—at minimum, subscribe to payment.completed events.
- Save the webhook.
Important: The webhook URL must be accessible from the internet. If your site is behind a firewall or in maintenance mode, Square won’t be able to send notifications, and course access won’t be granted.
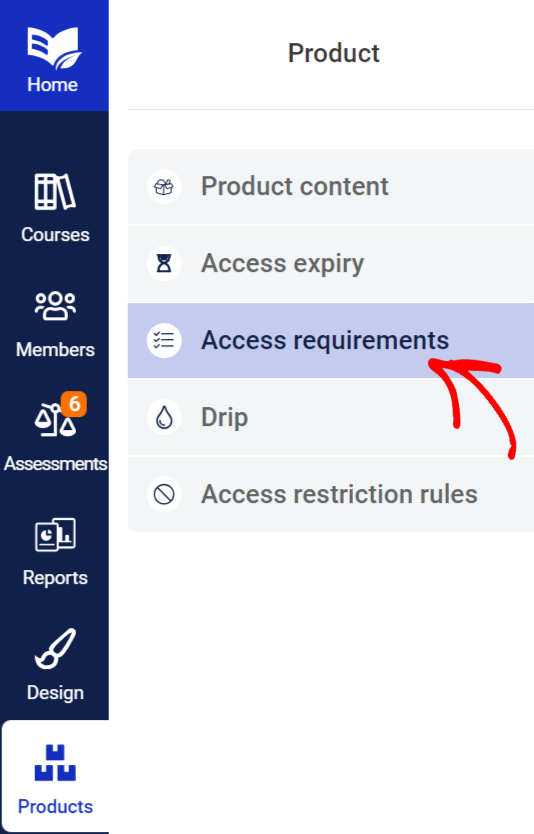
Step 5: Configure Access Restrictions
Now link your Square item to a Thrive Apprentice product so that purchases trigger access.
- Go to Thrive Dashboard > Thrive Apprentice.
- Click Products in the left sidebar.
- Select the product you want to protect.
- Click the Access requirements tab.
- Choose Square as the payment method.
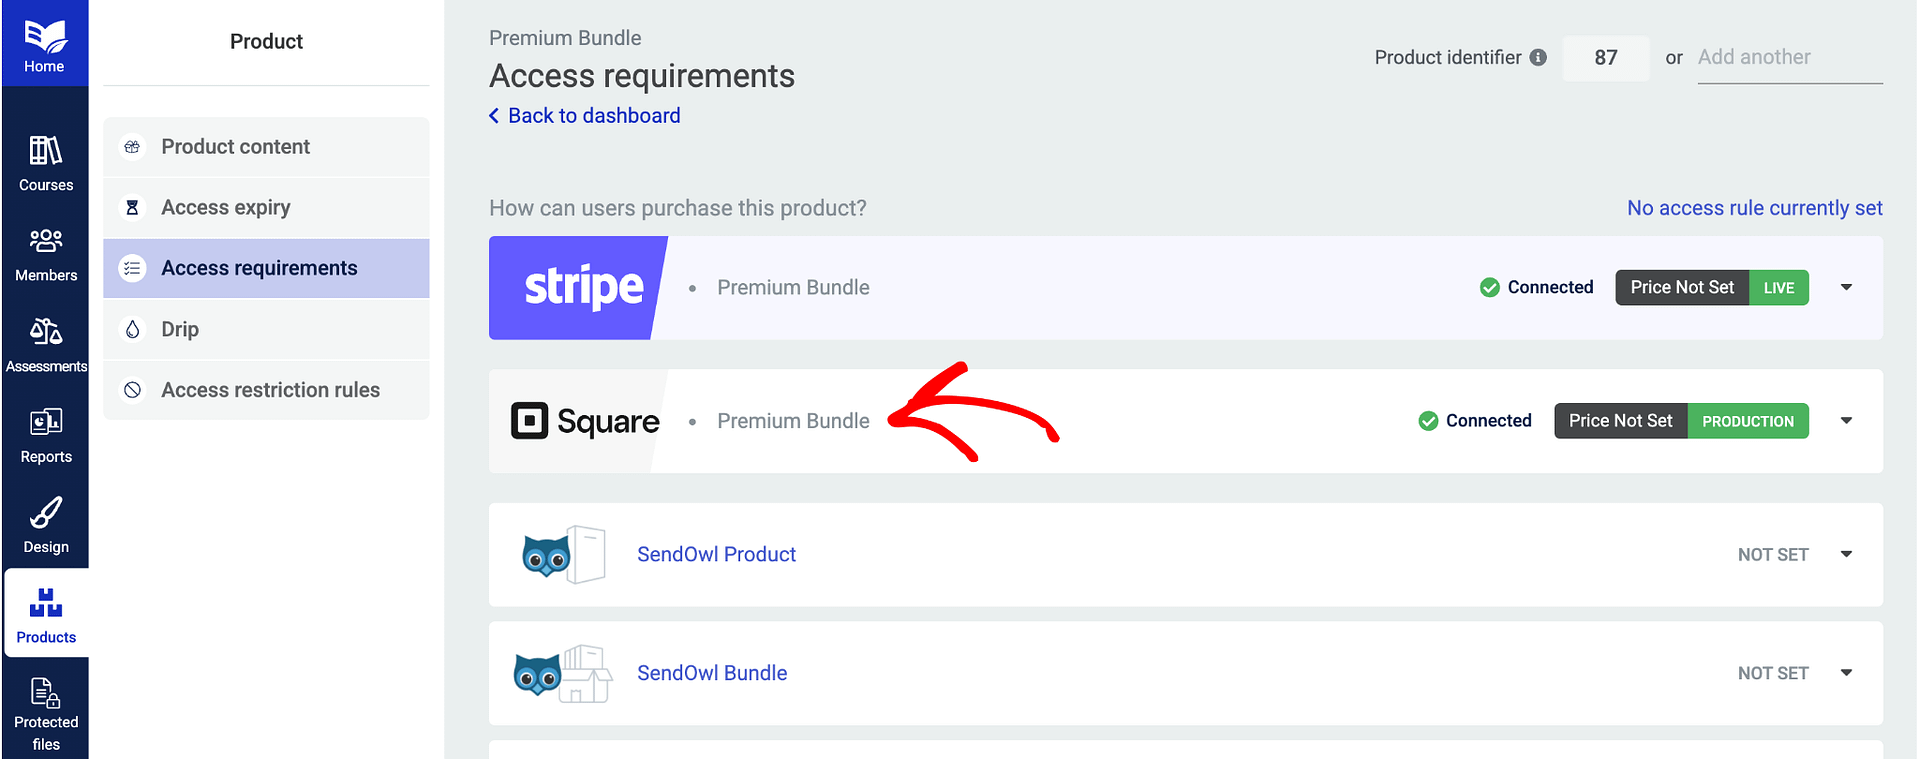
- Select the Square item you created in Step 3.
- Save your changes.
Step 6: Display the Square Buy Button
To let your customers make purchases, you need to display a buy button on your course or product page.
- Open the course or product page in Thrive Architect (or your page editor).
- Add or configure the purchase button element.
- Link the button to the Square checkout for the item you’ve set up.
- Save and publish the page.
When a customer clicks the buy button, they’ll be taken through the Square checkout process. After successful payment, Thrive Apprentice grants them access to the course.
Step 7: Set Up Transactional Emails
Make sure your customers receive confirmation emails after their purchase.
- In Thrive Apprentice, go to Settings > Email notifications (or your email settings).
- Verify that transactional emails are enabled for new enrollments and purchases.
- Customize the email content if needed—include the course name, login link, and any getting-started instructions.
- Send a test email to confirm everything looks correct.
Troubleshooting
- Square connection failed: Verify you’re logged in to the correct Square account and that you’ve granted all required permissions. Try disconnecting and reconnecting.
- Webhook not firing: Confirm the webhook URL is correct in the Square Developer Dashboard and that your site is publicly accessible. Check the webhook logs in Square for error details.
- Customer didn’t receive access: Verify that the Square item is linked to the correct Thrive Apprentice product in the Access requirements tab. Check Square’s transaction history to confirm the payment was successful.
- Sandbox not working: Make sure you’ve entered the correct sandbox credentials and that you’re testing with Square’s sandbox test data.
That’s it! You’ve successfully connected Square to Thrive Apprentice and configured it to sell courses with automatic access provisioning.
Related Resources
- Choosing an integration: How to Choose the Right Integration for Thrive Apprentice
- Stripe setup: How to Set Up Stripe in Thrive Apprentice
- Stripe Customer Portal: How to Enable the Stripe Customer Portal for Thrive Apprentice Members
- WooCommerce setup: How to Get Started with WooCommerce and Thrive Apprentice