If you are planning on adding an image to a Thrive Architect-created post/page and you want to make it round, make sure you read this article.

One thing about how our editor works is that it will let you fully customize all of the elements you add to the editor.
What this means in the case of the “Image” element is that you have complete control over its dimensions.
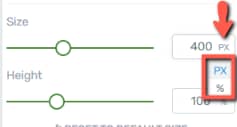
The size and height of the element can be quickly adjusted with the help of a slider:

Or, for a more exact dimension, you can manually insert a numerical value (pixels or percentages) in the field next to the slider. To change from pixels to percentages, simply click on the icon next to the number field:
When you want to change the shape of an image to round, you can do that using the “Image Style” option:
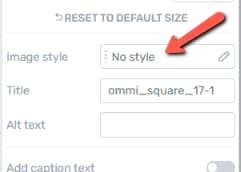
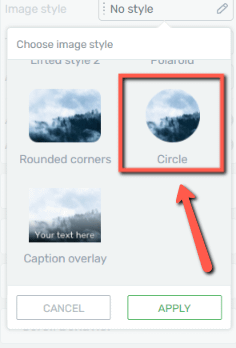
Clicking on this field will open a pop-up with the available image styles. You can choose the “Circle” style here, and that will transform your image into a circle:
|
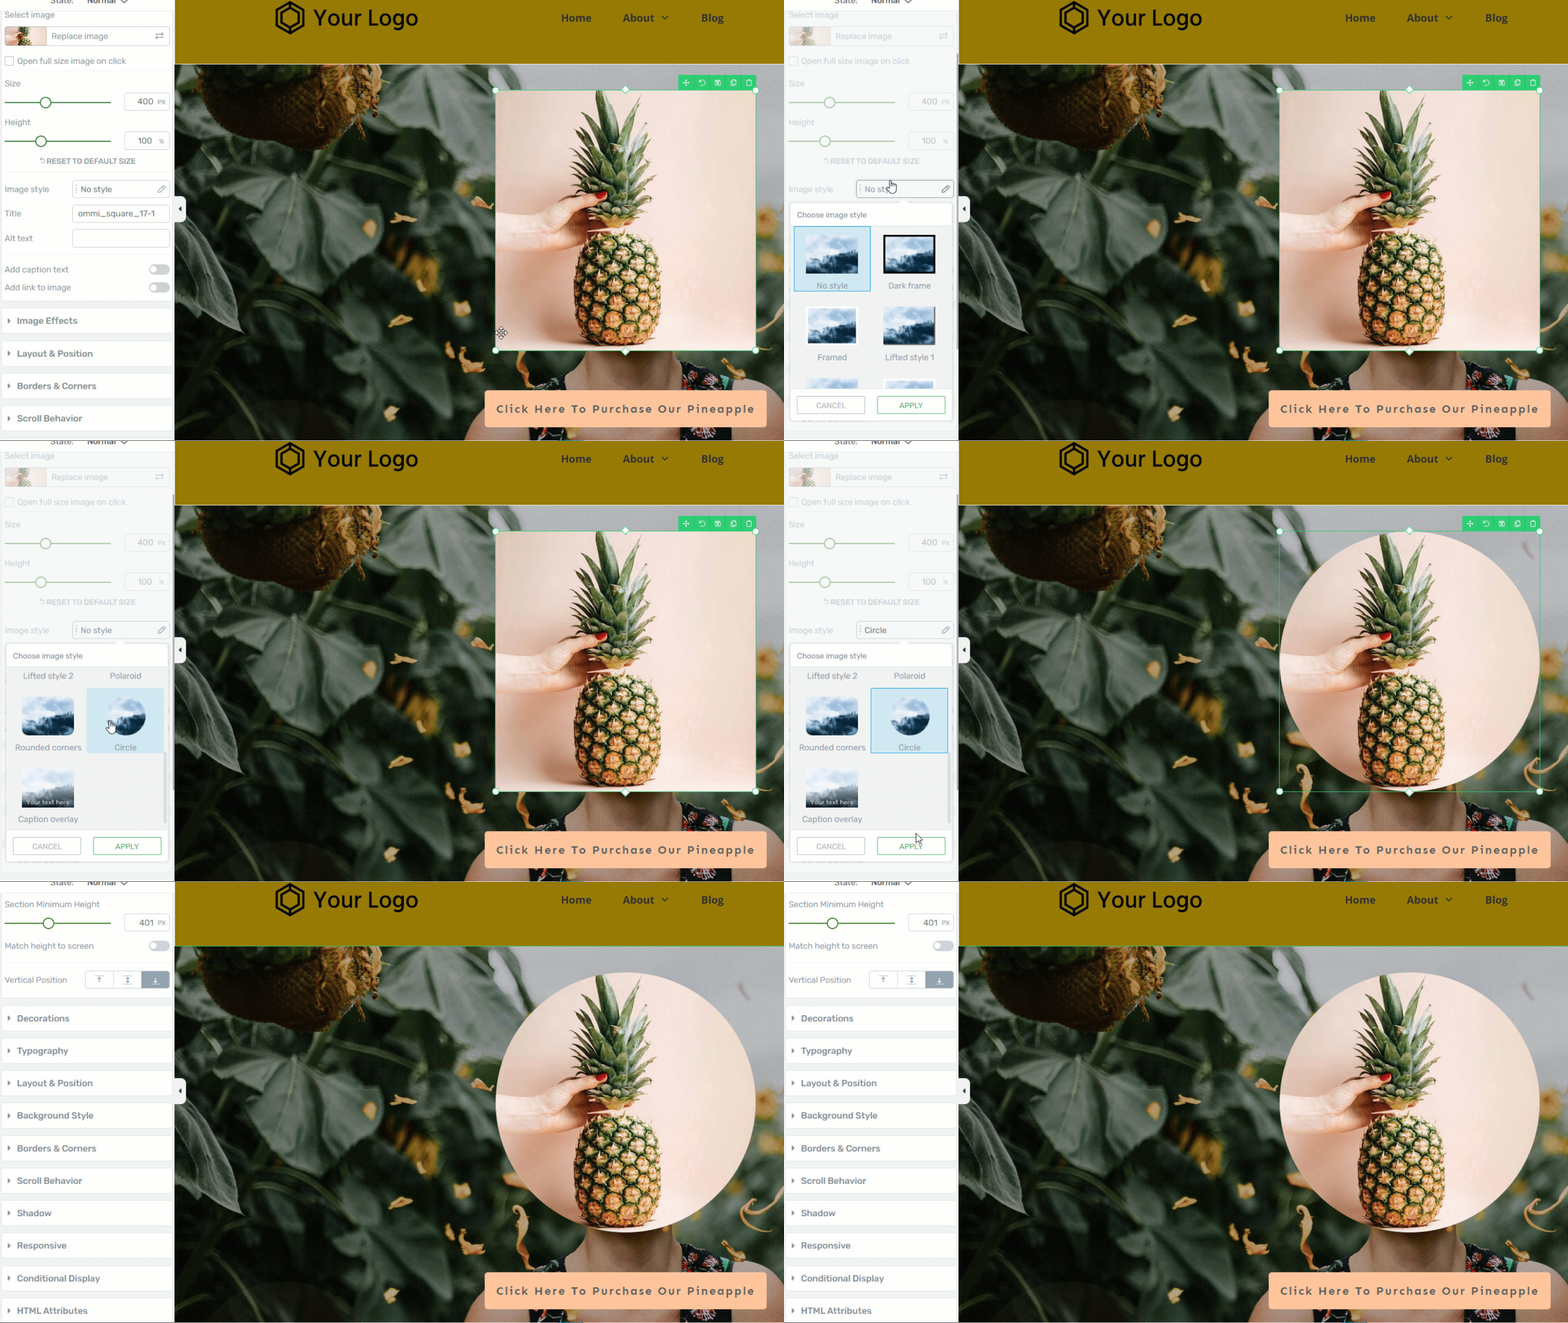
Important! A very important thing to keep in mind here is that the outcome of applying this style to an image will depend on the shape of the initial image:
 |
Make the image round using borders and corners
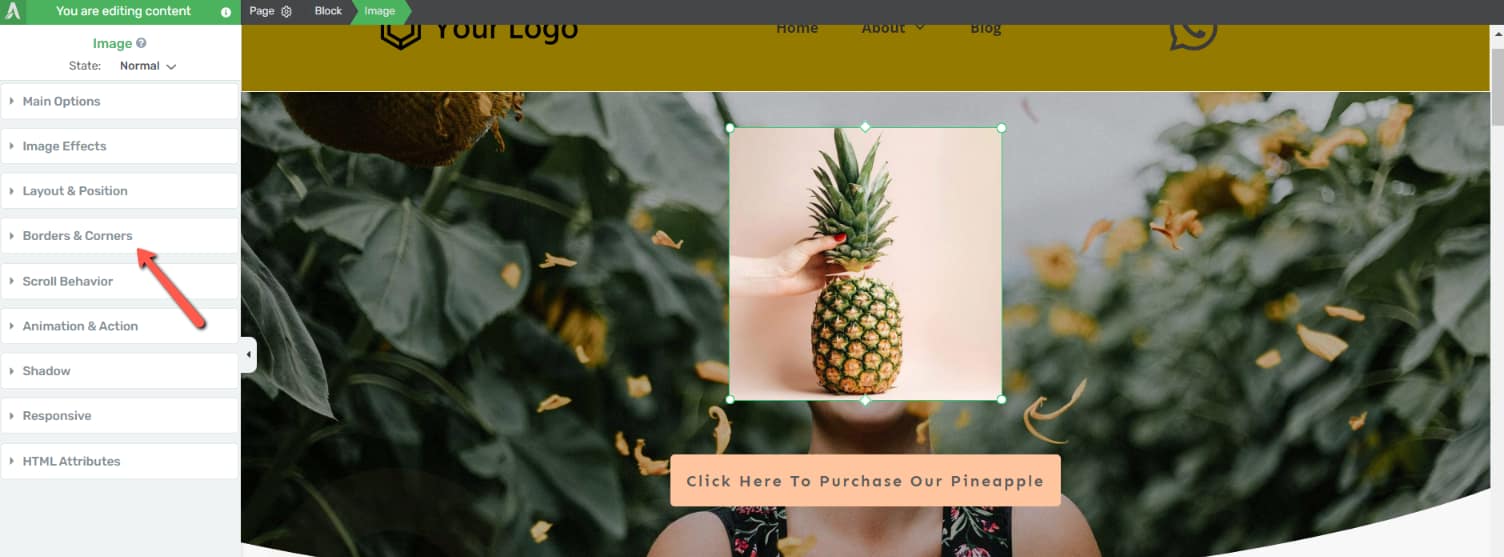
Another option you have for making an image round is with the help of the “Borders & Corners” element setting. With the image selected, click on this section of the left sidebar:
Enter a high numerical value in the numerical field next to the corner section:
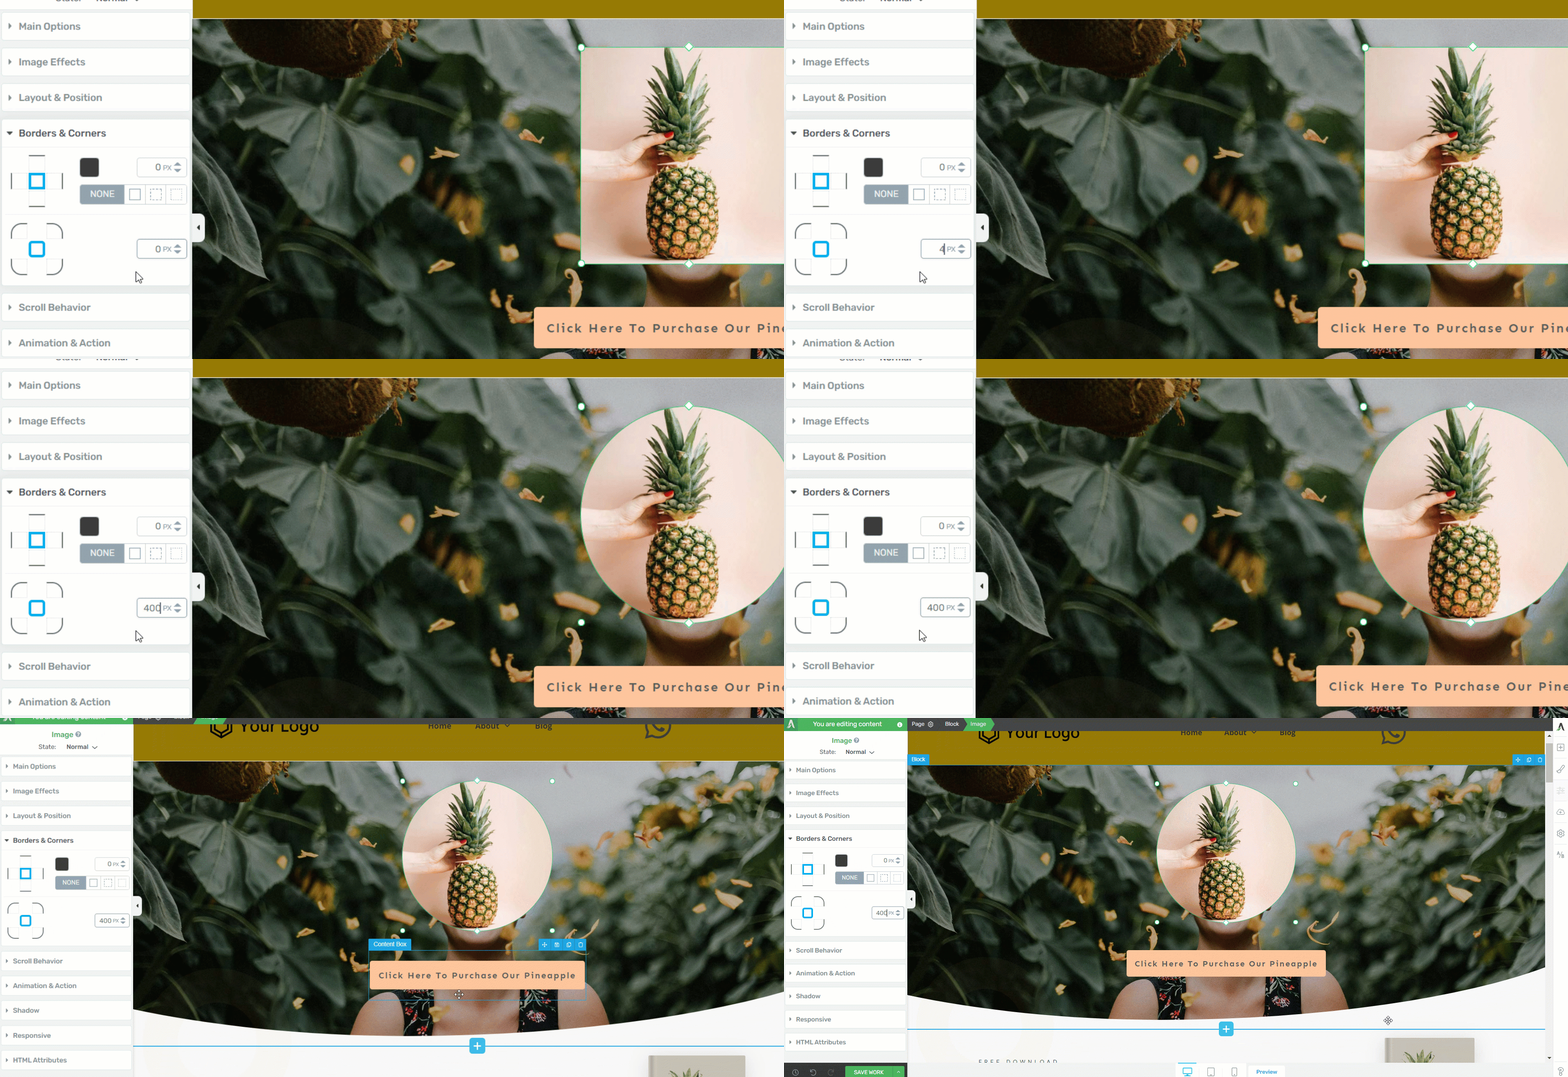
The corners of the image will become rounded, thus turning the image into a circular shape.
These are the ways in which you can create a round image in Thrive Architect.
Don’t forget to check out our knowledge base and YouTube channels for more tips and tricks and tutorials on how to use Thrive products and features.