Do you want to display a call-to-action to website visitors only when they aren’t logged in to your website? You can use the Conditional Display feature to ensure the call-to-action you create in Thrive Architect is displayed only when the set condition is fulfilled.
In this article, we’ll show you how a common section on your website can be modified to show up a different piece of content based on whether a user is logged in or not.
Creating a Call-to-action
A call-to-action is an element that encourages users to perform an action you want them to.
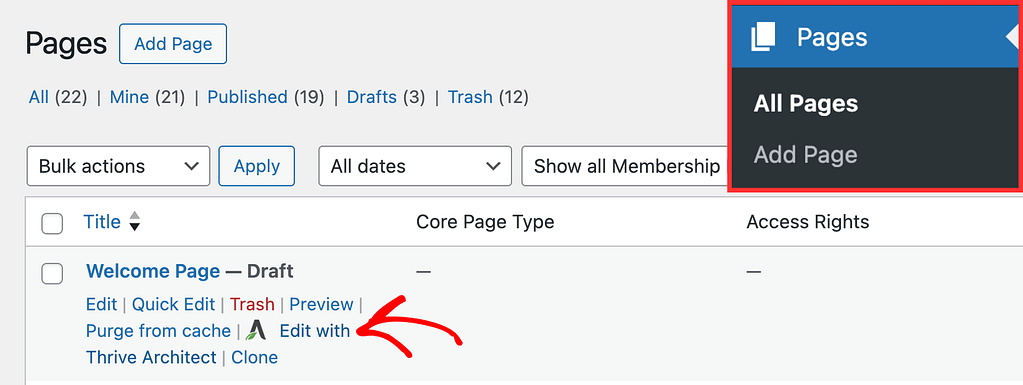
To begin with, open your WordPress admin area, navigate to Pages >> All Pages, hover on the page you want to edit and click on Edit with Thrive Architect editor.
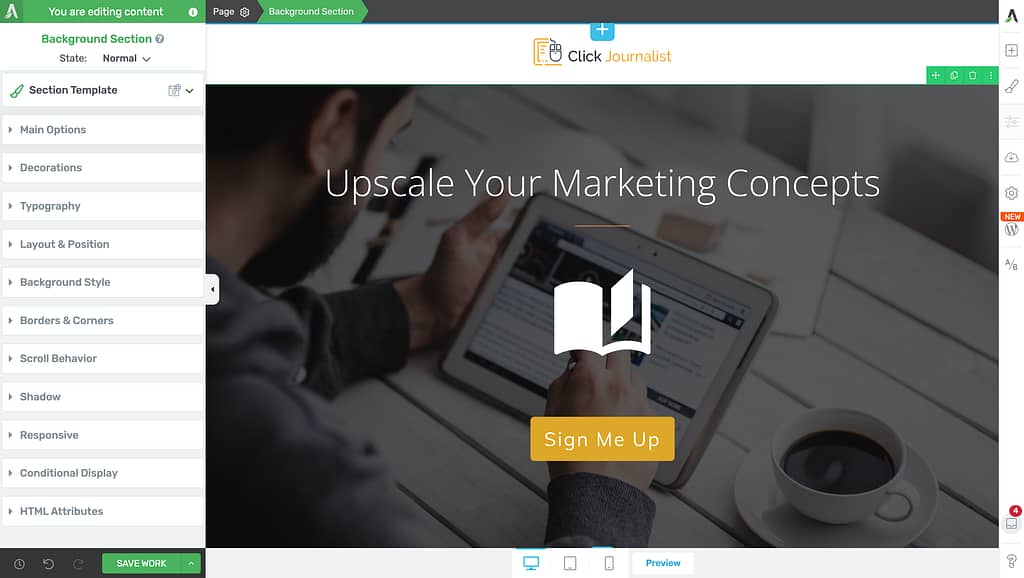
In this example, let’s say we have a section that encourages logged out users to sign in and is replaced by one that welcomes logged in users.
Note: To use the Conditional Display feature, please ensure the call-to-action or the button you want to add the feature to is placed inside a container to which you can apply the conditional display.
Since the button on this page will take users to a login page, you’ll have to set that up for it.
To set the link, click the button to open its options in the left column.
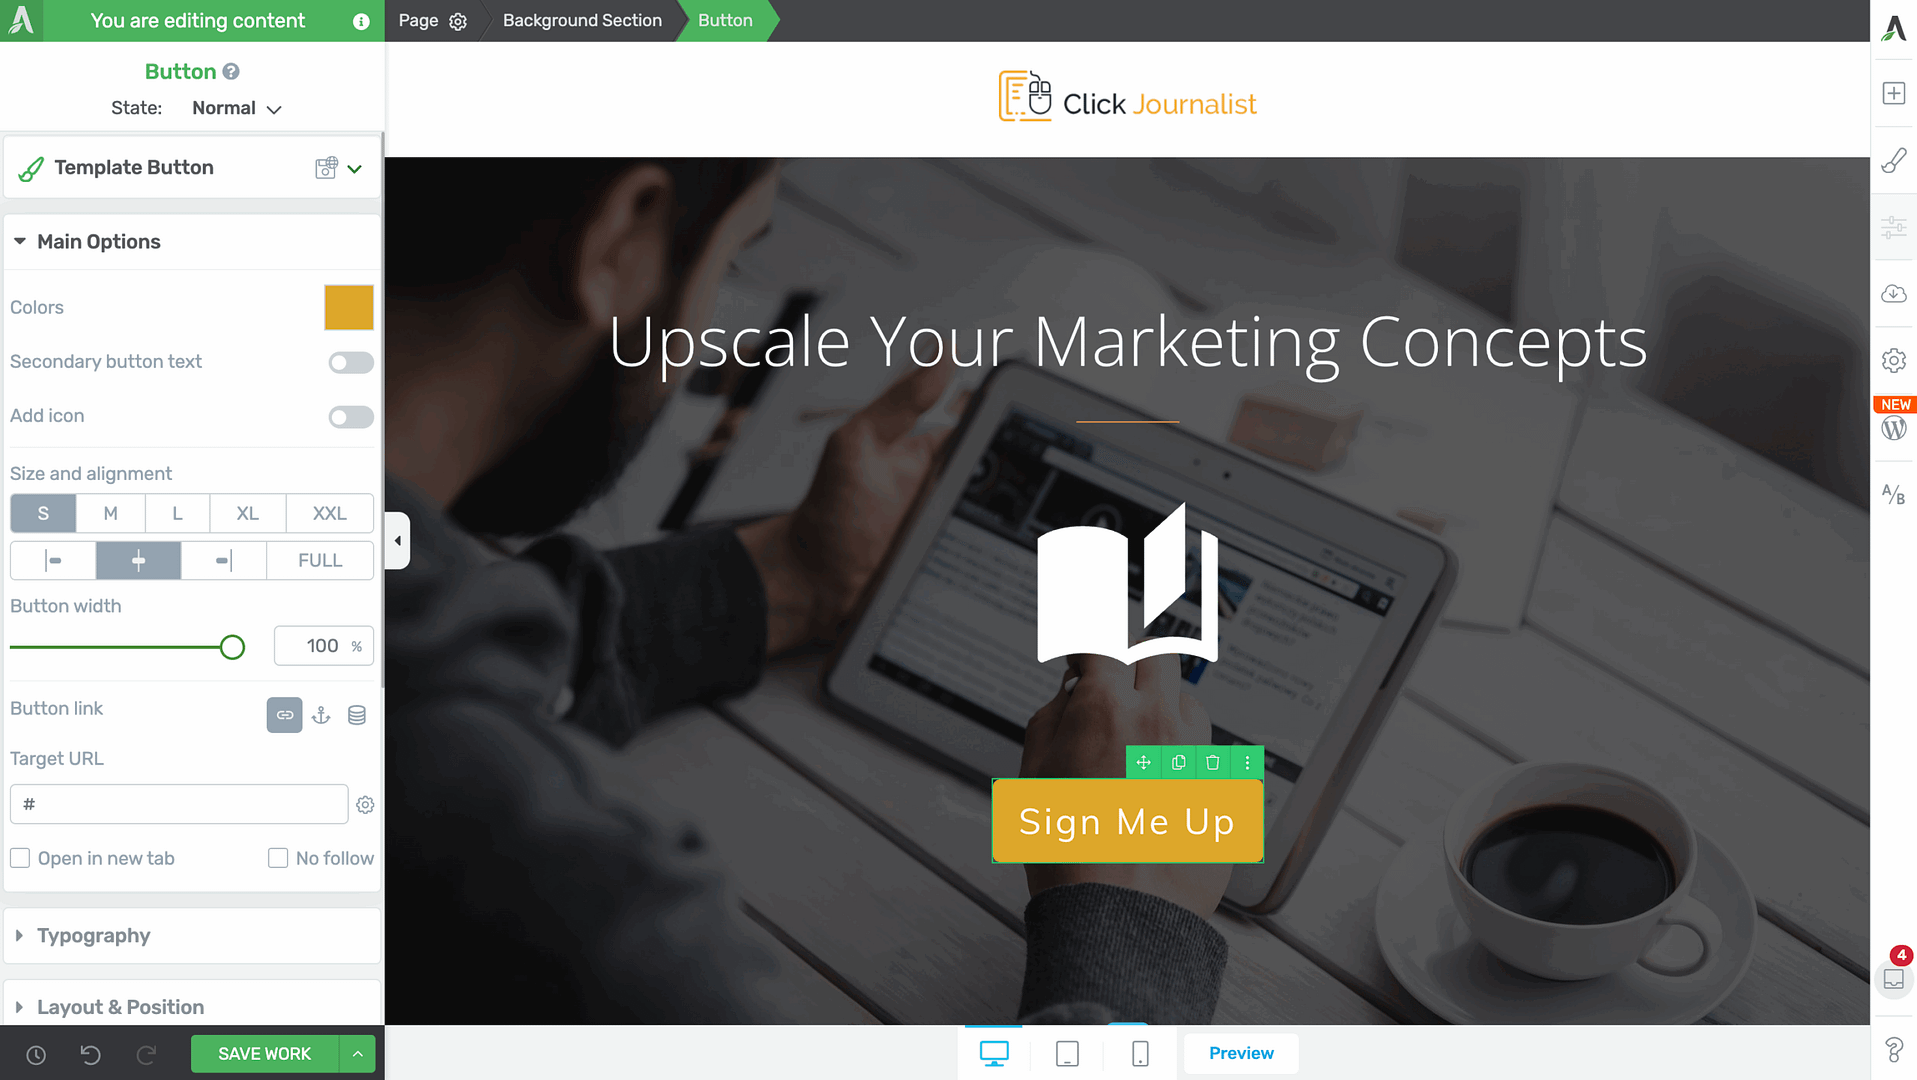
In the left column options, under Main Options, click to enable a dynamic link for the button.
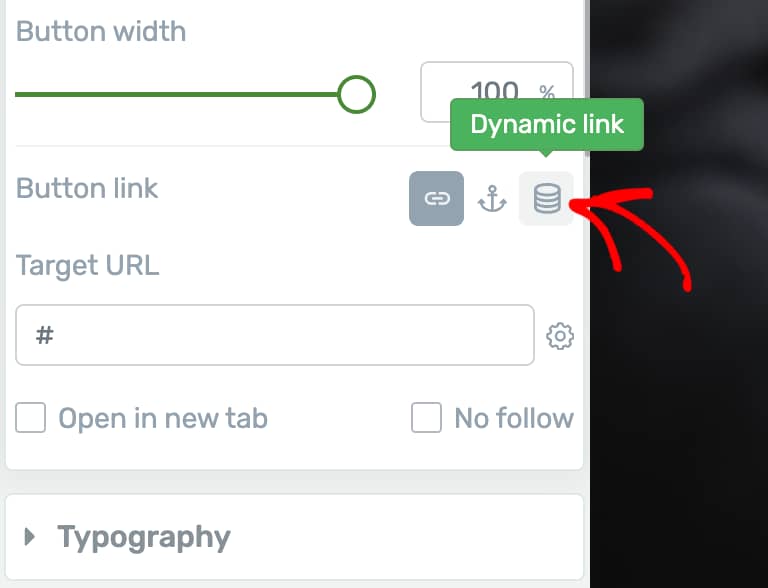
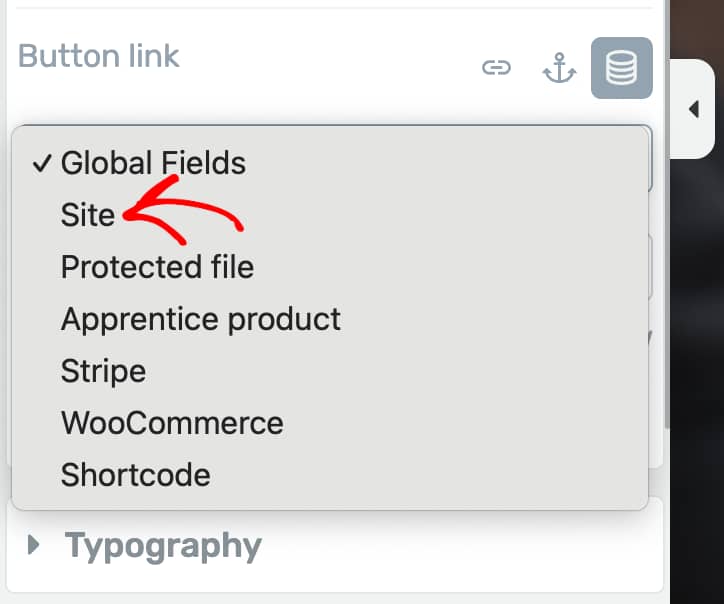
When you enable a dynamic link click the first dropdown and select Site.
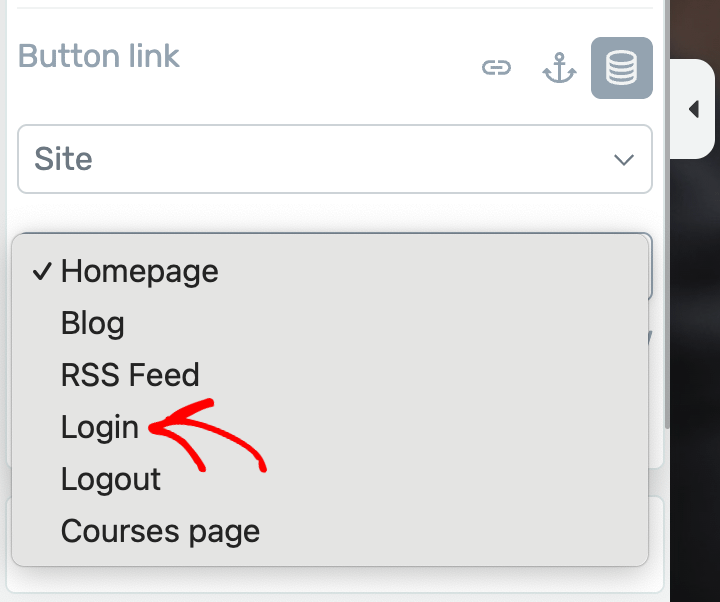
After selecting Site, click the second dropdown and select Login.
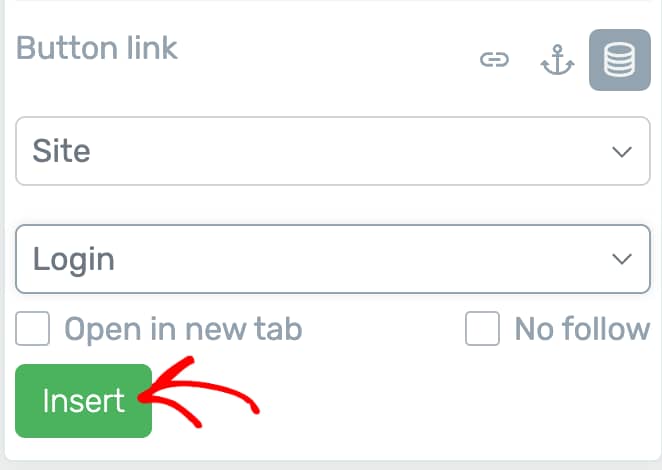
After you select the Button link source, click the Insert button.
After adding the Button link as a Call-to-action, this section is ready to be shown up when you want a user to log in when he arrives on this page.
But, this can be shown to logged out users only. To alter the section for logged in users and make sure this one is displayed only to logged out users you’ll have to use the Conditional Display Feature.
Enabling Conditional Display for the Call-to-action
Now that you have a section with the call-to-action meant to show up for logged out users, you can proceed applying the Conditional Display to this one and create another section that’ll be shown in its place to users when they have logged in to your website.
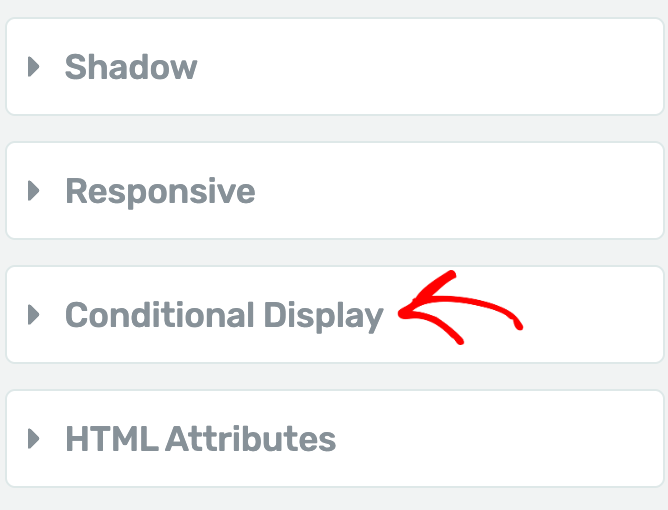
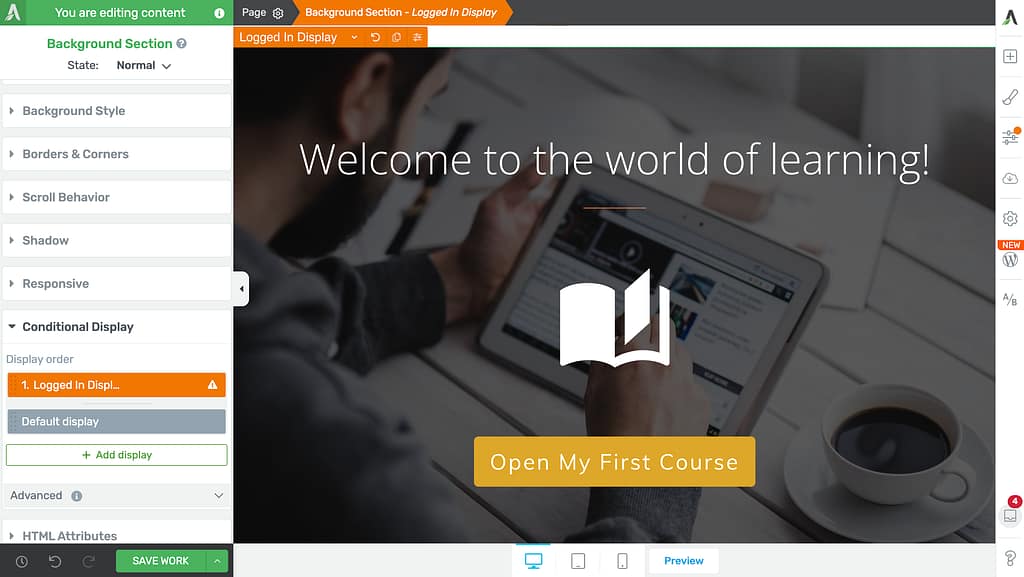
To access the Conditional Display settings, click on the container element that contains the call-to-action to open its options in the left column. In our example, it is the Background section.
In the left column, click to open the Conditional Display settings.
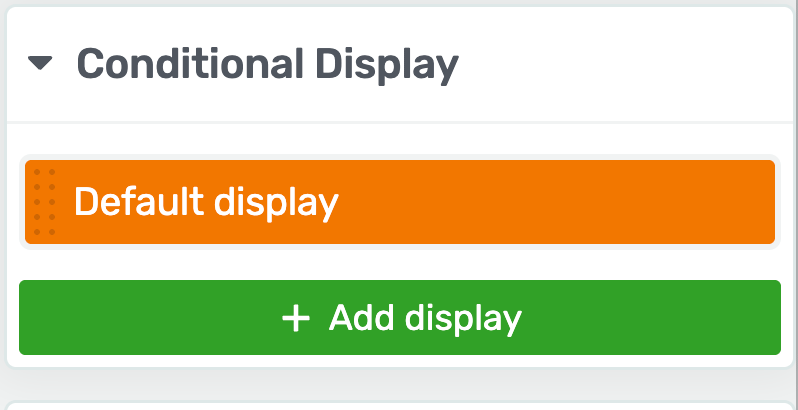
Under Conditional Display, you’ll see a Default Display tab that represents the current state of the section.
To add the other alternative version to this one hover on Default Display and click the duplicate icon.
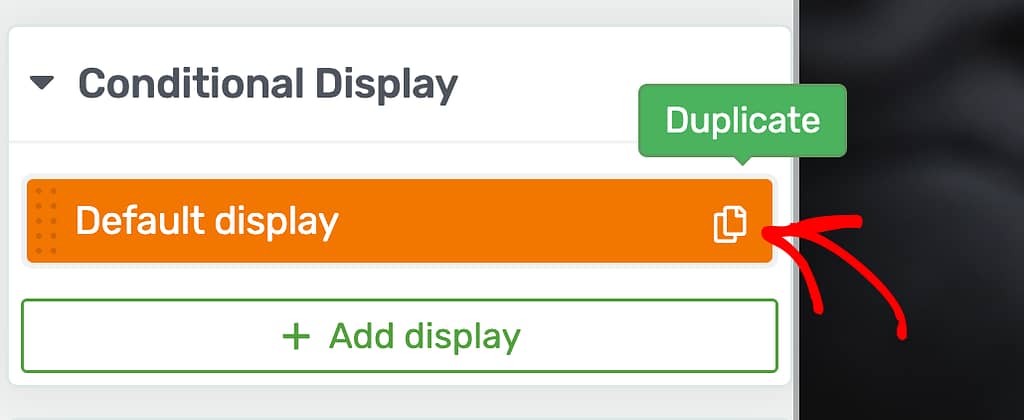
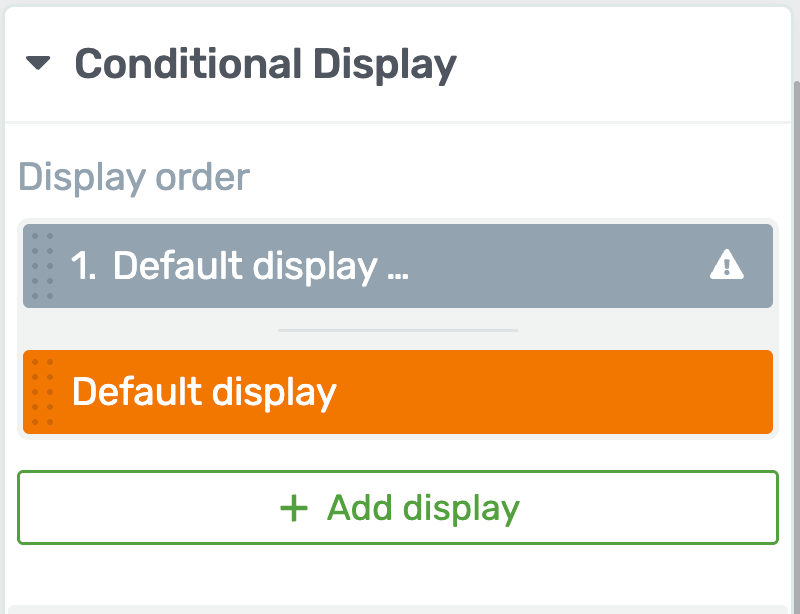
Clicking on the duplicate icon will immediately create a duplicate of the default display.
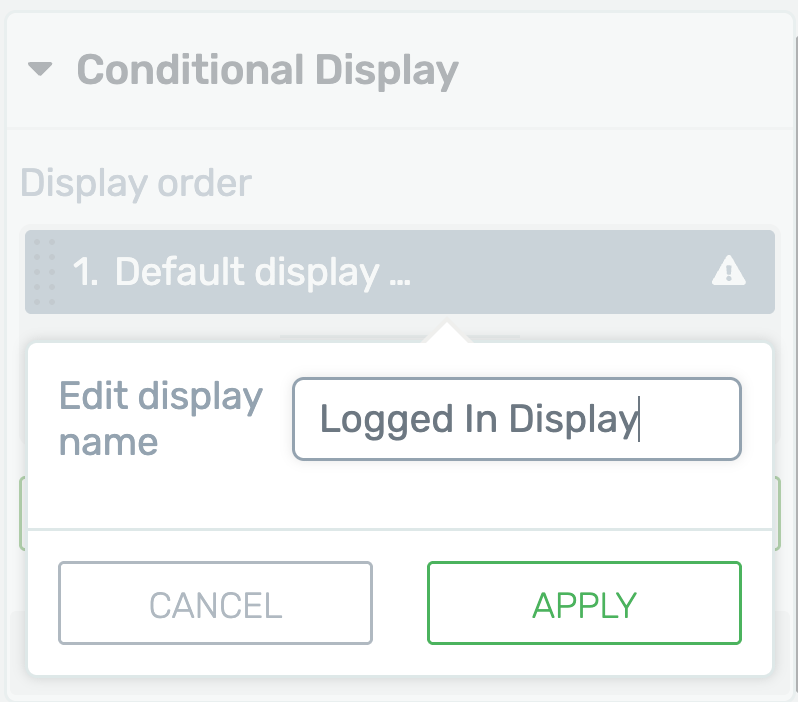
For further clarity, hover on the newly created display and click on the pen icon to change the name of this display.
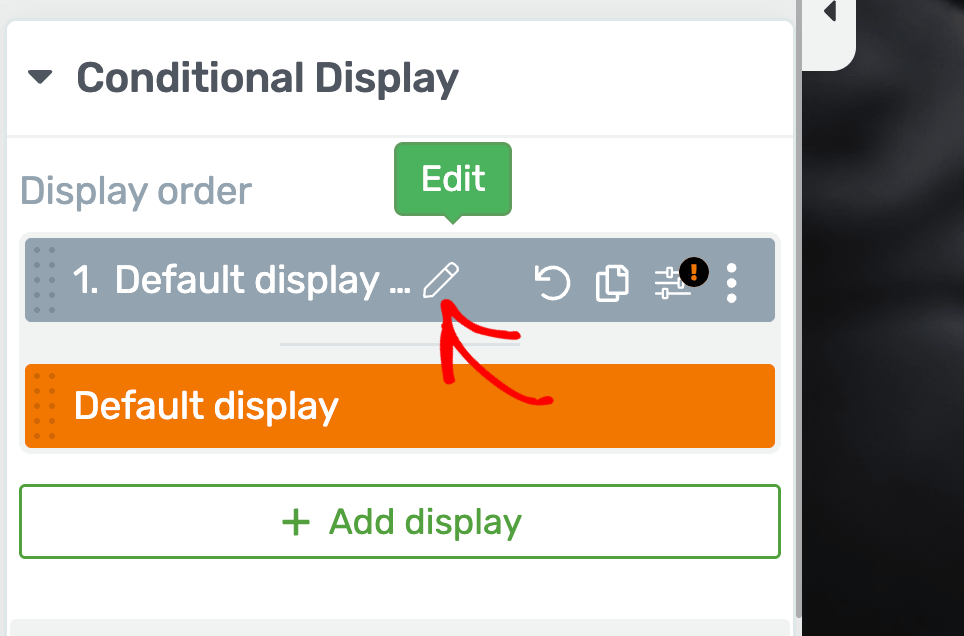
When you click to edit, enter the new name in the given field and click Apply.
After renaming the new display, click on it to open it in the editor.
When the new or duplicate display is opened in the editor, edit everything in the section just as you do in the Thrive Architect editor.
To add a conditional display to this section, in the left column, under Conditional Display, hover on the new duplicate display and click the filter icon.
Note: This is the duplicate display we created for logged in users.
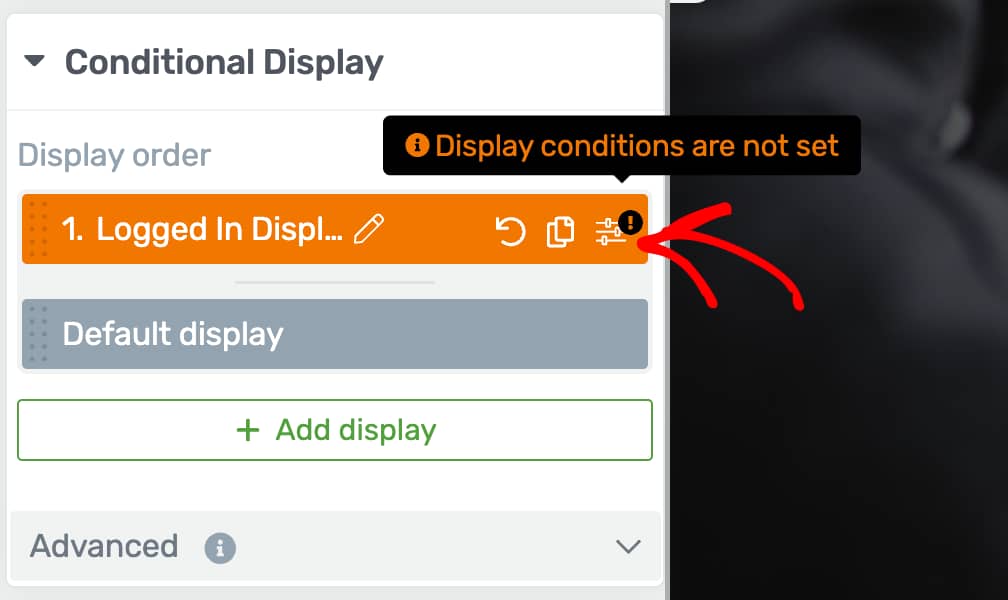
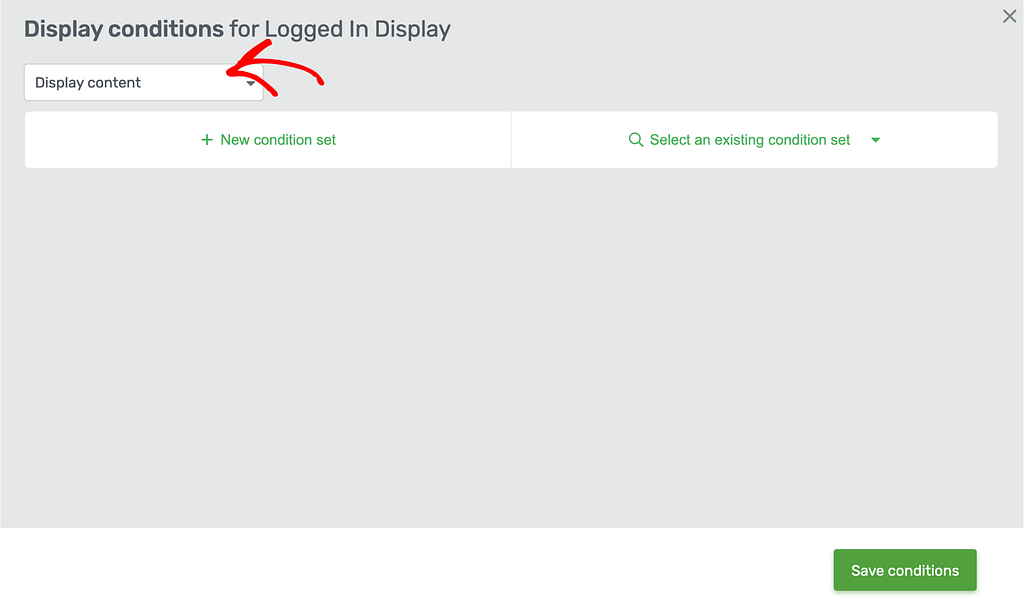
Clicking the icon will open a popup where you have to set the display conditions.
Now that we’ve selected the section we want to display for logged in users only, click on the dropdown that says Display Content.
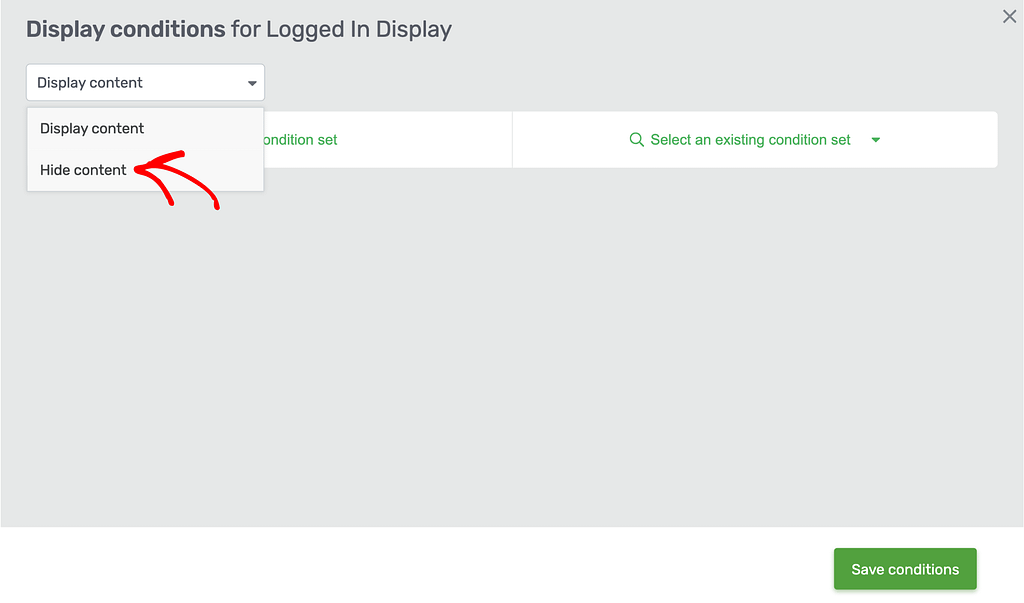
In the dropdown, select Hide Content.
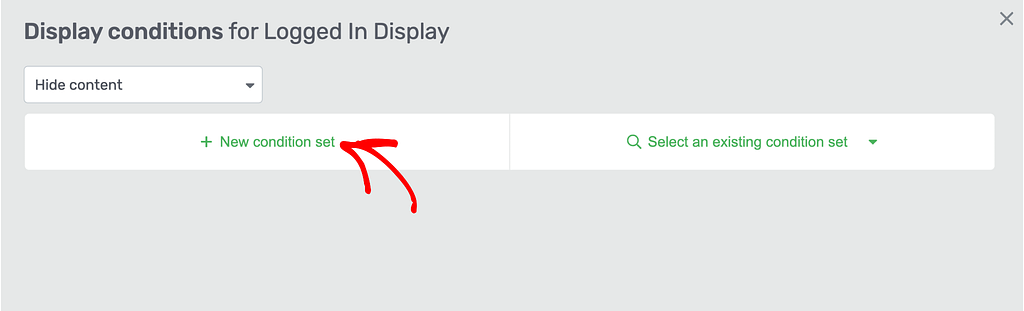
When you select to Hide content, click on + New condition set to add a new condition when you want to hide the content.
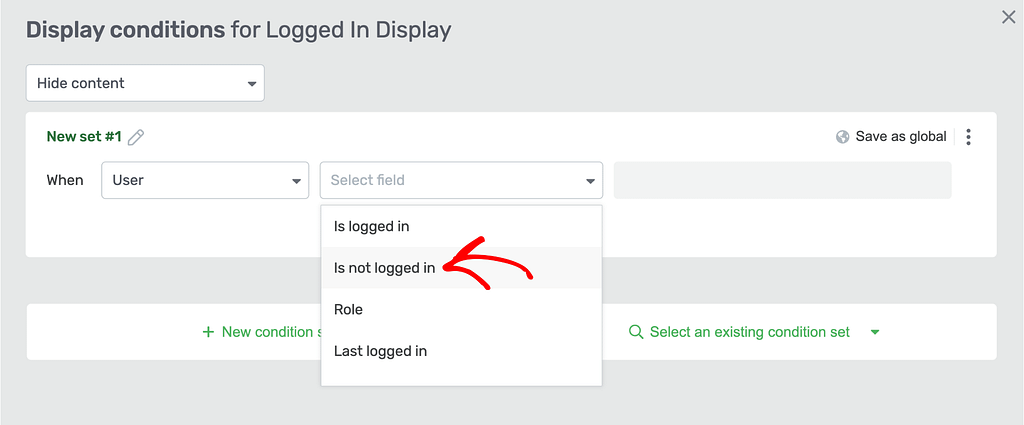
After clicking on the new condition set, you’ll see a new condition block where you click the dropdown to select the entity. In this dropdown select User.
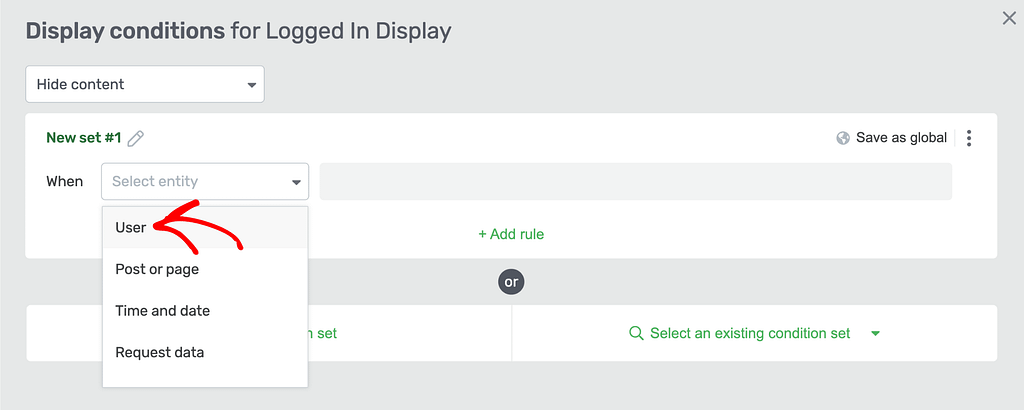
Once you select the entity, another dropdown will appear where you select the field Is not logged in.
After you add the condition, click the Save conditions button.
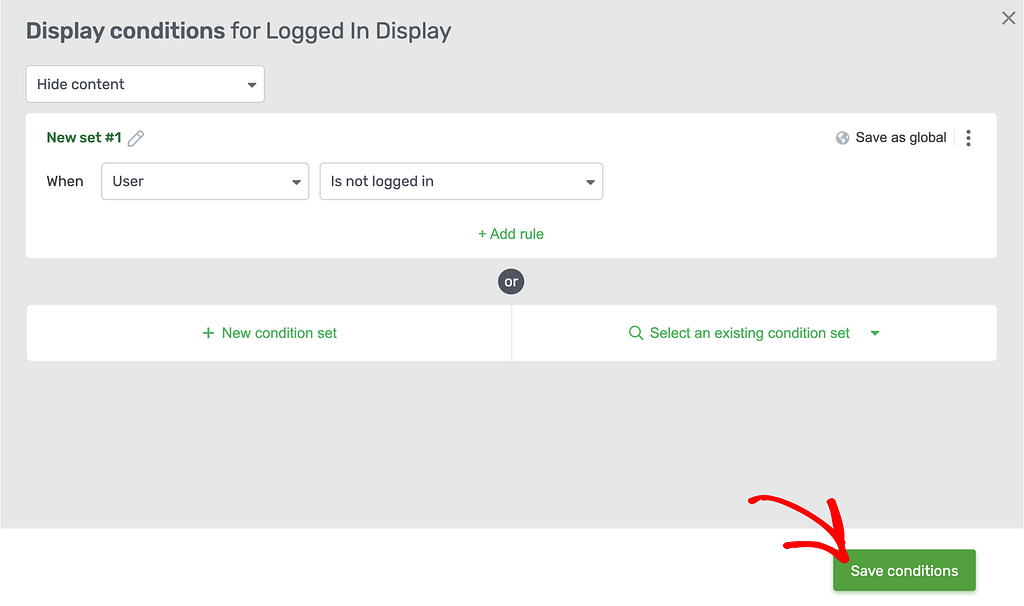
Saving this condition will ensure the Logged in state will only be shown when a user has logged in to your website. The default display (the one with the call-to-action) will be shown when a user is logged out.
We’ve just seen how you can add a section to a page where you display a call-to-action meant for logged out users and replace that with another section for logged in users.
Next, do you want to add a personalized menu based on users logged in and logged out state on your website? Here’s our document that will help.