Would you like a quiz trigger action to run a few days later, or only for some of the people who land in a range?
In this guide, we’ll walk you through adding a time delay and a condition to a Quiz Triggers action in Thrive Quiz Builder. All you need is a quiz on the Quiz Triggers dashboard with at least one action, or one you’re adding now.
- Opening the Advanced Settings
- Setting a Time Delay
- Adding a Condition
- Saving the Action
- When Delayed Actions Are Cancelled
- Frequently Asked Questions
If you haven’t added an action yet, see our guide on score ranges or quiz outcomes first.
Before you get started, make sure Thrive Quiz Builder is installed and activated on your WordPress site.
Requirements: Quiz Triggers need Thrive Quiz Builder 11.4 or newer.
Opening the Advanced Settings
To get started, we’ll open the action’s settings. On the quiz’s setup screen, click the pencil icon on the action’s row. For a new action, the settings open after you pick the action.

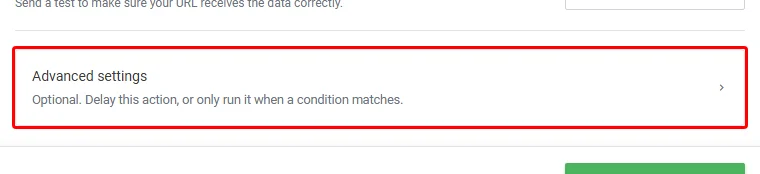
Below the action’s own settings, click Advanced settings to expand it. Both options are off by default.
Setting a Time Delay
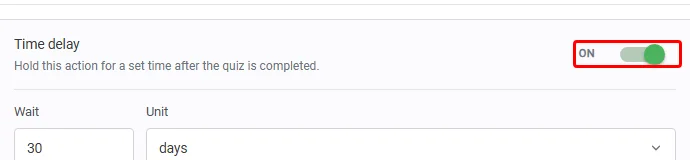
Without a delay, the action runs as soon as the quiz is completed. A delay suits follow-ups that work better later, such as an offer 2 days after the quiz. Next to Time delay, switch the toggle on.
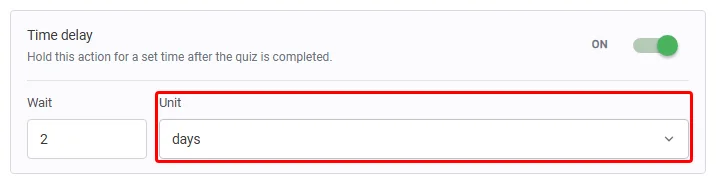
In the Wait field, type how long to wait. Then pick minutes, hours, days, weeks, or months in the Unit dropdown. A new delay starts at 30 days, and the shortest delay is 1 minute.
Each delayed run waits in a queue until it’s due. The execution log shows it as Scheduled, then Fired or Failed once it runs.
Adding a Condition
Without a condition, the action runs for everyone who lands in the range or outcome. A condition narrows that down, for example to top scorers inside a wide range. Next to Add a condition, switch the toggle on.
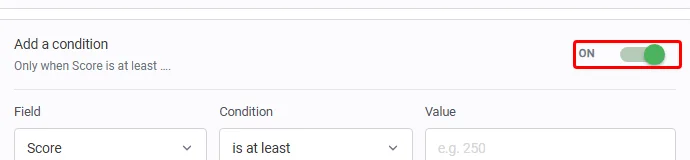
A condition has 3 parts: a field, a comparison, and a value. The line below them sums up the rule, such as “Only when Score is at least 120.”
Choosing the Field to Check
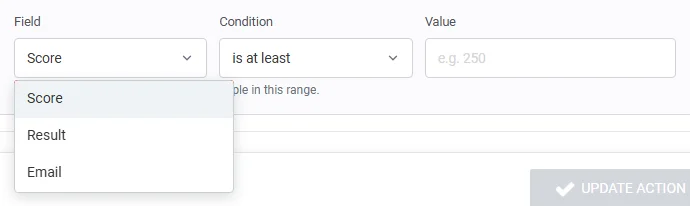
The field is the piece of quiz data the condition checks. In the Field dropdown, select one of these:
- Score checks the person’s score. It’s offered for Number score quizzes (in points) and Percentage quizzes (in percent).
- Result checks the result as the quiz shows it, such as the name of a Category result. For a Right / Wrong quiz, the result is Passed or Failed. For a Survey, it’s empty.
- Email checks the email address the person gave.
Choosing How to Compare It
Next, pick the comparison in the Condition dropdown. The choices depend on the field:
- For Score: is at least, is at most, or is exactly.
- For Result and Email: is, is not, or contains.
Then type the value in the Value field. For a Score, type a number, such as 120. A Percentage quiz shows a % sign after the box.
On a Percentage quiz, the box’s example reads “e.g. 75” instead of “e.g. 250”, because the score is a percent.
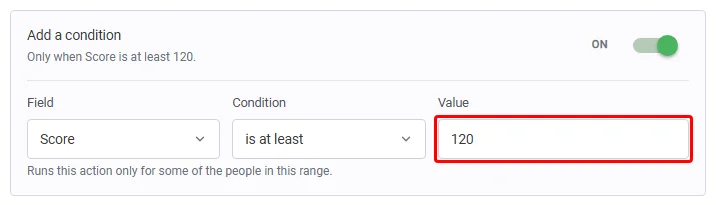
The action can’t be saved while the value is empty. Hovering over the greyed-out button shows “Enter a value for the condition, or switch it off.”
A condition that can’t be read is refused when you save, instead of letting the action run for everyone. The message names the action, for example: “The condition on the “Send webhook” action could not be read, so nothing was saved. Edit or remove the condition and try again.”
Saving the Action
When the delay and condition are set, click Add action for a new action, or Update action for an existing one.
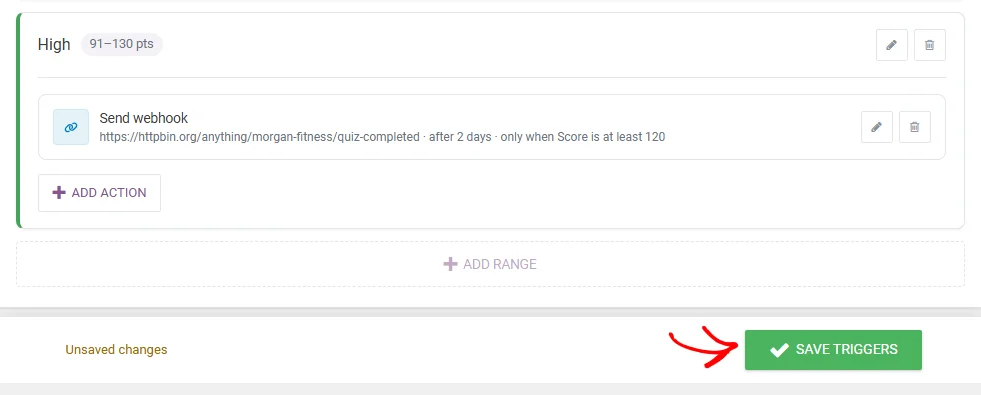
The action’s row now sums up the extra settings, such as “after 2 days · only when Score is at least 120.” To make the change live, click Save triggers at the bottom of the screen.
The condition is checked when the quiz is completed. If it doesn’t match, the action doesn’t run and isn’t queued. The execution log shows that run as Skipped, with your rule and the value the person got.
When Delayed Actions Are Cancelled
A delayed run that is still waiting is cancelled when its setup changes. That happens when you:
- Turn off the quiz’s triggers.
- Change or remove the action, then save.
- Move the quiz to the Trash or delete it.
- Delete the quiz’s trigger from the Quiz Triggers dashboard.
The execution log shows each cancelled run as Skipped and says why. Clicking Undo right after deleting a trigger brings its waiting runs back.
That’s it! You now know how to make a quiz trigger action wait, or run only for some of the people in a range. Next, learn how to read the execution log to see scheduled and skipped runs.
Frequently Asked Questions
Below, we’ve answered some of the most common questions about delays and conditions.
Can I use a delay and a condition together?
Yes. The condition is checked when the quiz is completed. Only runs that match are queued, and they run once the delay is over.
Why can’t I pick Score as the field?
Score is only offered for Number score and Percentage quizzes. For Right / Wrong, Category, and Survey quizzes, use Result or Email instead.
A Survey has no result, so use Email there.
Do conditions work the same way on Thrive Architect forms?
Forms have their own delay and condition settings for Thrive Actions. See adding a condition and a delay to a Thrive Action.