In this article, you’ll learn how to get in touch with Thrive Themes support directly from your WordPress dashboard.
Contacting Support from Thrive Dashboard
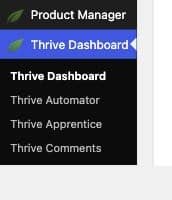
- Go to your WordPress admin area and navigate to Thrive Dashboard > Thrive Dashboard.
- In the top-right corner of the screen, click Contact Support.
- This opens the Thrive Themes support page in a new browser tab, where you can submit your question.

Note: Earlier versions of Thrive Dashboard used a Support Login button that generated a temporary access token for our support team. This feature has been retired as of Thrive Suite 10.9.3.1; there is no longer a way to generate a login token from the dashboard. If a support agent needs direct access to troubleshoot your site, see “Creating a Temporary WordPress Account for Support Access” below.
Creating a Temporary WordPress Account for Support Access
If a support agent needs to log in to your site directly to diagnose or fix an issue, the most secure way to grant access is by creating a temporary WordPress administrator account just for that purpose. Follow the steps below to create one, share it safely, and remove it once the issue is resolved.
Step 1: Log in to your WordPress dashboard.
Step 2: In the left-hand sidebar, navigate to Users > Add New.

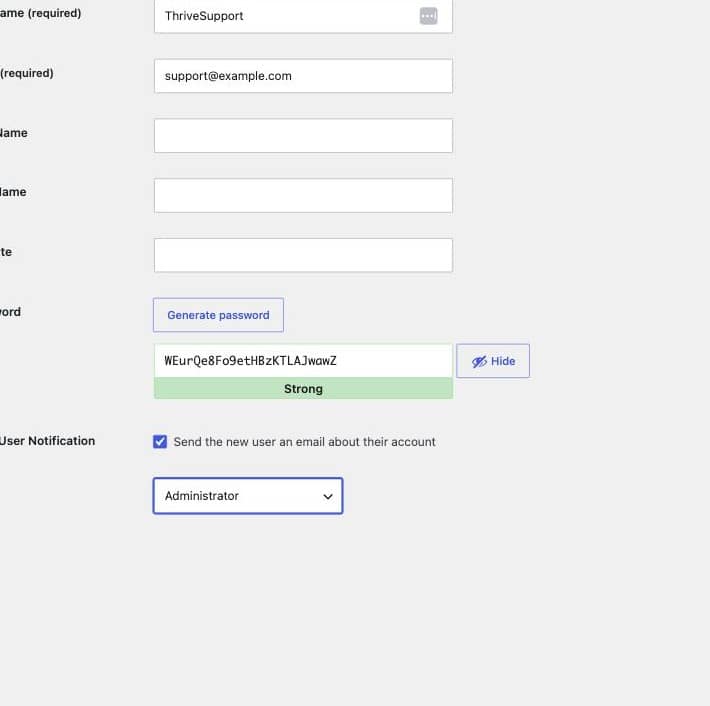
Step 3: Fill out the account details: enter a clear Username (e.g., ThriveSupport) and an Email address (a placeholder, or the one requested by your support agent).
Step 4: Click Generate Password to create a strong password, and copy it somewhere safe — you’ll need to share it with your support agent.
Step 5: Set the Role dropdown to Administrator, so our team has the access needed to troubleshoot your site.
Step 6: Click Add New User at the bottom of the page to create the account.
Step 7: Share the username and password with your support agent through a secure one-time link, such as secrets.supportally.com — it lets you send credentials in a link that self-destructs after they’re viewed. Avoid sending credentials over plain, unencrypted email.
Step 8: Once your issue has been resolved, go to Users > All Users and delete the temporary account to revoke access.