Would you like to send each quiz result to Zapier, Make, your CRM, or another app the moment someone finishes your quiz?
In this guide, we’ll walk you through adding the Send webhook action to a quiz trigger in Thrive Quiz Builder. All you need is a quiz on the Quiz Triggers dashboard and a webhook URL from the app that will receive the data.
- Picking the Send Webhook Action
- Entering the Webhook URL
- Choosing the Data to Send
- Testing the Webhook
- Saving the Action
- Which Addresses Are Allowed
- Frequently Asked Questions
The action is added to a score range or an outcome. If your quiz has neither yet, see our guides on score ranges and quiz outcomes.
Before you get started, make sure Thrive Quiz Builder is installed and activated on your WordPress site.
Requirements: Quiz Triggers need Thrive Quiz Builder 11.4 or newer. The webhook URL must start with https://.
Picking the Send Webhook Action
To get started, we’ll open the action picker for the range or outcome that sends the data. On the quiz’s setup screen, click Add action on that card.

The Add an action page opens. Next, click Send webhook.
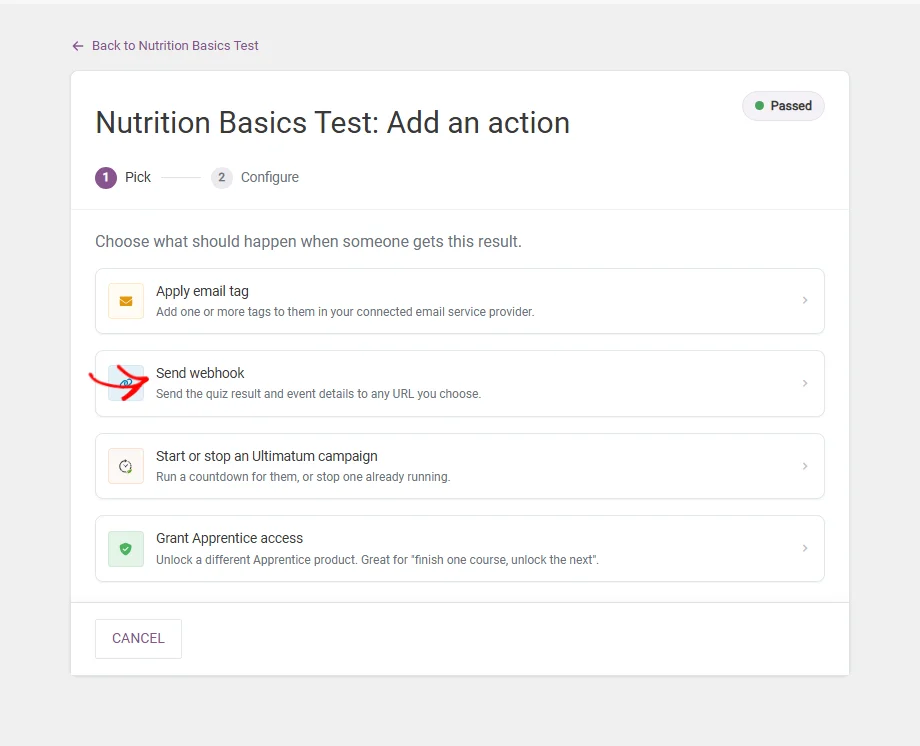
Only administrators can add, change, or remove webhook actions. Other users with Quiz Builder access see Send webhook greyed out, with the reason “Only administrators can add, change or remove this action.”
Entering the Webhook URL
The receiving app gives you a webhook URL, sometimes called a catch hook or endpoint. Next, paste it into the Webhook URL field. It has to start with https:// and include the domain.
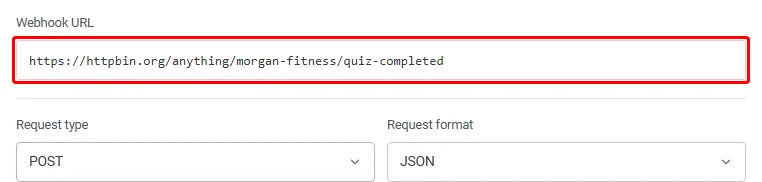
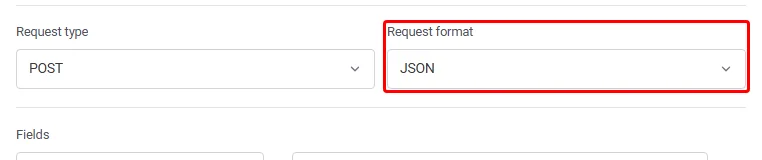
Below the URL, Request type starts as POST and Request format starts as JSON. Most automation tools expect these defaults. Change them only if the receiving app asks for GET, PUT, PATCH, or DELETE, or for Form (URL-encoded) or XML.
Choosing the Data to Send
The Fields section lists the data each webhook sends. It starts with 5 fields: email, name, quiz, result, and score. Each field has a name on the left and a value on the right.
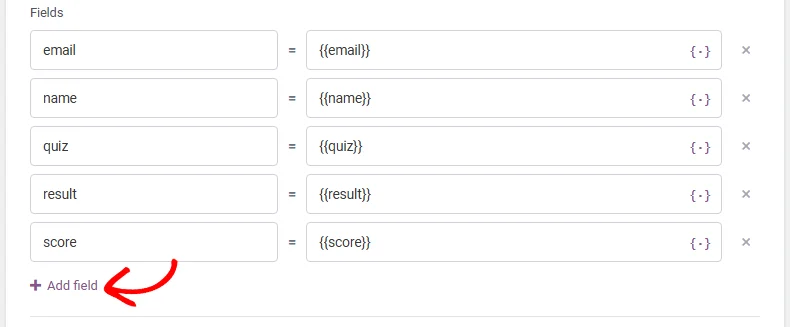
To send another value, click Add field and type a field name. Then click the dynamic value button in the value box and pick a value. The available values are email, name, quiz, result, score, event, and source.
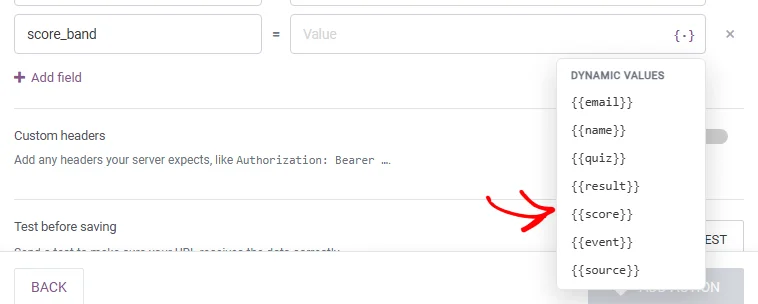
Every field needs both a name and a value. To remove a row, click its remove icon. A webhook can have up to 50 fields and 50 headers.
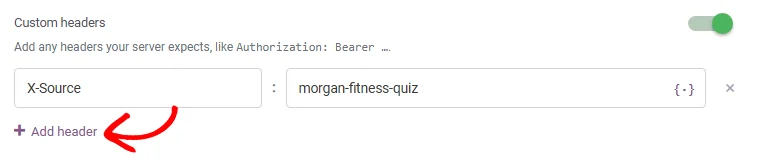
Some apps also expect a header, such as an Authorization key. To add one, switch on Custom headers. A first row appears with Authorization as the name and “Bearer …” as the value. Replace them with the header your app expects. To add another header, click Add header.
Testing the Webhook
A test shows that the receiving app gets your data before any real quiz taker does. Under Test before saving, click Send test request.
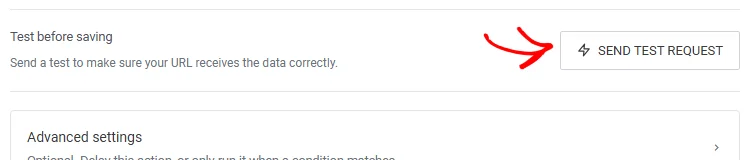
A green message such as “Webhook sent successfully (200 OK · 213ms)” means the app received the request. A red “Webhook failed” message shows the error. To see what the app sent back, click View response.

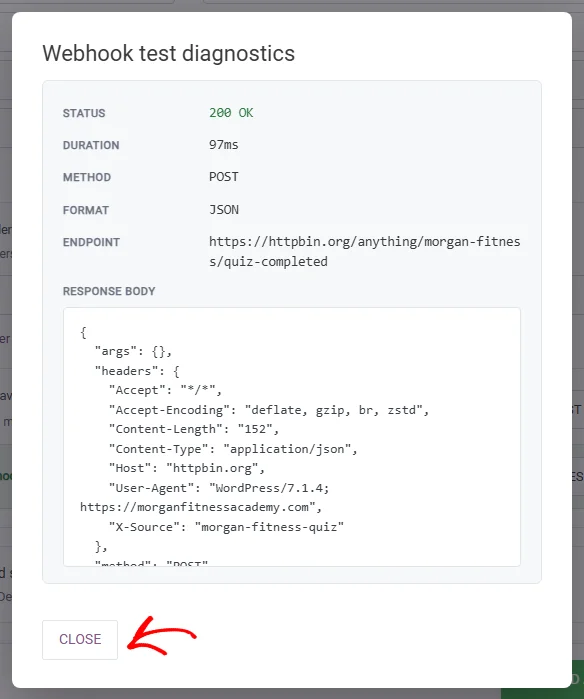
The Webhook test diagnostics window shows the status, duration, method, format, endpoint, and response body. When you’ve checked them, click Close.
Only administrators can send test requests.
Saving the Action
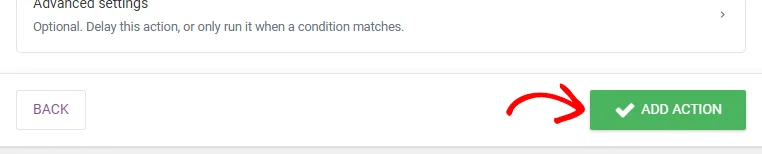
The Add action button stays greyed out until the URL and every field are complete. Hovering over it shows what’s still missing. When everything is filled in, click Add action.
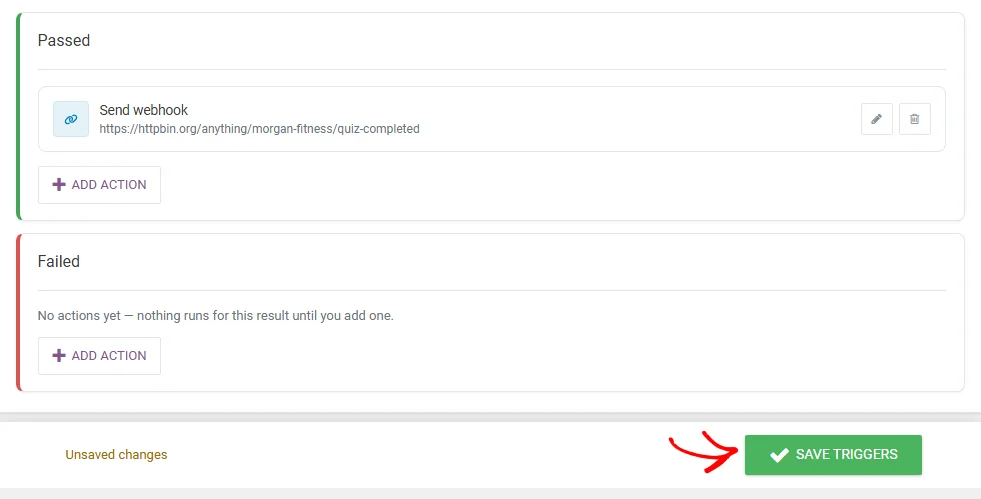
An “Action saved” message appears, and the action shows on the card with its URL. The action isn’t live yet. At the bottom of the screen, click Save triggers.
Each time someone lands in this range or outcome, the webhook sends their data to your URL. The email and name values follow the profiling setting on the quiz’s opt-in gate page. With profiling turned off for that page, the name is sent empty. The email is sent empty too, unless the visitor is logged in, in which case their account email is sent.
A webhook without a delay runs right after the person sees their results, so they don’t wait for the receiving app. This works on PHP-FPM and LiteSpeed hosts. On other hosts, the results page waits for the webhook to finish.
Which Addresses Are Allowed
Webhooks only go to public https addresses. Addresses on a private or local network are blocked, and so are ports other than 80, 443, and 8080. Your own site’s address is allowed. A blocked test shows a failure with the reason.
Note for developers: To send to another private address on purpose, allow its host with WordPress’s http_request_host_is_external filter. The Thrive Dashboard webhook allowlist can only narrow the allowed hosts. It can’t let a private host through.
That’s it! You now know how to send quiz results to another app with a webhook. Next, learn how to read the execution log to check each webhook that ran.
Frequently Asked Questions
Below, we’ve answered some of the most common questions about the Send webhook action.
What does the result field contain?
It never holds the name of your score range. What the result and score fields hold depends on the quiz type:
| Quiz type | result | score |
|---|---|---|
| Number score | The result as Thrive Quiz Builder shows it to the person | Their points |
| Percentage | The result as Thrive Quiz Builder shows it to the person | Their percent from 0 to 100, such as 75 |
| Right / Wrong | Passed or Failed, matching the outcome they got | Their score as the quiz records it |
| Category | The name of their Category result | Their score as the quiz records it |
| Survey | Empty | Empty |
A whole percent is sent without decimals. Any other percent keeps up to 2 decimals, such as 66.67.
Can I add a webhook and an email tag to the same outcome?
No. Send webhook and Apply email tag can’t run together for the same range or outcome. The picker marks the second one as Conflicts. To swap, remove the other action first.
If a webhook fails, will it try again?
No. Failed webhooks aren’t retried. The execution log shows the status code and the response, so you can fix the receiving app and test again.
Can I send webhooks from my other Thrive forms too?
Yes. Thrive Architect forms can send webhooks too. See adding custom integrations using webhooks in Thrive Architect.