When looking for a way in which you can add your latest articles to the sidebar of a template, in Thrive Theme Builder, you should know that there are two ways in which you can achieve that.
You can either add a “Post List” element, or you can add a “Widget Area” element, and set up the “Recent Posts” widget, from the WordPress dashboard. Keep reading if you want to find out how to do that.
Note: Keep in mind that some of the default templates already have the recent articles added in the sidebar.
Add a “Post List” Element
The first way of showing your latest articles in your sidebar is by adding this element.
First, in your Thrive Theme Builder dashboard, go to the “Templates” section:

Then, choose the template with the sidebar in which you want to show the latest posts, hover over it, and click on “Edit”:

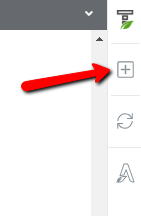
This will open the template in the editor. Then, click on the plus sign from the right sidebar, to open the list with all of the elements:
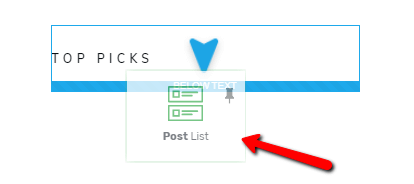
Find the “Post List” element, and drag and drop it in the sidebar:
Then, choose a template for the element, from the lightbox that opens:
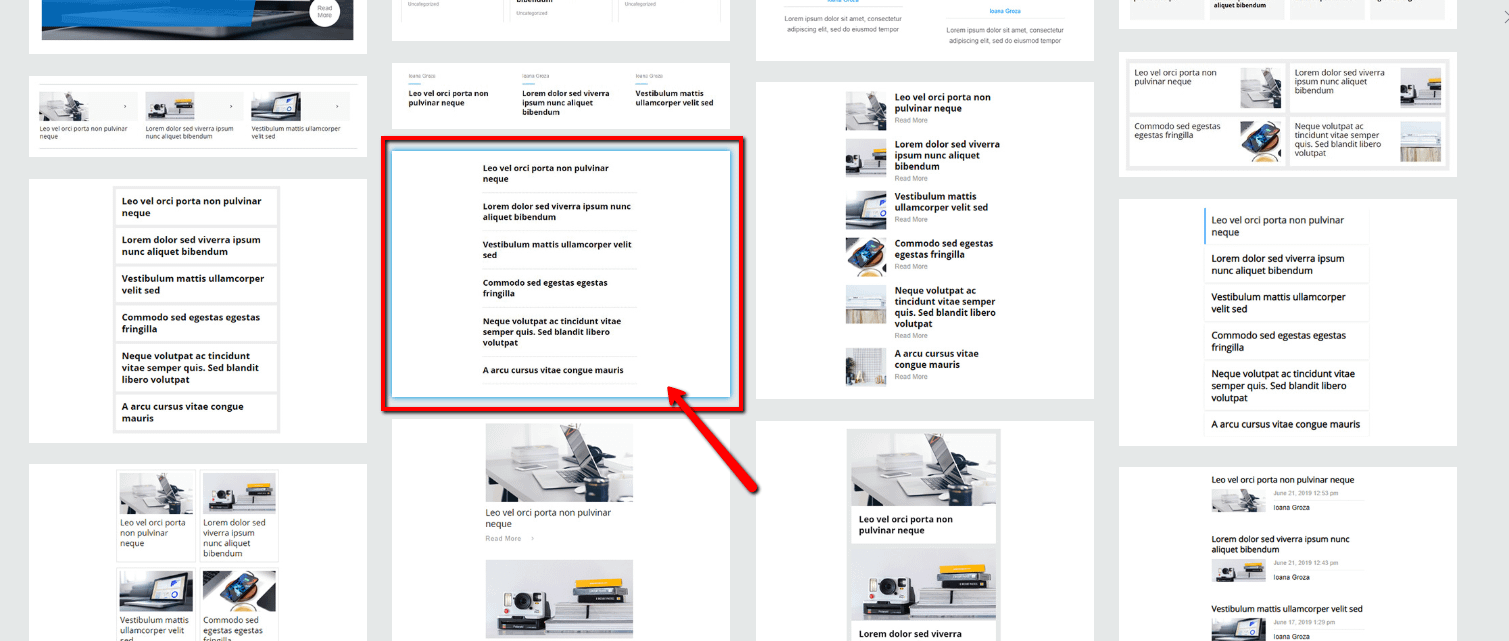
The element will be inserted in the sidebar, and you can use all of the options to customize it as you please. This article goes into more detail about how to do that.
Then, you can go ahead and access the “Filter Posts” option, in order to make the element show the latest posts:

You can read more about how to use this option here, but I will show you how to show the latest posts. For that, you have to set the following rule:
Arrange the results by: Date Published and sort Descending:
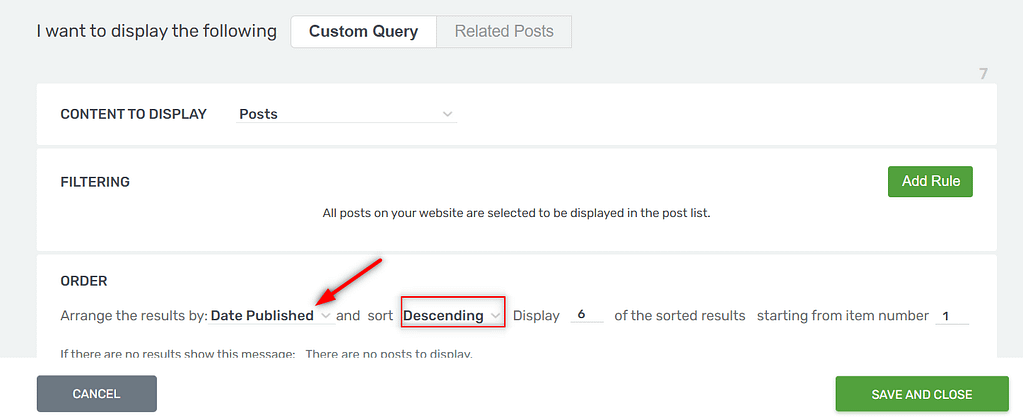
Note: make sure the content displayed here is set to “Posts”:

Then, click on the “Save and Close” button, as shown above.
This is how you can show the latest posts in your sidebar, with the use of the “Post List” element.
The other way in which you can do that is by adding a “Widget Area” element.
Add a “Widget Area” element
To add the latest posts to your sidebar using this element, you first have to make sure that you have added a “Latest Posts” widget to a Widget Area.
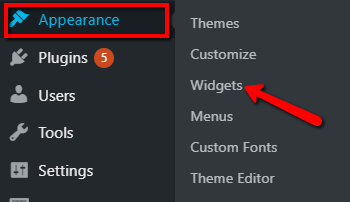
For that, in your WordPress admin dashboard, go to the left sidebar and hover over “Appearance”. From the small sub-menu that opens, click on “Widgets”:
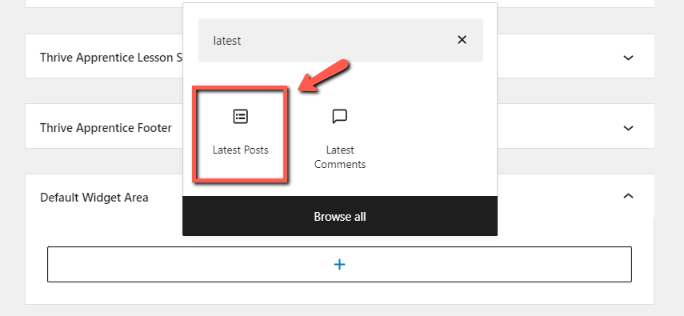
Then, look for the “Latest Posts” widget, and add it to a Widget Area of your choice:
If you need more information about this, check out this article.
Choose the desired Widget Area, and click on “Add Widget”.
After this, you can go to your Thrive Theme Builder dashboard, access the “Templates” section, just like in the case of the “Post List” element. Once you find the template with the sidebar that you want to add the latest posts to, hover over it, and click on “Edit”:

The template will open in the Thrive Theme Builder editor.
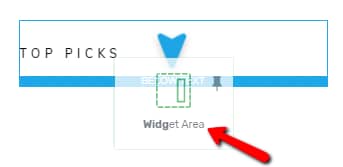
Then, you have to add the element to the sidebar, just like in the case of the “Post List” element. Click on the plus sign from the right sidebar, look for the “Widget Area” element, and drag and drop it into the sidebar:
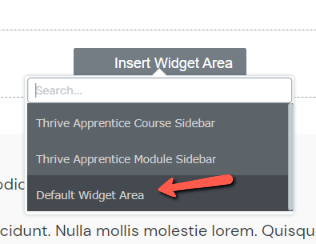
Then, from the list of available Widget Areas, choose the one in which you have previously placed the “Latest Posts” widget:
After this, the recent posts will be shown in the sidebar:

Of course, feel free to use the options of the element to customize it as you wish. You can read this article if you need to find out how to use these options.
These were two ways in which you can add your latest posts to your sidebar in Thrive Theme Builder. If you need more information about various features, make sure to check out our tutorials.