In this article, you’ll learn how to set up page events in Thrive Architect. Page events let you trigger actions—like opening a lightbox—based on visitor behavior such as exit intent or a timed delay.
Thrive Architect supports up to four page events per landing page. Each event consists of a trigger (what the visitor does) and an action (what happens in response). This makes page events a powerful tool for capturing leads, highlighting offers, and improving engagement.
Accessing Page Events
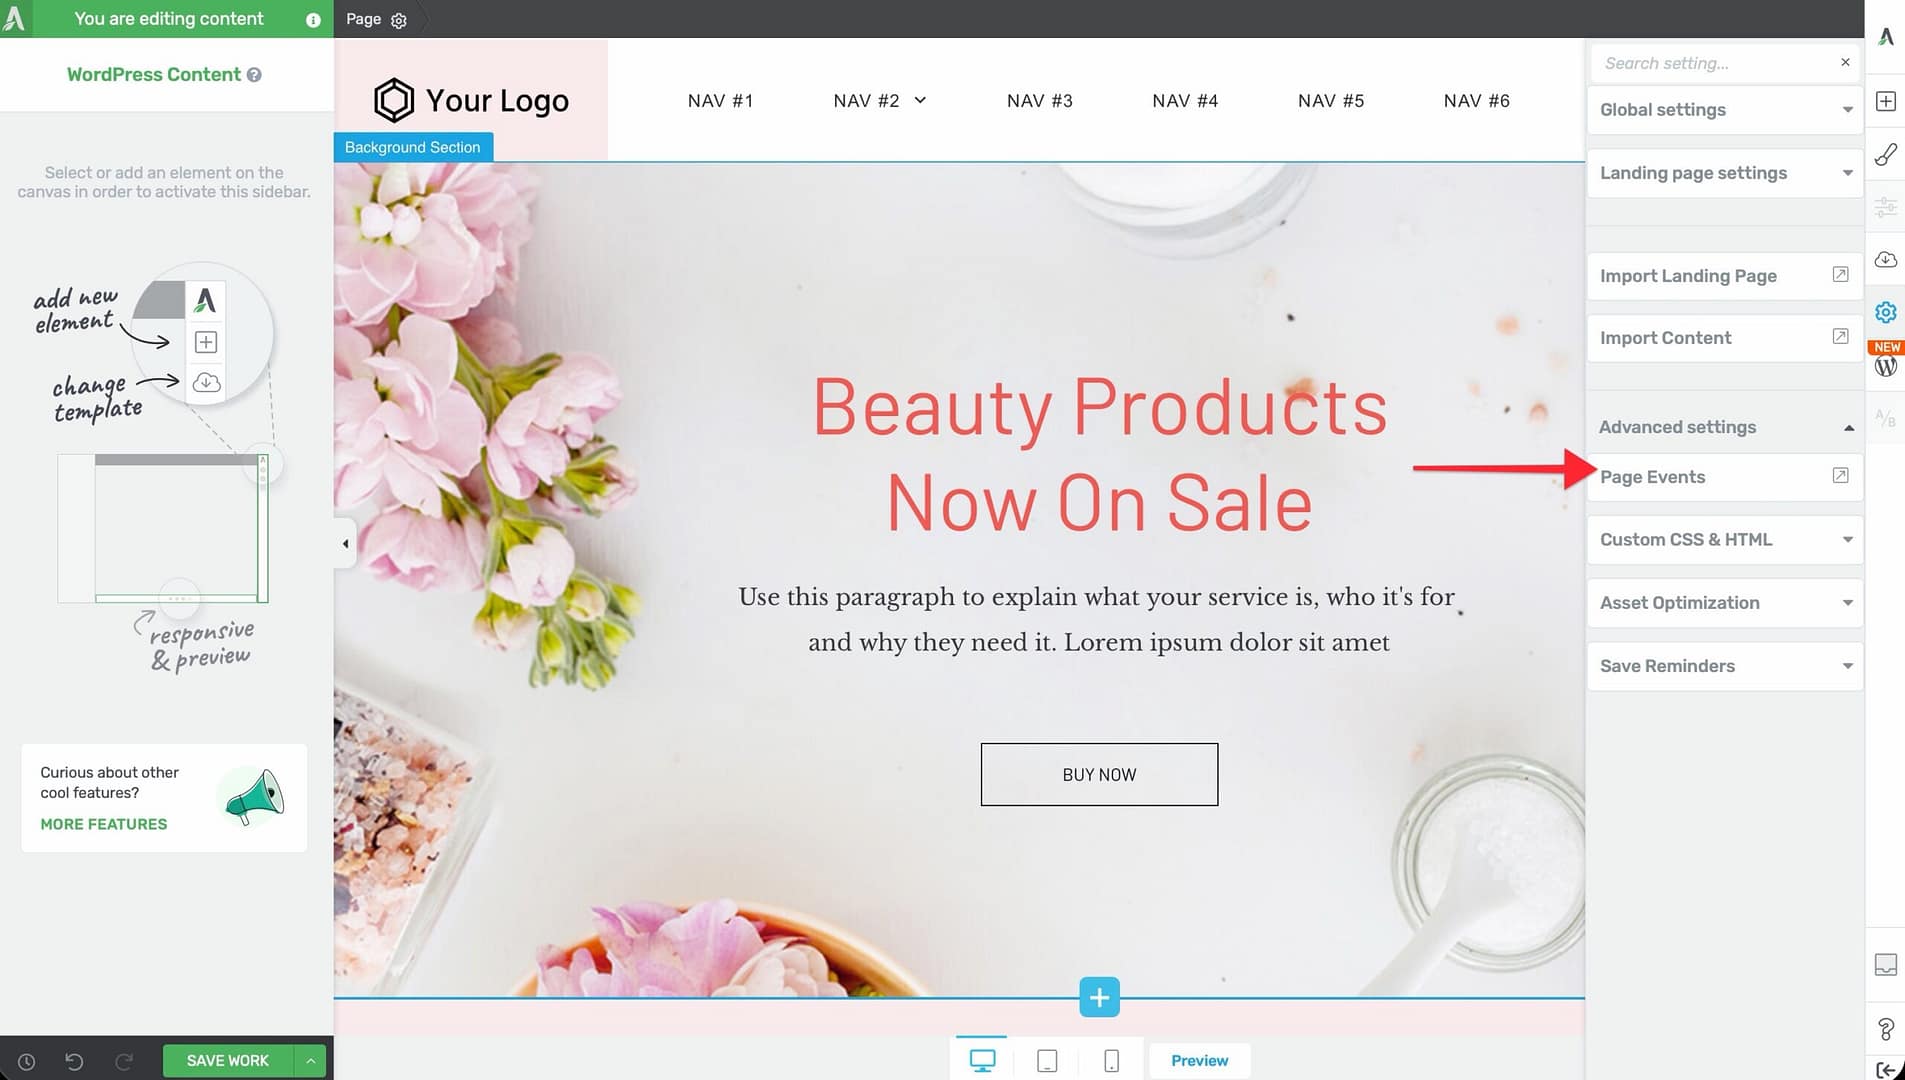
Page events are configured in the Advanced Settings section of the Thrive Architect editor. To access them:
- Open your landing page in the Thrive Architect editor.
- Click the Settings (gear icon) in the right sidebar.
- Select Advanced Settings.
- Scroll down to the Page Events section.
You’ll see a list of any existing page events, along with an option to add new ones.
Note: Page events are available on landing pages. If you’re editing a normal page or post, this section may not appear.
Creating a Page Event

Each page event requires two components: a trigger and an action. Here’s how to create one:
- In the Page Events section, click the Add Page Event button (or the + icon).
- A modal window will open with two columns: Trigger and Action.
- Select a trigger from the left column.
- Configure the trigger settings (details vary by trigger type—see below).
- Select an action from the right column.
- Configure the action settings.
- Click Save to add the event.
Important: You can add a maximum of 4 page events per landing page. If you need more, consider combining actions or simplifying your event strategy.
Available Triggers
The Page Event Manager offers two trigger types:
Exit Intent
Fires when the visitor moves their cursor toward the browser’s close button or address bar, signaling they’re about to leave the page.
- Enable on mobile — Toggle to allow exit intent on mobile devices.
- Mobile fallback delay — Set a delay (in seconds) before the event fires on mobile, since mobile devices don’t have cursor-based exit detection.
Timer
Fires after a specified number of seconds have passed since the page loaded.
- Delay — Enter the number of seconds to wait before triggering the event.
Available Actions
Once a trigger fires, Thrive Architect can perform one of two actions:
- Open Thrive Lightbox — Open a Thrive Lightbox popup with custom content such as opt-in forms, special offers, or messages.
- Open Thrive Leads ThriveBox — Open a ThriveBox popup created with the Thrive Leads plugin. This option is available when Thrive Leads is installed and active.
Setting Up an Exit Intent Lightbox
An exit intent lightbox is one of the most popular page events. It displays a lightbox when the visitor tries to leave your page. To set one up:
- Go to Settings (gear icon) > Advanced Settings > Page Events.
- Click Add Page Event.
- Under Trigger, select Exit Intent.
- Configure the exit intent settings:
- Toggle Enable on mobile if you want it to work on mobile devices.
- Set the Mobile fallback delay (for example, 5 seconds).
- Under Action, select Thrive Lightbox.
- Choose an existing lightbox from the dropdown, or click Create New to design one.
- Click Save.
Tip: Keep your exit intent lightbox focused on a single call to action, such as an email opt-in or a limited-time offer. Too much content can overwhelm the visitor.
Setting Up a Timed Lightbox
A timed lightbox appears after the visitor has been on the page for a set number of seconds. This is useful for displaying offers after the visitor has had time to engage with your content.
- Go to Settings (gear icon) > Advanced Settings > Page Events.
- Click Add Page Event.
- Under Trigger, select Timer.
- Enter the delay in seconds (for example, 10 for a 10-second delay).
- Under Action, select Thrive Lightbox.
- Choose or create a lightbox.
- Click Save.
Triggering a Lightbox on Click
You can also open a lightbox when a visitor clicks on a specific text link or button. This is configured directly on the element rather than in the Page Events panel.
On a Text Link
- Select the Text element that contains the link text.
- Highlight the text you want to turn into a clickable trigger.
- Click the Insert Link icon in the text formatting toolbar.
- In the link settings, select Lightbox as the link type.
- Choose the lightbox you want to open from the dropdown.
- Click Apply.
On a Button
- Select the Button element.
- In the left sidebar, find the Button Link option under the main options.
- Click the link field to open the link settings.
- Select Lightbox as the link type.
- Choose the target lightbox.
- Click Apply.
Managing Page Events
To edit or remove existing page events:
- Edit — Click on an existing event in the Page Events list to open its settings and modify the trigger or action.
- Delete — Click the trash icon next to an event to remove it.
Warning: Removing a page event is immediate and cannot be undone. Make sure you no longer need the event before deleting it.
Frequently Asked Questions
Can I Use Page Events on a Normal Page?
Page events are primarily designed for landing pages. If you’re using a normal page (with your theme’s layout), the Page Events section may not be available in the Advanced Settings.
What Happens if I Add More Than 4 Events?
Thrive Architect enforces a maximum of 4 page events per landing page. The Add Page Event button will be disabled once you reach this limit.
Can I Combine Multiple Triggers for One Action?
Each page event has exactly one trigger and one action. If you want the same lightbox to open on both exit intent and a timer, create two separate page events—one with each trigger—and point both to the same lightbox.
Related Resources
- Lightboxes: Getting Started with Thrive Architect — Overview of the editor and key features
- Landing Pages: Page and Landing Page Design — Creating and customizing landing pages
- Lead Generation: Forms and Lead Generation — Building opt-in forms for your lightboxes
That’s it! You’ve successfully learned how to set up page events and lightboxes in Thrive Architect. Whether you’re using exit intent popups, timed delays, or click-triggered lightboxes, page events give you precise control over when and how you engage your visitors.