Thrive Leads lets you customize the error messages that appear when users submit a form with missing or invalid input.
In this article, you’ll learn how to translate the error messages that are displayed on your Thrive Leads forms.
Getting Started
Before you can translate error messages, you’ll need to have at least one opt-in form created in Thrive Leads. If you haven’t created a form yet, please refer to our guide on how to create a form.
Translating the Error Messages
After setting up a form, follow these steps to translate its error messages:
- From the Thrive Leads Dashboard, locate the Lead Group that includes the form you want to edit.

- From the list of opt-in form types, select the one with your form and click the Edit icon on the right.

- If you have several forms of the same type, locate the one you want to update and click the Edit Design icon on the right.

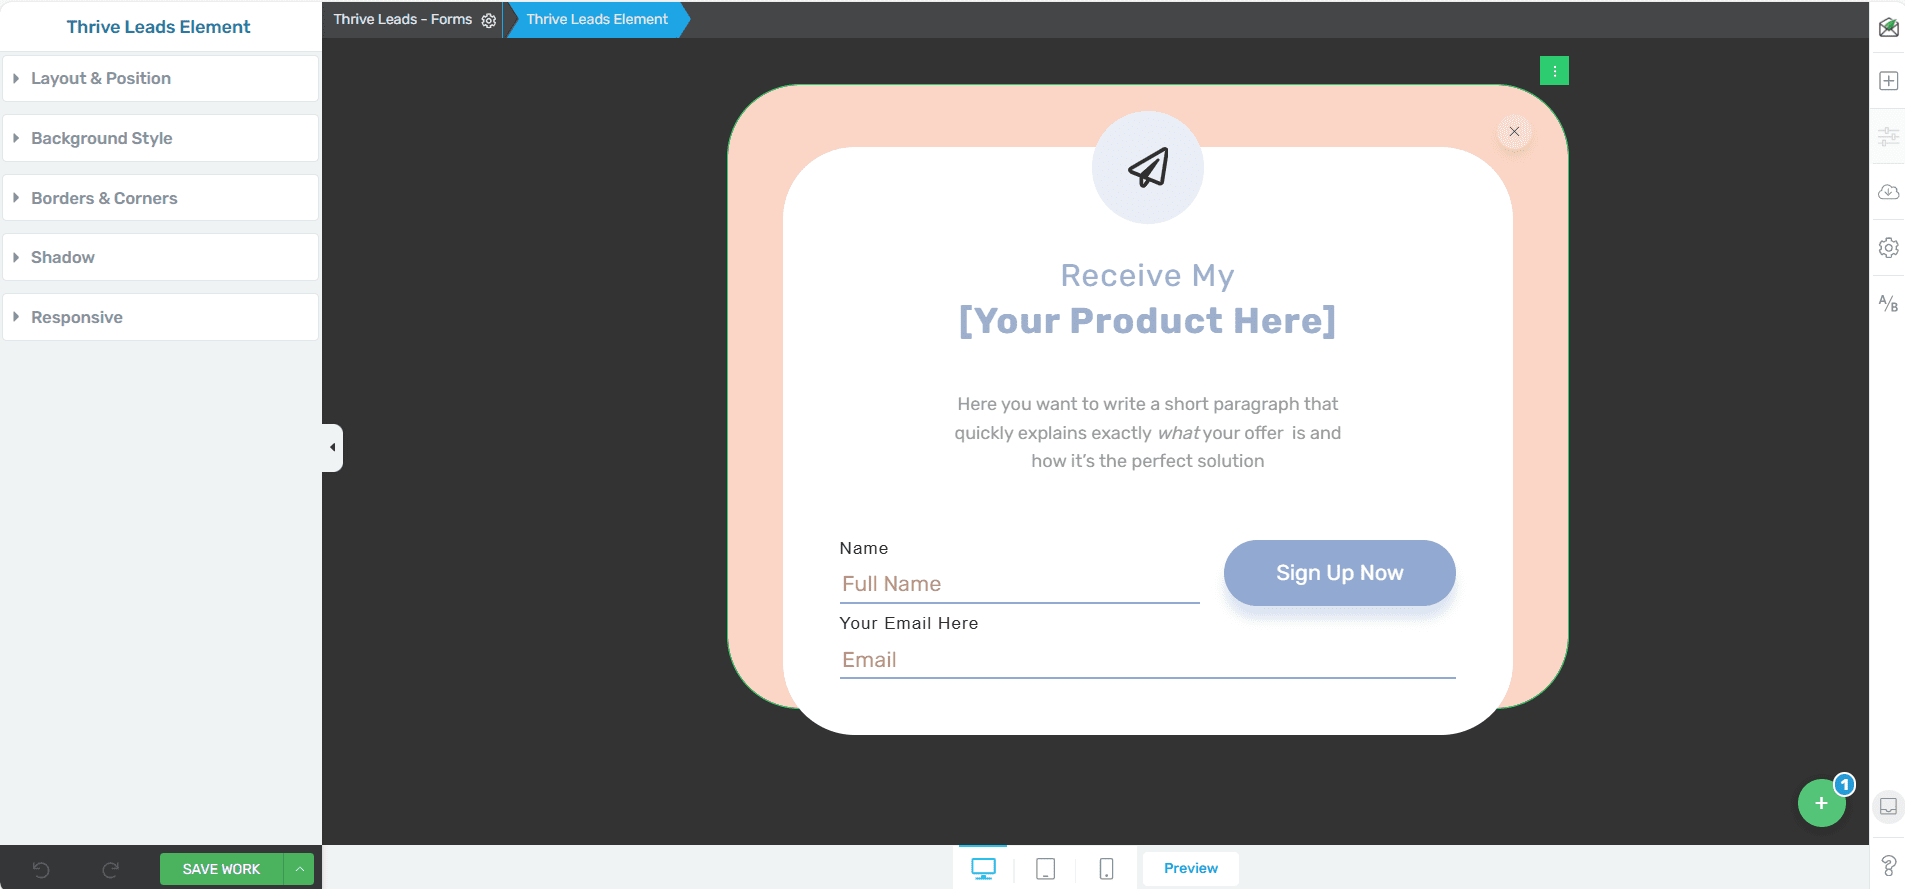
- This will open the form in the Thrive Architect editor, where you can make your changes.

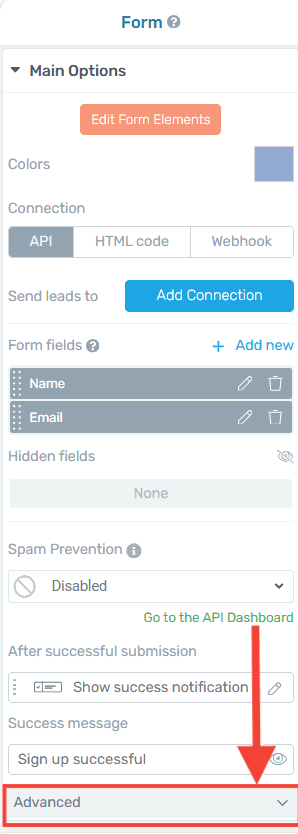
- Inside the editor, select the Lead Generation element.

- Once selected, scroll through the Main Options in the left sidebar until you find the Advanced section at the bottom.

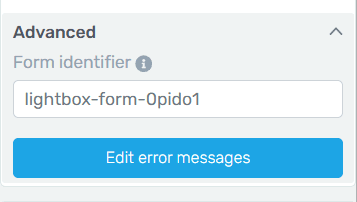
- Expand the Advanced section.

- Click Edit error messages.

- A pop-up window will appear, displaying all the default error messages users may encounter while filling out your form.

- You can modify each error message by translating it into your preferred language or by rewriting the text as needed. When you’re finished, click Save.

Your form will now display the updated error messages whenever a user submits invalid input.

Important: You can use this method to translate the error messages for any form placed in Thrive Architect, Thrive Apprentice, and Thrive Theme Builder. For additional details, refer to the Advanced settings section of the “Lead Generation” element tutorial.
For more information on Thrive Leads, please visit our knowledge base.