Do you want to make sure your students truly understand each part of your course before moving on to the next lesson? Unlocking the next lesson only after a student has passed the quiz helps ensure mastery of the material and promotes better learning outcomes.
In this article, we’ll see how you can use Thrive Apprentice to unlock a lesson only after a student has passed the quiz.
- Adding a Quiz to Your Lesson
- Creating a Drip Schedule
- Setting Up Unlock Conditions
- Adding the Course to a Product
- Assigning the Drip Schedule to the Product
- Setting Up Access Rules
Adding a Quiz to a Lesson
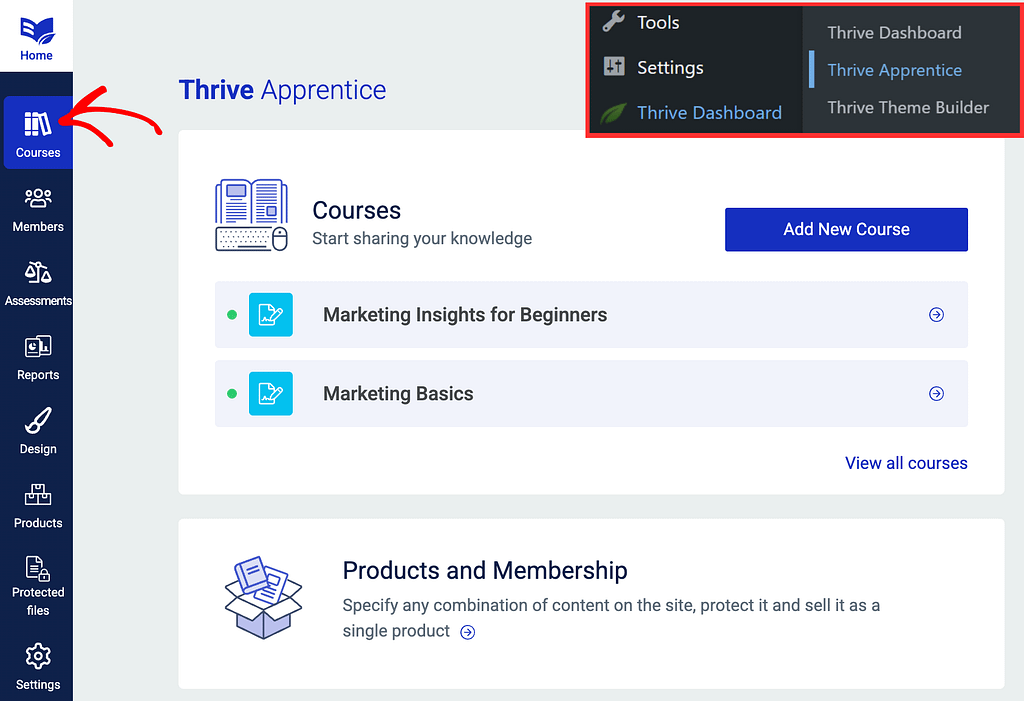
Once you’ve created a course, lesson and a quiz on your website, you can then add the quiz inside a lesson. To do so, first, open your WordPress admin area, navigate to Thrive Dashboard >> Thrive Apprentice, and click on Courses in the left panel.
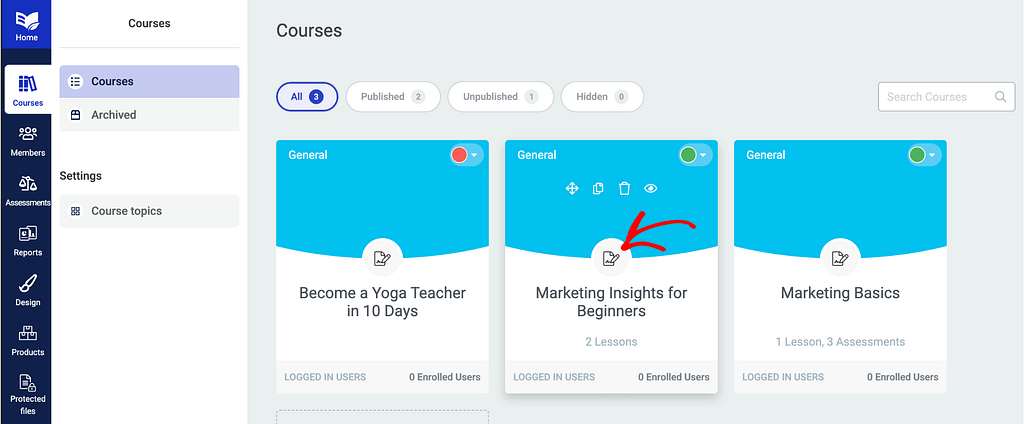
On the Courses page, click on the individual course you want to make the changes in.
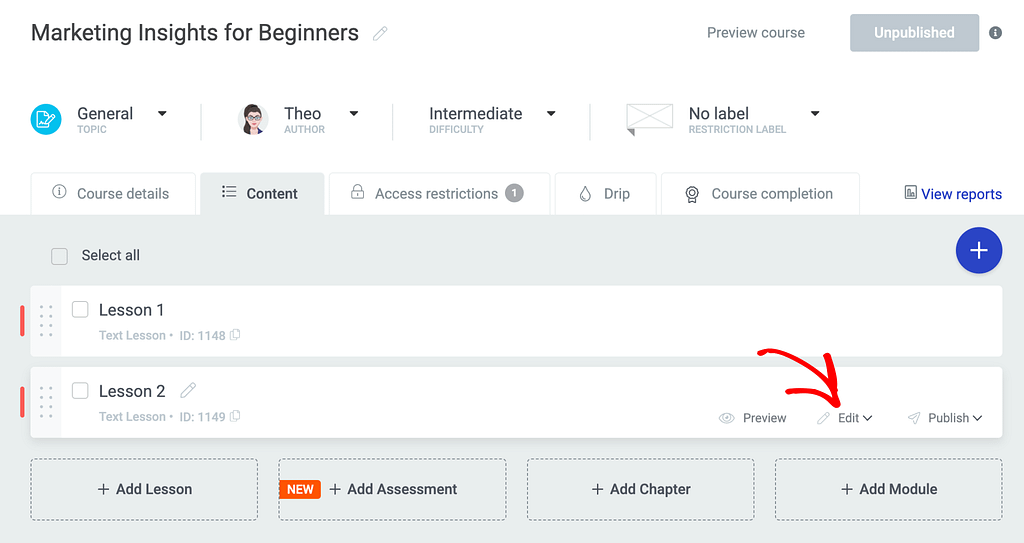
On the individual course page, click to open the Content tab.

Under the Content tab, hover on the lesson you want to add the quiz to and further hover on Edit.
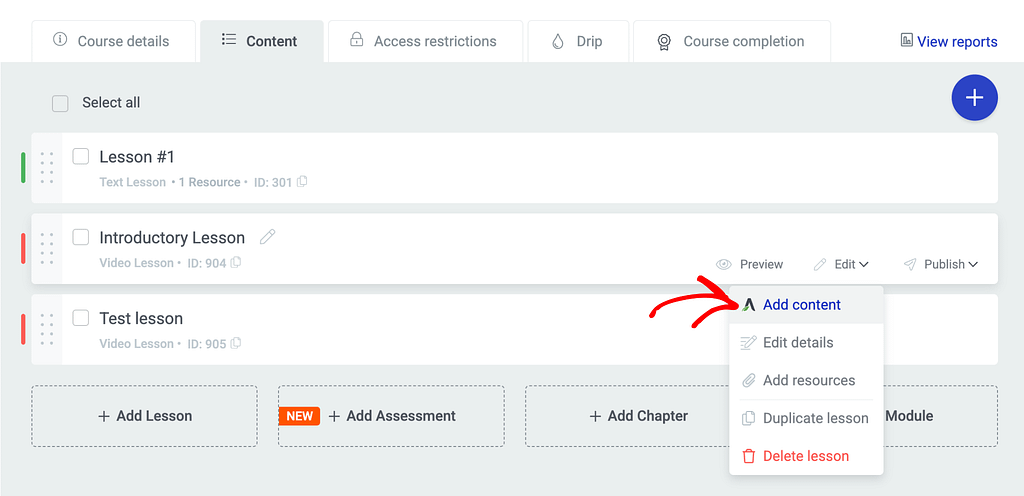
In the Edit options that appear, click Add content.
Clicking to add content in the lesson will open it in the editor.
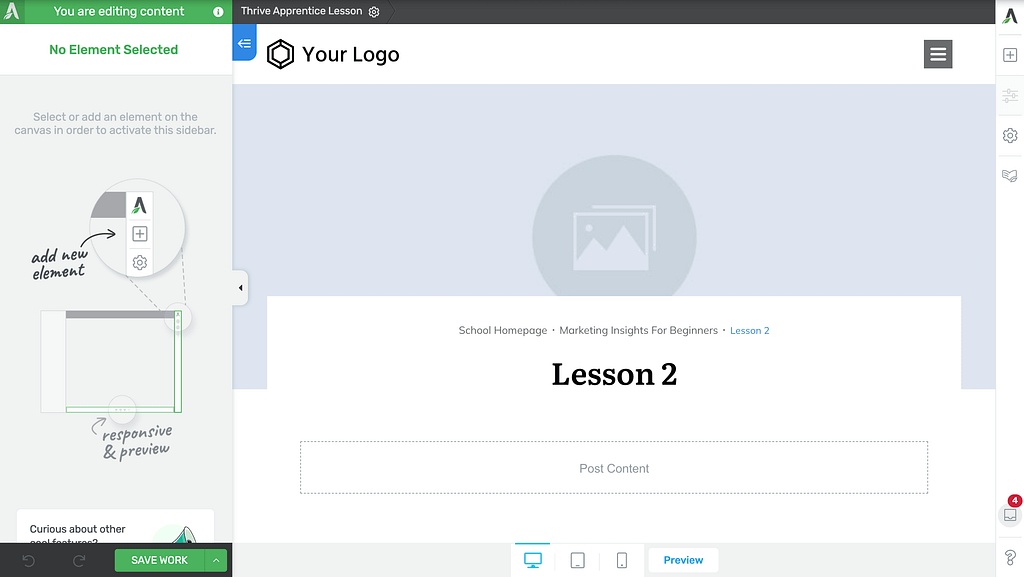
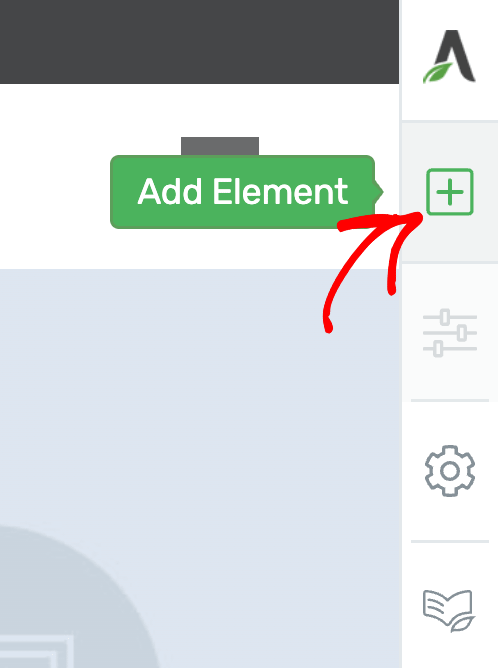
When in the editor, move to the right panel and click the + plus icon to add an element.
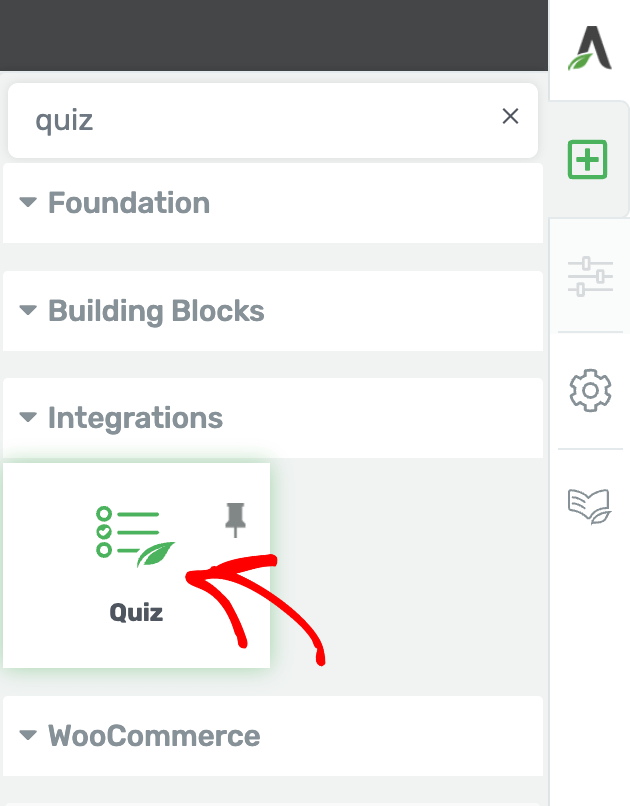
Clicking the plus icon will show up all the elements you can add to the lesson page. From this element list, drag and drop the Quiz element to where you want it on the page.
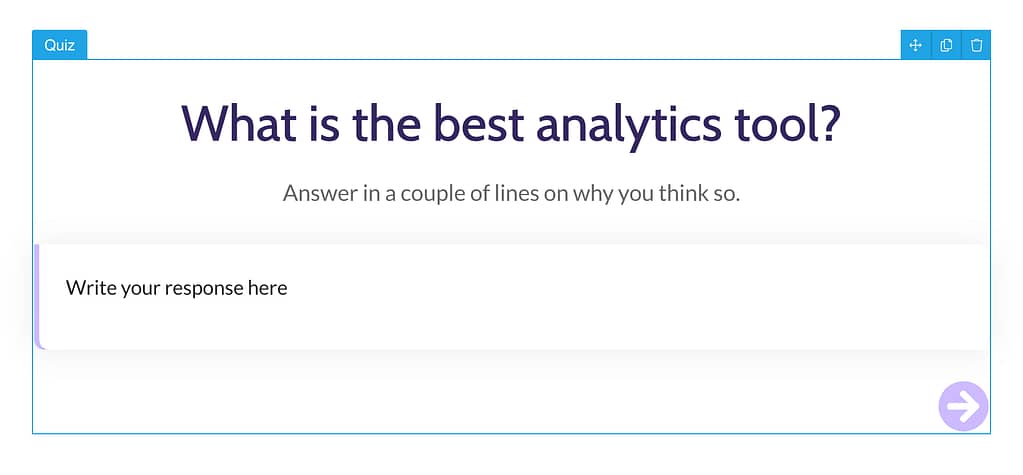
Dragging and dropping the Quiz element on a lesson page will add the element with a button to Select a quiz you want to display here.

Clicking to select will display the available quizzes from Thrive Quiz Builder on your website. If you have too many quizzes on your website, you’ll see them listed or can search them using the search field.

When you select the quiz, you’ll see it added to the lesson page.
Creating a Drip Campaign
Thrive Apprentice lets you create different types of drip campaigns. You can refer to the following documents to create the kind of drip campaign you want.
- Setting up a “Start From Scratch” Drip Campaign Template
- Setting up a ‘Drip on Specific Dates’ Drip Template
- Setting Up a ‘Day of the Week or Month’ Drip Template
- Setting up an ‘Evergreen Repeating’ Drip Template
- Setting up a ‘Scheduled Repeating’ Drip Template
- Setting up a ‘Sequential Unlock’ Drip Template
In this case, we are setting up a Start from Scratch Drip Campaign and select a Custom Unlock Condition.
Setting Up Unlock Conditions
After adding a quiz in a lesson and creating a drip campaign, the next step is to set an unlock condition for the lessons in the course.
To set unlock conditions, open the Drip tab under the course and you’ll see that you can set unlock conditions for each lesson individually.

Under the Drip tab, click on the Unlocked link beside a lesson.

After clicking the Unlocked link, you’ll see a popup on which you click to Add a Rule.

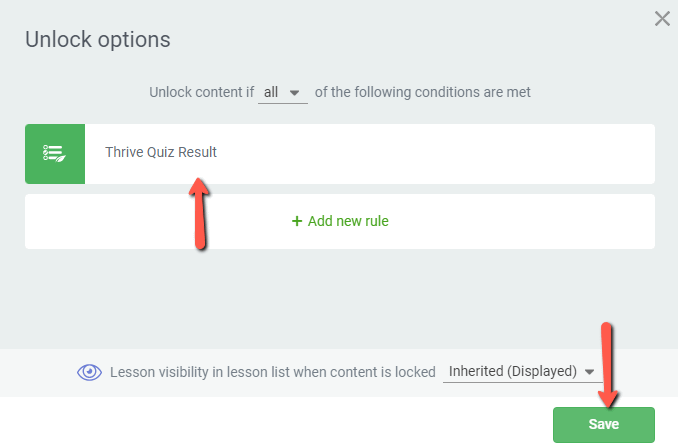
After clicking to add a new rule, select a new condition – Thrive Quiz Result.

After you select Thrive Quiz Result, select the Quiz you want the user to pass. This should be the quiz you’ve added in the lesson.

Once you select a quiz, you have to choose one of two options:
- the content unlocks once the quiz has been completed (so the score of the student will not affect whether the content will unlock for them or not, they just need to finish the quiz);
- the content unlocks only if the student has finished the quiz with a minimum score;

Here, choose the option that best fits your case. For this article, we will choose the second one.
Then, depending on the type of quiz you’re using, you will be able to further set up the condition.
Since my quiz was a “Number” quiz type, I will be able to choose the minimum passing score:

If the quiz was a “Category” type, you can choose to unlock the content for the users that have been assigned a certain category upon quiz completion:
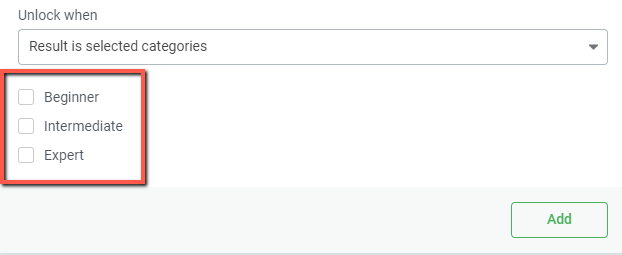
Once you’ve chosen and set up the rule, you can also decide whether you want the lessons that are unlocked to be visible for the users (in a lesson list), hidden, or display as locked:
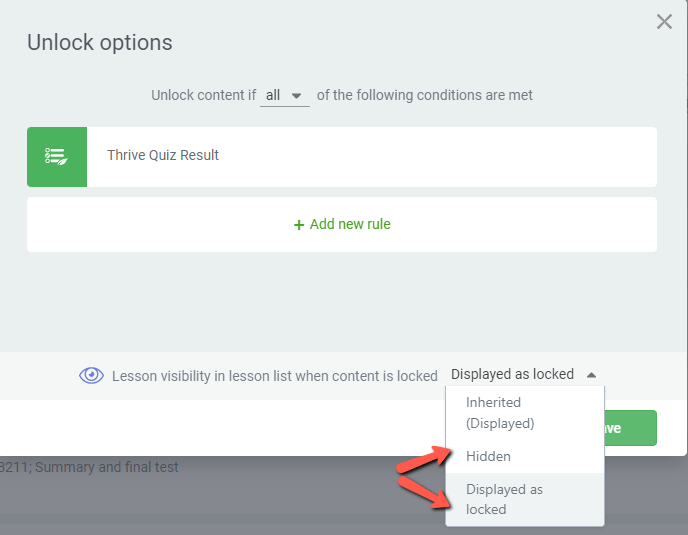
You can read more about the option here. When you’re finished with the unlock condition, click on “Save”:
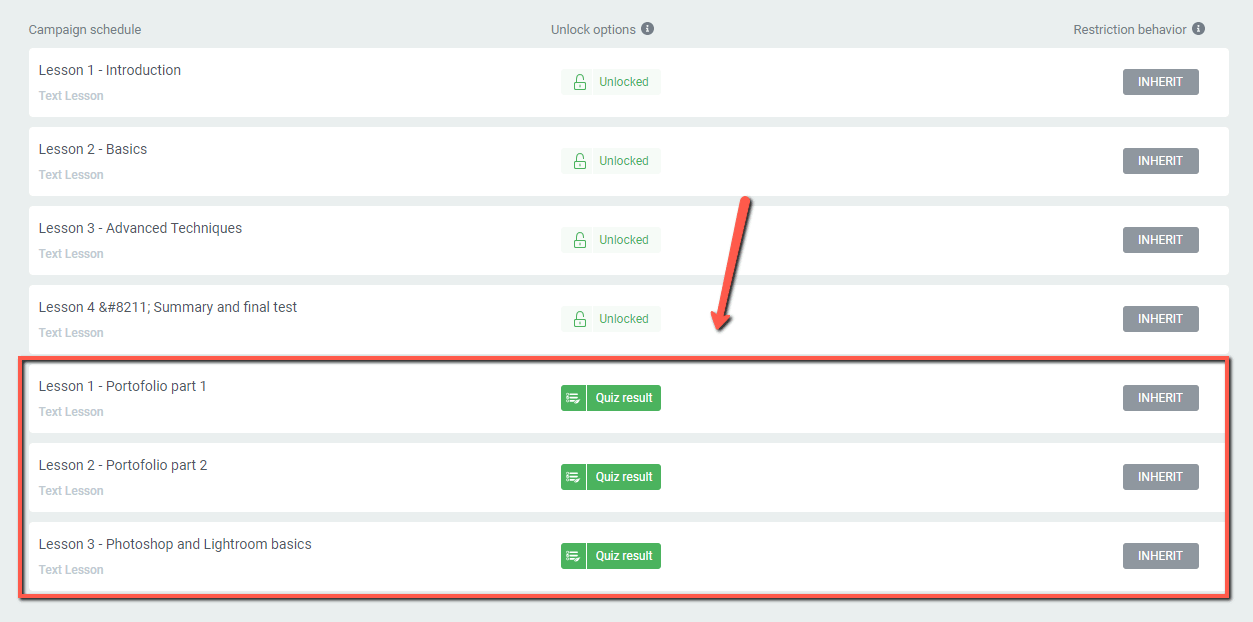
You will be taken back to the drip schedule, and, in the list of lessons, you’ll notice that the lesson after the one with the test will only be unlocked for the students that have finished the quiz with a minimum score:

Since I want the same behavior to be applied to all of the lessons following this one, I will do the same for the next lessons:
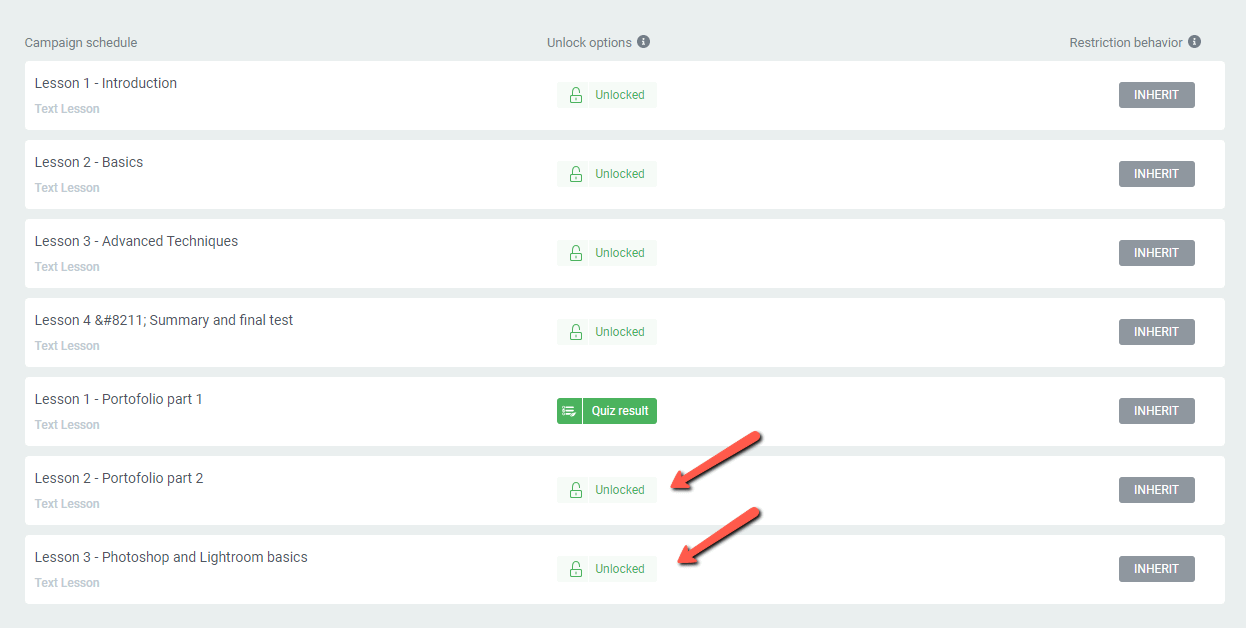
When finished, it will be clear that these lessons will only be available for users/students that have received a minimum score in their quiz:
Add the course to a product
In order to be able to assign the drip schedule we’ve just created, we need to add the course inside a product, so that we can access the drip schedule of the product and set everything up.
You can do that from the “Products” tab of your Thrive Apprentice dashboard, but you can also do it when editing the course. Since we’re here, I will show you how to create a product directly based on this course.
For that, go to the “Access restrictions” tab of your course and click on “Create a Product based on this course”:

From the pop-up that opens, you can set up the name and content of this Thrive Apprentice product:
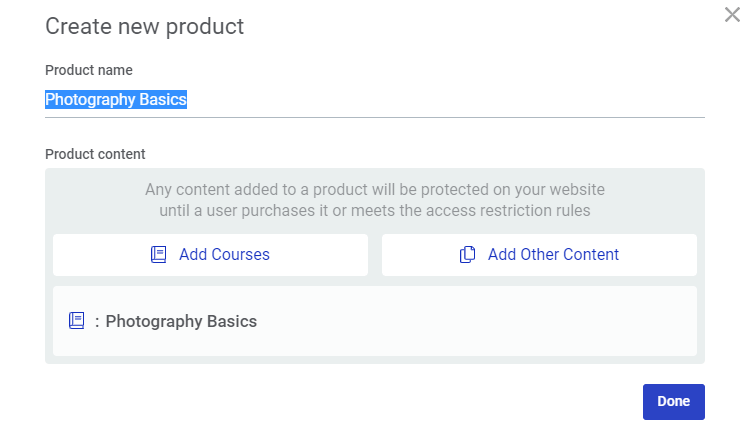
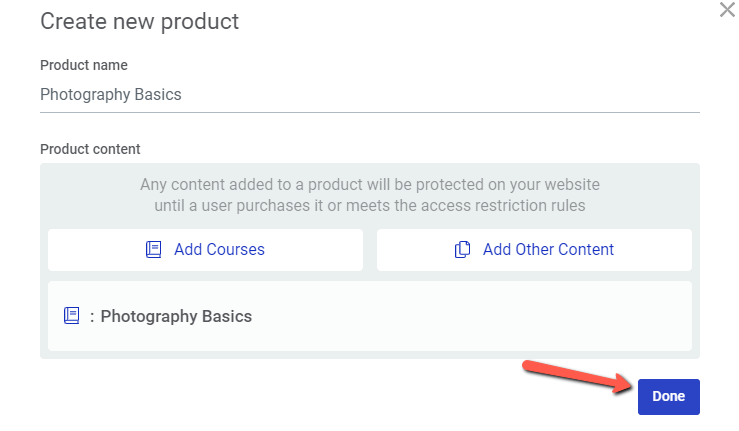
You can change the name that will be given by default and you can add more courses/content to the product if you wish. Clicking on “Done” will save it:
And you will be taken to the “Products” section of Thrive Apprentice, in the “Edit” mode of your new product:

Please make sure to check out these articles if you need more information on Thrive Apprentice products:
The last step is to access the drip schedule we’ve just created for the course to this product so that it will apply to our course.
Assign the drip schedule to your product
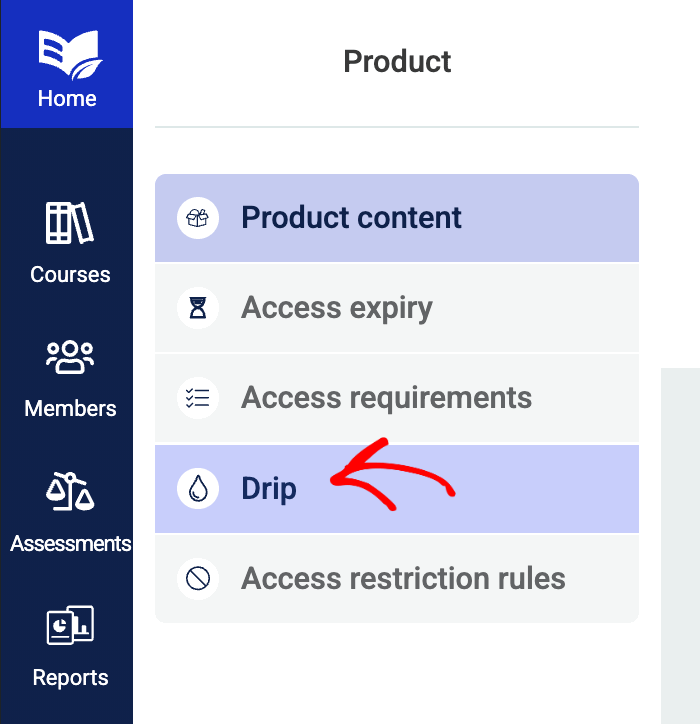
While editing the product, go to the “Drip” tab:
Here, you will see a list of the available drip schedules. Since the product only has one course inside it, and for that course, we’ve only created one drip schedule, our list will only contain that schedule:

To apply the schedule to this product, select it from this dropdown:

Set up access rules
Since the product now has a drip schedule assigned to it, you can go ahead and also set up access rules for it, so that you make sure that students will be logged in when accessing the course.
Setting up the access rules for a product is really simple, and we’ve described everything here.
This is the last step, and the setup is now complete.
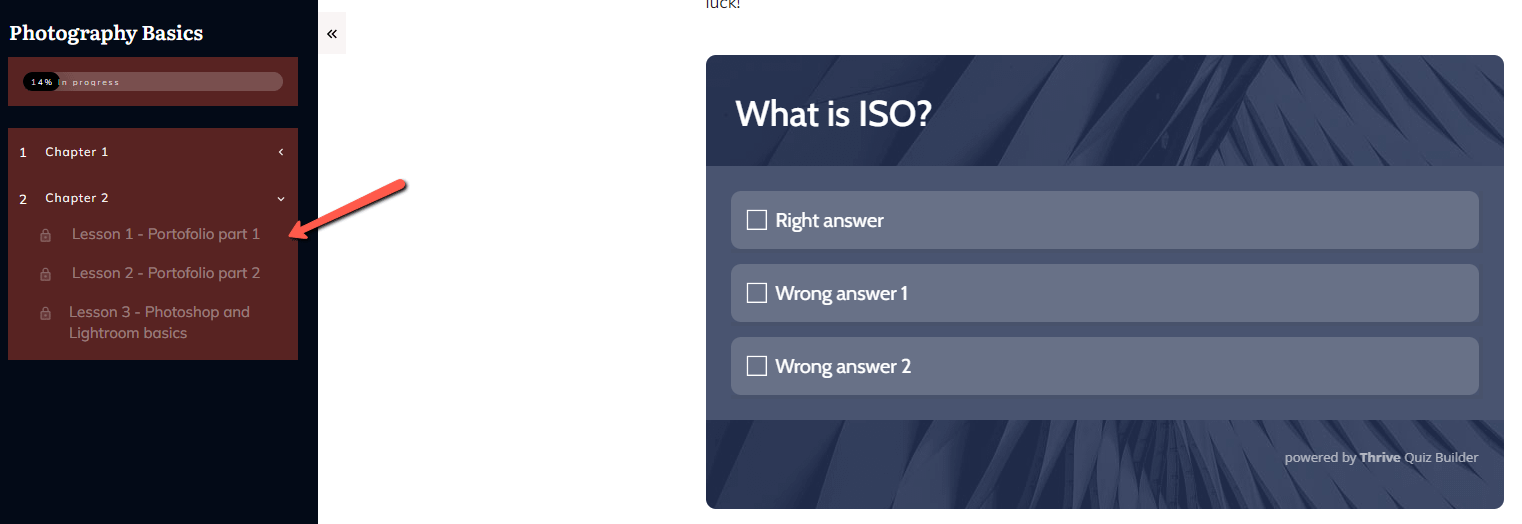
This is what a student will see in the “Lesson List” element, if they have not taken and passed the quiz found in the last lesson of the first chapter:
As opposed to someone who has finished the quiz with a passing grade, and will have the next lessons available:
