In this article, you’ll learn how to create and issue course completion certificates in Thrive Apprentice—from enabling the certificate feature and customizing the template in Thrive Architect, to inserting dynamic student data, customizing PDF filenames, enabling verification, adding download buttons, and sharing certificates via email.
Overview of the Certificate System
Thrive Apprentice allows you to award certificates to students who finish a course. Certificates are generated as PDF files and can include personalized details like the student’s name, the course title, and the date of completion. You can deliver them through download buttons, email notifications, or shareable verification pages.
Enabling Certificates for a Course
Certificates are managed on a per-course basis from the Course completion tab. Here’s how to enable them:
- In your WordPress dashboard, navigate to Thrive Dashboard > Thrive Apprentice.
- Click Courses in the left sidebar and select the course for which you want to issue certificates.
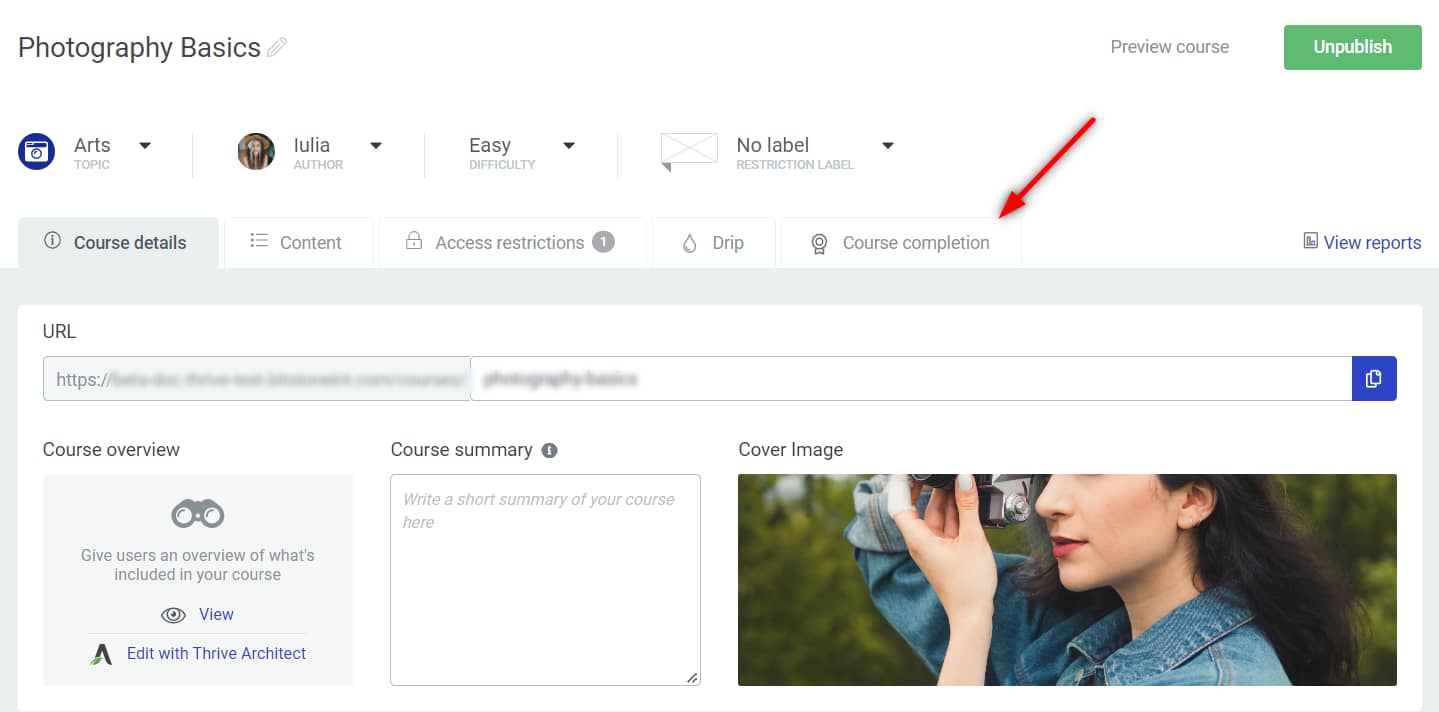
- Click the Course completion tab.
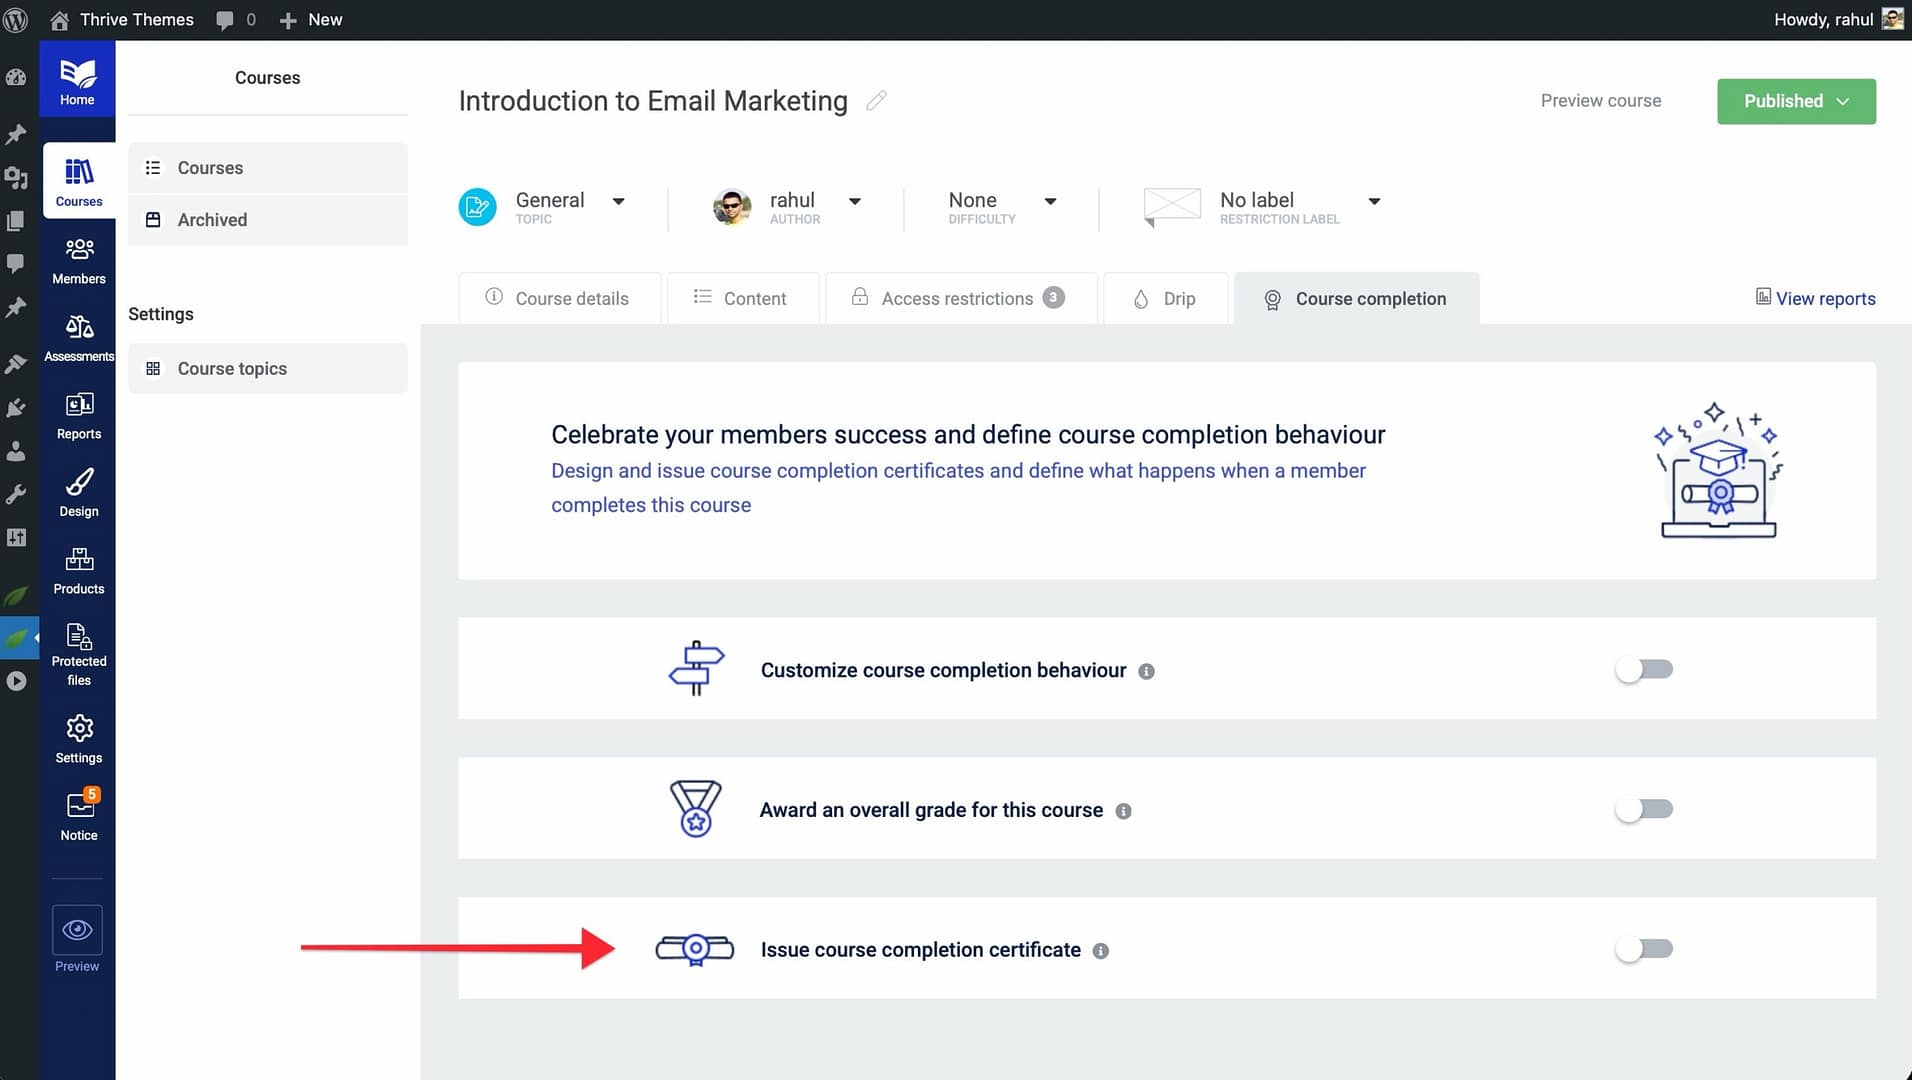
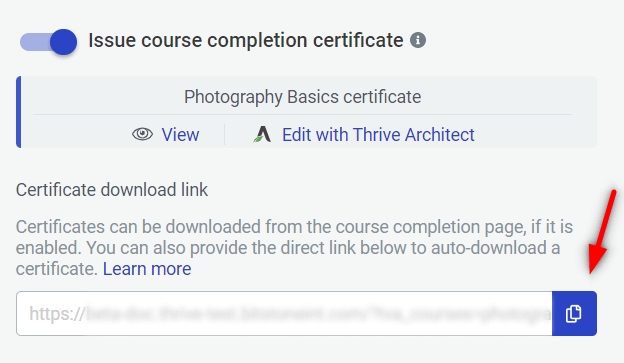
- Locate the Issue course completion certificate toggle and activate it.
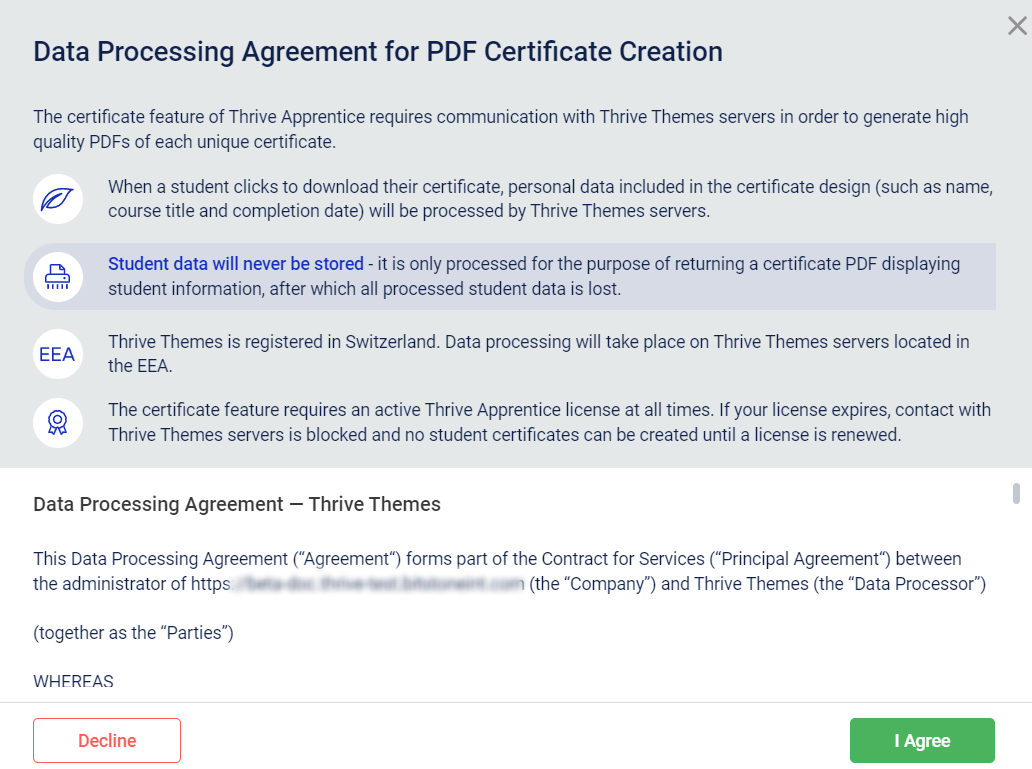
- Agree to the Data processing agreement & terms of use when prompted.
- Once the toggle is active, you’ll see a set of certificate options appear below it.
Note: If you’re setting up certificates for the first time, you’ll need to accept the data processing agreement before you can proceed. This is a one-time step.
Customizing the Certificate Template
After enabling the certificate, you can preview and customize its design using Thrive Architect.
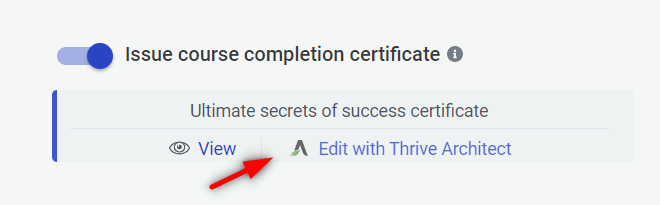
- On the Course completion tab (with the certificate toggle active), click View to see how the certificate currently looks.
- To customize the design, open the certificate in Thrive Architect by clicking the edit option.
- Use the options available in the right and left sidebars to edit the template—just like you would with any other Thrive Architect page. All elements on the certificate are editable: hover over different parts, select them, and make your changes.
- If you want to load a completely different template, access the template library from the editor.
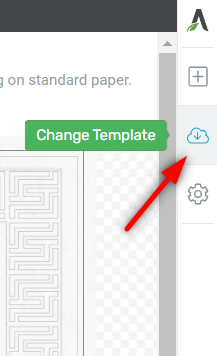
- Browse the available certificate templates and pick a different one.
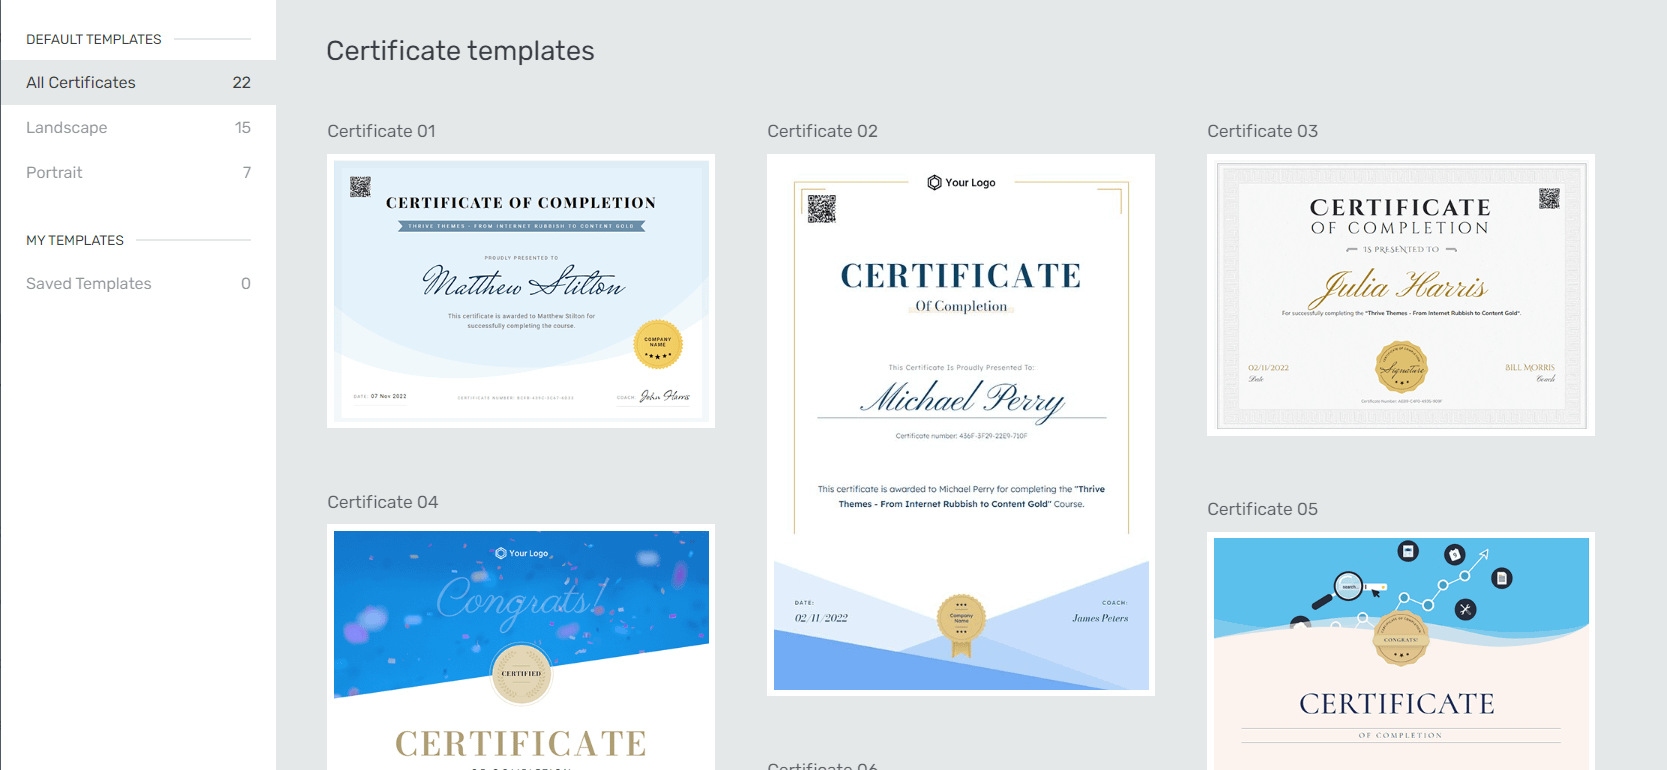
- Click Save Work when you’re finished customizing.
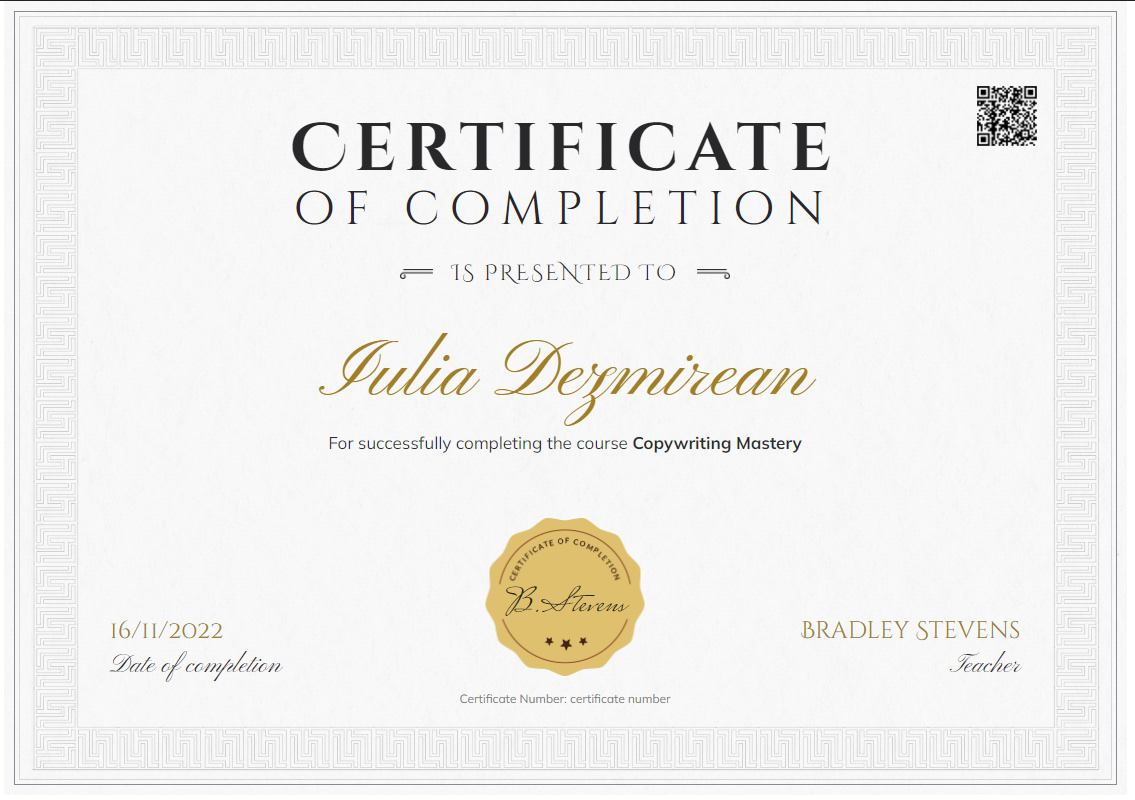
Each certificate template includes dynamic data such as the course title, teacher name, student name, a QR code, completion date, and more. This information changes automatically for each student who receives a certificate.
Tip: Keep your certificate design clean and professional. A centered layout with your logo at the top, the student’s name prominently displayed, and the course title below works well for most use cases.
Using Dynamic Data in Your Certificate
Dynamic data allows you to automatically insert personalized information into each certificate so you don’t have to create individual certificates for every student.
- While editing your certificate template in Thrive Architect, click on a text element where you want to insert dynamic content.
- Look for the Dynamic Text option in the text element toolbar.
- Select from the available dynamic fields:
- Student Name — inserts the full name of the student who completed the course.
- Course Title — inserts the name of the completed course.
- Completion Date — inserts the date the student finished the course.
- Certificate ID — inserts a unique identifier for verification purposes.
- Position and style the dynamic text elements to fit your certificate design.
- Click Save Work to preserve your changes.
Note: Dynamic text fields appear as placeholder tags while editing. They are automatically replaced with real student data when the PDF certificate is generated.
Customizing the PDF File Name
By default, certificate PDFs are generated with a generic filename. You can customize this to include meaningful information for your students.
- Navigate to the Course completion tab of the course.
- Locate the PDF File Name setting in the certificate options.
- Enter a custom filename pattern using dynamic placeholders. For example:
{student_name}-{course_title}-certificatewould generate a file like “John-Smith-Email-Marketing-certificate.pdf”. - Click Save to apply the changes.
Tip: Using descriptive filenames helps students find and organize their certificates after downloading them.
Enabling Certificate Verification
Certificate verification allows anyone to confirm the authenticity of a certificate by visiting a unique verification URL. This is especially useful for professional or accredited courses.
- On the Course completion tab, find the Verification toggle in the certificate options.
- Enable the toggle.
- Once enabled, each generated certificate will include a unique verification URL.
- Students and employers can visit this URL to confirm the certificate is valid and view details like the student’s name, course title, and completion date.
Note: The verification page is automatically created and hosted on your WordPress site. You don’t need to set up any additional pages.
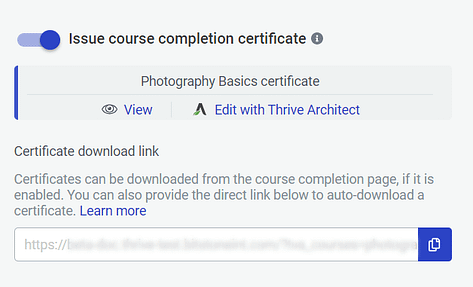
Certificate Download Link
On the Course completion tab, you’ll also find a direct URL for auto-downloading the certificate. Certificates can be downloaded from the course completion page as long as the Issue course completion certificate toggle is active.
Adding a Download Certificate Button
You can place a download button on your course completion page or within any lesson so students can easily retrieve their certificate as a PDF.
- Open the page or lesson where you want to add the download button in Thrive Architect.
- From the element panel, drag and drop the Download Certificate button element onto the page.
- Customize the button text (e.g., “Download Your Certificate”), style, and placement.
- The button automatically links to the student’s personalized certificate PDF—no manual linking needed.
- Click Save Work to apply your changes.
Important: The download button only appears to students who have completed the course. Students who haven’t finished will not see the button, so you can safely place it on any course-related page.
Sending Certificates via Email
You can automatically send certificates to students by email when they complete a course. This uses the Thrive Apprentice email notification system.
- Navigate to Thrive Apprentice > Settings > Email Templates.
- Locate or create a Course Completion email template.
- In the email body, add the certificate download link using the available dynamic shortcodes.
- Customize the subject line and body text to congratulate the student and provide instructions for downloading their certificate.
- Save the email template.
Tip: Mention the verification URL in the email as well, so students can share a link that proves their achievement without needing to send the actual PDF.
Sharing Course Completion Certificates
Students can share their certificates on social media or with employers directly from your site.
- Social Sharing — If you enable sharing options on the certificate or verification page, students can post their achievement to platforms like LinkedIn, Facebook, or Twitter.
- Verification Link — Students can copy and share the unique verification URL, allowing anyone to confirm the certificate’s authenticity online.
- PDF Download — Students can download the PDF and attach it to job applications, portfolios, or emails.
To enable sharing, make sure the verification page is active and that your certificate template includes the relevant dynamic data (student name, course title, and completion date) so shared links display meaningful information.
That’s it! You’ve successfully set up course completion certificates in Thrive Apprentice—from enabling the feature on the Course completion tab and customizing the template in Thrive Architect, to enabling downloads, verification, email delivery, and social sharing.
Related Resources
- Course Completion Behavior: Learn how to set up course completion behavior including redirects, messages, and next course suggestions.
- Email Templates: Customize your email notification templates for certificate delivery and other course events.
- Visual Editor Basics: Get started with the Thrive Apprentice visual editor for designing certificates and course pages.
- Managing Courses: Review how to manage your courses and configure course settings.