Are you using a landing page template and want to customize it to match your needs? You can customize each element on the landing page individually, by simply clicking on it and using the available options from the left sidebar.
Apart from these, Landing pages come with additional settings that you can take control of.
In this article, we’ll help you understand landing page settings and how you can use each of them to customize your page.
- Landing Page Settings in the Right Panel
- Accessing the Landing Page Style Editor
- Landing Page Settings
- Advanced Settings of a Landing Page
Landing Page Settings in the Right Panel
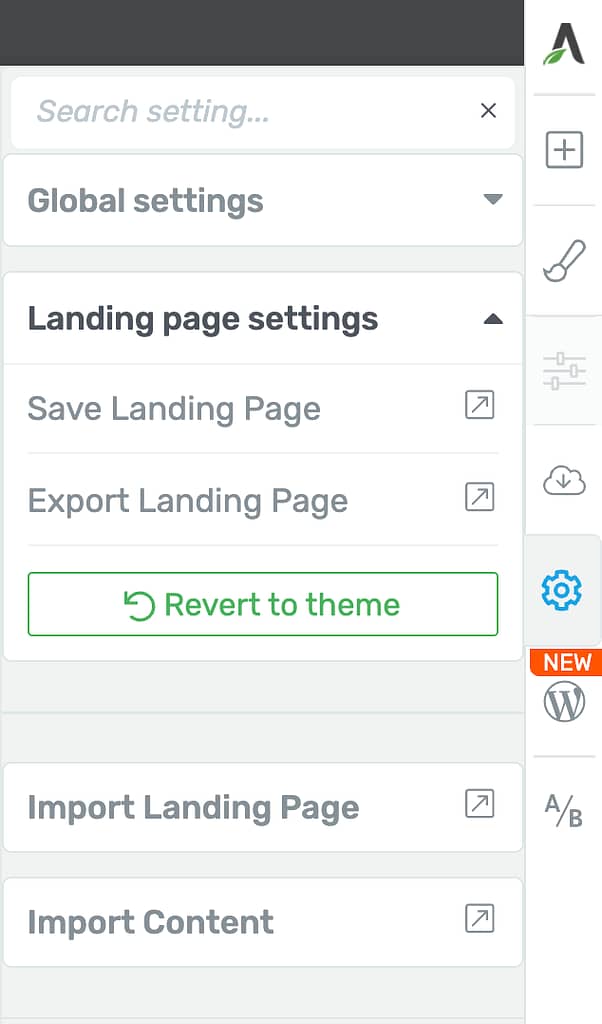
The Landing Page settings let you manage Global settings, import or export a landing page, and import content.
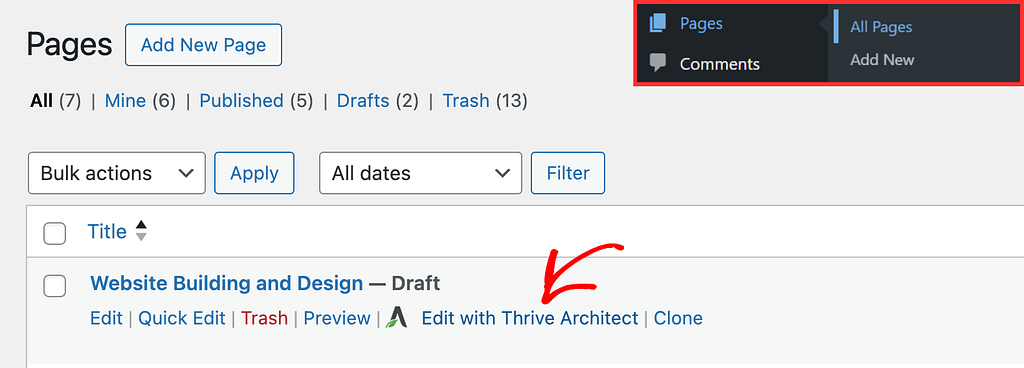
To access the Landing Page settings, start by opening your WordPress admin area, navigate to Pages >> All Pages, hover on the page you want to edit and click Edit with Thrive Architect.
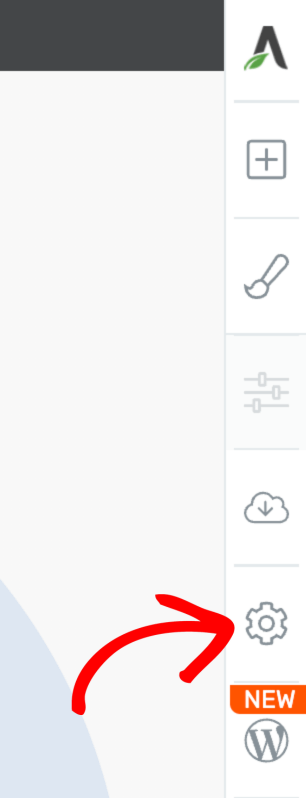
When the page is opened in the Thrive Architect editor, click the settings icon in the right panel.
Global Settings of a Landing Page
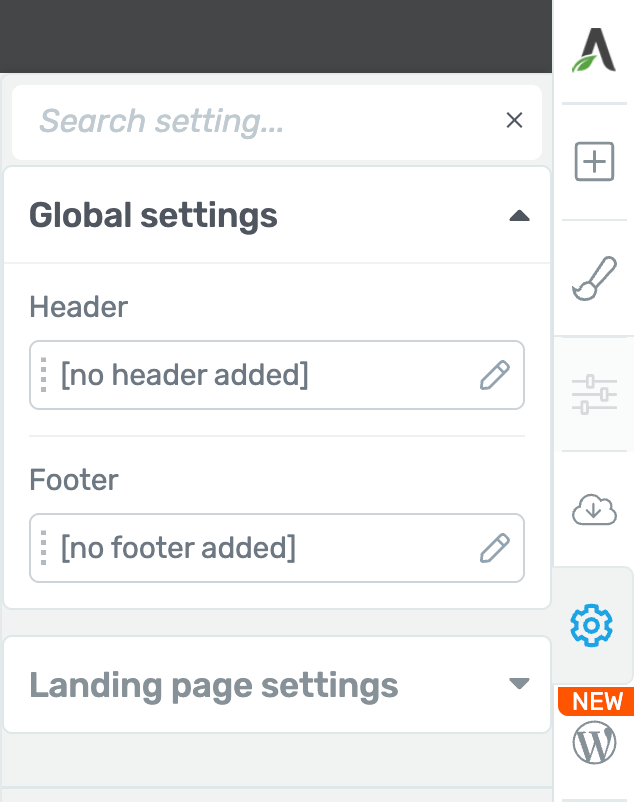
The Global settings of a landing page allow you to manage the header and footer applied to your landing page.
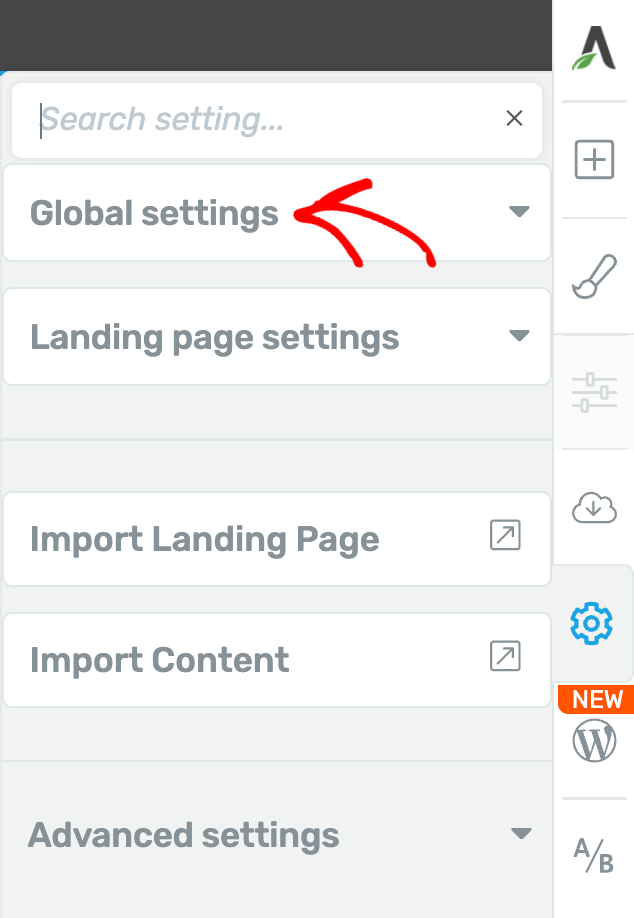
In the Landing Page settings that appear, click on Global Settings.
Under Global Settings, you’ll be able to manage the Header and the Footer of the landing page by clicking the pen icon beside each of them.
With the help of the Header and Footer sections, you can easily add new headers or footers to your landing page or insert the ones that you have previously created since these are global elements as well.
All you have to do is click on the respective sections and follow the steps. If you need more help on how to edit your headers and footers, read our document here.
Note: If you have the Thrive Theme Builder active on your website, then your landing page might load by default the headers and footers that you’ve set up while configuring your Site Wizard.
If the header, for example, is loaded by default but you would prefer to hide it, simply click on it and then use the visibility section of the left sidebar to do that.
Saving and Exporting a Landing Page
An already created landing page can be saved and exported for future use.
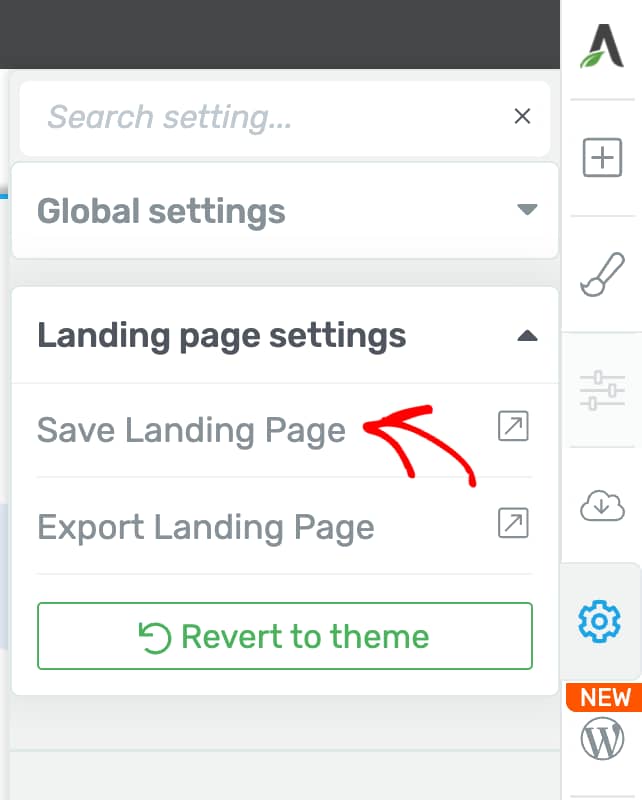
To save a landing page on the same website, expand Landing Page Settings and click on Save Landing Page.
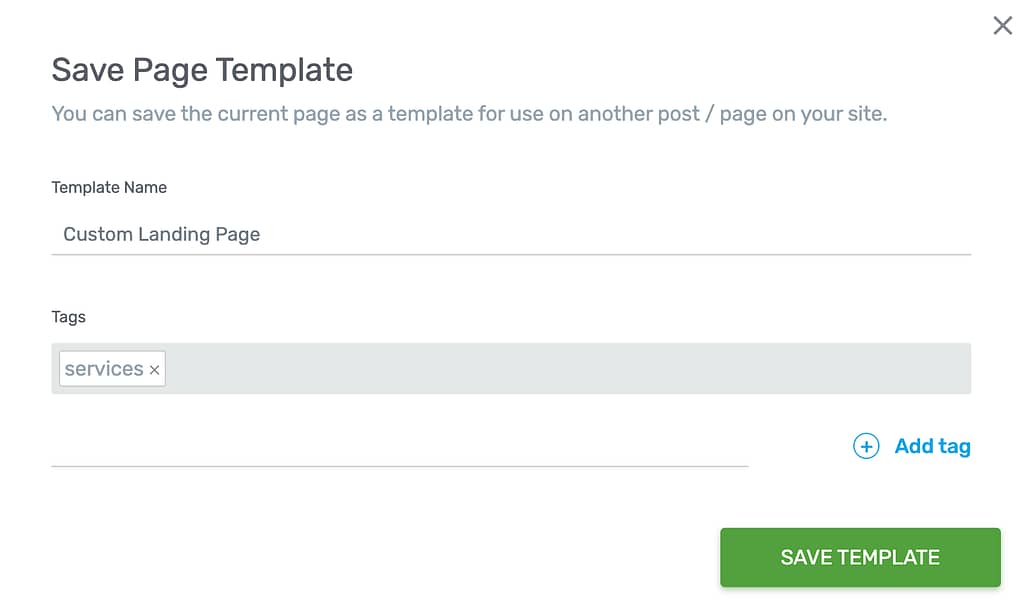
After clicking to save the landing page, you’ll see a popup. In the popup enter a template name, the tags you want to add to it, and click Save Template.
You can read more about adding, saving and using landing pages here.
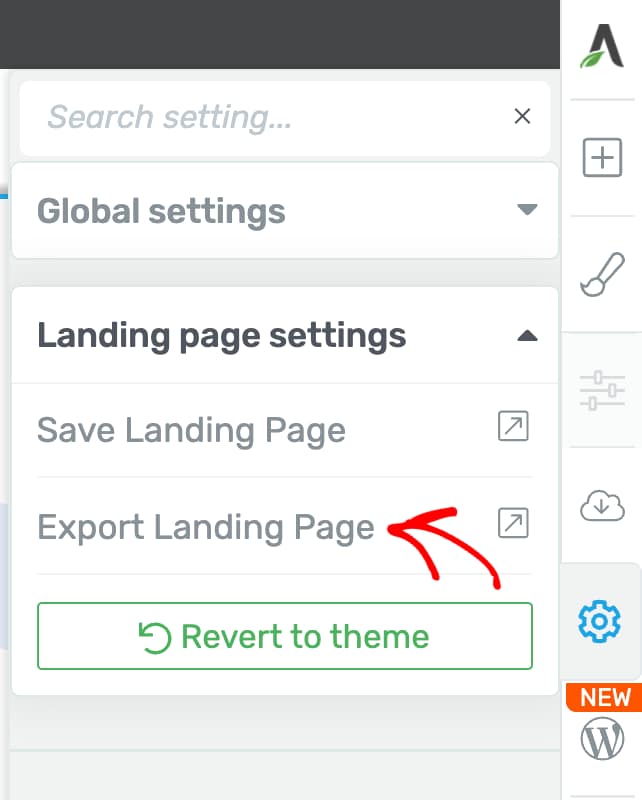
To Export a landing page, expand Landing Page settings and click Export Landing Page.
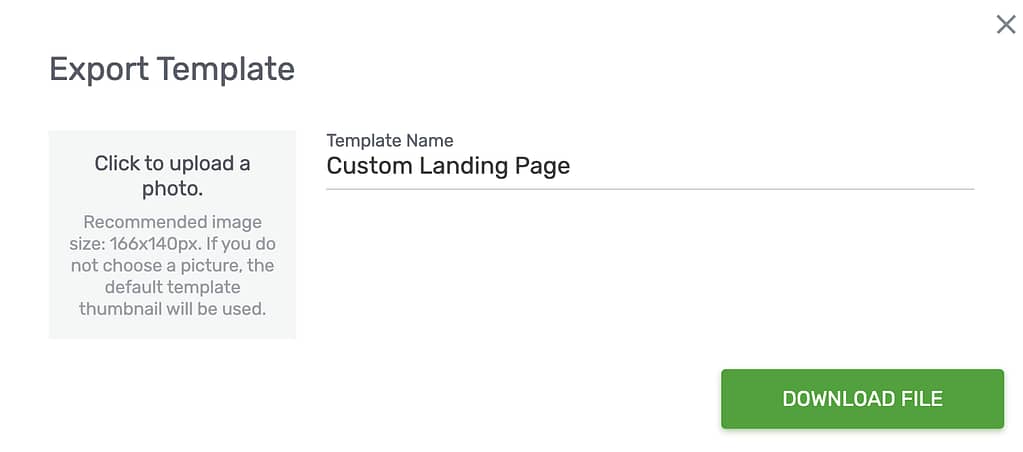
After clicking to export landing page, enter the template name in the popup and click the Download File button.
You can read more about exporting landing pages here.
Importing a Landing Page and Content
Just like you can save and export a landing page, you can also import a landing page and content to be used on the current page.
To do so, you can use the respective options in the settings panel.
To understand how you can use each of these options, refer to our documents listed below.
Accessing the Landing Page Style Editor
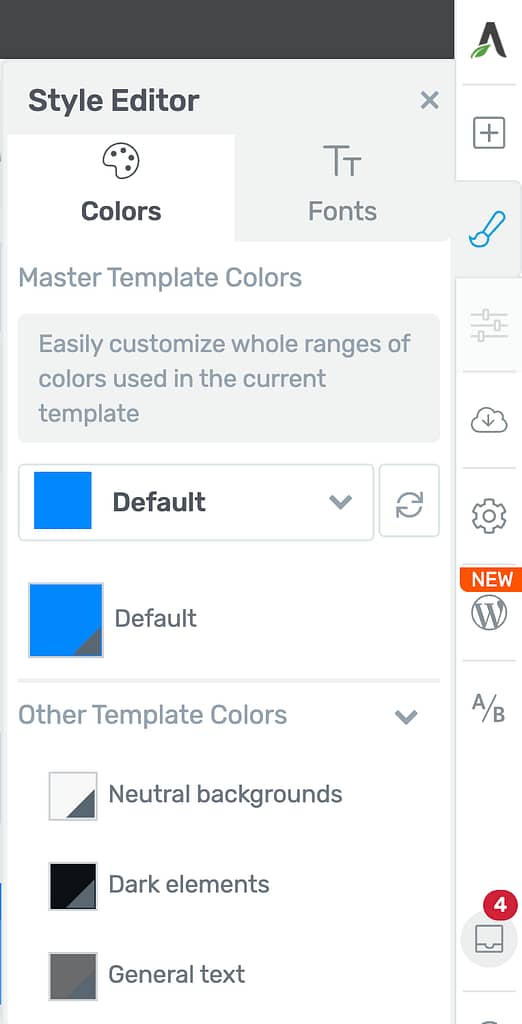
The Landing Page Style Editor allows you to manage the colors and the typography followed on the landing page.
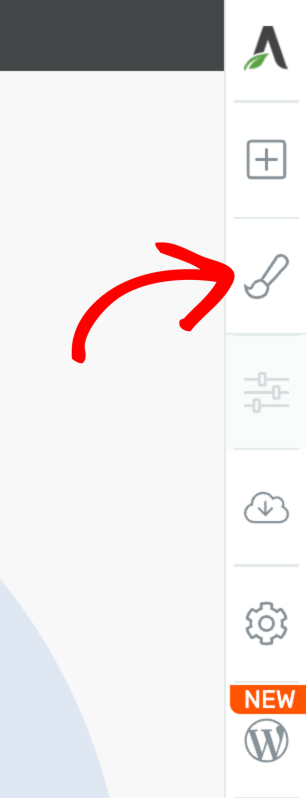
To access the Landing page style editor, click the brush icon in the right panel.
The Landing page style editor has two tabs.
Colors on the Landing page
The Colors tab in the style editor lets you set the colors for different sections and elements on the current landing page.
Fonts on the Landing page
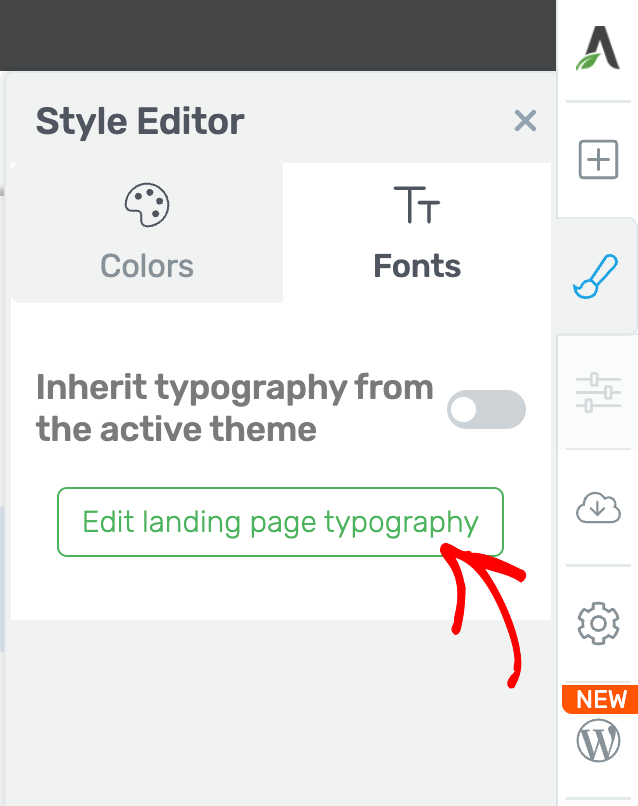
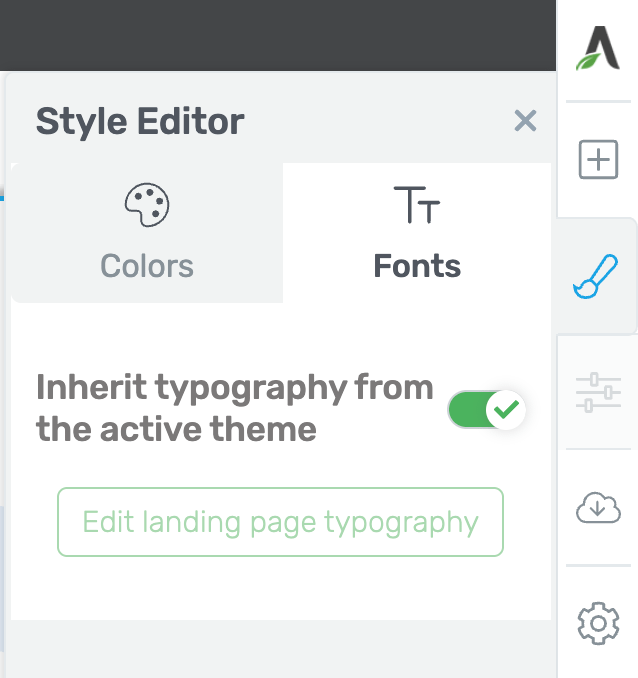
The Fonts tab in the style editor lets you set the font for different text elements on the page.
The page typography is inherited from the active theme by default. To unlink and edit the typography for the selected landing page, disable the toggle button.
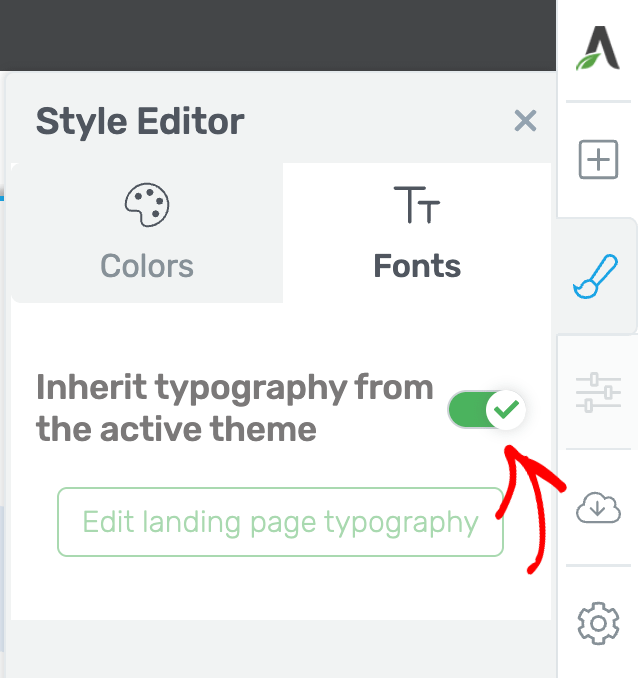
After unlinking the landing page typography from the theme, click the Edit landing page typography button.
After clicking the button, you’ll see a popup with the set of text elements you can edit the typography for. To edit the typography, click on each of these and make the changes in the left column.
Note: The text customization that you do here is part of the “Global Settings”, which means that it will be applied to every text of the same type on your page.
For instance, if you choose the “Heading 3” to have a blue color, then, all the Heading 3 types will turn blue on your page and every other Heading 3 that you will add to the page will be blue as well.
You can read more about managing typography on landing pages in our document here.
Landing Page Settings
The Landing page settings we are talking about here are the ones that will open in the left column.
To access these landing page settings, click Page in the Breadcrumb you see on the top.

When you click Page, it will open the Landing page settings in the left column. These settings will let you.
- Manage the Status and Visibility of the Page
- Use the Main Options of the Landing Page
- Edit Typography of the Landing Page
- Edit Background Style of the Landing Page
- Add Custom Scripts to the Landing Page
Manage the Status and Visibility of the Page
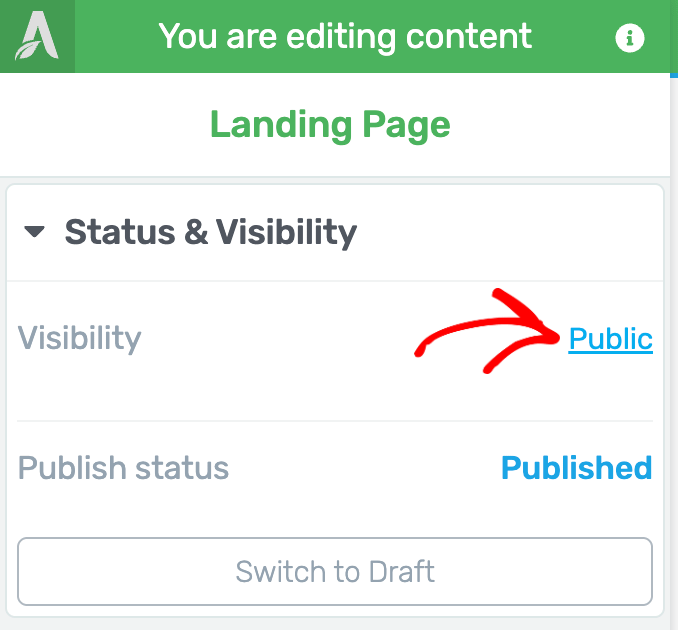
The Status and Visibility settings of a Landing page let you decide the visibility of the page and the publish status.
To edit the page visibility, click on the value beside the visibility option.
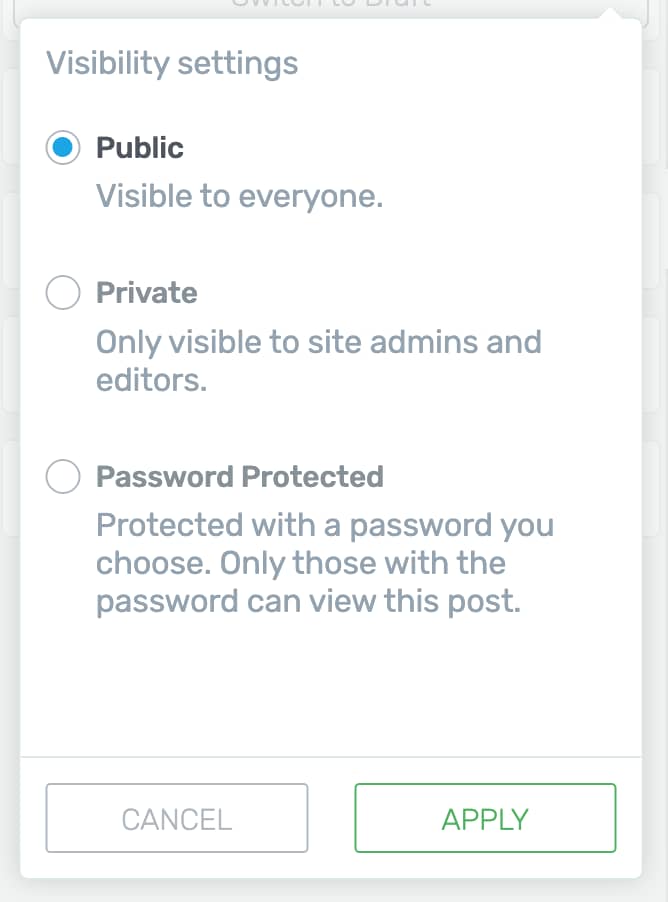
When you click to edit the visibility, you can set it to Public, Private, or Password protected, and click Apply to save the changes.
- A public page will be visible to everyone.
- A private page will only be visible to the administrators and editors of the page.
- A Password Protected page is a page that can be accessed only by someone who has the password.
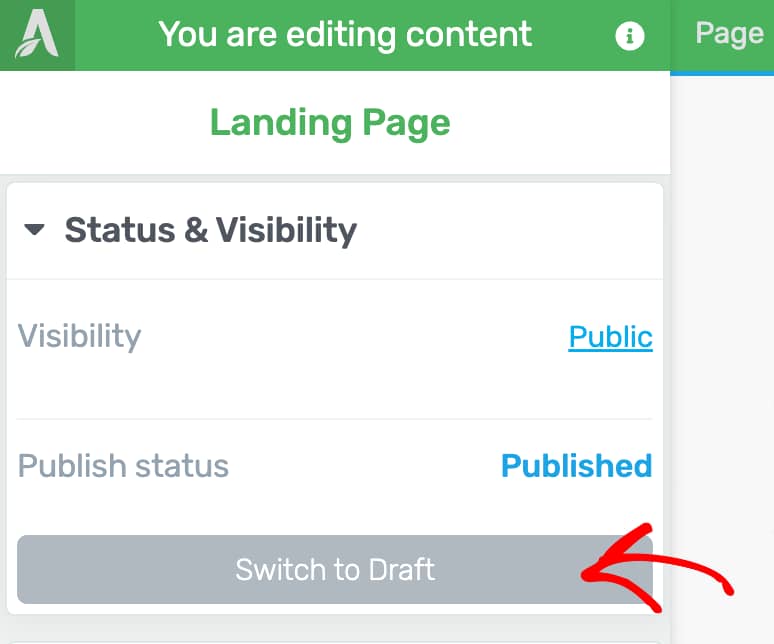
Under the page visibility, there’s an option that allows you to manage the publish status of the page.
To change the current publish status, click the button below.
Use the Main Options of the Landing Page
After the Status and Visibility settings of the Landing page, you see the Main Options under which you can manage settings like the layout and width of the page.

The next setting is dependent on whether you enable or disable the landing page layout to cover the entire screen width.
If enabled, you can manage the Content Maximum Width in the next setting.
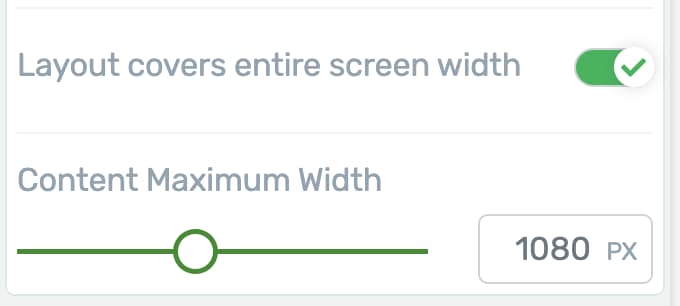
If disabled, you can select the maximum layout width.

Edit Typography of the Landing Page
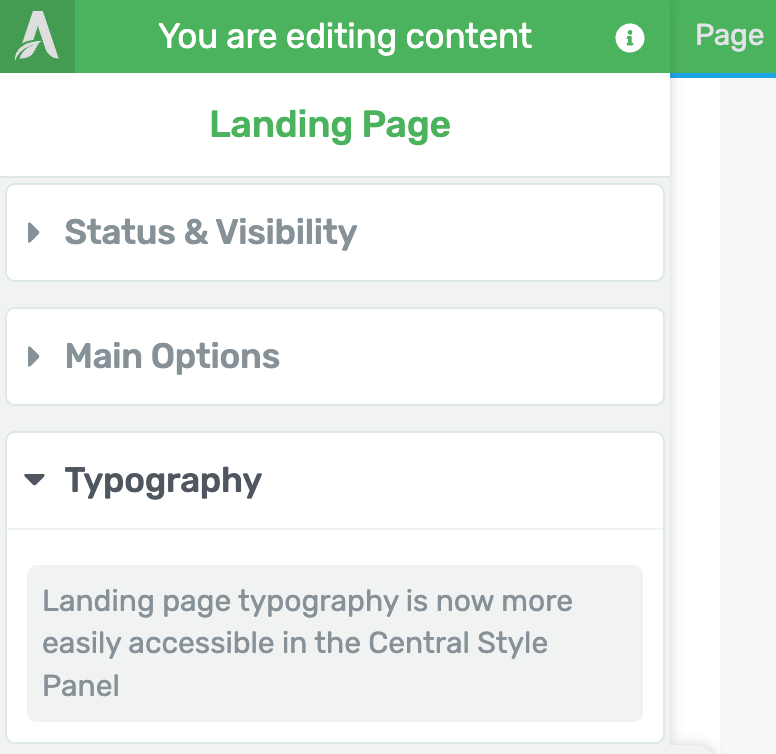
After you’ve managed the Main Options, the next one will help you manage the typography on the page.
When you open Typography in the left column it says, “Landing page typography is now more easily accessible in the Central Style Panel.”
When you open the Typography tab in the left column, you’ll also see the Font tab in the style editor open in the right panel.
We’ve spoken about the Fonts in the Style Editor in this section of our document. To know more, you can refer to a dedicated document here.
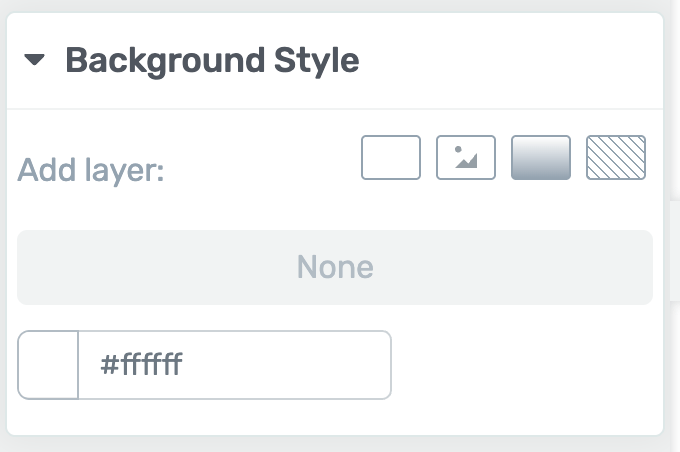
Edit Background Style of the Landing Page
The Background style will allow you to customize the background of your landing page in various ways. You can add different layers as the background of your landing page – you can add a solid color, or an image, patterns, and so on.
To know more about the background style options, you can refer to our document here.
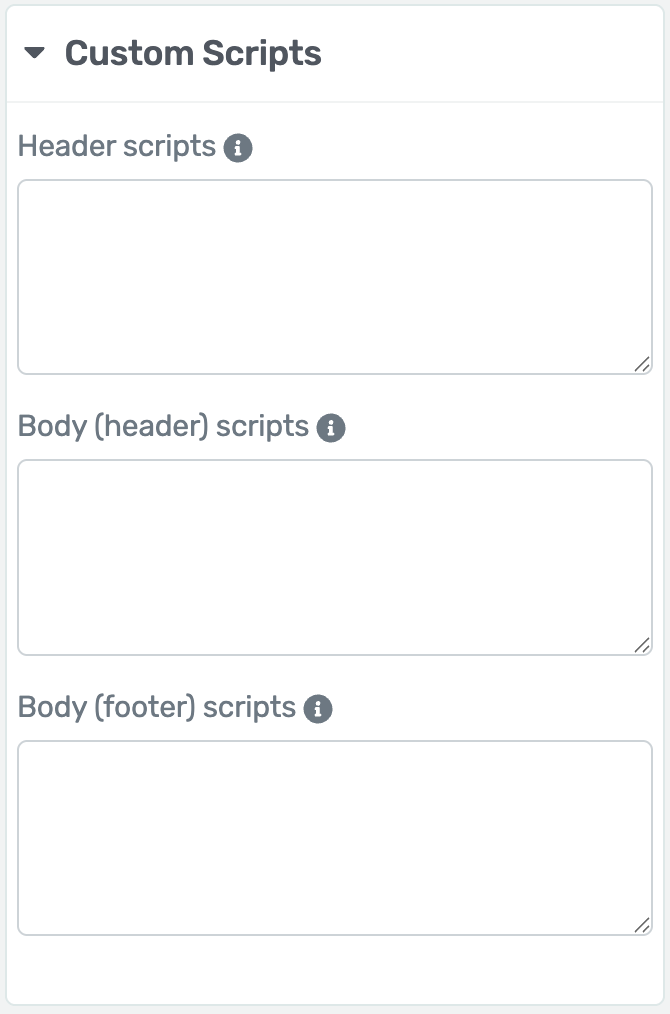
Add Custom Scripts to the Landing Page
The next section on the left column is where you can add a custom script to the page. This section lets you add custom scripts for the header, footer and body on the page.
To understand this setting in depth, you can refer to our document here.
Advanced Settings of a Landing Page
Alongside the other settings, there are some that you can manage under the Advanced Settings options.
To access the Advanced Settings of a landing page, open the landing page in the Thrive Architect editor, click the settings icon in the right panel and click on Advanced Settings.
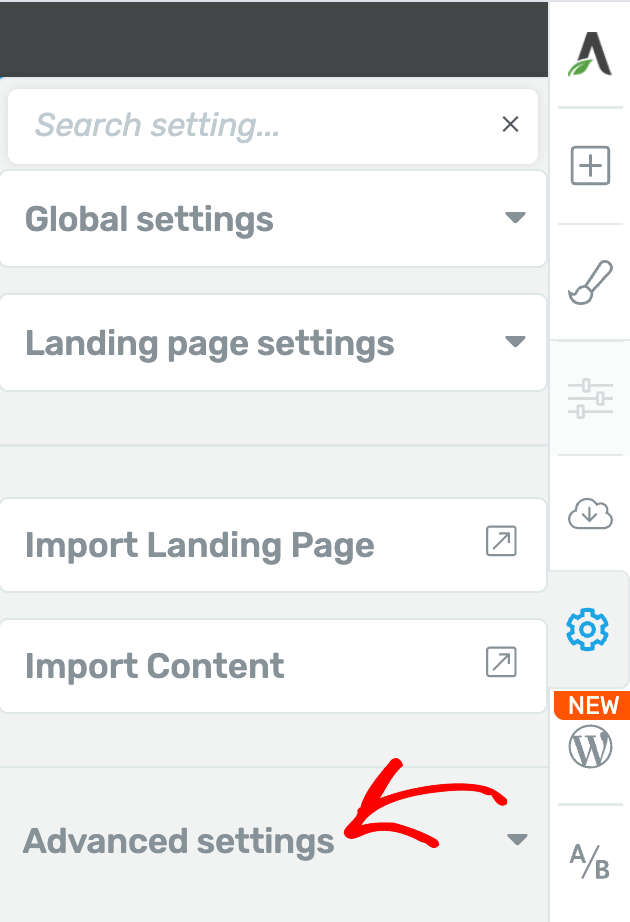
Clicking on Advanced Settings opens additional options that you can control here.
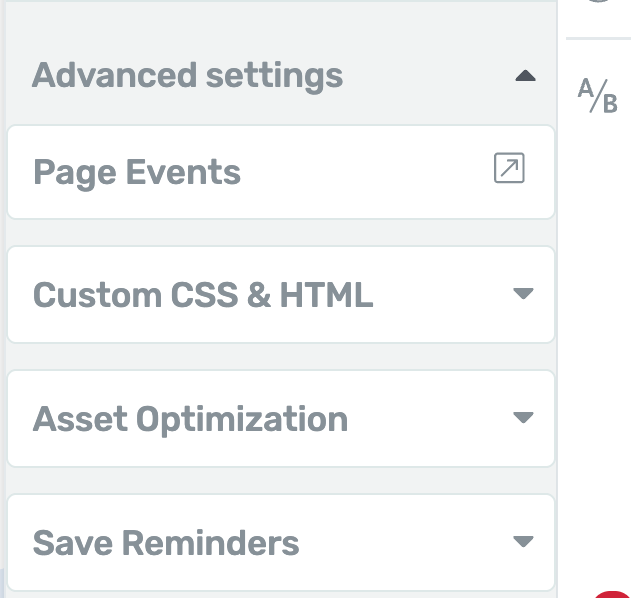
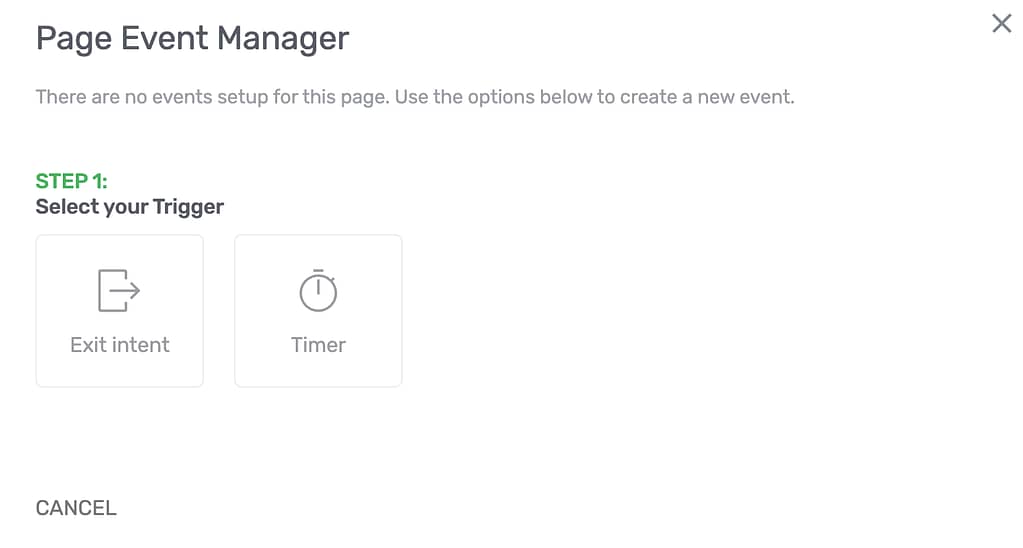
Page Events
With the help of this option, you can set up page events in order to make sure that your visitors will see your offers and promotions at the right time.
To set up page events click on Page Events under Advanced Settings. This will open a popup where you can select a trigger from among the Exit Intent and Timer.
To learn more about page events on landing pages, refer to our document here.
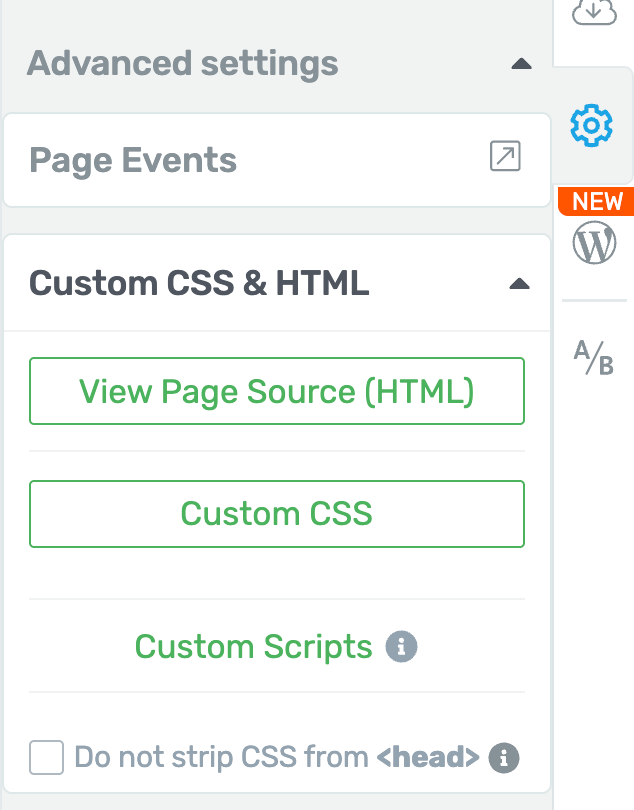
Custom CSS and HTML
Just like with the previous option, clicking on the “Custom CSS” will open a window where you can add a custom CSS code to your page.
Once you have added the code, you can click on the check sign from the upper right part of the window to apply it to your page.
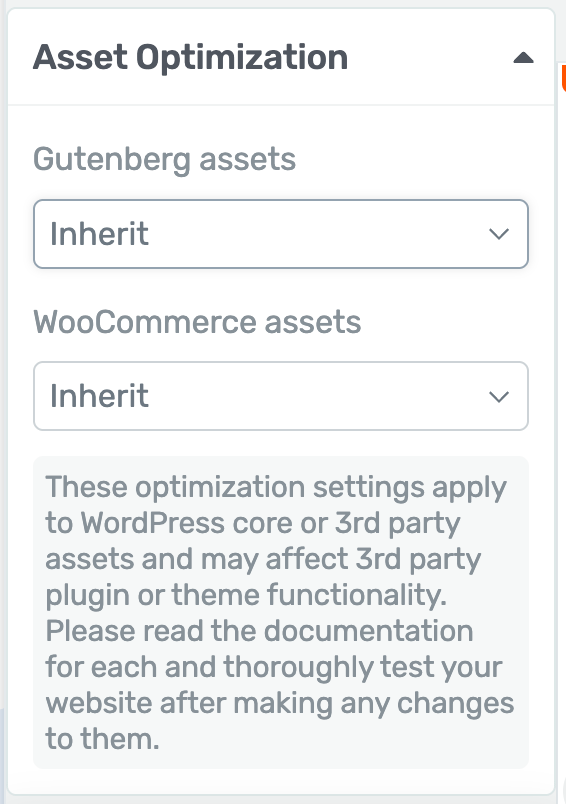
Asset Optimization
The Asset Optimization section lets you decide whether you want to inherit, enable or disable assets on the landing page.
Expanding this section will show you assets under two dropdowns – Gutenberg and WooCommerce respectively.
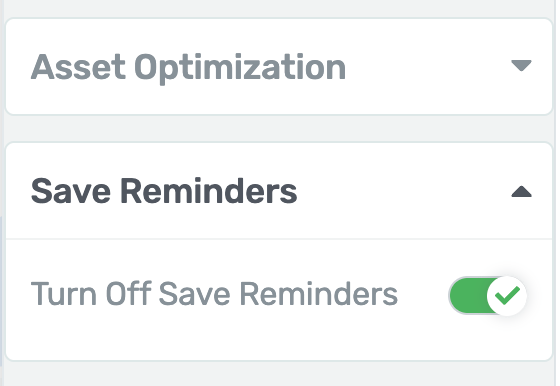
Save Reminders
The Save Reminders section allows you to decide whether you want to continue seeing Save page reminders frequently while editing the page.
Enabling this will keep showing the reminders to save the page. When disabled, you will not see the save reminders while you are working on the page.
We’ve just seen the different Landing Page settings that you can manage through the left and right panels in the editor.
You can take a look at the visual representation of it in the video below.
Next, do you want to use Smart Landing Pages on your website? Refer to our document here.