Do you want to help your students track their progress and feel more accomplished as they complete your quizzes? Using the ‘Mark as Complete’ feature on a quiz in Thrive Apprentice makes it easy for learners to mark their quizzes as finished, helping them stay organized and motivated throughout your course.
With this Thrive Quiz Builder feature you can decide which students of your online course can proceed to the next lesson in Thrive Apprentice, based on their quiz results.
In other words, whenever you place a quiz within a Thrive Apprentice lesson, you can prevent the students who do not meet the required test score from advancing with the course and mark the lesson as complete. They will only be able to advance to the next lesson once they take the quiz and manage to get the result set by you.
Note: Before you begin, ensure you have both Thrive Apprentice and Thrive Quiz Builder installed and activated on your website.
After you’ve installed and activated these plugins, create a course and a lesson using Thrive Apprentice and a quiz with the Thrive Quiz Builder.
- Adding a Quiz to a Lesson
- Using Apprentice Options for the Quiz
- Editing the Notification in the Course Navigation Settings
Adding a Quiz to a Lesson
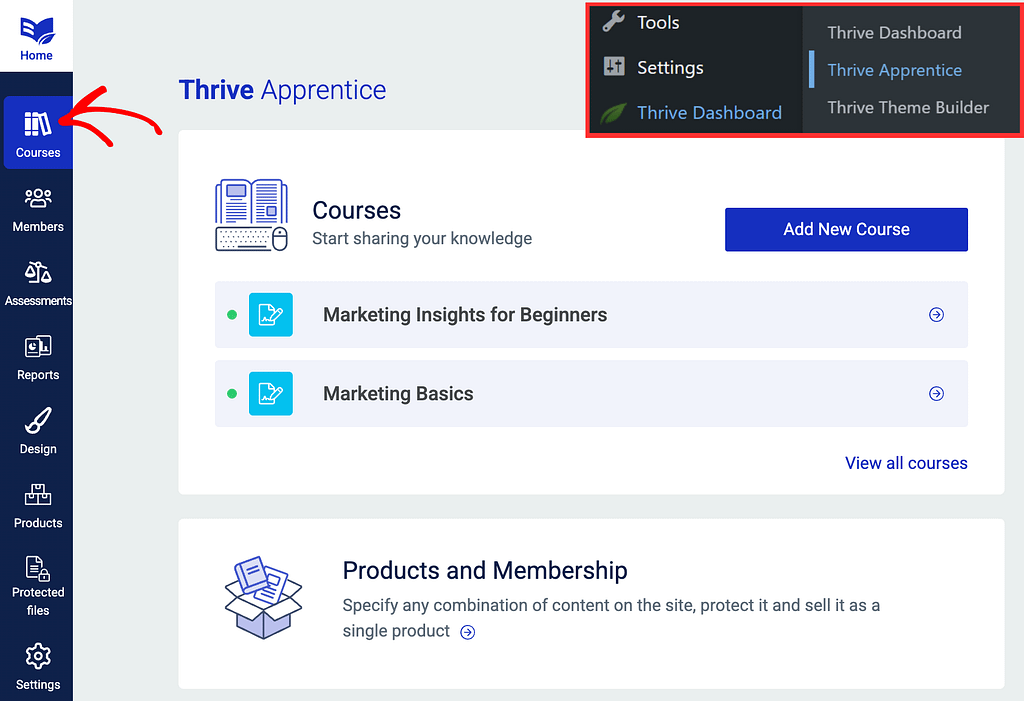
Once you’ve created a course, lesson and a quiz on your website, you can then add the quiz inside a lesson. To do so, first, open your WordPress admin area, navigate to Thrive Dashboard >> Thrive Apprentice, and click on Courses in the left panel.
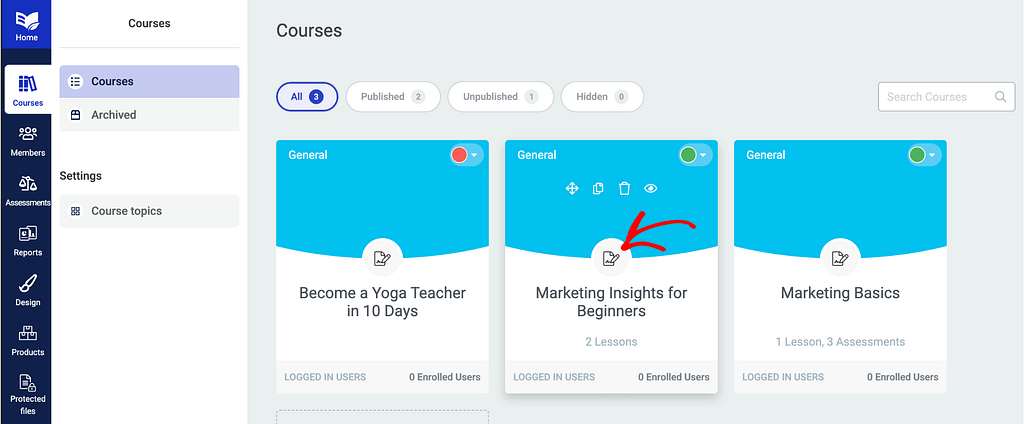
On the Courses page, click on the individual course you want to make the changes in.
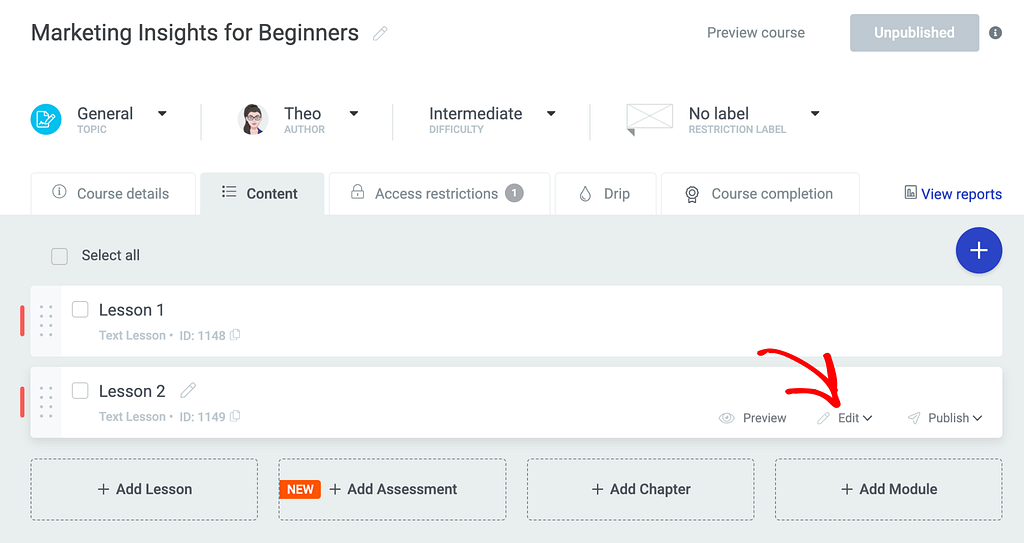
On the individual course page, click to open the Content tab.

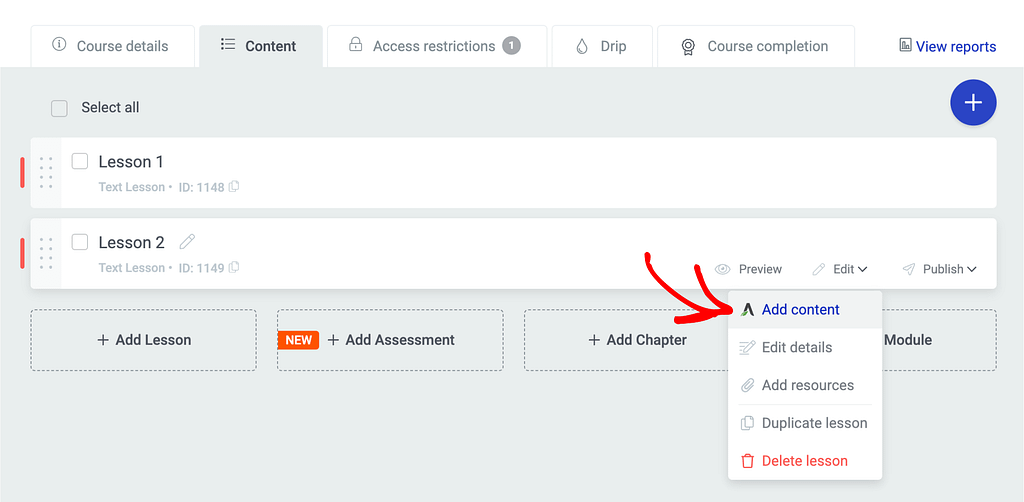
Under the Content tab, hover on the lesson you want to add the quiz to and further hover on Edit.
In the Edit options that appear, click Add content.
Clicking to add content in the lesson will open it in the editor.
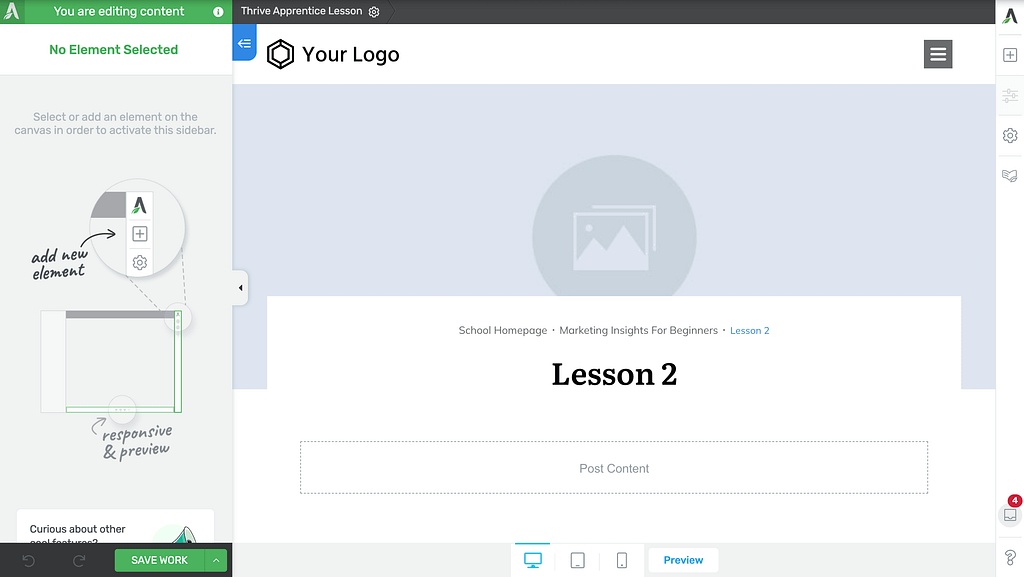
When in the editor, move to the right panel and click the + plus icon to add an element.
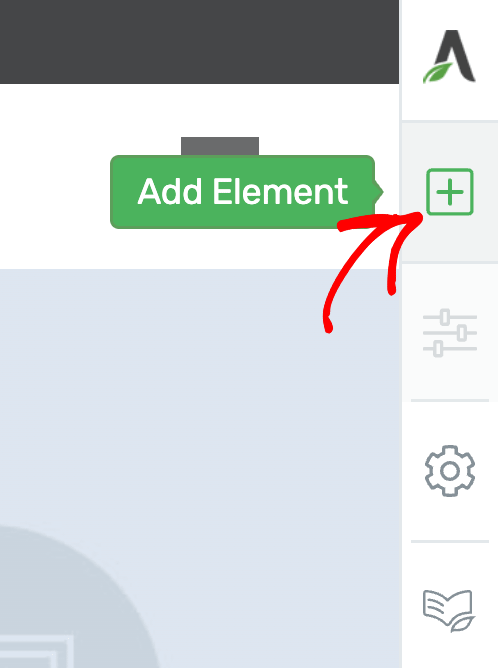
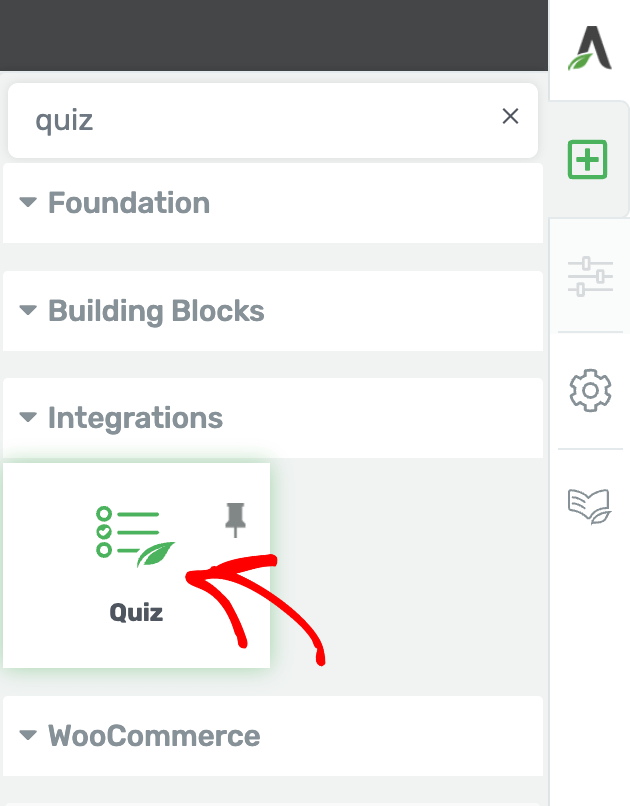
Clicking the plus icon will show up all the elements you can add to the lesson page. From this element list, drag and drop the Quiz element to where you want it on the page.
Dragging and dropping the Quiz element on a lesson page will add the element with a button to Select a quiz you want to display here.

Clicking to select will display the available quizzes from Thrive Quiz Builder on your website. If you have too many quizzes on your website, you’ll see them listed or can search them using the search field.

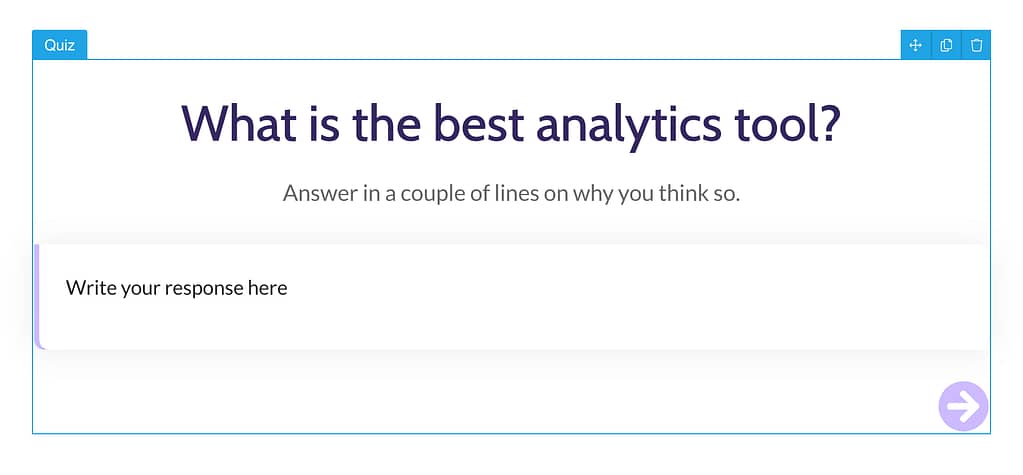
When you select the quiz, you’ll see it added to the lesson page.
Using Apprentice Options for the Quiz
Once a quiz is added to the lesson page, you’ll be able to edit the Apprentice options of the quiz. To do so, click on the quiz on the page to open its options in the left column, and click on Apprentice options.
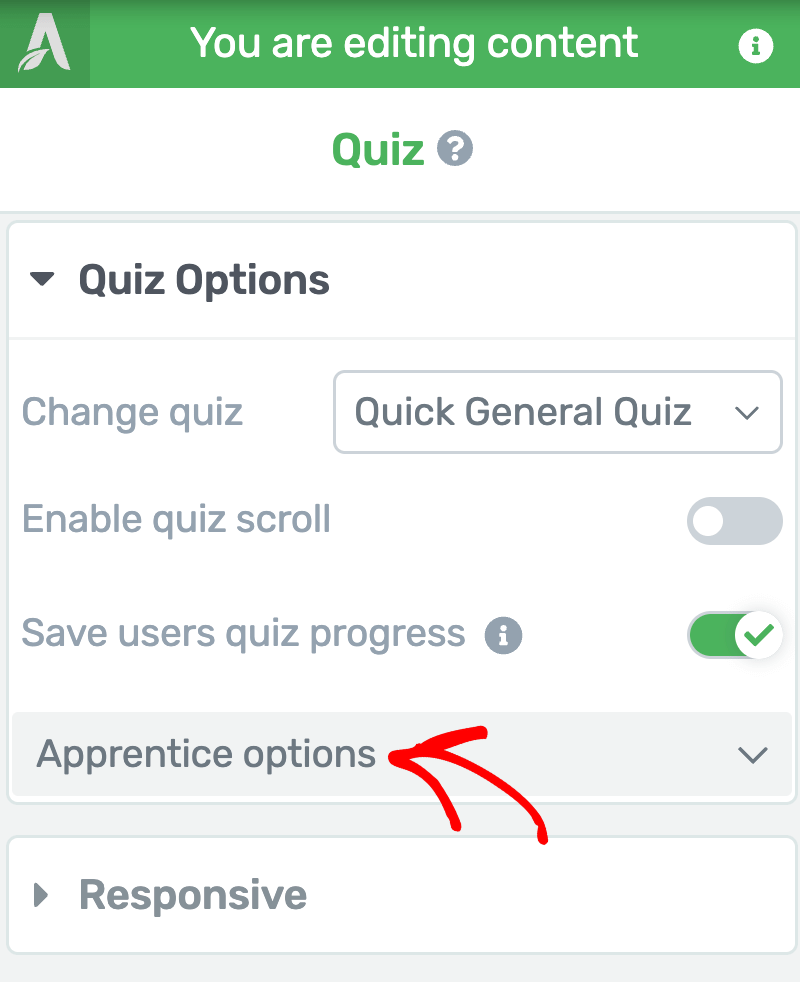
Expanding Apprentice options will let you enable the Mark as Complete feature that’ll act based on the result of the quiz. To do this click on the toggle button.
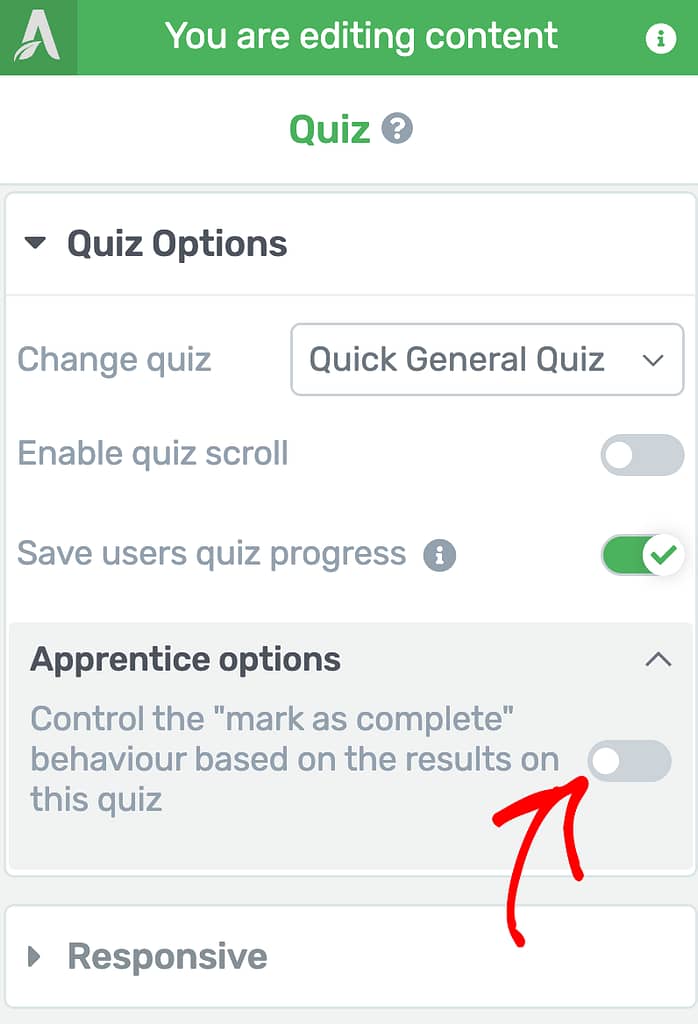
Once enabled, you’ll see a new field added in this section. This field will let you select when you want the Mark as Complete to work.
Clicking on this dropdown field will give you two options.
- Quiz completed: It will be marked as complete only when a quiz is taken and completed.
- User achieves minimum score: This lets you set a minimum score that a user/student must achieve for the Mark as Complete feature to work.
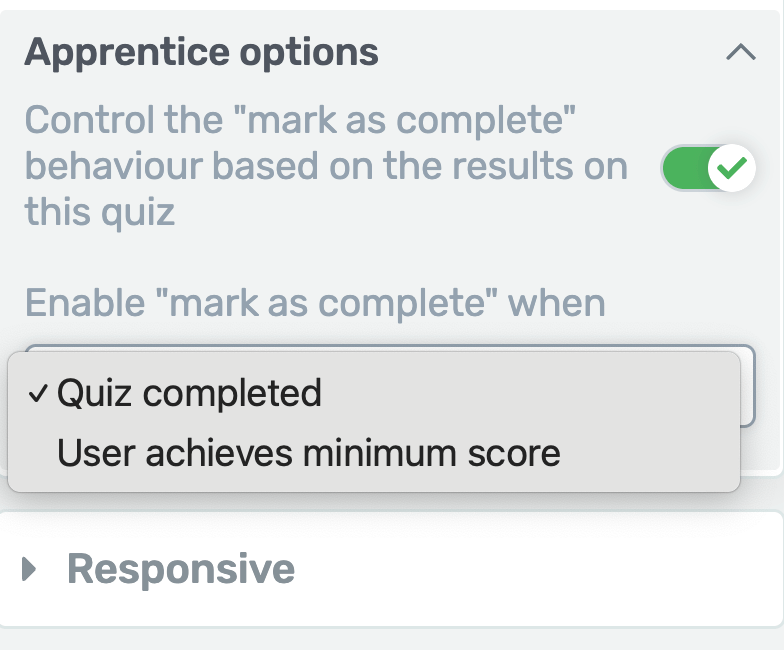
Apart from the above two conditions, you may see a number of more options to select from. These conditions depend on the quiz type you’ve created and chosen to be added on the Lesson page. They are as listed below.
- Quiz Completed
- User Achieves Minimum Score
- Result is Select Categories
- User Achieves Minimum Percentage
- Maximum Number of Correct Answers
Quiz Completed
The “Quiz completed” option means that once someone finishes all the questions in the quiz, they can move forward in the course by marking the lesson complete.
This setting is especially useful for Survey quizzes, where there are no correct or wrong answers and no score is needed. It simply checks that the user has answered every question before letting them continue with the course.
User Achieves Minimum Score
You can set this up for Number type quizzes. Instead of using percentages, you choose a specific score the user needs to reach.
For example, if you want users to move to the next lesson only after scoring at least 10 points, you set that number here.
The highest number you can select depends on the total possible points for your quiz. So, if the highest score you can get on the quiz is 15, the maximum number you can pick in this setting is 15. This way, you control how many points a user needs before they can continue in the course.
Result is Select Categories
For the Category quiz type, you will see a list of categories right below the setting.
This lets you choose which categories will let a user move on to the next lesson.
With this option you can pick more than one category. Any student who gets placed in one of these selected categories will be allowed to finish the lesson and move forward in the course.
User Achieves Minimum Percentage
When you use a Percentage quiz, you’ll see a setting for this option.
With it, you can decide what percentage score a student needs to reach before they can finish the lesson. For example, you might set it from 0% to 100%. If you set it to 70%, students must score at least 70% on the quiz to move on to the next lesson.
This helps you control how well students need to do before they can continue in the course.
Maximum Number of Correct Answers
If you are using a Right/Wrong quiz, you’ll have this setting available.
With this setting, you can choose how many questions a student must answer correctly to finish the lesson. For example, if your quiz has 10 questions, you might require students to get at least 8 right before they can move on.
This helps you make sure students understand the lesson before they continue to the next part of the course.
Editing the Notification in the Course Navigation Settings
When you’ve set one of the above conditions, it makes sure the Mark as Complete button works only when the condition is met. If not, the button remains disabled and a message explaining the reason is shown.
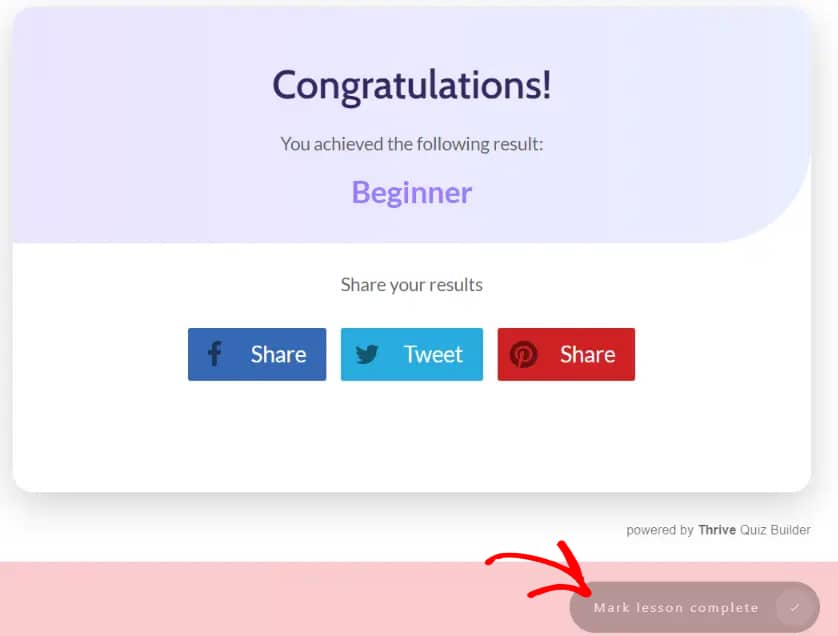
To edit this message, you’ll have to open the Navigation warning settings in Thrive Apprentice. Here’s our document that’ll help you set it up.
We’ve just seen how you can add a quiz to the lesson, use its Apprentice options and edit the warning message. You can take a look at the visual version in the video below.
Next, you can ensure the quiz progress is saved for a user and you give them options to retake a quiz.