Do you want to add on-scroll animations that make your page look lively when a visitor scrolls through it? With Thrive Architect, you can add different parallax effects to elements on a page.
The parallax effects under scroll animations not only make your content more engaging, but also create a smooth, professional feel as elements move, fade, or slide into view while scrolling. This helps capture your visitor’s attention and keeps them interested as they explore your page.

In this article, we’ll show you how you can add a parallax effect to an element on a page. You can also scroll down to see a detailed video explaining the process.
- Different Kinds of Parallax Effects
- Adding a Parallax Effect to a Thrive Architect Element
- Adjusting the Layout and Positioning of Elements After Adding the Effect
Different Kinds of Parallax Effects
Before you move on to add a parallax effect to an element on the page, here’s a brief introduction to different parallax effects you can add within Thrive Architect.
Vertical Scroll
The vertical scroll parallax effect makes an element move vertically as the user scrolls up or down the page.

To set a vertical scroll parallax select Vertical scroll in the dropdown beside Effect under the Scroll Behavior settings.
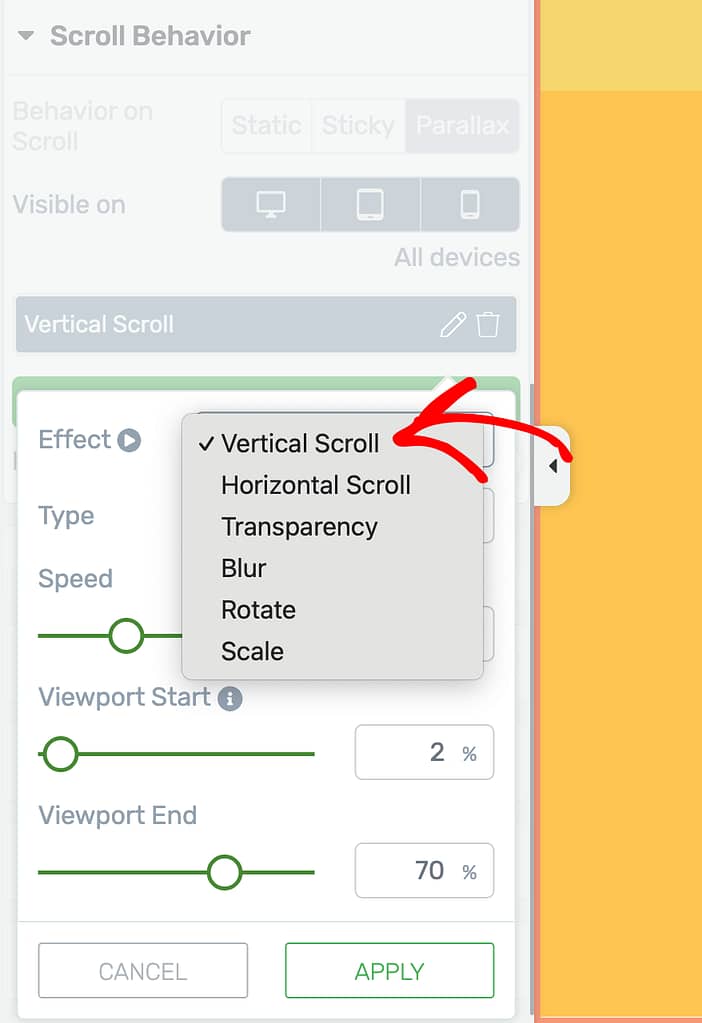
When you select the Vertical scroll parallax effect, the next field lets you select the type of vertical scroll effect you want to apply.
- Up: This will move the element from down to up when the user is scrolling down the page.
- Down: This will move the element from up to down when the user is scrolling down the page.
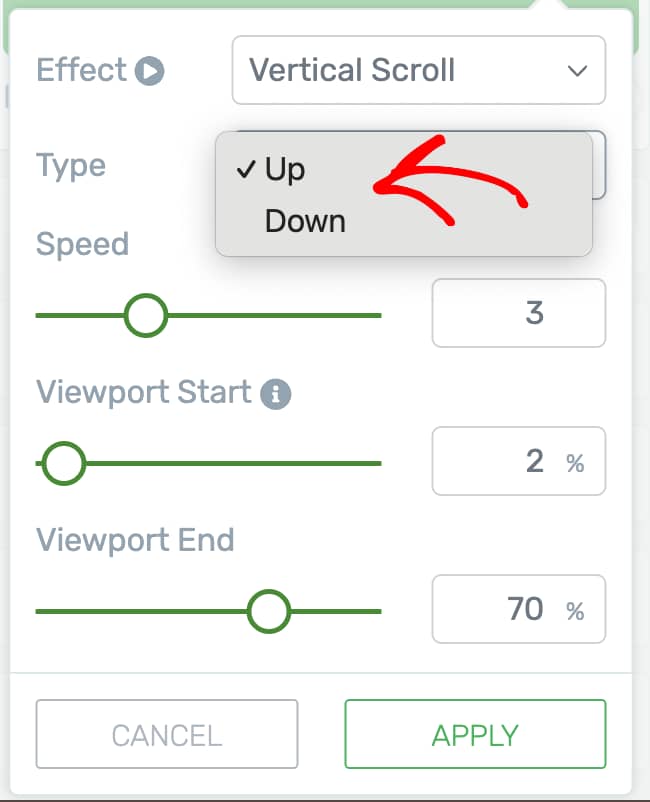
After selecting the effect and the type, the following settings such as the speed, viewport start and end are the same for all effects that we’ll see and understand when we are adding a parallax to an element in the next section of this article.
Horizontal Scroll
The Horizontal scroll parallax effect makes an element move horizontally as the user scrolls up or down the page.

To set a horizontal scroll parallax select Horizontal Scroll in the dropdown beside Effect under the Scroll Behavior settings.
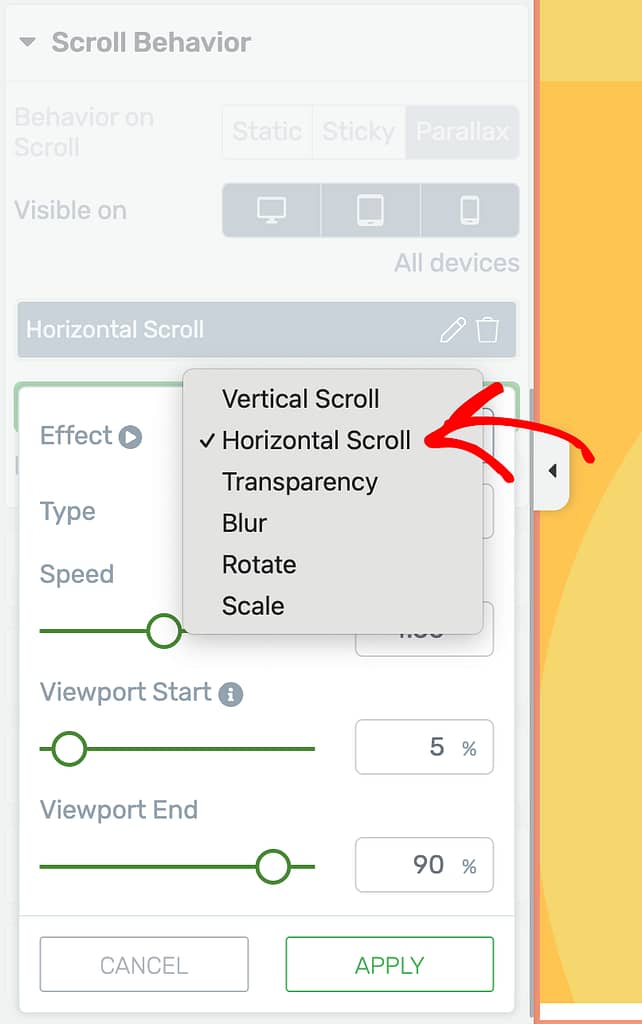
When you select the Horizontal scroll parallax effect, the next field lets you select the type of horizontal scroll effect you want to apply.
- Left: This will move the element from right to left when the user is scrolling down the page.
- Right: This will move the element from left to right when the user is scrolling down the page.
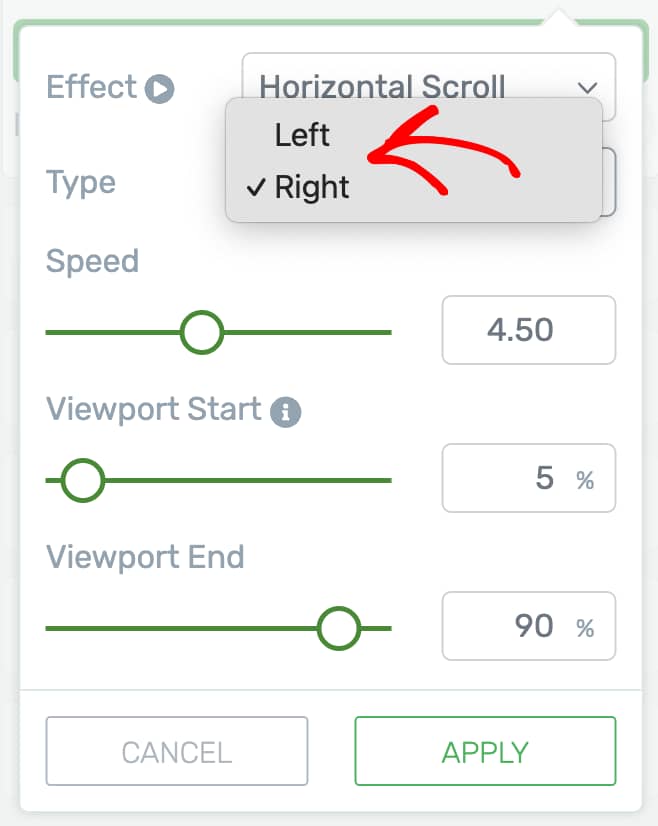
After selecting the effect and the type, the following settings such as the speed, viewport start and end are the same for all effects that we’ll see and understand when we are adding a parallax to an element in the next section of this article.
Transparency
The Transparency parallax effect adjusts the element’s transparency as the user scrolls up or down the page.

To set a transparency parallax effect select Transparency in the dropdown beside Effect under the Scroll Behavior settings.
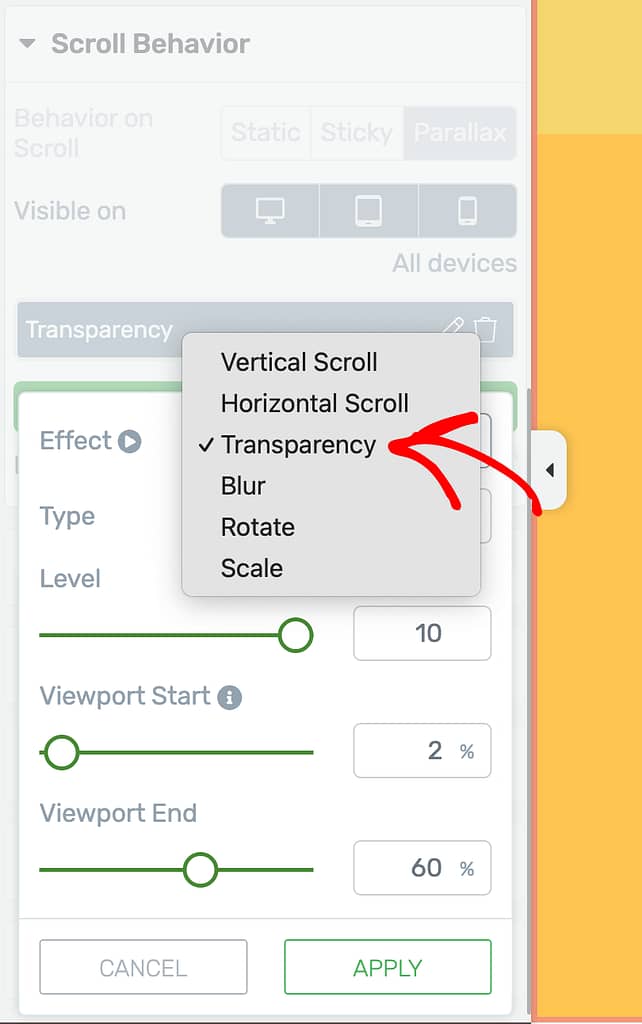
When you select the Transparency parallax effect, the next field lets you select the type of transparency effect you want to apply.
- Fade in: This will fade the transparency effect – making the image more clear while the user is scrolling down the page.
- Face out: This will increase the transparency effect – fading the image while the user is scrolling down the page.
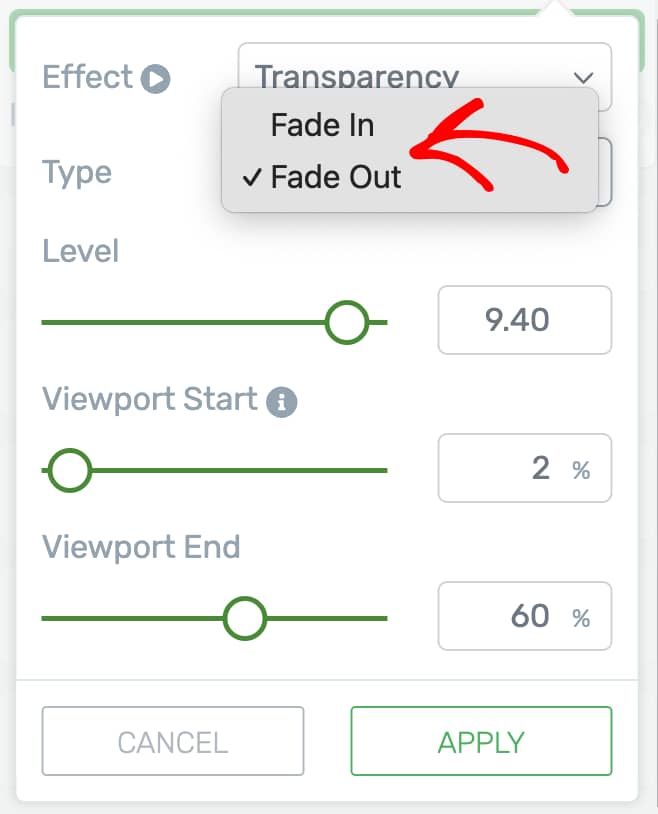
The next step here is to select the level of transparency you want to add to the element.
After selecting the effect and the type, the following settings such as the viewport start and end are the same for all effects that we’ll see and understand when we are adding a parallax to an element in the next section of this article.
Blur
The Blur parallax effect adjusts the element’s clarity as the user scrolls up or down the page.

To set a blur parallax effect select Blur in the dropdown beside Effect under the Scroll Behavior settings.
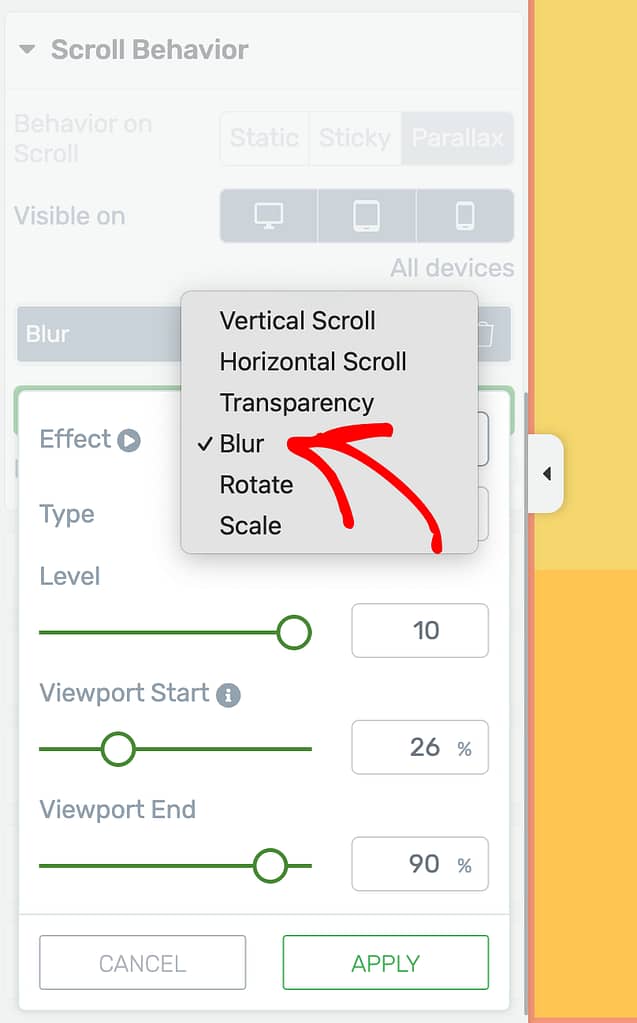
When you select the Blur parallax effect, the next field lets you select the type of blur effect you want to apply.
- Fade in: This will fade the blur effect – making the image more clear while the user is scrolling down the page.
- Face out: This will increase the blur effect – fading the image while the user is scrolling down the page.
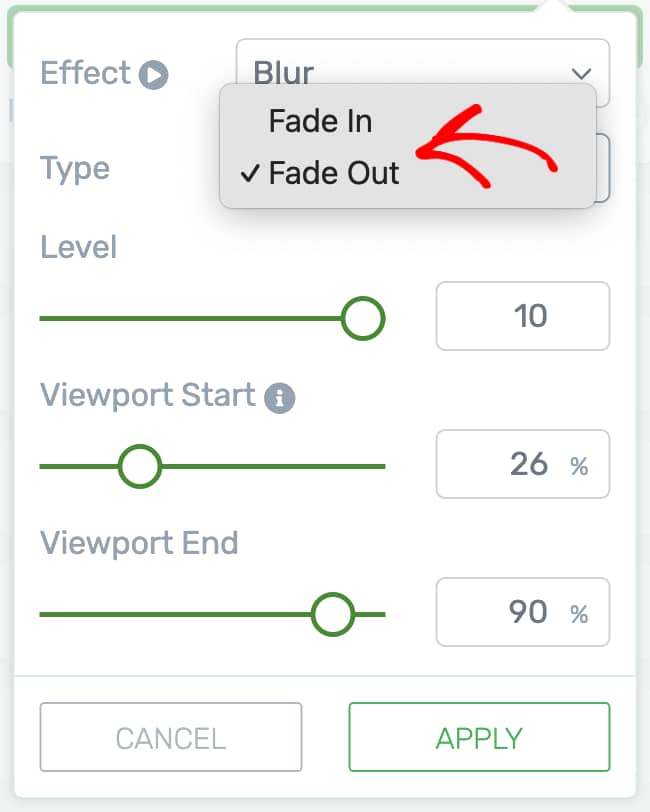
The next step here is to select the level of blurriness you want to add to the element.
After selecting the effect and the type, the following settings such as the viewport start and end are the same for all effects that we’ll see and understand when we are adding a parallax to an element in the next section of this article.
Rotate
The Rotate parallax effect rotates the element as the user scrolls up or down the page.

To set a rotate parallax effect select Rotate in the dropdown beside Effect under the Scroll Behavior settings.
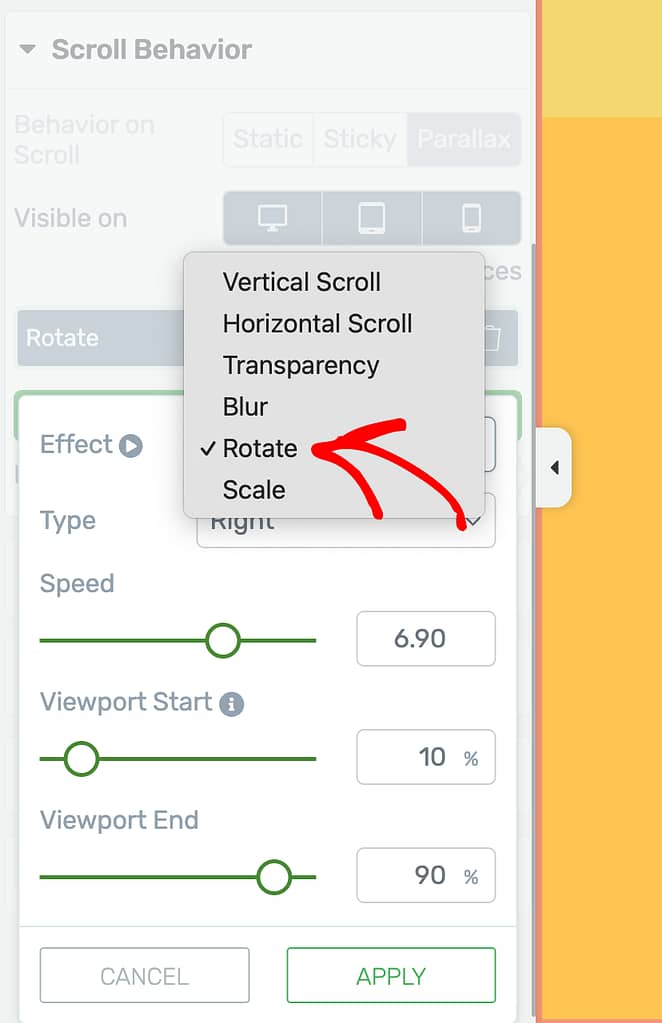
When you select the Rotate parallax effect, the next field lets you select the type of rotate effect you want to apply.
- Left: This will rotate the element from right to left while the user is scrolling down the page.
- Right: This will rotate the element from left to right while the user is scrolling down the page.
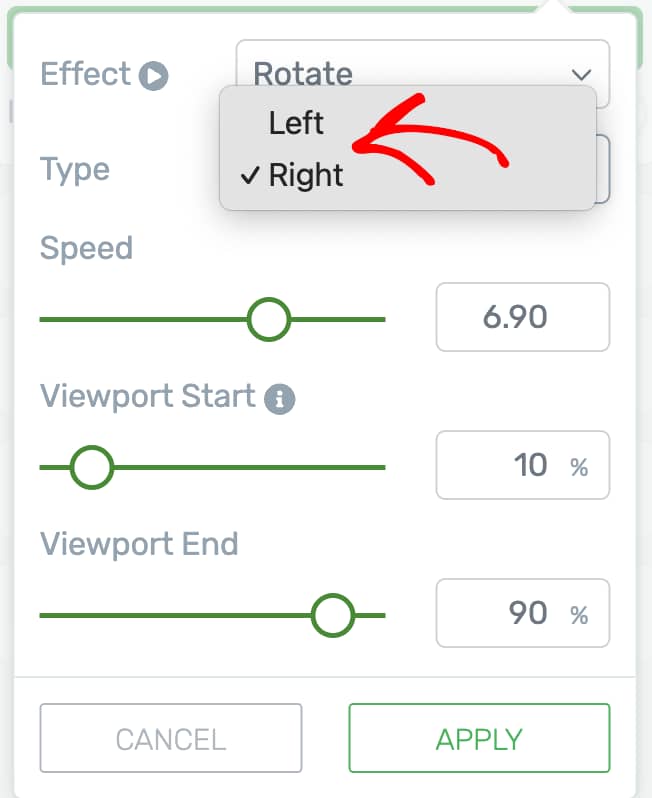
After selecting the effect and the type, the following settings such as the speed, viewport start and end are the same for all effects that we’ll see and understand when we are adding a parallax to an element in the next section of this article.
Scale
The Scale parallax effect increases or decreases an element’s size as the user scrolls up or down the page.

To set a scale parallax effect select Scale in the dropdown beside Effect under the Scroll Behavior settings.
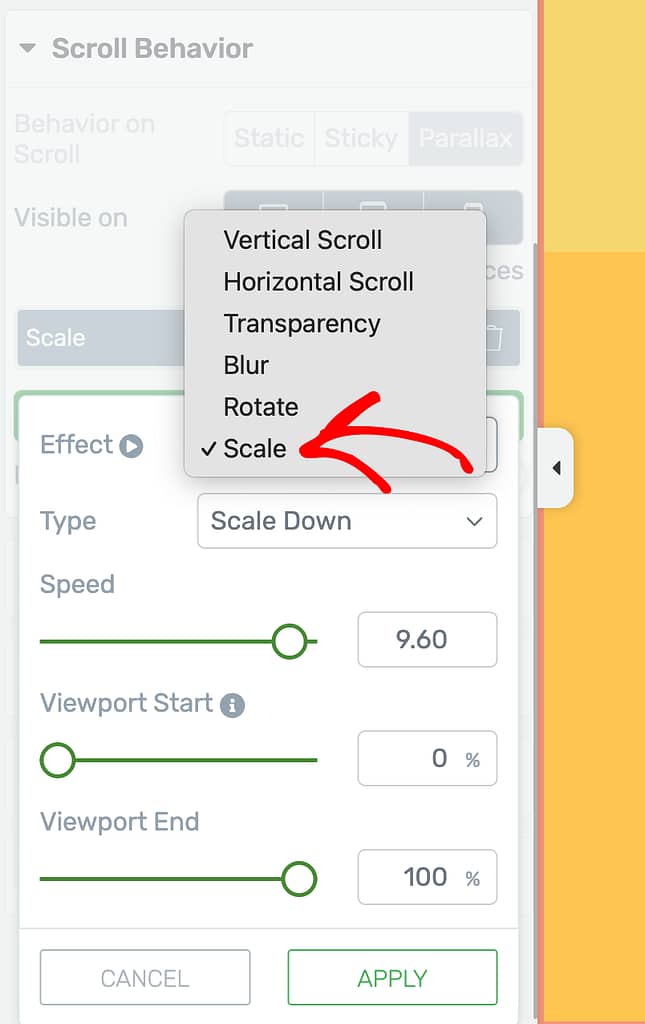
When you select the Scale parallax effect, the next field lets you select the type of scale effect you want to apply.
- Scale Up: This will increase the size of the element while the user is scrolling down the page.
- Scale Down: This will decrease the size of the element while the user is scrolling down the page.
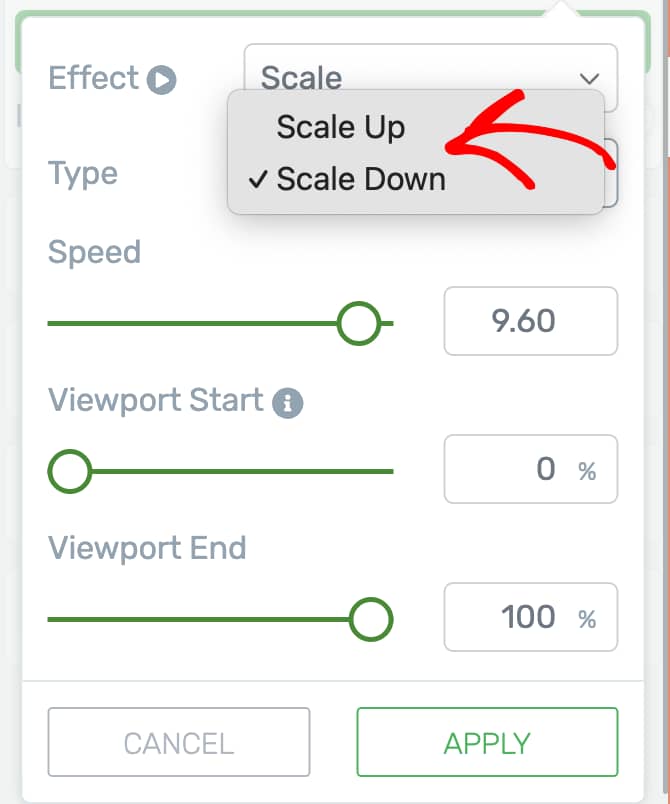
After selecting the effect and the type, the following settings such as the speed, viewport start and end are the same for all effects that we’ll see and understand when we are adding a parallax to an element in the next section of this article.
Adding a Parallax Effect to a Thrive Architect Element
The parallax effect comes as a Scroll Animation option for a Thrive Architect element. Therefore, you will have to enable the Parallax effect under Scroll Behavior.
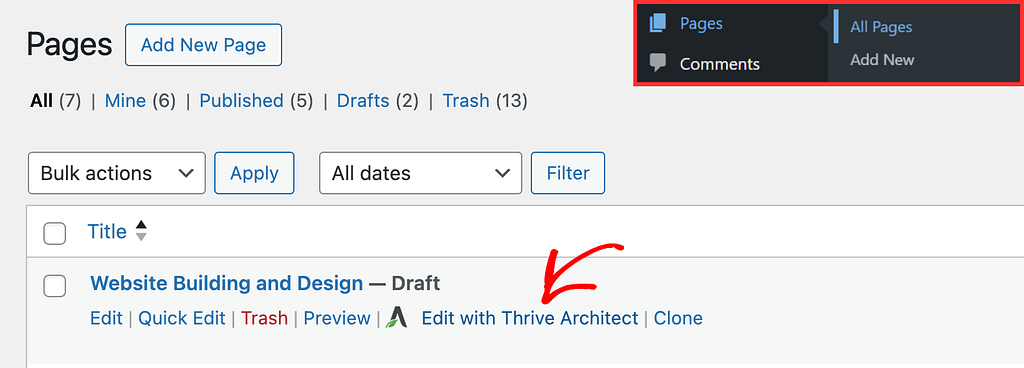
To do so, first open your WordPress admin area, navigate to Pages >> All Pages, hover on the page you want to add the effect to, and click on Edit with Thrive Architect.
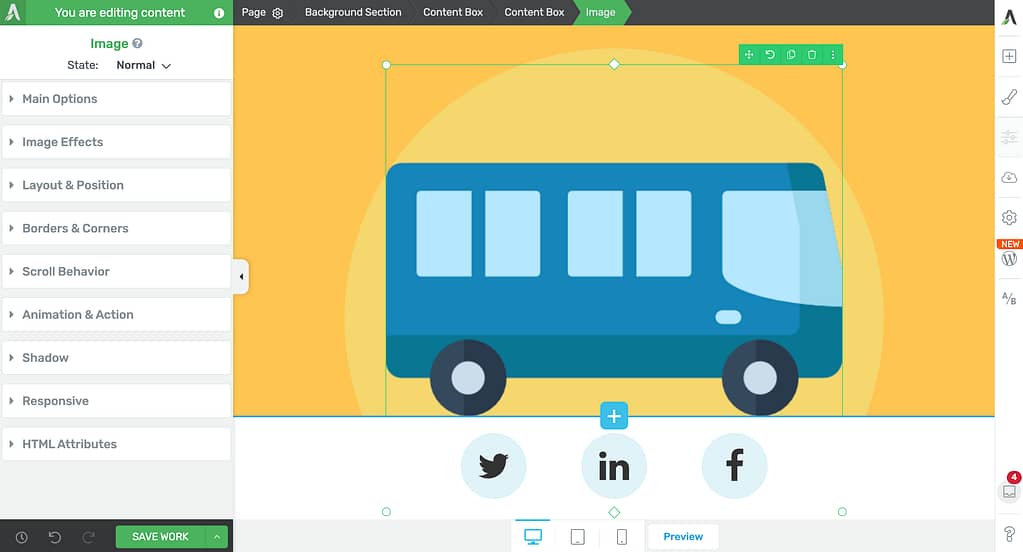
In the Thrive Architect editor, add an element on the page, and click it to open its options in the left column. In this example, we’ll select an image on the page.
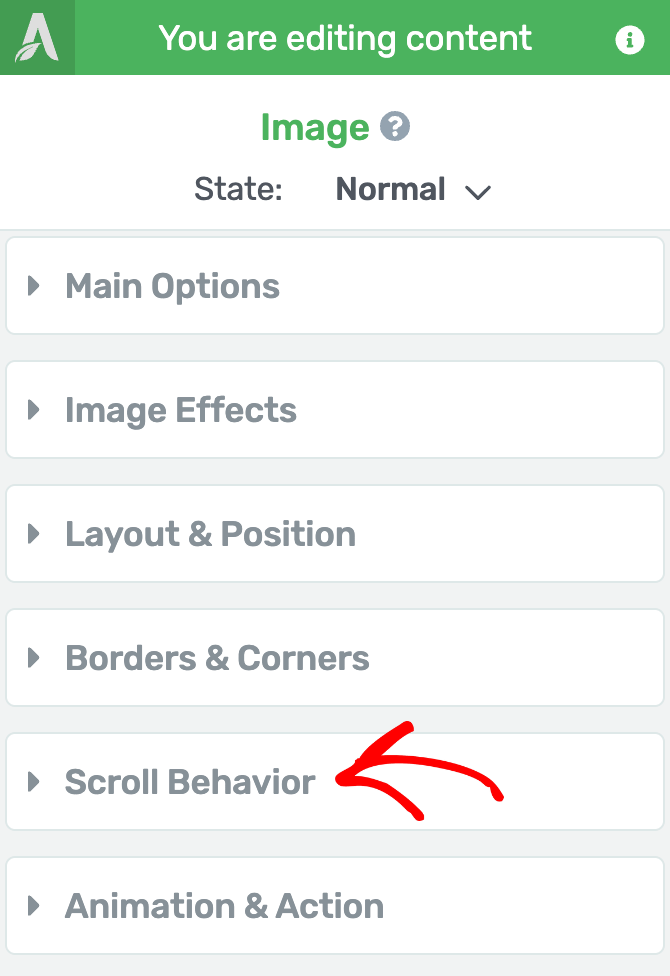
In the left column, click to expand the Scroll Behavior.
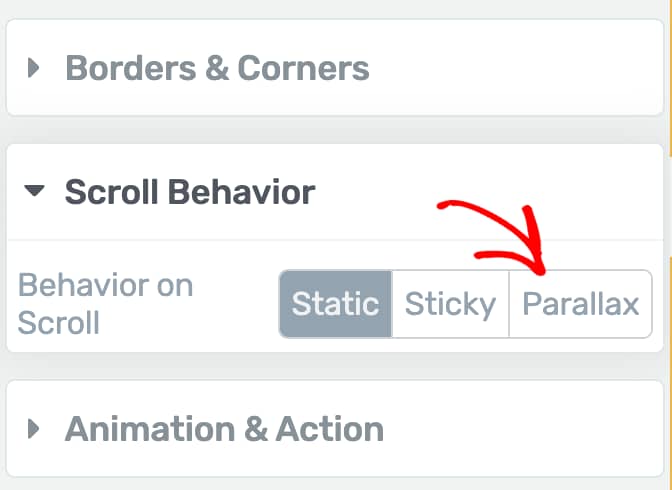
Under Scroll Behavior select the Parallax effect.
After enabling the Parallax effect, select the device or devices you want this enabled on – Desktop, tablet, mobile.
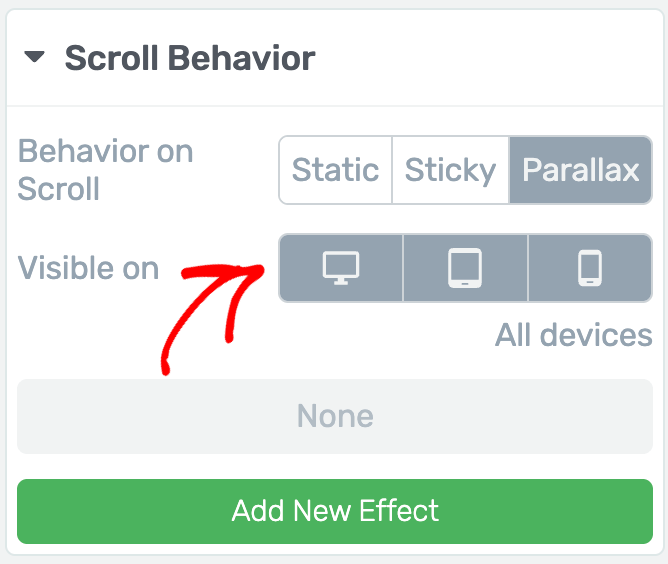
Once you select the device you want the parallax to show up on, click the Add New Effect button to add a new parallax effect.
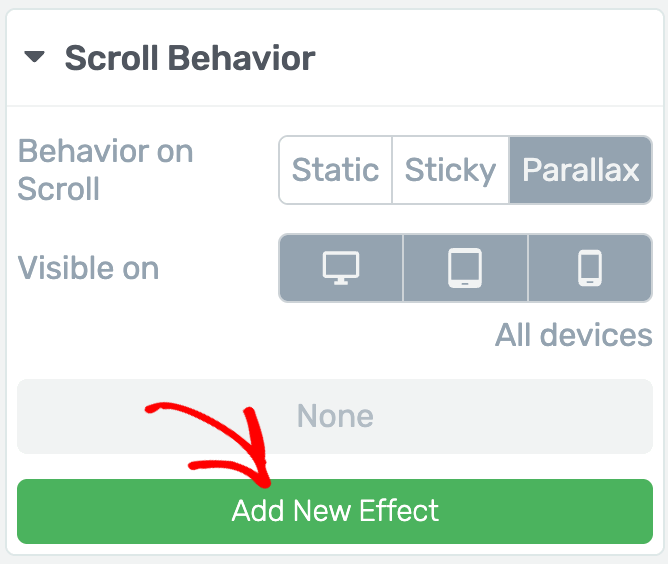
Clicking the button to add a new effect will show a popup where you have to select the effect, type, speed, viewport start, and viewport end.
- Effect: You can select a parallax effect from among Vertical Scroll, Horizontal Scroll, Transparency, Blur, Rotate, or Scale. Each of these is explained in the previous section of this article.
- Type: This option lets you select the type of parallax depending on the effect you select.
- Speed: This option lets you set the speed of transition.
- Viewport Start: This lets you set the Viewport percentage from where the parallax transition should begin.
- Viewport End: This lets you set the Viewport percentage at which the parallax transition should end.
To proceed, click on the dropdown beside Effect and select the parallax effect you want to apply to the selected element.
For this example in the article, we’ll be adding a Horizontal Scroll parallax effect to the image.

In this example, the image element shows a bus and we’ll show it moving to the right.
So, after selecting the effect, click on the dropdown beside Type and select Right.

After you select the Effect and the Type, proceed to the next settings.
- Adjust the speed based on how fast you want the element to move.
- Adjust the Viewport Start value that states the exact point of when you want the parallax to begin. If you set the Viewport Start value at 10%, this means that the parallax effect will start when the element reaches 10% of the viewport.
- Adjust the Viewport End value that states the exact point of when you want the parallax to stop. If you set the Viewport End value at 90%, this means that the parallax effect will end when 90% of the element is visible in the viewport.
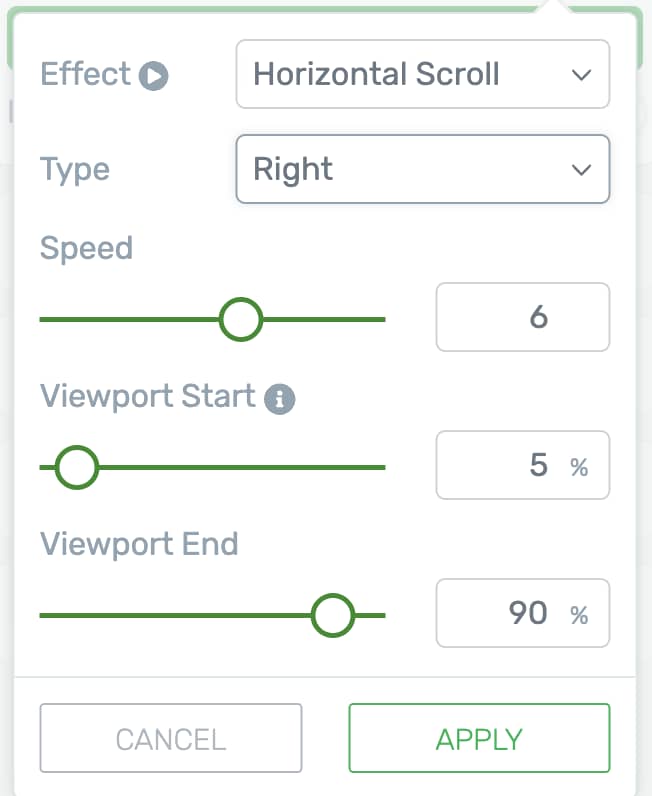
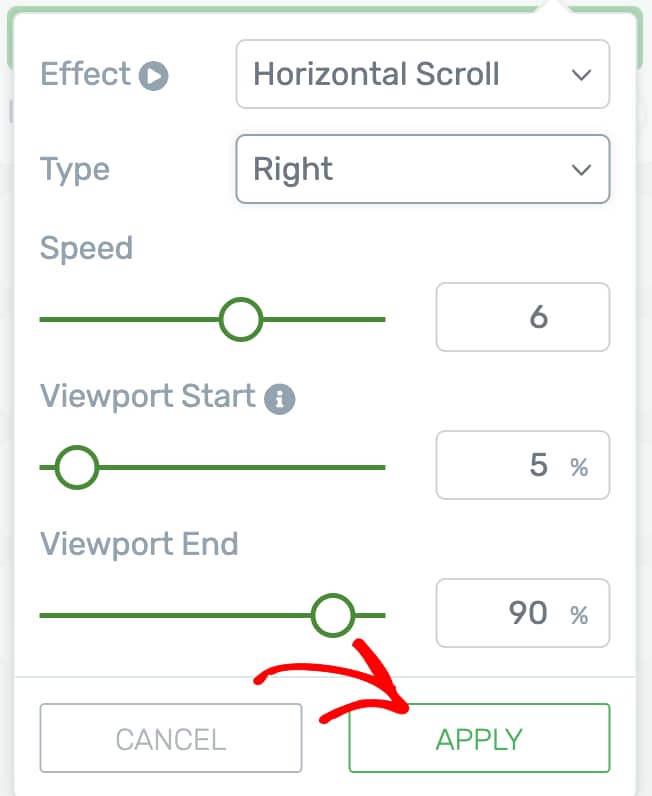
After completing all the parallax effect settings, click the Apply button.
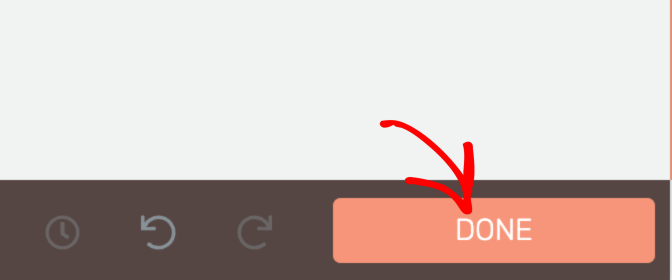
Once you apply the parallax settings, click the Done button to complete the set up.
When you add the vertical or horizontal parallax effect to an element, you may have to adjust the layout and position so it works within the frame of the page.
In our case, the parallax effect added to the bus is taking the bus from center to right.

Now, to ensure the element moves from left to the center, we’ll have to set the layout and position accordingly.
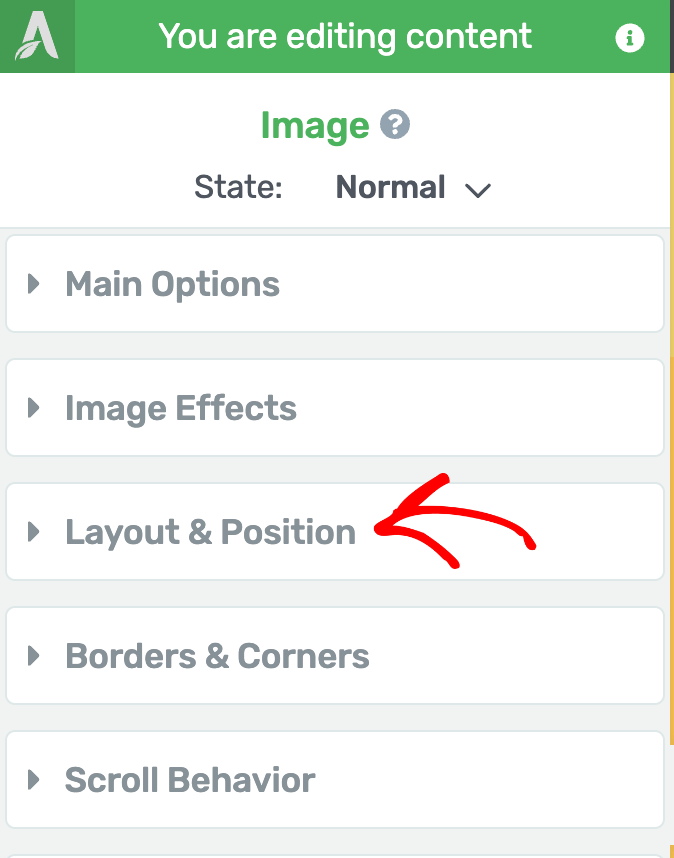
To manage the layout and position of the element, click on the element and click to open the Layout and Position options.
Under the Layout and Position tab, click to open the Advanced options.
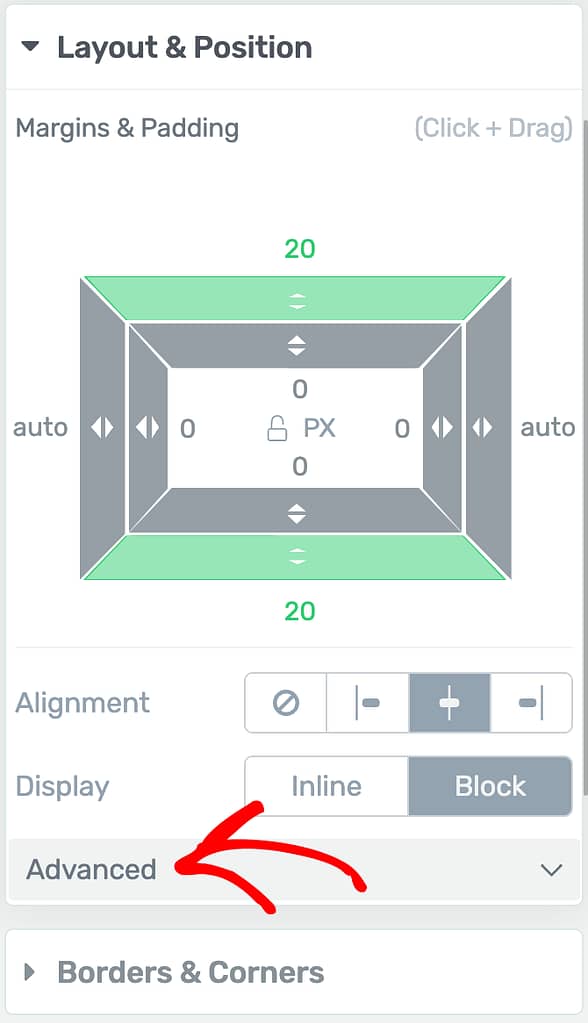
Under advanced, you get to manage different layout and position options for the element.
Since this is a horizontal parallax effect, scroll down to change the Horizontal positioning of the element.
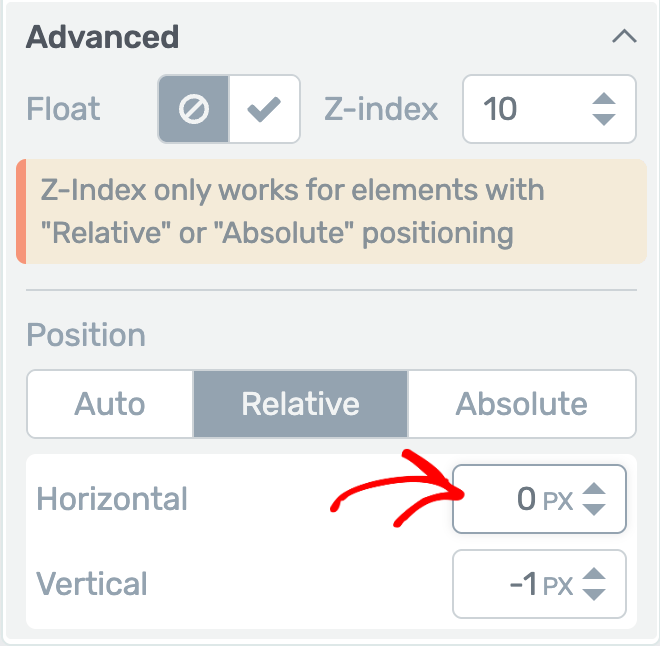
In this example, the image element is added in the center and we want it to move from the left. Therefore, we will add a minus value in the horizontal position field.
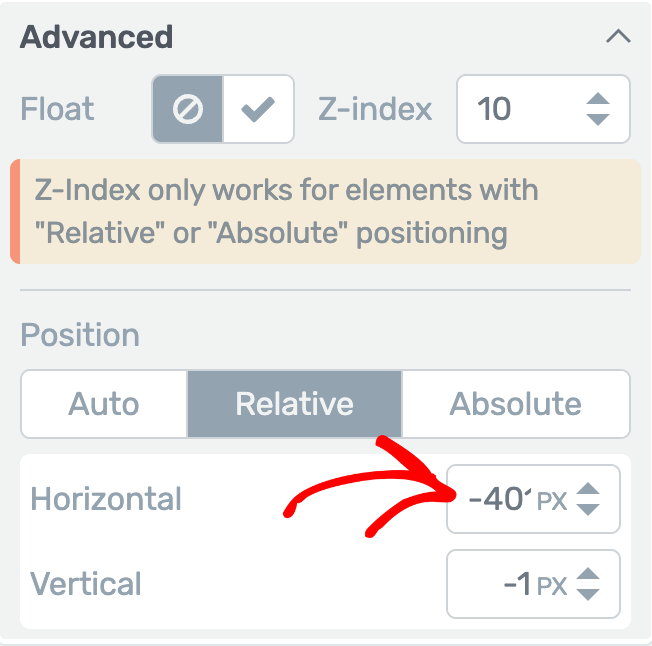
After you set the layout and position of the element, click the Save Work button on the bottom left.
This will add the parallax to the selected element – move the bus from left to right in our example.

Want to try the other parallax effects? You can refer to this section in the document to understand their working and the settings therein.
Adjusting the Layout and Positioning of Elements After Adding the Effect
Just like we’ve seen in the example above, the layout and position settings may have to be managed when you have a fixed position element and are using the vertical or horizontal parallax effect.
We’ve just seen the different parallax effects you can apply using Thrive Architect, and how you can add a parallax effect to an element on a page.
Want to take a visual tour of adding parallax effects on a page? You can watch the video below.
Next, do you know you can add a back to top button using Thrive Architect? Here’s our document that can help you set that.