In this article, we’ll show you how you can add and customize a Styled Box Element on your website using Thrive Architect.
- Adding the Styled Box Element on Page
- Changing the Template of the Styled Box Element
- Changing the State of the Styled Box Element
- Using the Main Options of the Styled Box Element
- Other Settings of the Styled Box Element
Adding the Styled Box Element on Page
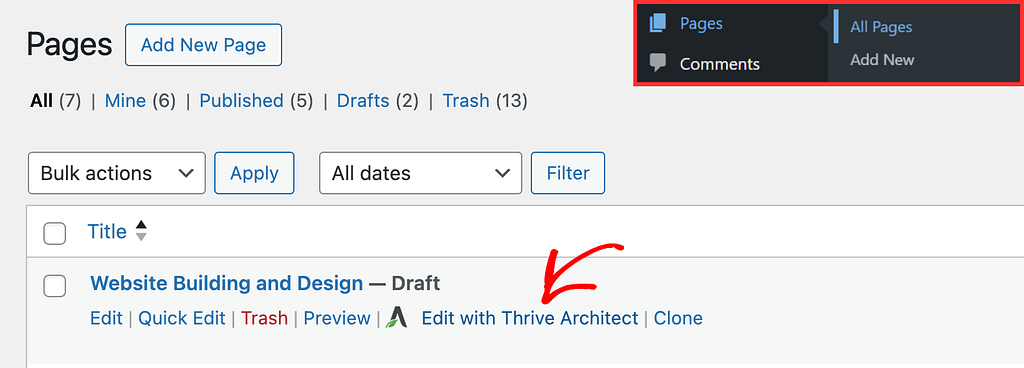
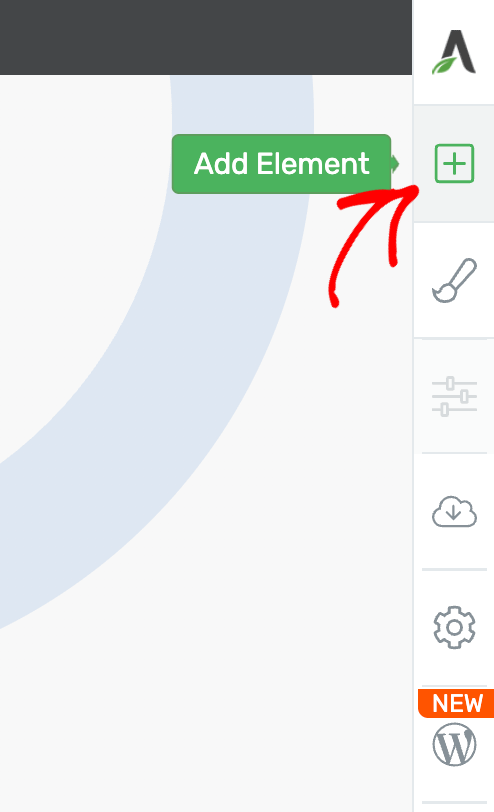
When the page is opened in the Thrive Architect editor, go to the right panel and click the plus (+) icon.
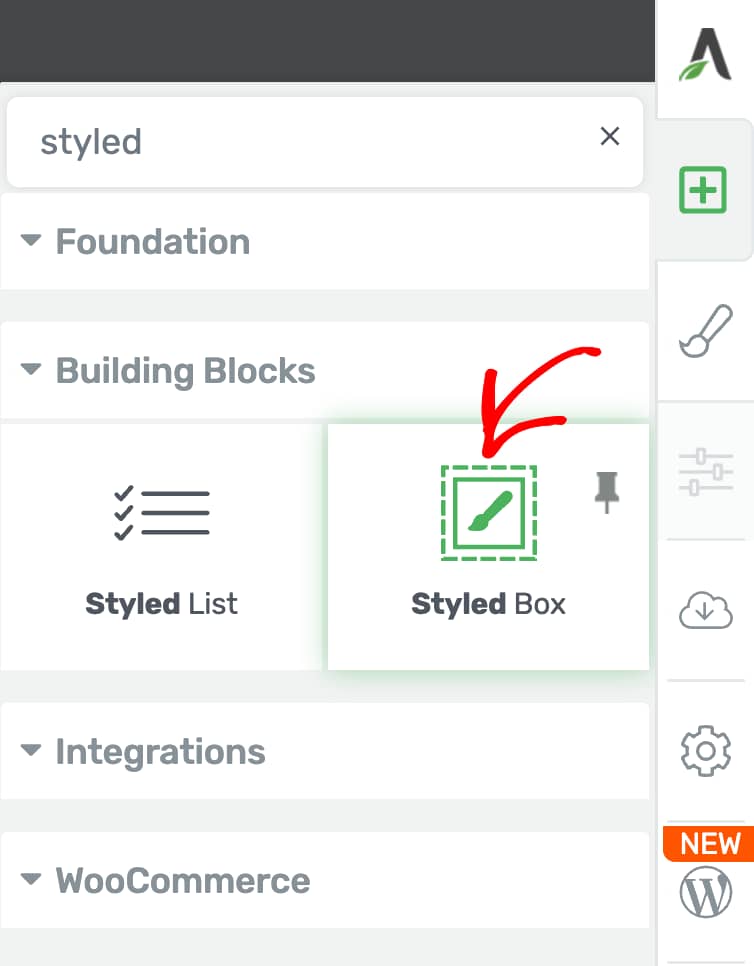
Clicking on the plus icon will open up the list of Thrive Architect elements to choose from. From this list, drag and drop the Styled Box element on the page.
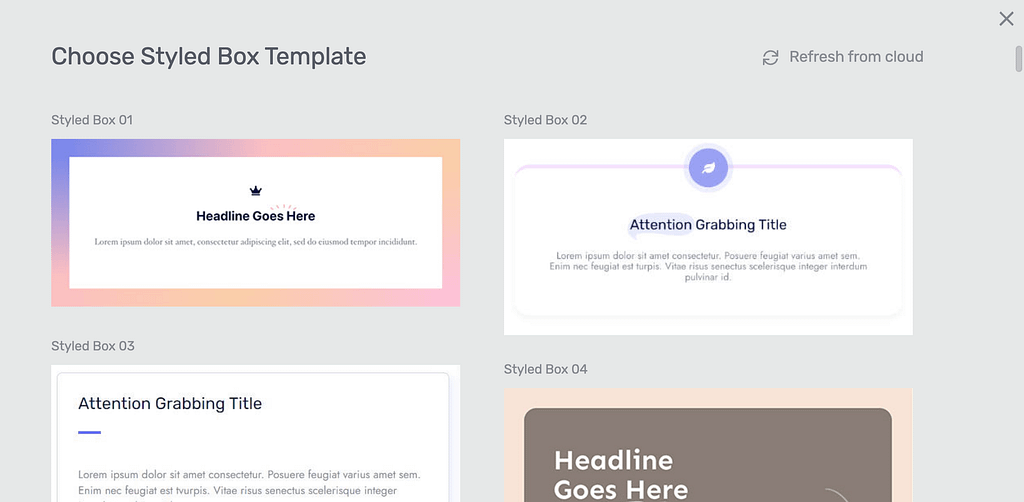
After you drag and drop the Styled Box Element on the page, you’ll see a popup where you click on the Styled Box template you want to use.
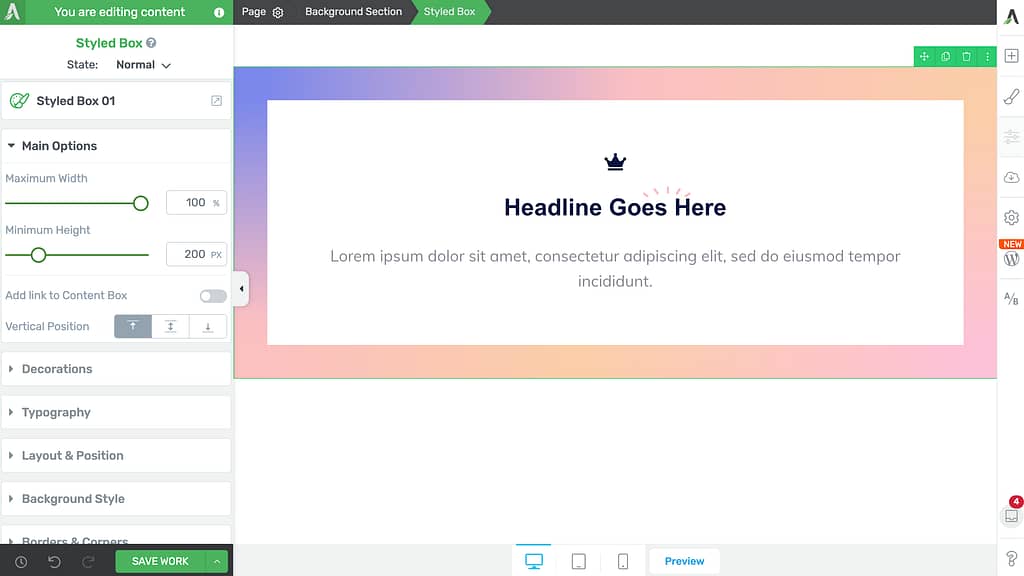
Clicking on a template will close the popup and you’ll see the Styled Box element added on the page.
Changing the Template of the Styled Box Element
Sometimes you may want to change the template of the Styled Box element after it is added to the page. This can be done using the template setting in the left column.
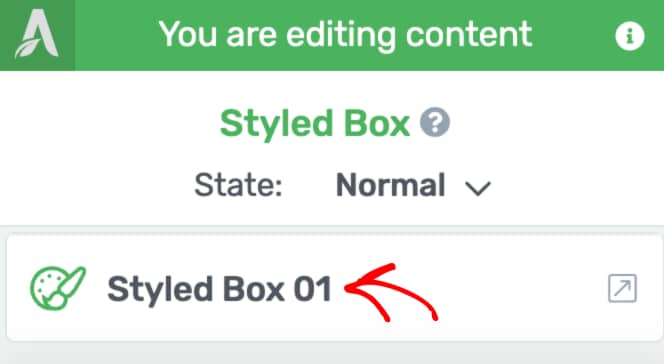
To do so, first click on the Styled Box to open its settings in the left column.
In the left column, click on the Styled Box template name that is currently active.
When you click on the template name, you’ll see a popup with available Styled Box templates that you can choose from.
On this popup, click on the template you want to apply and click the Replace Template button.
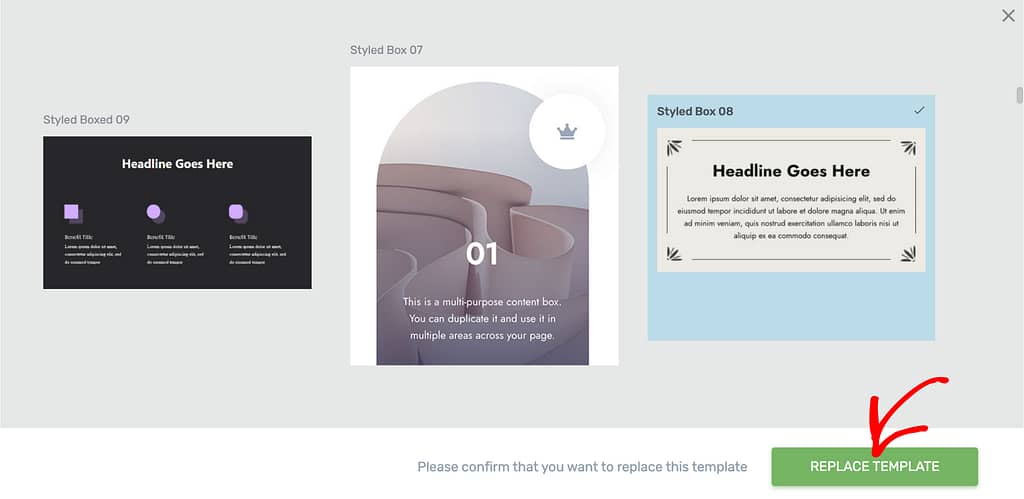
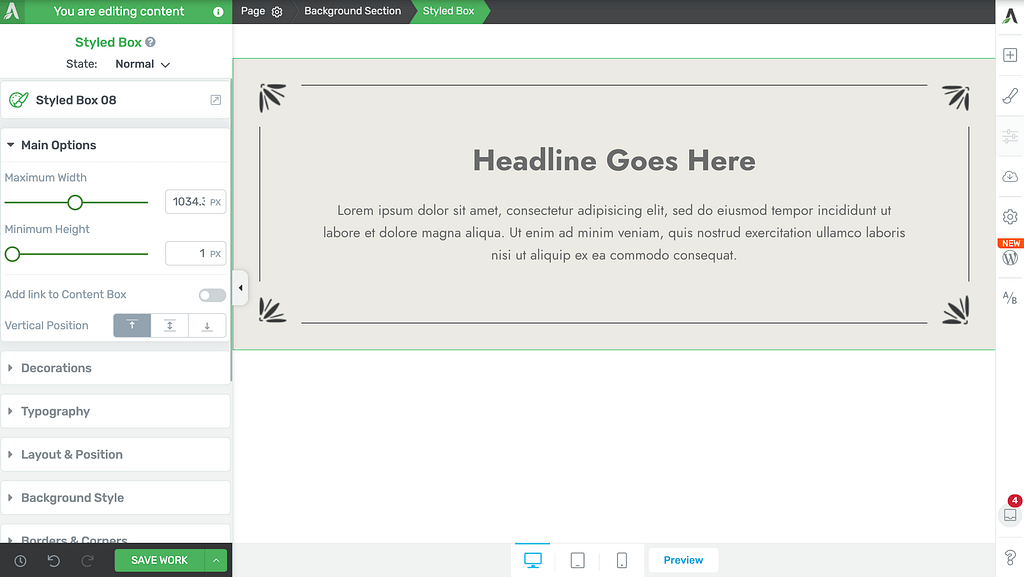
Clicking the Replace Template button will replace the current Styled Box on page in the editor.
Changing the State of the Styled Box Element
Like a few other Thrive Architect elements, the Styled Box element comes with two states – Normal, for when it is seen on the page, and Hover, for when a user hovers over it.
You can customize to change the look and feel of the Styled Box in both these states.
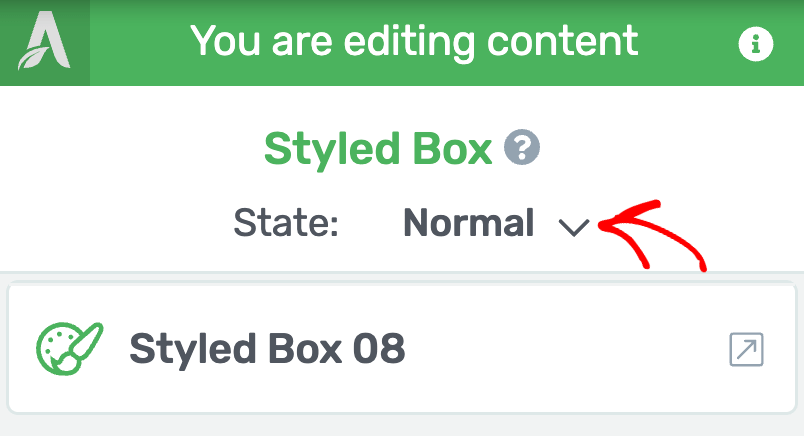
To change the state, click on the Styled Box element to open its editing options in the left column.
In the left column, change the State of the Styled Box element by clicking the down arrow besides Normal.
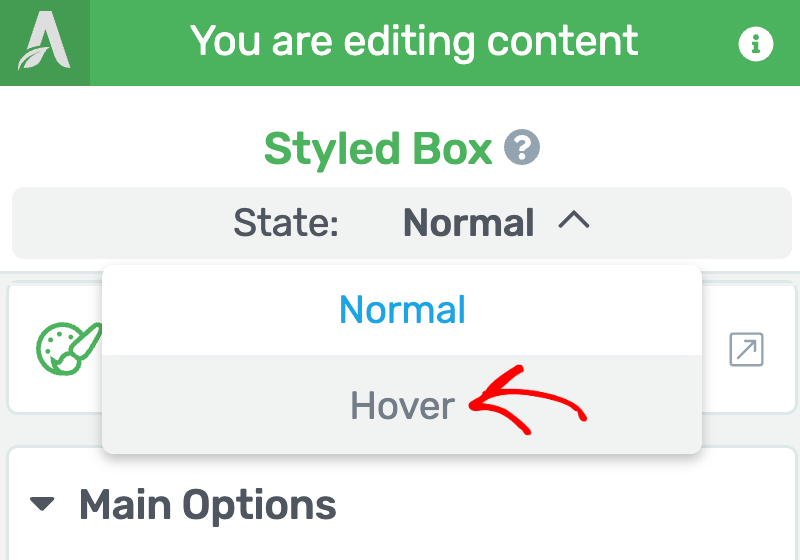
When you click to change the state, you’ll see two states that you can select from and edit the list item accordingly.
To edit the Styled box in hover state, select the Hover here.
When you select the Hover state of the Styled Box element, you’ll see the available settings for this state in the left column.
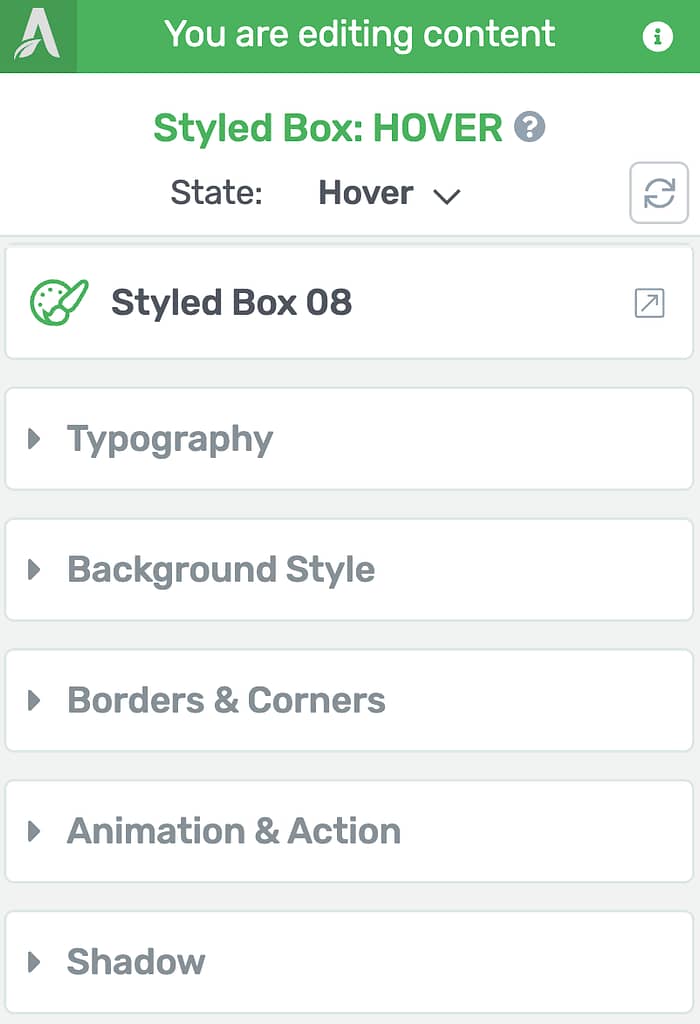
To know more about this, read our article about Hover effects in Thrive Architect.
Using the Main Options of the Styled Box Element
The Main Options of the Styled Box element allow you to customize the main look and feel of it. They enable you to do the following.
- Setting the Maximum Width of the Styled Box
- Setting the Minimum Height of the Styled Box
- Adding a Link to the Content Box
- Setting the Vertical Positioning
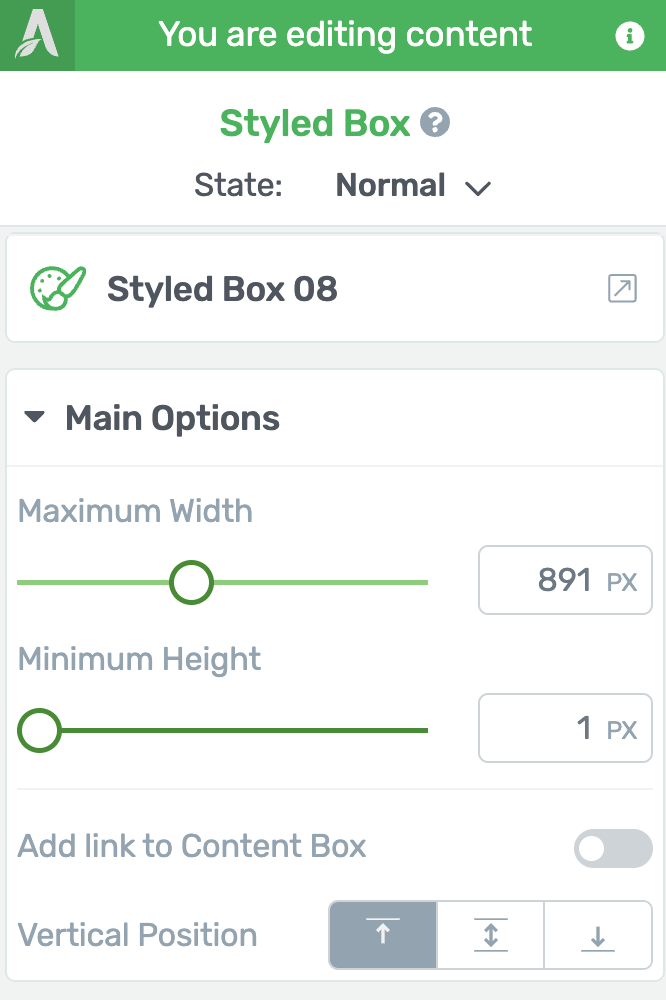
Setting the Maximum Width of the Styled Box
The first setting under the Main Options of the Styled Box element lets you adjust the maximum width of the styled box on page.
To manage the width of the styled box, use the slider under this setting.
Setting the Minimum Height of the Styled Box
The Minimum Height setting under the Main Options of the Styled Box element lets you adjust the minimum height of the styled box on page.
To manage the height of the styled box, use the slider under this setting.
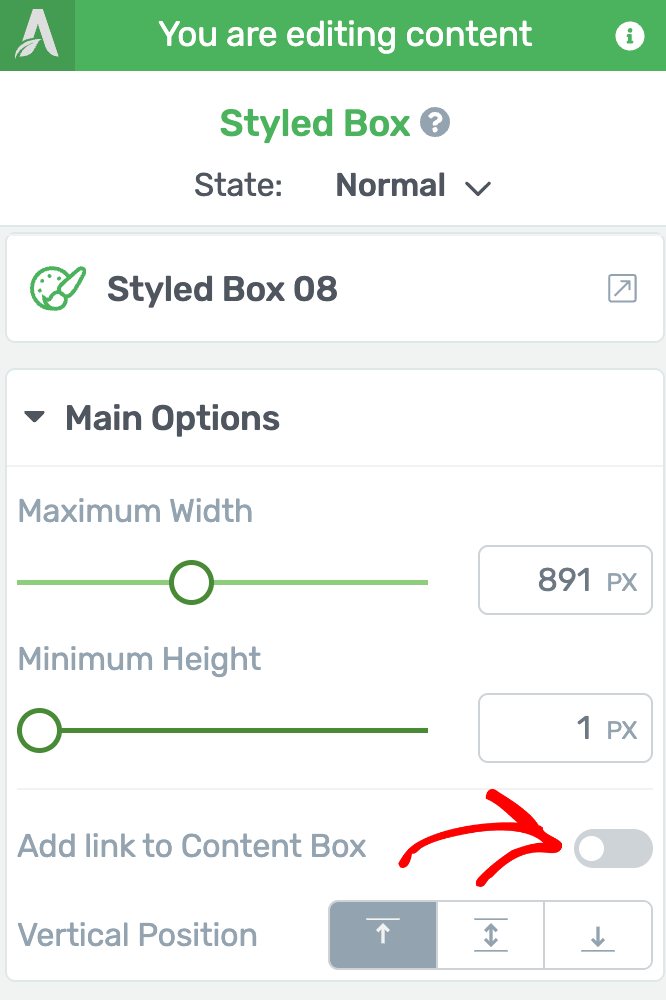
Adding a Link to the Content Box
The Add link to Content Box option lets you add a link to the entire element. To enable this, click on the toggle button beside the setting.
After enabling the link, you can decide what type of link you want to apply – Static, Jumplink, or Dynamic.
Here are a few documents you can refer to
Setting the Vertical Positioning
The Vertical Position option as the name suggests lets you manage the vertical position of the styled box on the page.

Other Settings of the Styled Box Element
Just like the other Thrive Architect elements, the Styled Box element comes with additional options where you can manage the layout and positioning, borders and corners, background styling, shadows, etc.
To learn more about these options, read the documents listed below.
- Using Decorations Options in Thrive Architect
- Using Typography Options in Thrive Architect
- Using Layout and Position Options in Thrive Architect
- Using the Background Style Option in Thrive Architect
- Using Borders and Corners Settings in Thrive Architect
- Adding Shadows to Thrive Architect Elements
- Using the Responsive Option in Thrive Architect
- Using HTML Attributes in Thrive Architect
We’ve just seen how you can add and customize a Styled Box element on a page using Thrive Architect. You can take a visual tour of the process through the video below.
Next, if you want to use a bulleted list on a page, you can refer to our article about using the Styled List element in Thrive Architect.