This article will show you how to quickly create a footer for your website, that can be applied globally, and which contains dynamic copyright information (such as the date or location).
In the Thrive Dashboard, there is a feature called “Global Elements”, with the help of which you are able to create and customize various items and later on add them throughout your website. “Global Elements”.
This feature is very useful as it allows you to add headers and footers to all Landing Pages that you have on your website, at once.
And, since the headers and footers are global elements, you can manage them from your WordPress Admin dashboard, from the “Global Elements” section.
Create and customize the footer
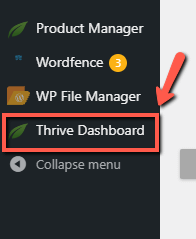
To access the feature, access your WordPress dashboard and click on “Thrive Dashboard”:
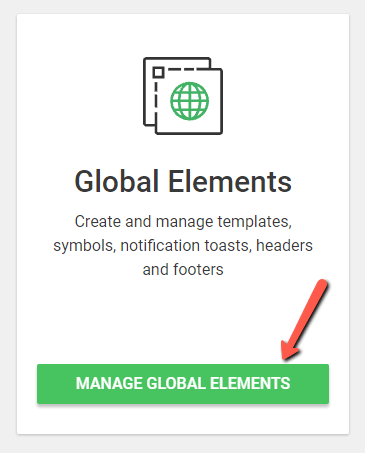
On the page that opens, scroll down to get to the “Global Elements” card and click on “Manage Global Elements”:
You are able to create multiple types of elements here. To create a footer, go to the “Footers” section:

Click on “Create new footer” from the left side of this page:
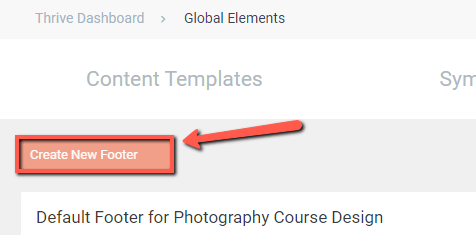
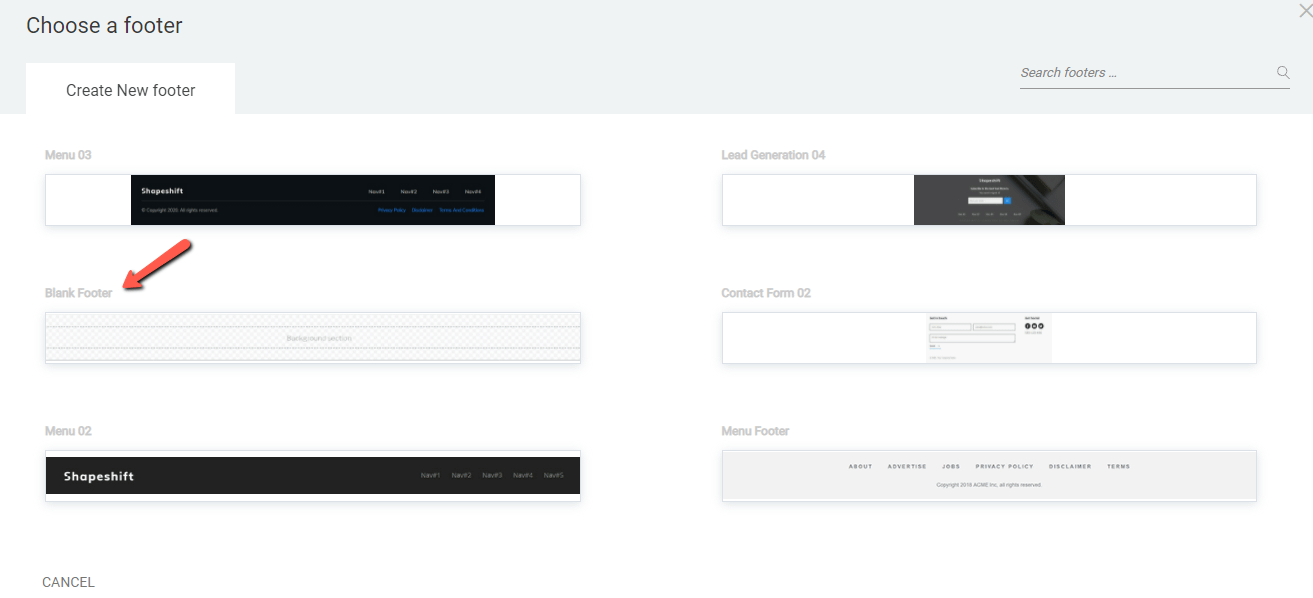
A pop-up opens, and you can choose a pre-built footer template to start from. You also have the option to start from a blank footer:
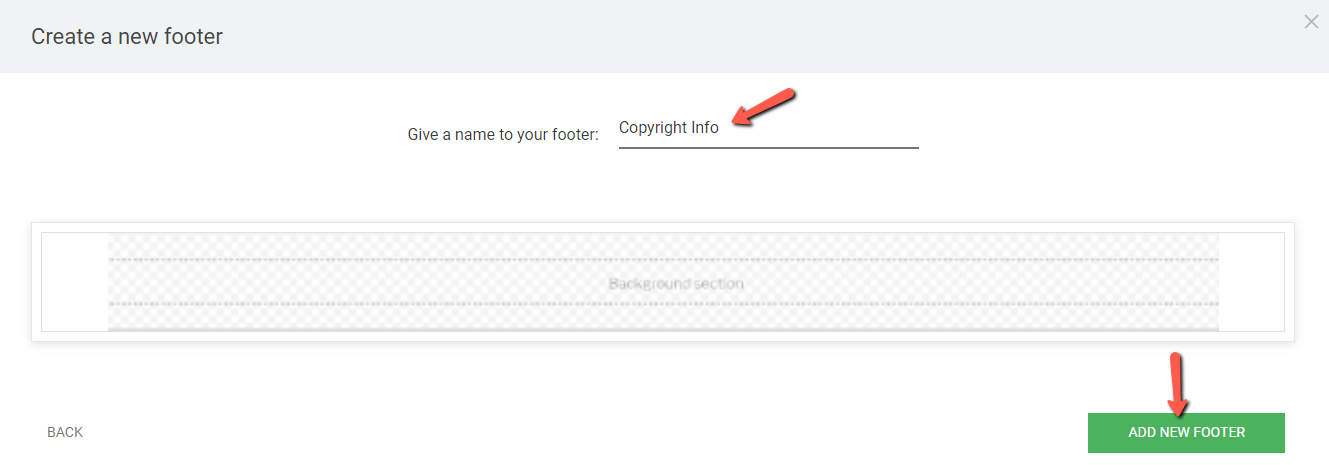
Once you choose the desired option, provide a name for the new footer and click on “Choose footer”:
The Thrive Architect editor will now open, and you can start customizing the new footer using various options found in the left sidebar, while the footer is selected:
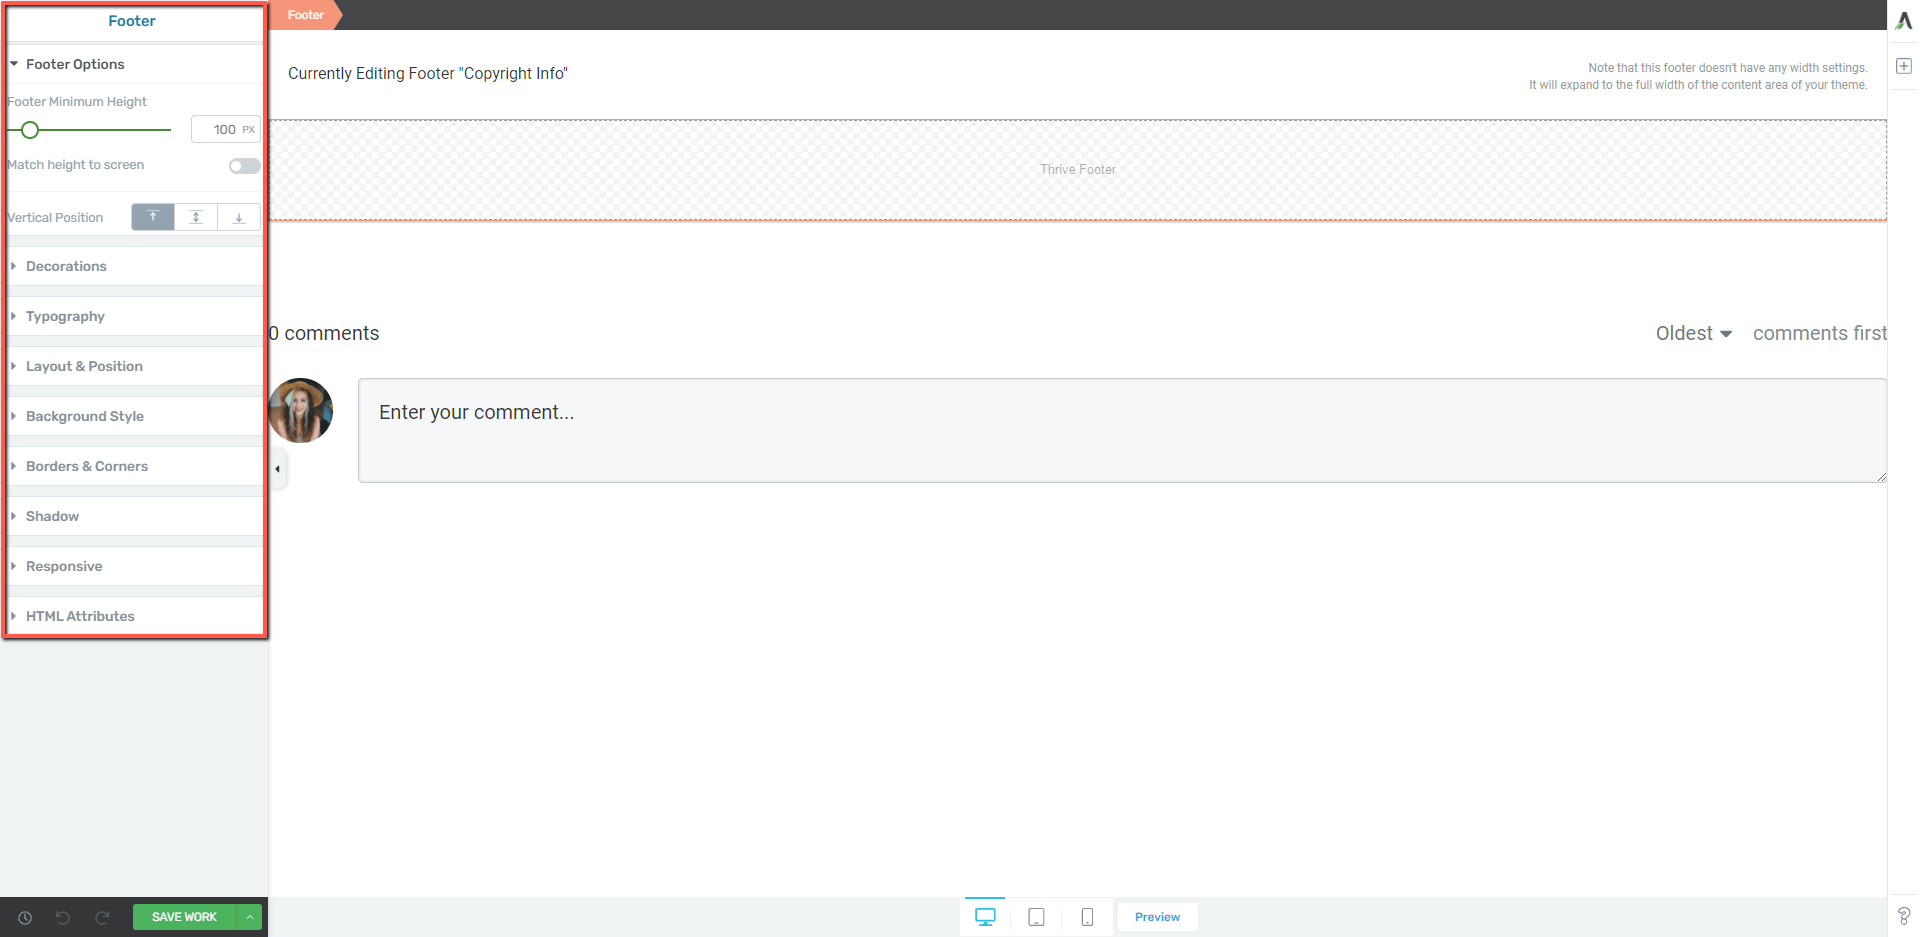
Moreover, you can add new elements to the footer, by clicking on the plus sign and simply dragging and dropping elements inside the footer section:

I have added an image as the background of the footer, and also inserted a “Fancy Divider”, so that my footer section looks like this:

It is time to add the dynamic information, and for that, I will use the “Dynamic content” option.
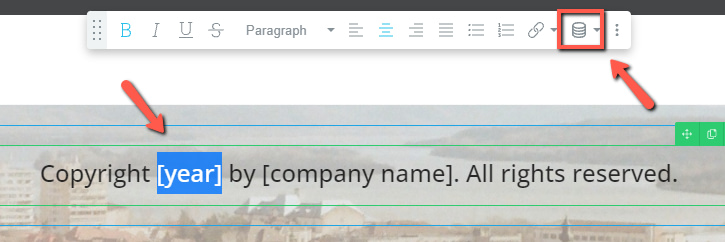
Firstly, I will insert the static text, like so:

And now, I will replace the year and company name with dynamic data. I will select the “[year]” text and click on the dynamic content option:
As the source, I will choose the “Time & date” option, and choose “Year” in the second field:

As you do that, the year will then be dynamic, meaning that it will change each year, according to the current date:

I will do the same for the company name, but choose the “Global Fields” source and the “Name” option, from the “Company” section of the second field:
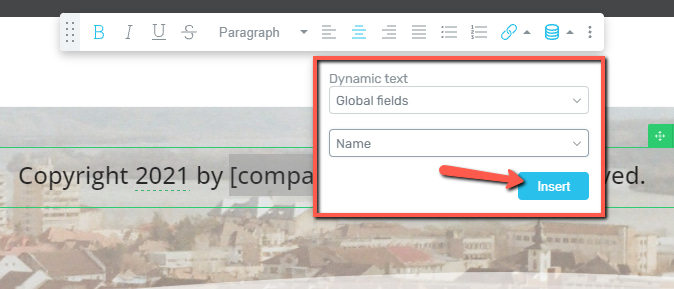
If you ever change the name of the company, the footer will instantly inherit the modifications.
When you’re done modifying the footer, don’t forget to click on “Save work”:
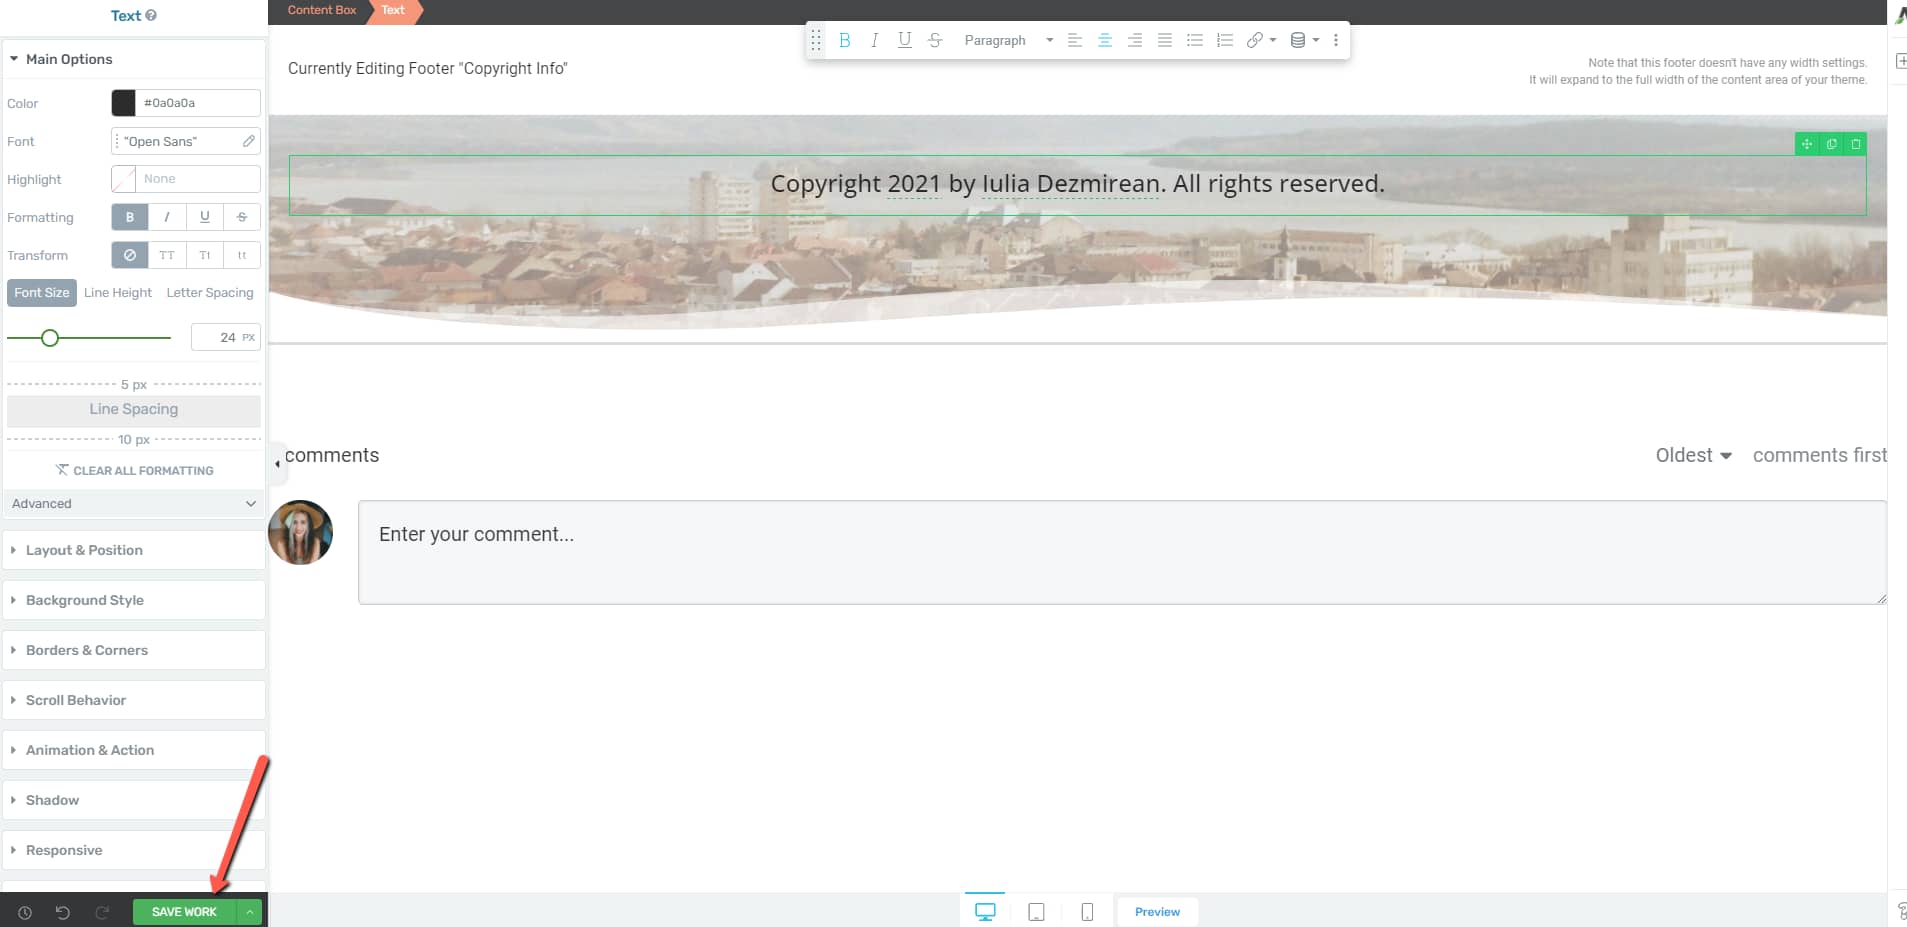
This is how to create and customize the footer. It will be available in the “Global Elements” -> “Footers” section, and you can go back and edit it at any time:

Now let’s take a look at how you can add the footer to your pages.
Insert the footer in a Landing Page
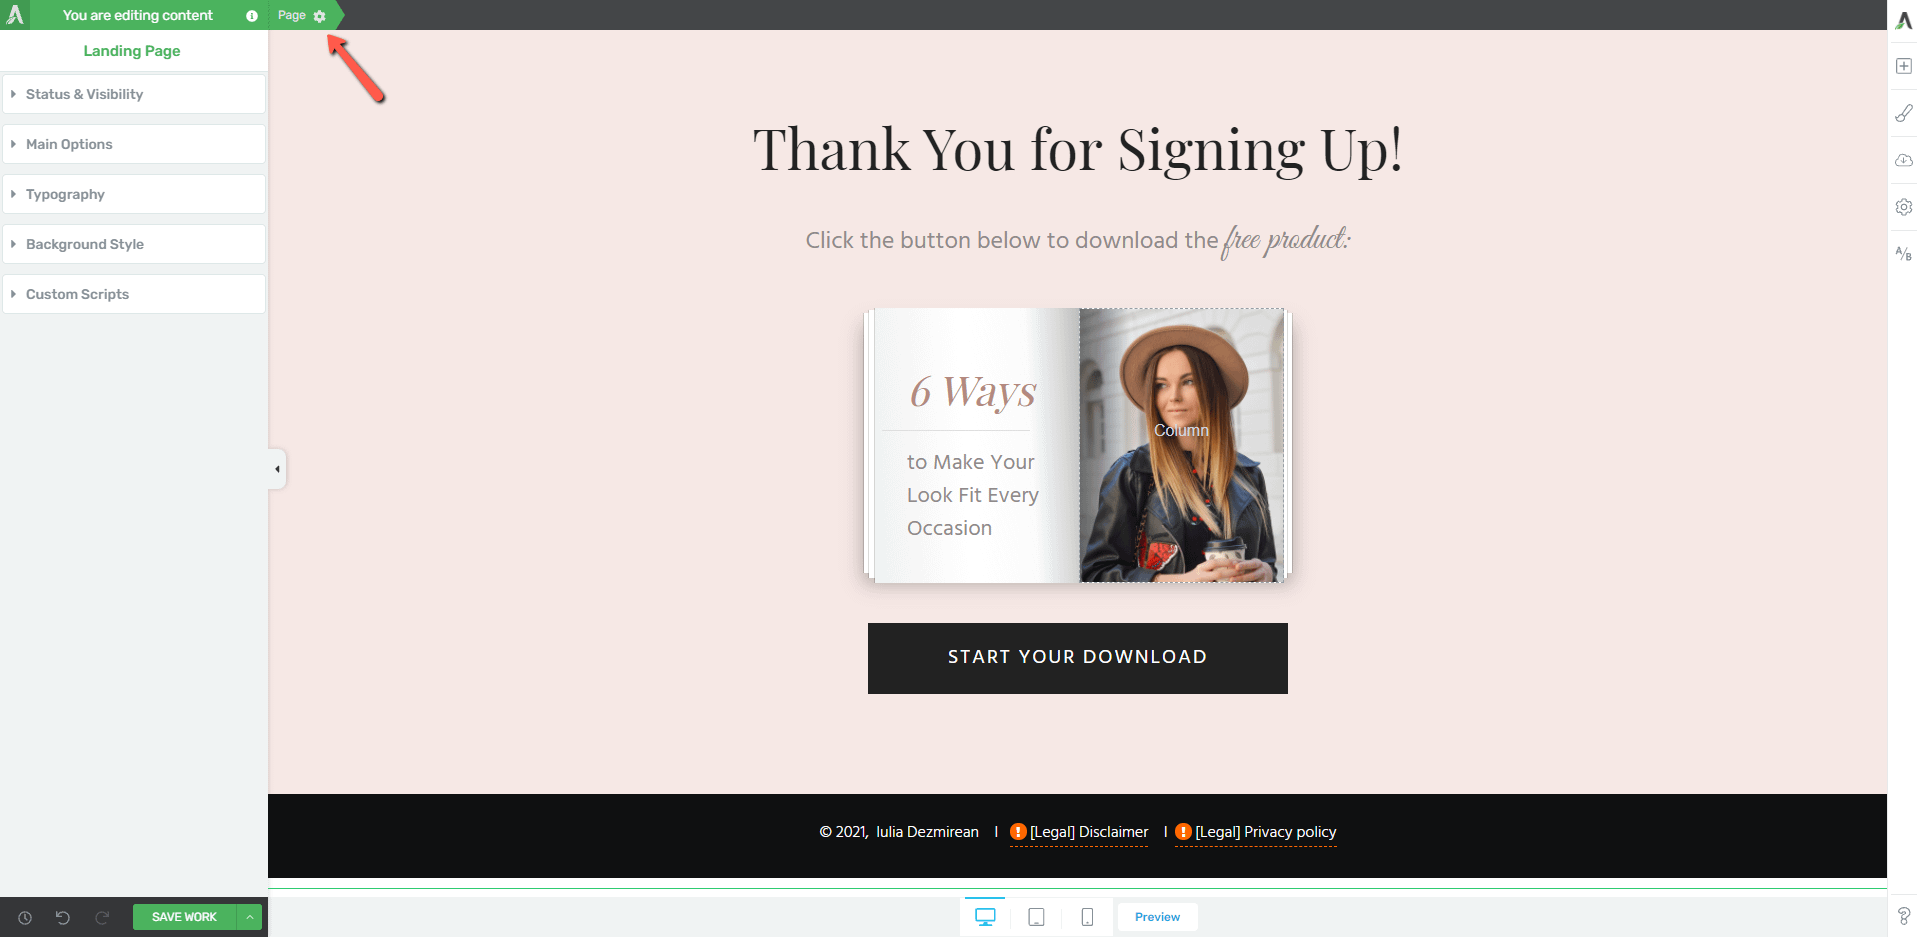
If you want to add the footer to a Landing Page from your site, launch that page in the Thrive Architect editor. Then, select “Page” in the breadcrumbs:
You can find more information on how to use the headers and footers in landing pages by reading this article.
Then, expand the “Main Options” section from the left sidebar:
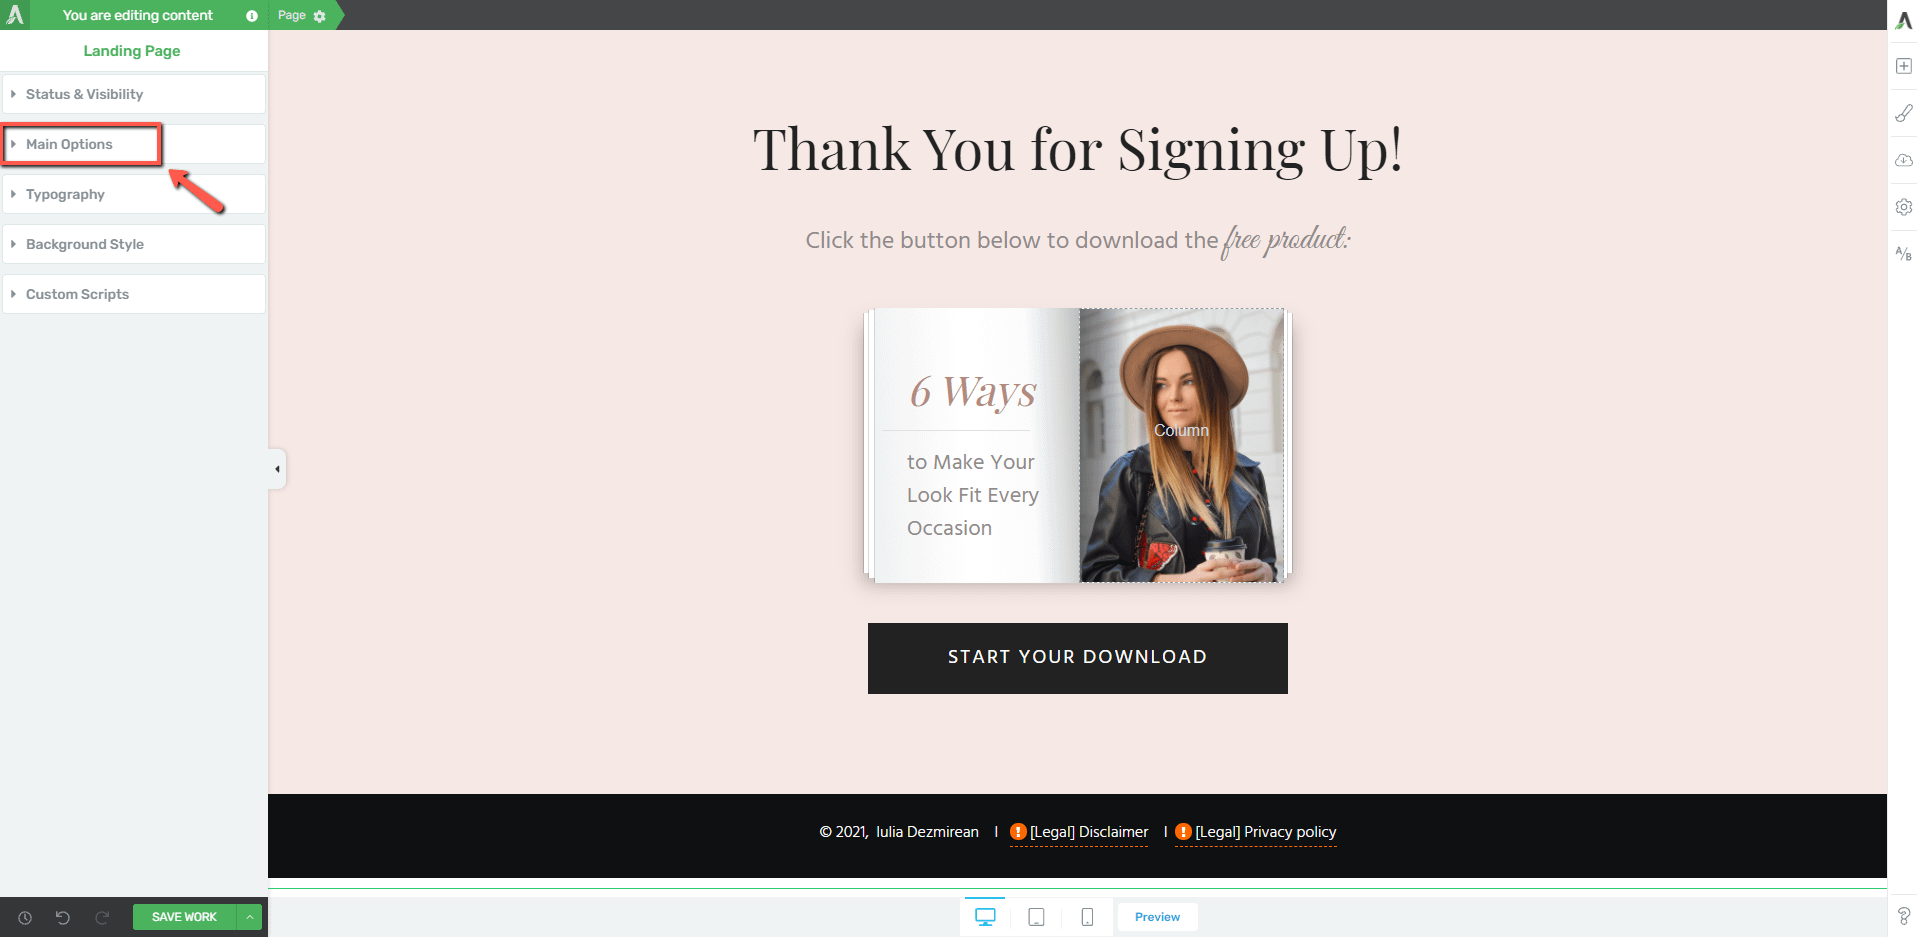
If there is no footer added to this page, you can add one by clicking on “Footer” here:
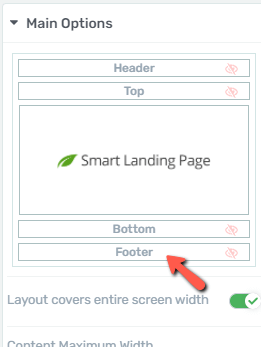
If the page already has a footer section, you will simply have to select it in the same manner, by clicking directly on it, or clicking on the “Footer” section from the left sidebar:
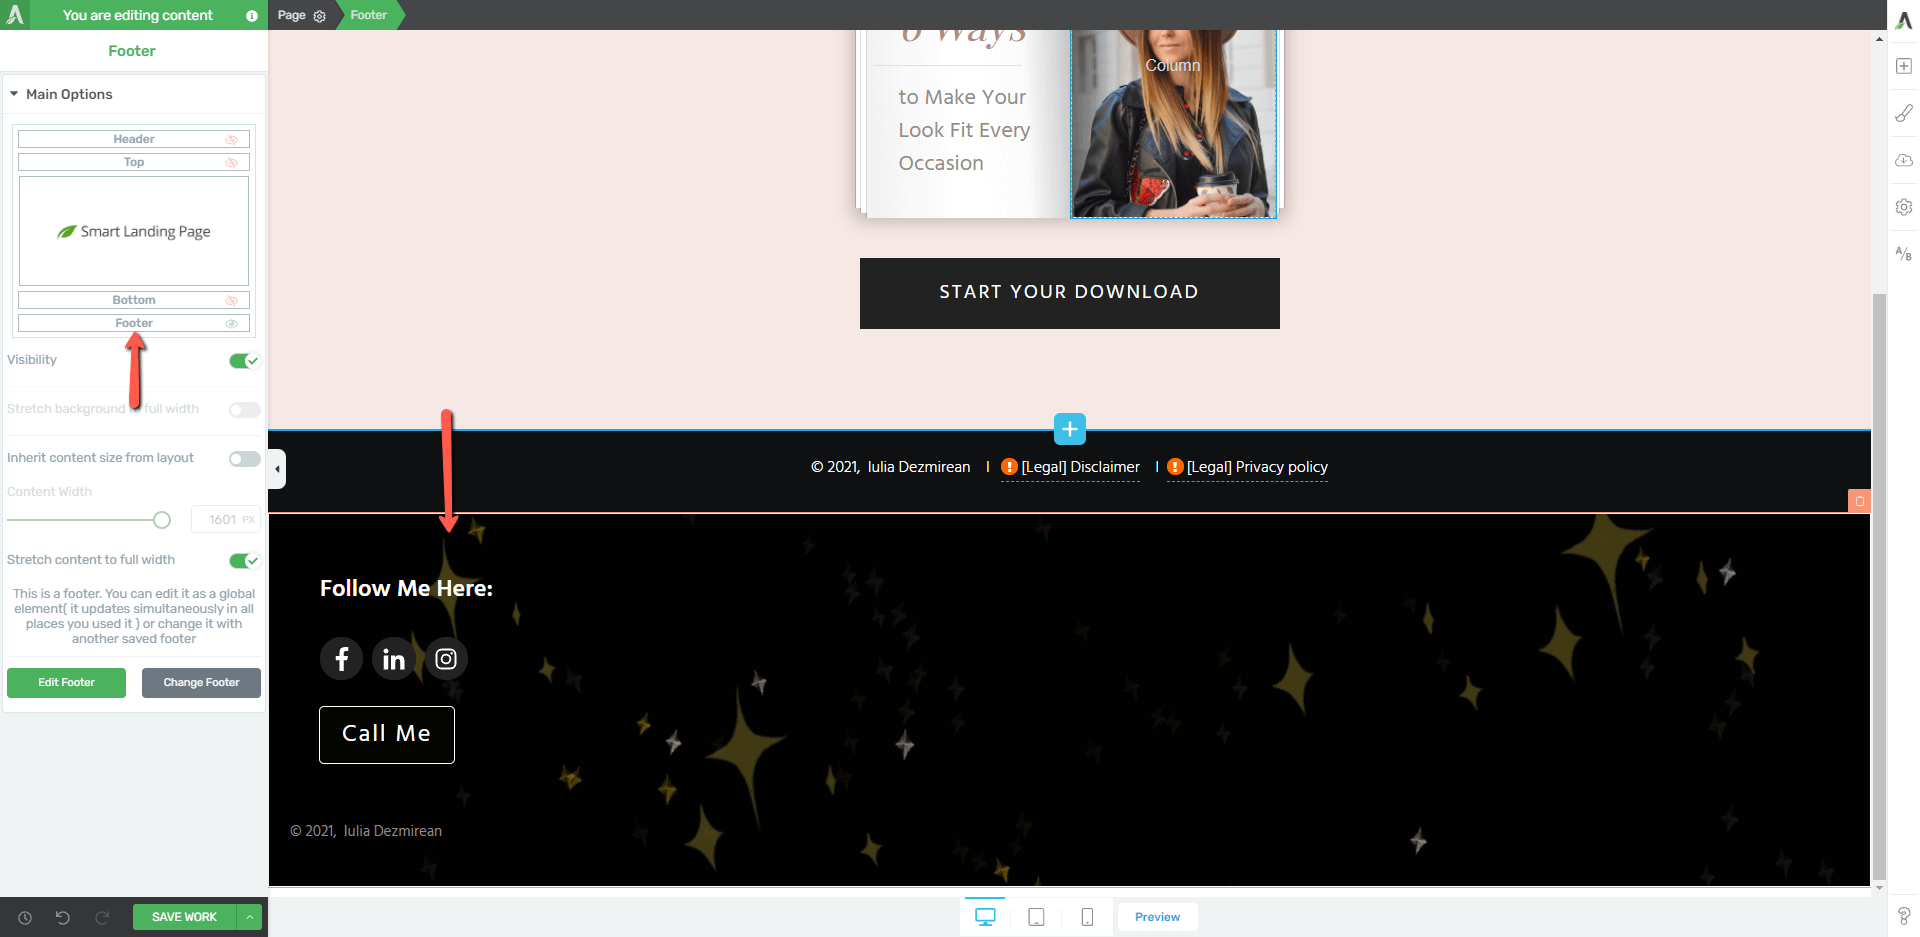
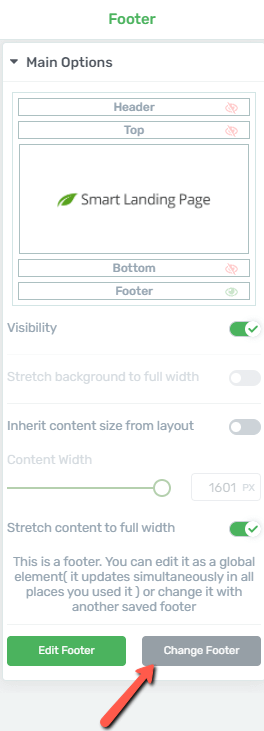
And then, click on “Change footer”:
A pop-up will open, from where you will be able to choose the new footer. From the “Saved Footers” tab, click on the one that you’ve just created, and click on “Insert Footer”:
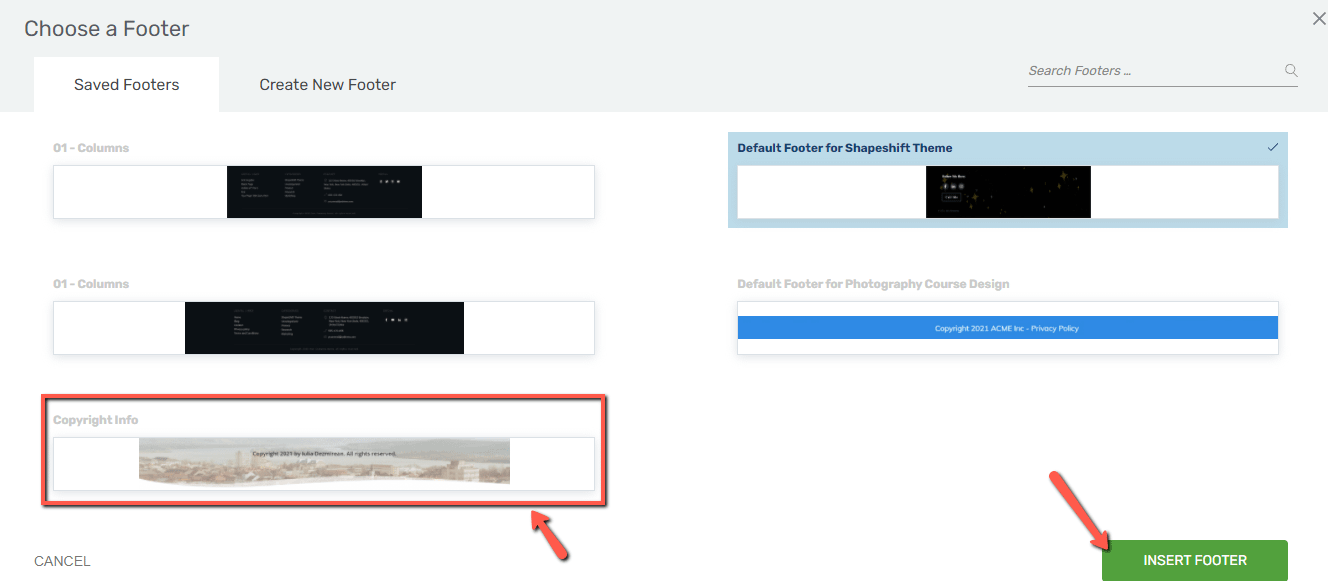
Save the page and you’re all done:

Insert the footer in a Thrive Theme Builder template
If you want to insert the footer into a template from Thrive Theme Builder, and thus have the footer inserted in all the pages/posts on which that template is applied, you can do that.
Access your Thrive Theme Builder dashboard and go to the “Templates” section:

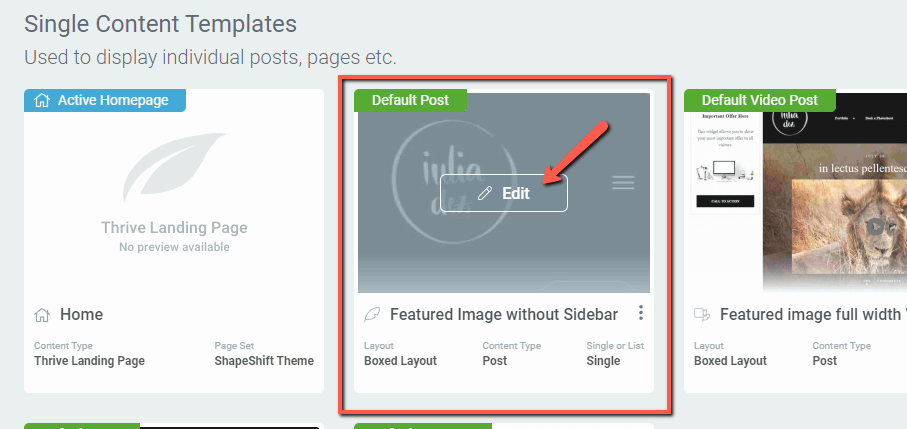
Hover over the template you want to add the footer to, and click on “Edit”:
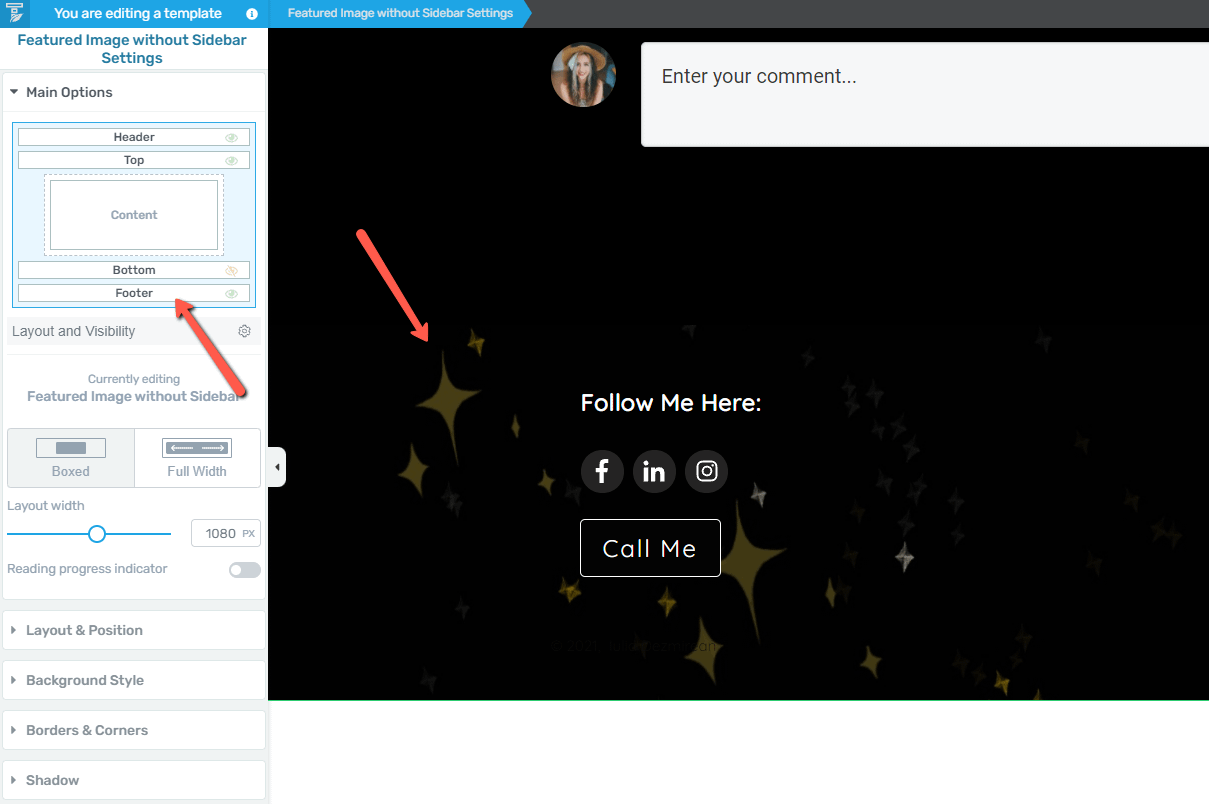
This will open the Thrive Theme Builder editor. Just like in the case of Landing Pages, you can select the footer either by clicking directly on it in the editor or by clicking on “Footer” here:
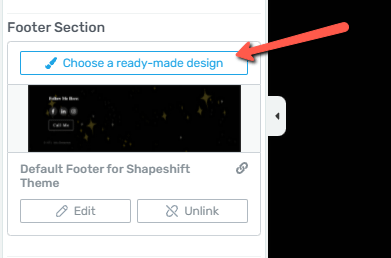
With the section selected, click on “Choose a ready-made design” to change the entire section:
A pop-up opens, with various footer sections. Click on the “My Saved Footer Sections” tab:
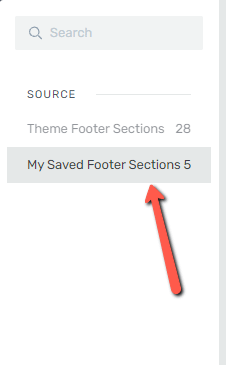
This is where you will be able to see the previously created footer sections. Click on the one you’ve just created, and it will immediately be applied:

All there’s left to do is to save the changes of the template:

This is how you can create a footer that contains dynamic copyright information and insert it into Landing Pages/Thrive Theme Builder templates.
You can find more tutorials about Thrive Suite products and features in our knowledge base.