Do you want to set your online school homepage, manage login and access restrictions, payments, etc. on your website? The Thrive Apprentice Settings page lets you manage all of these and more.
In this article, we’ll show you where you can access the Thrive Apprentice Settings and the things you can manage in there.
- Accessing Thrive Apprentice Settings
- Understanding the General Settings
- Thrive Apprentice and SendOwl Settings
- Managing Email Templates in Thrive Apprentice
- Managing Assessment Uploads in Thrive Apprentice
- Labels and Translations in Thrive Apprentice
- Login and Access Restrictions in Thrive Apprentice
- Managing Payments in Thrive Apprentice
- Accessing Logs in Thrive Apprentice
- Accessing API Keys in Thrive Apprentice
Accessing Thrive Apprentice Settings
To access Thrive Apprentice Settings, open your WordPress admin area, navigate to Thrive Dashboard >> Thrive Apprentice, and click on Settings in the left panel.

This will take you to the main Thrive Apprentice Settings page, which typically features a left-hand menu listing the different setting categories.
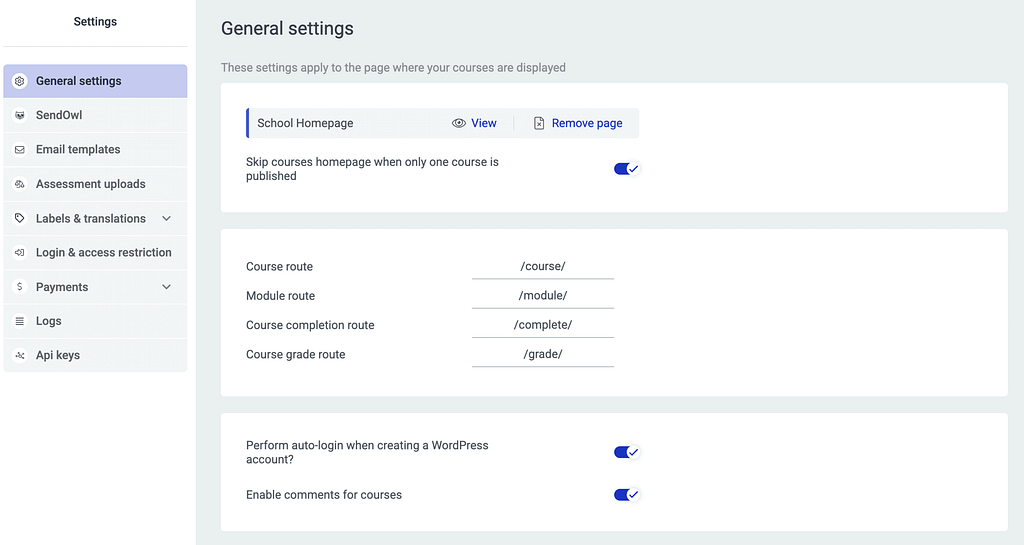
Understanding the General Settings
The General Settings section manages the basic settings of Thrive Apprentice on your website.
This section lets you manage the following:
- Course Page: Choose or create the main page on your WordPress site where your course index (list of available courses) will be displayed. You can also opt to skip this index page if you only have one published course.
- Slugs: Customize the URL structure (permalinks) for your courses, modules, lessons, and the course completion page. (e.g., yourdomain.com/courses/yourcourse-name)
- Auto-login: Enable this to automatically log users into their WordPress account after they sign up via a Thrive Leads or Thrive Architect opt-in form connected to WordPress user registration. (Note: This doesn’t apply to registrations via thirdparty checkouts like ThriveCart)
- Comments: Enable or disable WordPress comments on your course pages.
- Certificate Verification: If using Thrive Apprentice certificates, enable this to add unique serial numbers or QR codes for verification purposes. This creates a dedicated verification page on your site.
To learn more about Thrive Apprentice General Settings and understand the options within, read our document here.
Thrive Apprentice and SendOwl Settings
Thrive Apprentice Settings has a dedicated section where you can add your SendOwl account key to be able to sell your Thrive Apprentice courses using SendOwl.
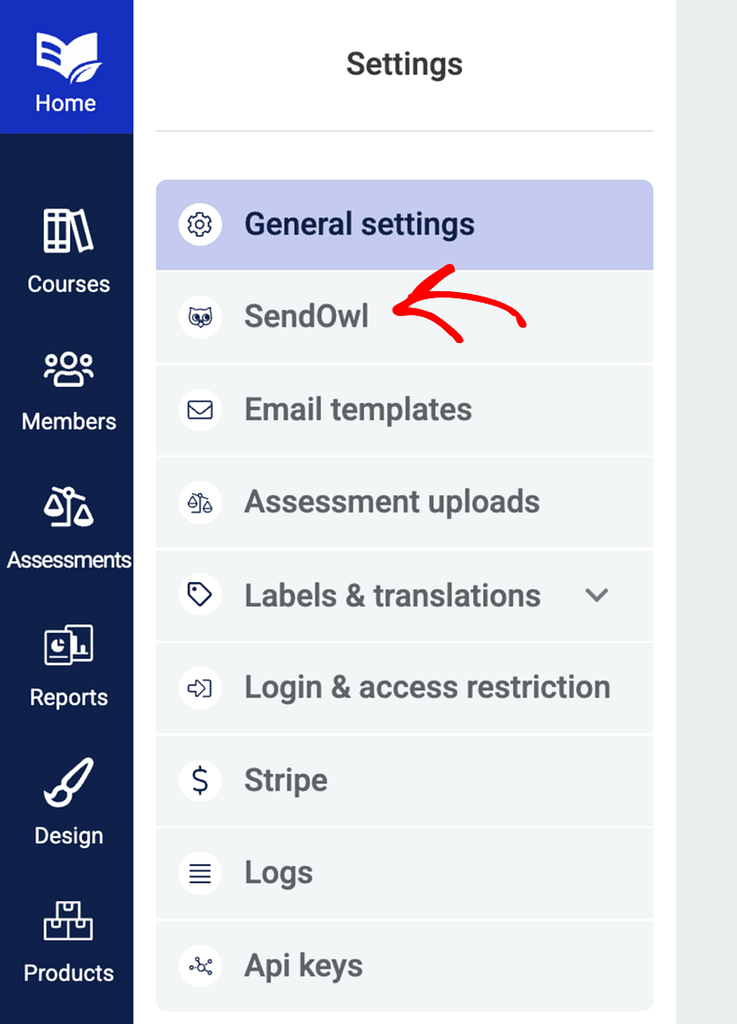
The SendOwl settings in Thrive Apprentice takes you through the steps you should follow to sell your Thrive Apprentice Courses using SendOwl.
Managing Email Templates in Thrive Apprentice
The next block lets you configure the Email templates you’ll be sending out to your students and customers.
To access, the Email Templates, click on Email templates in the left menu on the Thrive Apprentice Settings page.
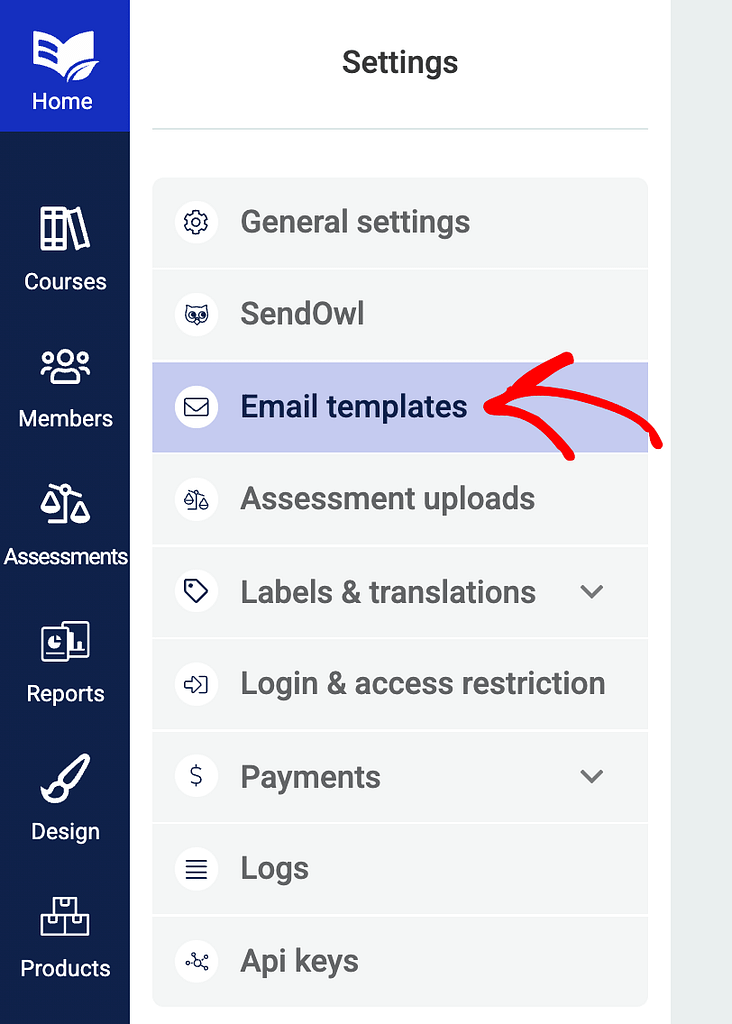
On the Email Templates page you’ll see the following options.
- Email Delivery Service: Connect to an email delivery service (like SendGrid, Mailgun, Amazon SES via the Thrive Dashboard API connections) to ensure reliable email sending. Using the default WordPress mail function is often unreliable.
- Sender Details: Set the “From” name and email address for emails sent by Thrive Apprentice.
- Email Templates: Customize the content and design of various automated emails sent to students (e.g., new account welcome email, course completion emails – if configured).
To learn more about setting and managing Email Templates in Thrive Architect, read our document here.
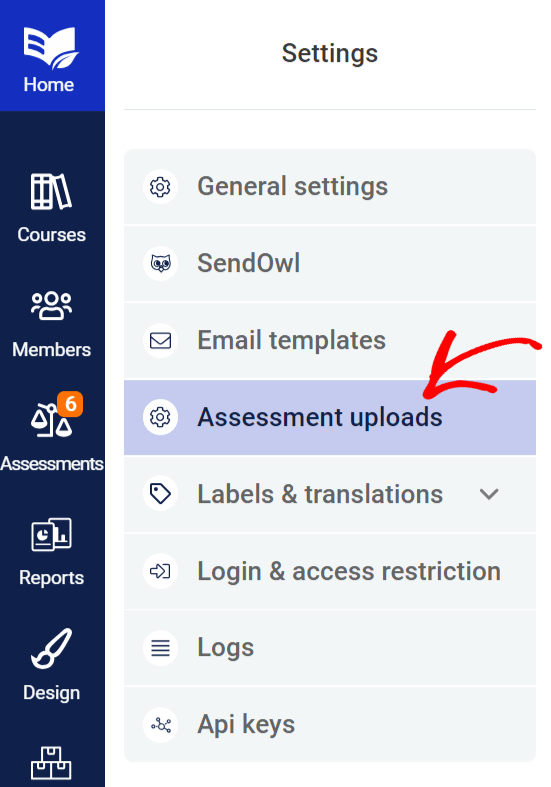
Managing Assessment Uploads in Thrive Apprentice
With Thrive Apprentice you can let your students upload their assessment files on your website.
The Assessment Upload Settings let you decide where you want to send the uploaded assessment files.
To open these settings, click the Assessment Uploads option in the left menu on the Thrive Apprentice settings page.
To learn more about the Assessment upload settings and choosing a place to save the uploaded assessment files, read our document here.
Labels and Translations in Thrive Apprentice
In Thrive Apprentice, you can add labels to the courses you publish. This can be managed using the Labels and Translations option in Thrive Apprentice Settings.
Under Labels & translations you see a number of options you can change the label for. These are as follows.
- Access restrictions
- Call to action buttons
- Course content types
- Course navigation
- Course structure
- Course progress
To learn more about how you can add labels to your Thrive Apprentice content, read our document here.
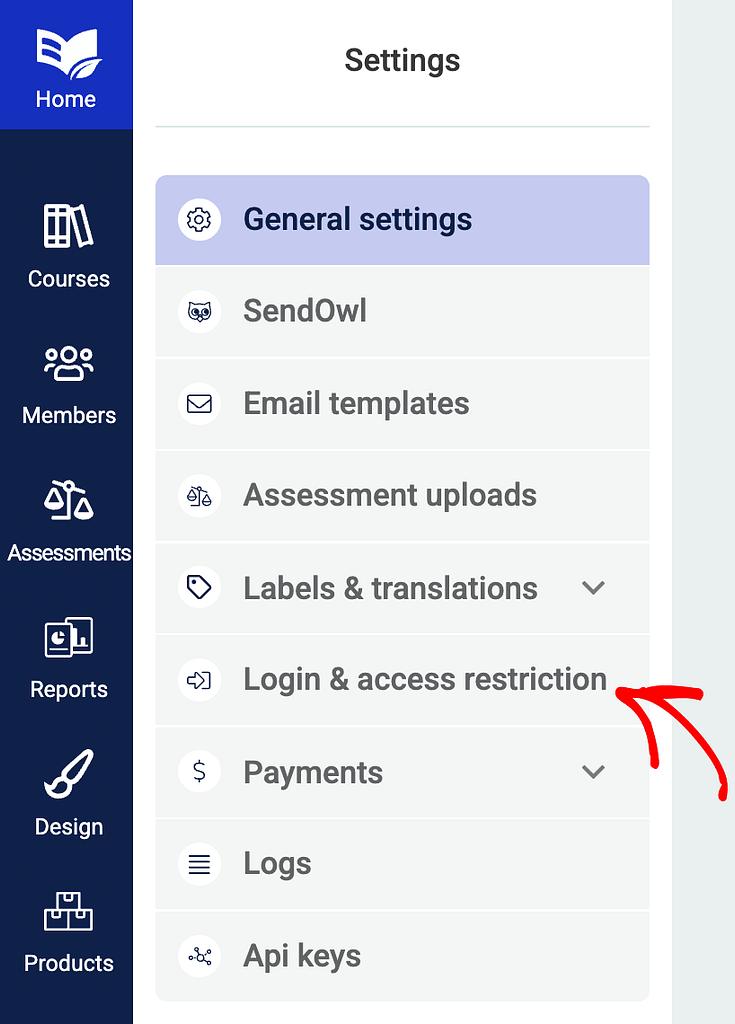
Login and Access Restrictions in Thrive Apprentice
The Login and Access Restriction section explains who can view your content and what occurs if they try to access restricted areas.
To open these settings click on Login and Access Restriction in the left menu.
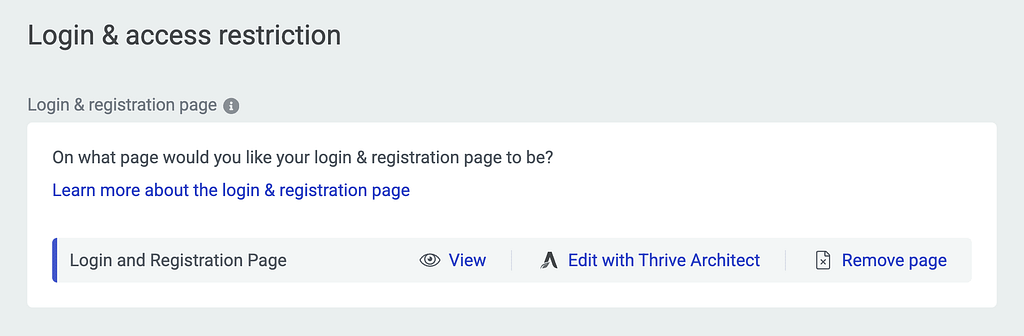
On this page, you’ll find two sections – one where you add a login and registration page and the other where you manage the Access Restriction rules.
Login & Registration Page: Select or create the WordPress page that will host the login and registration forms for your students. You can customize this page using Thrive Architect.
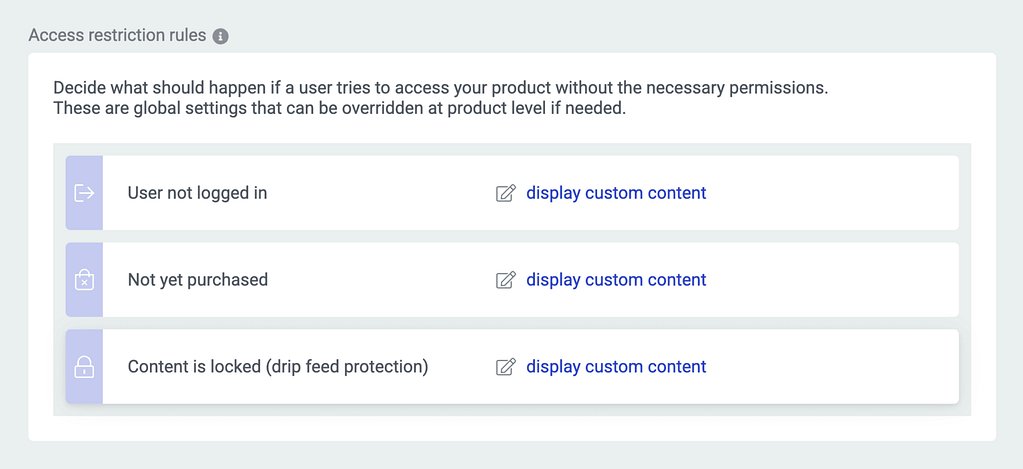
Global Access Restriction Rules: Define default behaviors for three key scenarios:
- Non-Logged-In Users: What happens when someone not logged in tries to access protected content (e.g., redirect to login page, show custom content).
- Logged-In Users Without Access: What happens when a logged-in user tries to access content they haven’t purchased or been granted access to (e.g., redirect to a sales page, show custom content).
- Drip-Locked Content: What happens when a user with access tries to view content that is currently locked by a Drip schedule (e.g., show custom content explaining when it unlocks, redirect to course overview).
To learn more about the Login and Access Restriction settings in Thrive Apprentice, read our document here.
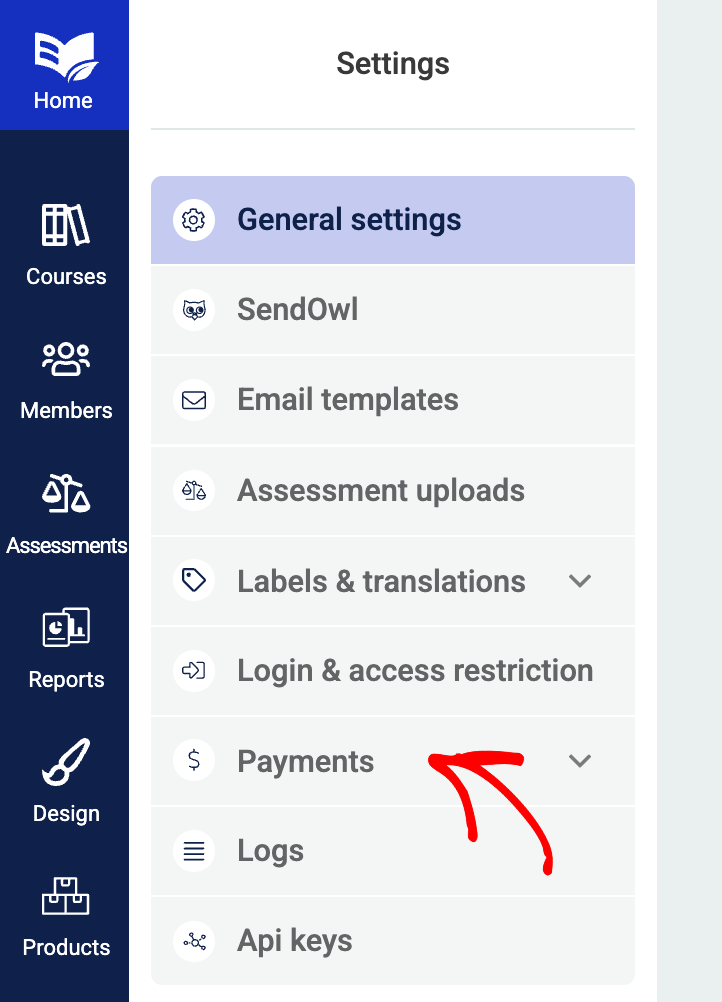
Managing Payments in Thrive Apprentice
You can connect Thrive Apprentice with payment gateways like Stripe and Square. The Payments section on the Thrive Apprentice settings page allows you to select the payment and set things up.
To open this, click on Payments in the left column on the Thrive Apprentice Settings page.
Want to know more about payments with Stripe and Square? Read our documents listed below.
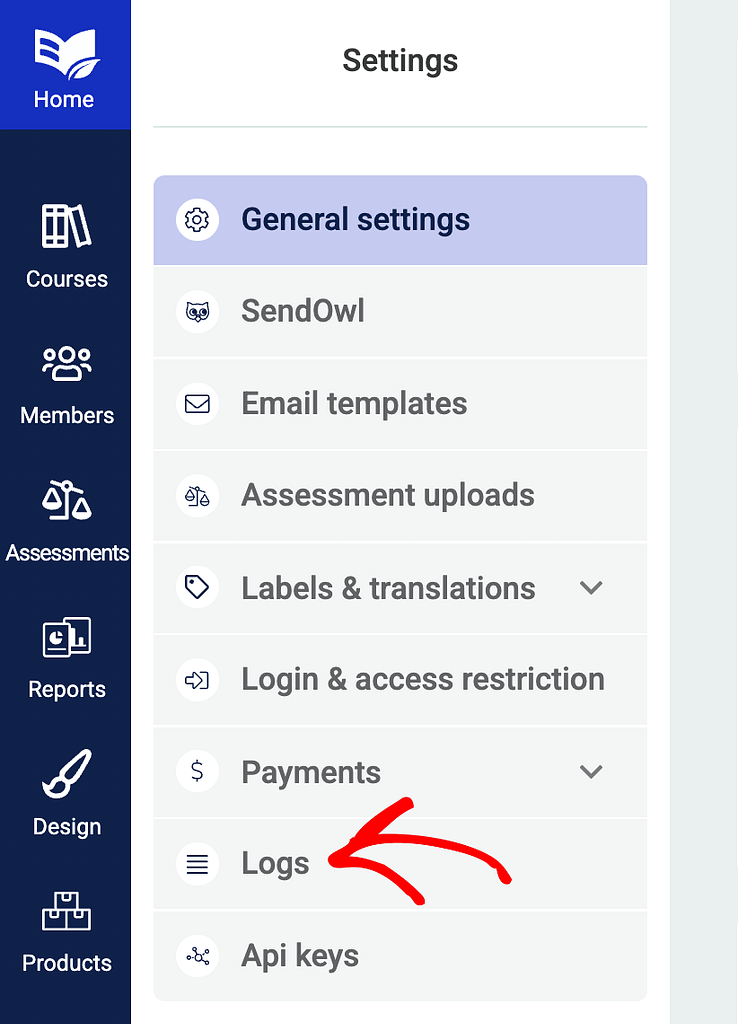
Accessing Logs in Thrive Apprentice
Thrive Apprentice Logs is a place where you see the overview of the activity generated on your website.
If for some reason the purchasing process on your website could not be completed, you will see details about the error that occurred in the logs.
To access the Thrive Apprentice logs, click on Logs in the left menu of the Thrive Apprentice settings page.
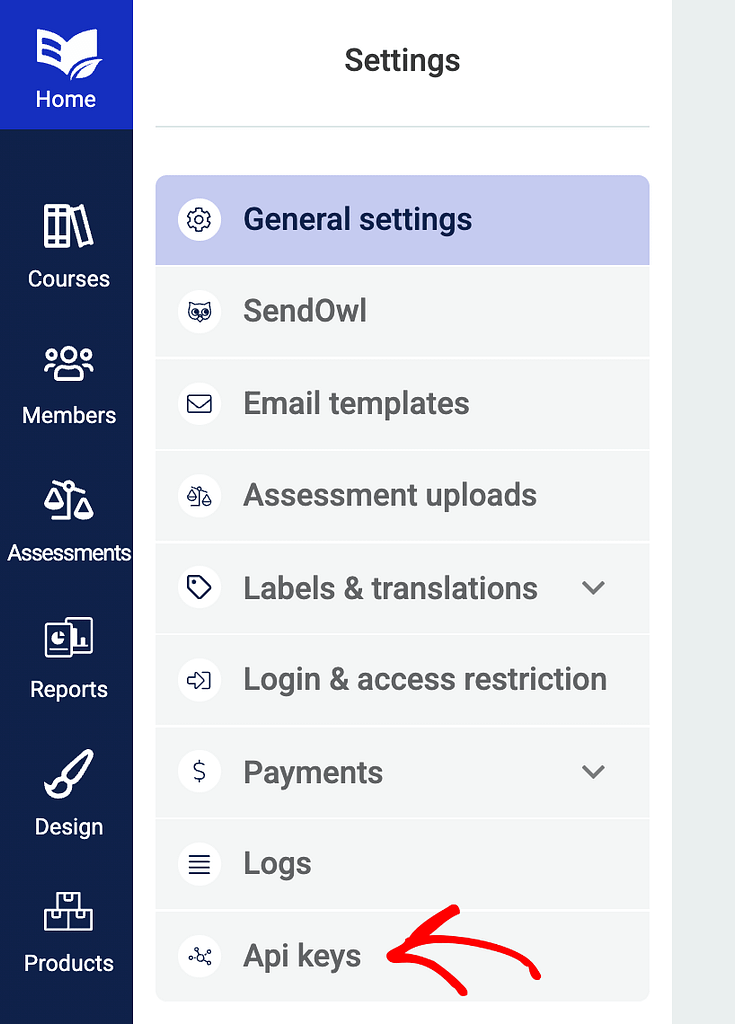
Accessing API Keys in Thrive Apprentice
API Keys are useful when you want to connect a tool to a third party interface. Like other applications, Thrive Apprentice lets you generate API keys you can use to integrate with third party tools like ThriveCart.
To access the API keys in Thrive Apprentice, open the Thrive Apprentice Settings page, and click on API Keys in the left menu.
To learn how to use the API key to integrate Thrive Apprentice with ThriveCart, read our document here.
We’ve just seen how you can access the Thrive Apprentice Settings page and use the different options it contains.
Next, products play an important role when you want to sell courses in Thrive Apprentice. To learn more about Products and the settings associated with it, read our document here.