With the help of the “User Access Manager” you have the possibility to control who on your team, has access to the Thrive products that are installed on your WordPress website.
If you use this new feature, you can select who to give access to, based on the WordPress user roles that they have on your website.
Note: The “User Access Manager” feature is only available for “Administrators” and “Super-Administrators” of a website.
Follow the steps below to learn how to use this feature:
Access the “User Access Manager”
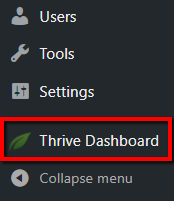
The first step is to access the feature. In order to do that, go to your WordPress admin dashboard and click on the “Thrive Dashboard” from the left-side menu:
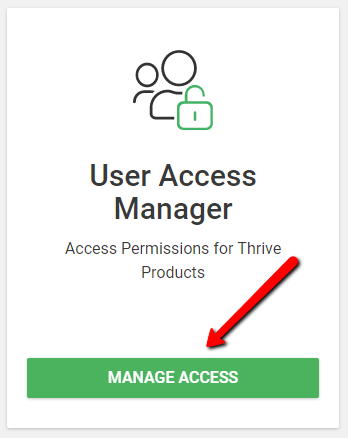
Then scroll down a bit, until you see the “User Access Manager” card and click on the “Manage Access” button from it, to open it:
Main Dashboard Overview
Once you have opened the “User Access Manager”, you will see a list with every Thrive product and every WordPress role that is active on your website:
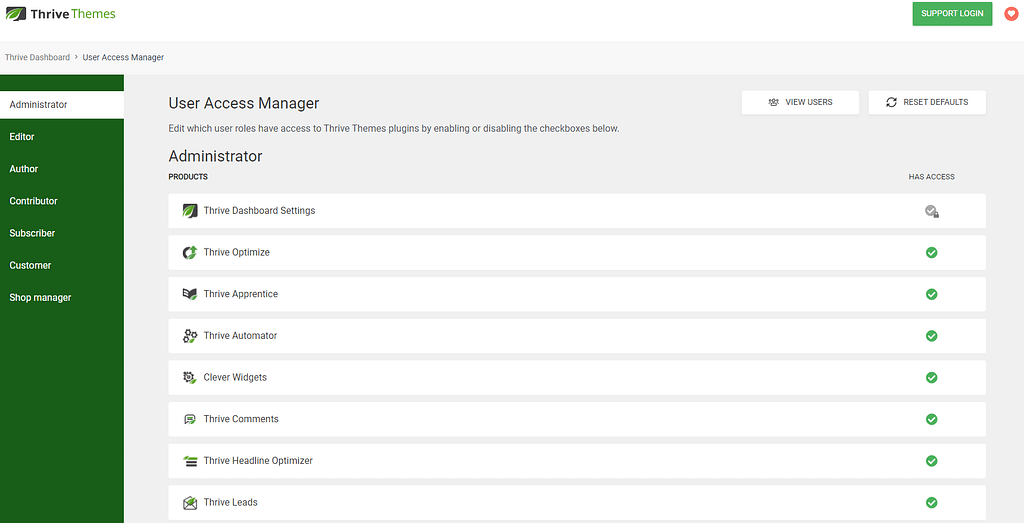
If you have any third party custom roles set up, those will be listed here as well. However, in case you have a product that you had purchased but have not installed on the website yet, then, that particular product will not be displayed here yet.
In order for the Thrive products to be displayed in the “User Access Manager”, they first need to be installed (therefore active) on your website.
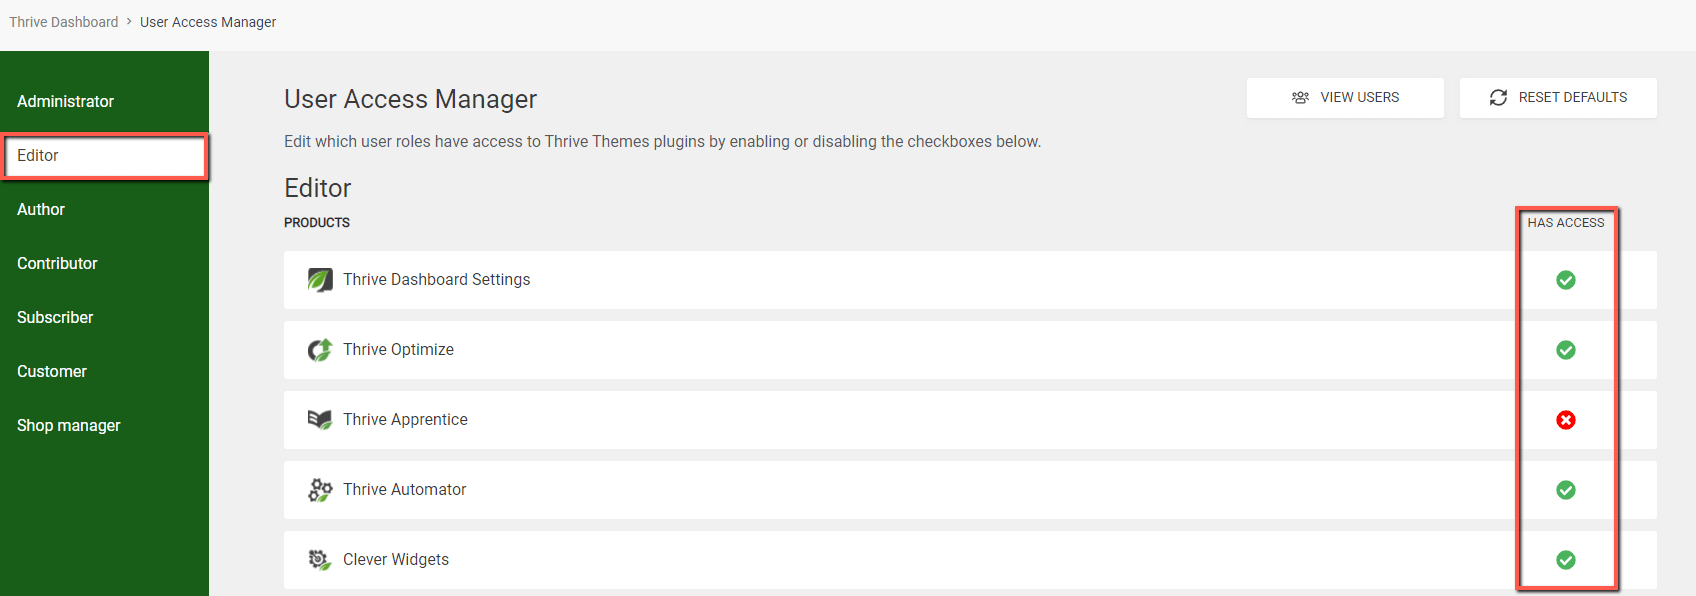
The left sidebar will list all the available roles, whilst in the main dashboard you will see the products to which the selected role has access to:
Tips:
- Keep in mind that the user roles that are displayed in the “User Access Manager” are based on the roles that are set up on your WordPress website
- There are default roles that come from WordPress (such as “Administrator”, “Editor” etc.), but also, based on the plugins you have, other various user roles that are set up, might also be displayed.
- For e.g. if you have WooCommerce installed on your site, the “Shop Manager” user role will also be displayed here.
- It is also worth noting that the custom roles, that come with membership plugins, will only show up in the “User Access Manager” if they have the “edit_posts” capability set up.
Let’s start from the top.
View Users & Reset Defaults
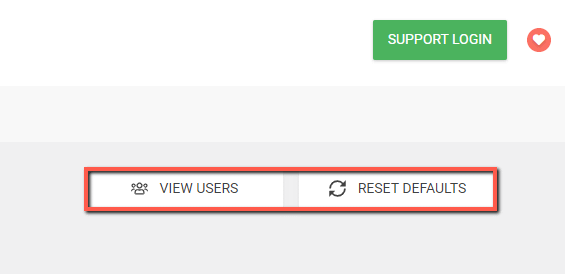
After you select the user role from the left sidebar, you can use these two options to view all the users who are assigned that particular role or to reset the accesses to their default:
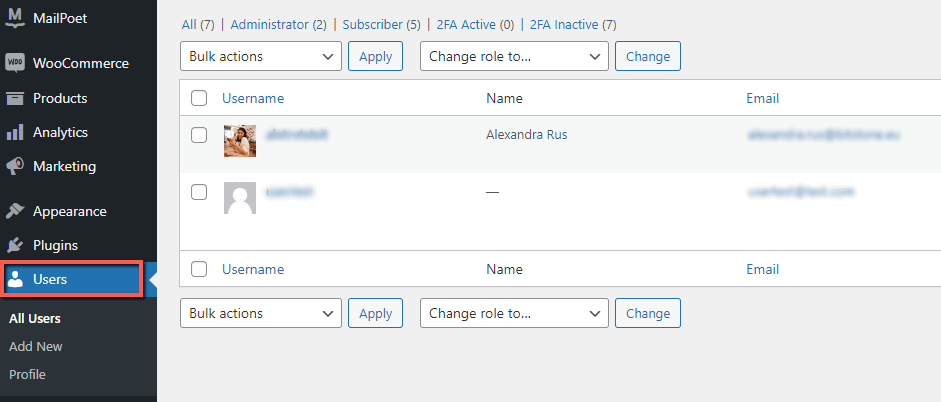
Clicking on “View Users” will take you to the “Users” section of your WordPress, where you can view all users that have the selected role:
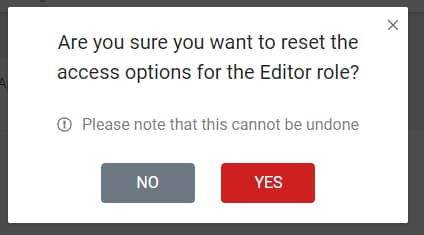
Clicking reset defaults will reset the selected role to their default access settings:
Accesses
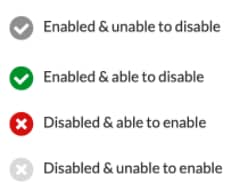
The green check signs next to each product equal access:

This means that the respective user role (for which the green check sign is displayed), has access to the specific Thrive product(s) the sign is in line with. Thus, the people who have that user role on your website will be able to use the specific Thrive product, when managing/editing your website.
The red check sign means that no access is granted to the product, for the selected role:

However access can be easily granted by clicking on it, which will make the check sign green in return.
The greyed out signs are of two kinds.
The one with a check mark means that the access to that product is enabled, but unable to be changed otherwise:

This is something that you will see for the “Administrator” role, next to the “Thrive Dashboard Settings”:

The grey one marked with an “x” means that the respective setting cannot be changed and access it not granted and cannot be granted to that product:

This is something that you might see for the “Customer” role for example:

Here’s also a quick overview of what each sign means:
If at any time you deem it necessary to change the current access settings/permissions that the users of your website have for the Thrive products, then, simply do the following:
- If you want to give access to a user role for one of the products, make sure to click on the red check sign that belongs to it and is in line with the respective Thrive product. This will transform the check sign into a green one, meaning that the users with that role will have access to the Thrive product.
- If you do not want one of the user roles to have access to a certain product anymore, then simply click on the green check sign that belongs to it and is in line with the product. This way, the users with that role will not have access to that particular Thrive product anymore.
Functionality
Lastly, at the bottom of the dashboard, you’ll be able to use these additional options:

Admin Bar Visibility: the options from here allow you to select for which roles you would like to display the WordPress admin bar on the frontend:

This is set to “Inherit” by default, meaning that it allows WordPress or any other plugin that dictates the WordPress navigation bar display rules, to work without interference.
WordPress Login Redirect: here you can choose what to display after the successful login:

Feel free to select something else for each WordPress user role, as you best see fit.
If you want to learn even more about the “User Access Manager”, then check out this blog post.