There are multiple ways in which you can create and customize a page with Thrive Architect.
If you want to create one from scratch, and fully customize it, then a Normal Page is the best solution.
However, if you prefer to use an already designed one to which you just have to bring some custom changes, then a pre-build Landing Page is the right solution for you.
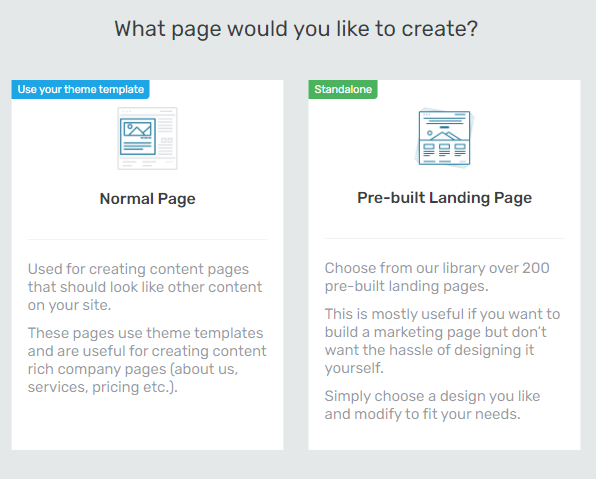
Whenever you create a new page for your site, you will be asked to choose whether you want to work on a Normal Page or a Pre-built Landing Page:
Creating and Customizing a Normal Page
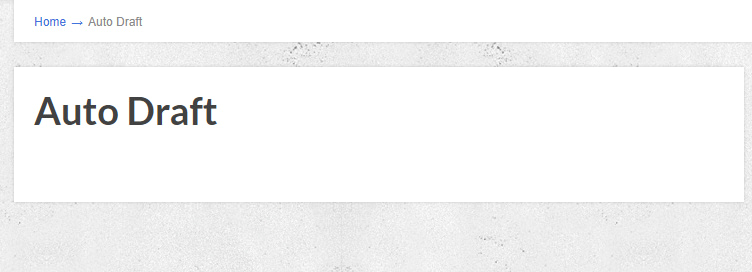
A Normal Page created with Thrive Architect does not have any kind of elements added to it. You can create it from zero and customize it as you best see fit. This means that when you first create it, you will get a blank template:
Right Sidebar
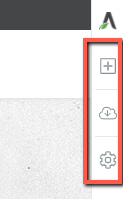
In the right sidebar you have three options from which you can choose:
Add Element
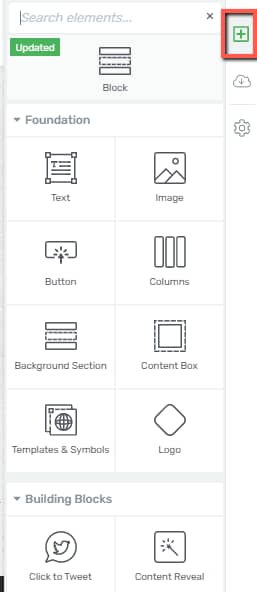
From the first icon, you can add elements to your page, by dragging and dropping them within your page content as you best see fit:
Change Template
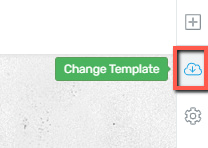
If at any point, you want to change the page you are currently working on and start working on a Pre-built Landing Page, you can just go ahead and click on the “cloud” icon and choose another template:
Settings
Going forward, from the “gear” icon you can access the “Settings”, which have three separate sections:
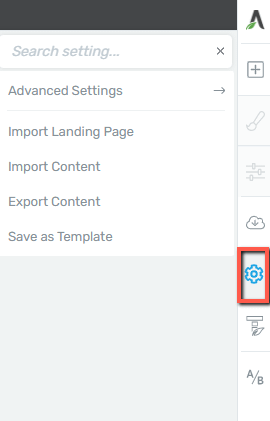
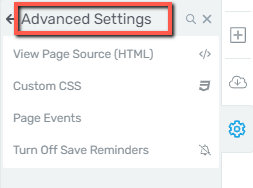
- In the “Advanced Settings” section you can do the following: view and edit the page source, add custom CSS to your page directly from this window, set page events (such as offers and promotions), and lastly, turn off the “save your work” reminders:
- If you have an already saved landing page template, you can import it to your website:
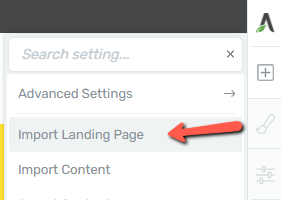
Note: Keep in mind though that doing this will overwrite the current contents of the page.
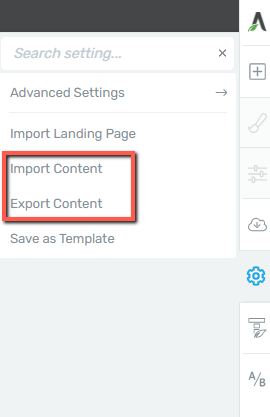
- What you can also do here is to import or export content on this page, as per the guide linked here:
- Lastly, you can save the page as a template, for later use:
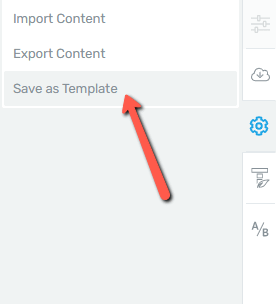
Click on “Save as Template”, and in the pop-up that opens give it a name and save it:

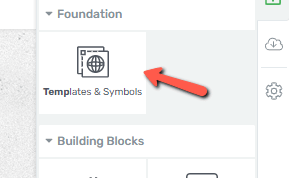
The template will be available as an element, and you can add it to your page just like you would do with any other Thrive Architect element:
Left Sidebar
You can access the left sidebar by clicking anywhere on your page. Make sure to select the “Page” section from the breadcrumbs in order to see the page options:
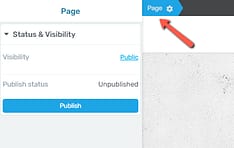
- From the “Visibility” section you can set the visibility settings and make the page “Public”, “Private” or “Password Protected”:

- The following section allows you to “Publish” the page directly from the editor (if you haven’t published it while creating the page):

In case the page is already published, then this section will look like this, allowing you to set the page as a draft:

Customize the page to fit your needs, by adding as many elements as you want.
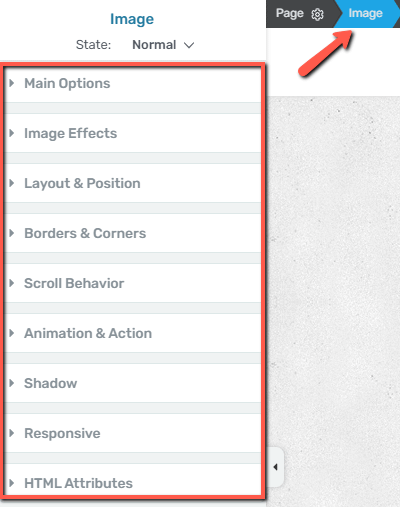
Just make sure to always select in the breadcrumbs the element you want to edit, in order to use its corresponding options:
Creating and Customizing a Landing Page
Choosing an already built Landing Page for your website will mean that you can start working on an intuitively built template, which you can personalize according to your needs.
Furthermore, in the Landing Page category, you can choose between Smart Landing Pages and Legacy Landing Pages.
The major difference between the Legacy Landing Page templates and the Smart Landing Page templates is that the latter ones have smart features, such as “Smart Color Management”.
You can read this article if you want to learn more about what is a Smart Landing Page and a Legacy Landing Page.
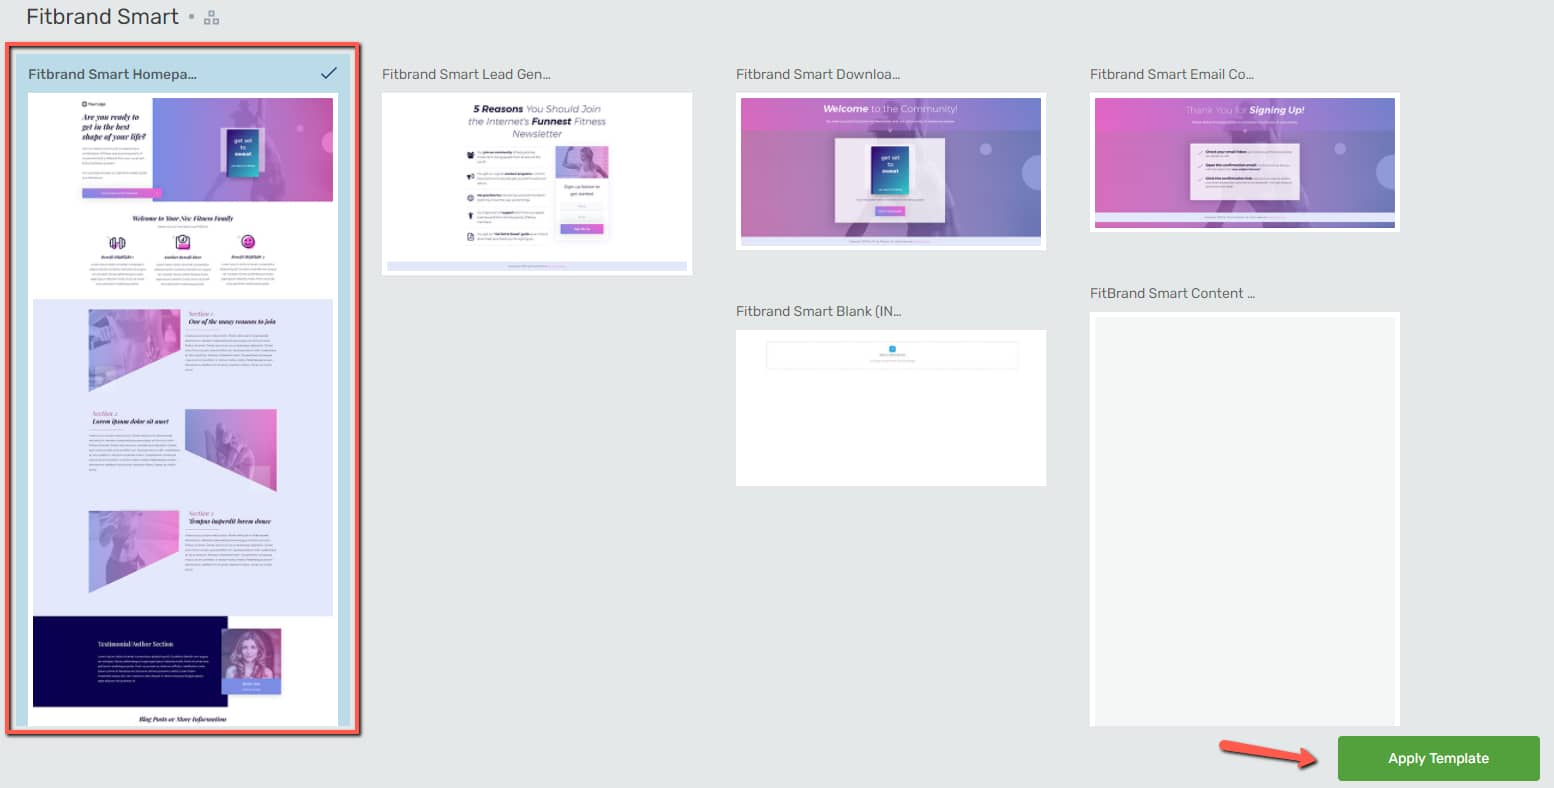
Both types of Landing Pages come with predefined templates you can choose from:

Decide on the template that best suits your brand, and then select the type of page on which you want to build your content:
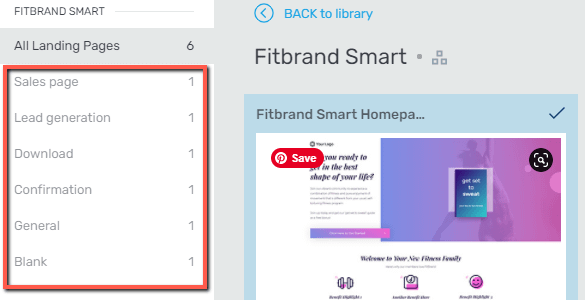
Each template from the library has several different page templates, depending on the page you want to create – you have sales pages pre-defined templates, lead generation templates, blank templates, download pages, etc.:
After you have applied the template, you can proceed with personalizing it.
For this example, we have selected a Smart Landing Page, as this one covers both the Legacy Landing Page options as well as its own specific smart features.
Right Sidebar
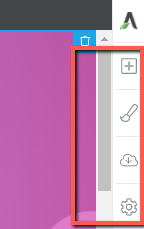
You can start editing the Landing Page from the right sidebar editor:
Add Element
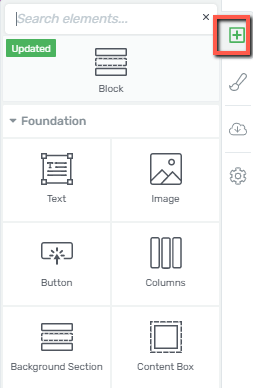
From the plus sign you can add elements to your page, in addition to the already existing ones:
Central Style Panel
The second option available in the sidebar is the “Central Style Panel” :
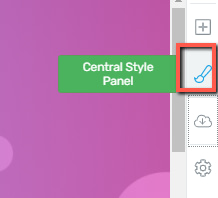
Clicking on it will open the “Style Editor”, from where you can customize the colors and fonts throughout the whole template:
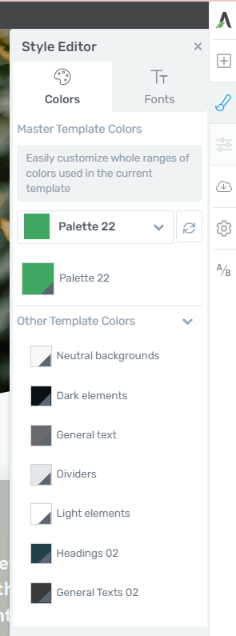
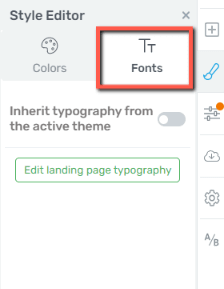
Here, you will notice that you can switch between two different tabs: “Colors” and “Fonts”.
Colors:
From here you can access the Smart Color Management of your page. What this means is that when you modify a color from here, it will be applied across the whole template where that particular color is present.
- The Master Template Colors are the main colors used in the selected template.
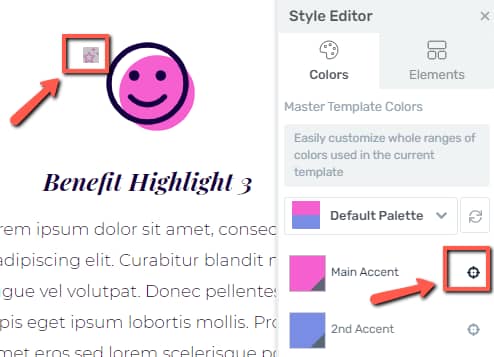
Clicking on the “Locate” icon will highlight the element on the page which has that particular color applied to it. This way you can identify all template areas and elements where this color is used:
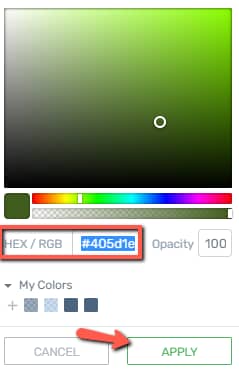
You can modify the color as needed, by clicking on the color field and dragging the color picker around until the desired color is reached:

Alternatively, you can also insert a HEX/RGB code, and once done, click on “Apply”:
- The Other Template Colors are all the other colors, besides the main ones, that are used in the Smart Landing Page template.
Note: Depending on the template you have chosen, the list might include different sections or texts.
However, all of them work on the same principle as the one described above for the “Masters Colors”: the “Locate” button will highlight the area where that color is applied, and the color field will allow you to modify the color:

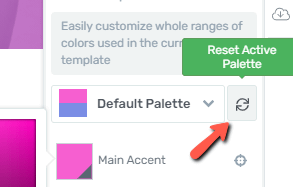
If at any moment, you want to go back to the initial colors used on the page, without losing other content changes that you have made while editing the template, you can do that by clicking on the “Reset Active Palette” button:
Fonts
From this tab, you will be able to set whether the page should inherit the typography from the active Thrive Theme Builder theme or not. If not, you are also able to edit the fonts and typography of the landing page:
You can read more about the style editor in this separate article.
Change Template
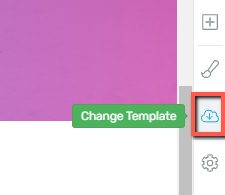
Going back to the main options of the right sidebar, there’s the cloud icon from where you can change the template:
Settings
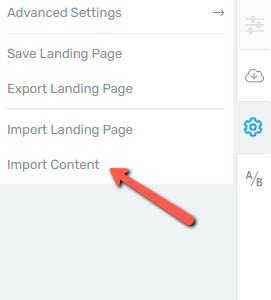
The last available button in the right sidebar is the “Settings” one, which will trigger a panel with six different sections:
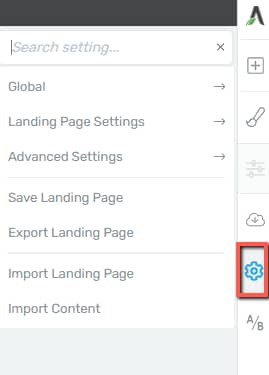
- Global Settings: from this section, you can modify the fonts, header, and footer of the current template:
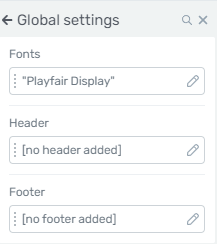
You can read two articles about typography and setting up headers and footers:
How to Use the Landing Page Typography Settings
How to Use the Global Fonts and the Text Options on Your Landing Pages
- Landing Page Settings: we have a dedicated article about the Landing Page Settings and how you can use them:

- Advanced Settings: you can set various settings from here, such as custom CSS, custom scripts, page events, and reminders, etc. All details are included in this article as well:

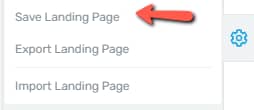
- Save Landing Page: from here you can create and load your template, should you decide to use another one than the already available ones:
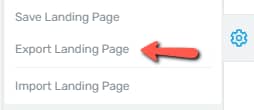
- Export Landing Page: you can export a landing page, as per the steps detailed here:
- Import Landing Page: import a landing page, as detailed in the article mentioned above:

Note: The difference between saving and exporting a landing page is the fact that saving the template means you can further use it on the same website on which it has been saved, whilst exporting a template means that you can use it on another site as well.
- Import Content: here’s where you can import content as a zip file. Check out this article for more information about how to use this option:
Left Sidebar
The left sidebar options of the Landing Pages will be different depending on the element that you have selected from the template.
However, there are several options specific to the page itself, which are described below:
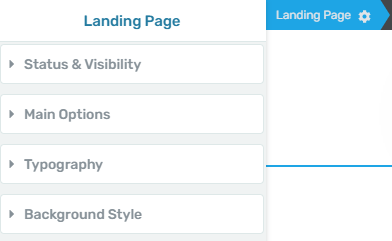
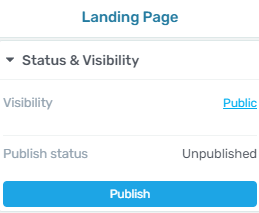
- From the “Status & Visibility” section, you can set if the page should be “public”, “private” or “password-protected”, as well as whether it’s “published’ or a “draft”. These options are identical to the ones described at the beginning of this article, in the case of a normal page:
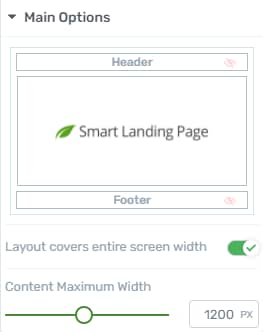
- The “Main Options” lets you customize the header and footer, as well as the width of the content and layout:
If you want to learn more about these options, you can read these two dedicated articles:
How to Use a Theme Header/Footer on a Landing Page
How to Use the Headers and Footers Feature
- If you click on the “Typography” section, you can edit the typography settings across the whole template:
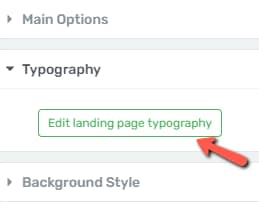
You might find useful this article on “How to Use the Landing Page Typography Settings”.
- The last available option from the “Main Options” sidebar, is the “Background Style”:
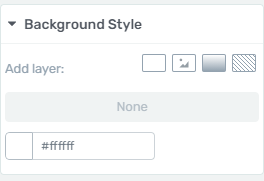
This option is almost identical to the “Background Style” option of a Thrive Architect element. You are able to change the color of the background, add images to it, or even gradients and patterns to your background.
You can read a step-by-step tutorial about what each of these features means in this article.
These are the main differences between a Normal Page and a Landing Page.
If you want to use an intuitively created template, which requires minimum customization from your side, then choose a pre-built Landing Page. If you want to fully customize your page from scratch, then the Normal Page might be the best option for you.