The Analytics & Scripts feature in Thrive Dashboard lets you manage tracking codes and custom scripts across your WordPress site globally without editing theme files or templates.
In this guide, you will learn how to access the Analytics & Scripts feature, as well as how to add and organize your scripts.
Accessing the Analytics & Scripts Feature
To open the Analytics & Scripts manager, follow these steps:
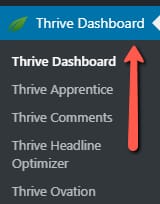
- From your WordPress Admin area, navigate to the Thrive Dashboard in the left sidebar and click on it.
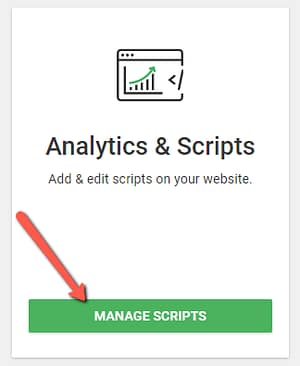
- In the dashboard, locate the Analytics & Scripts card and click the Manage Scripts button.
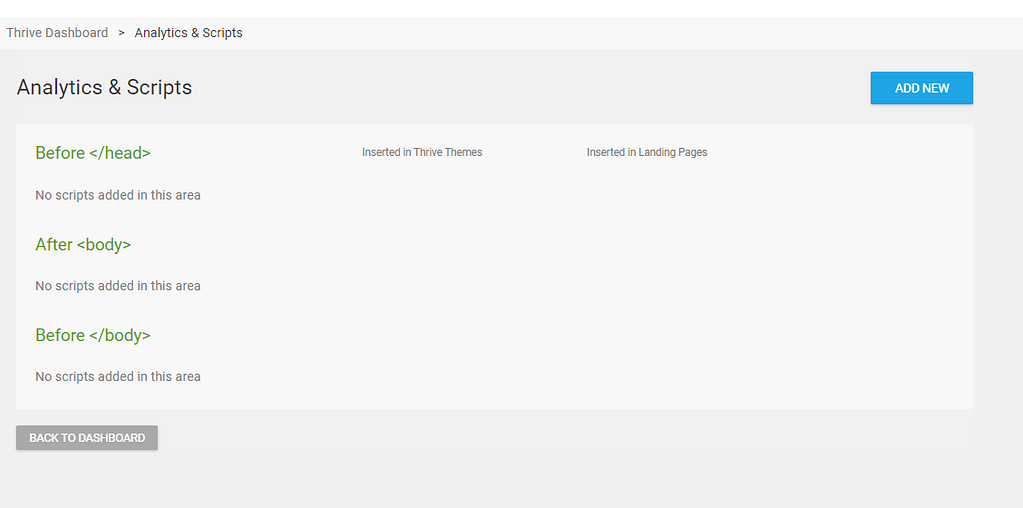
This will open the Scripts Manager, where you can view existing scripts and add new ones.
Adding a New Script
To add a new script, follow these steps:
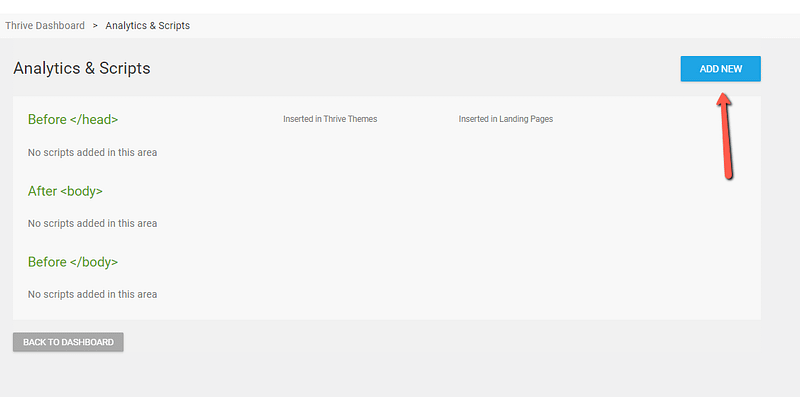
- Click the Add New button.
- A pop-up window will appear with several fields and options where you can configure the script settings. Here is a breakdown of each field:
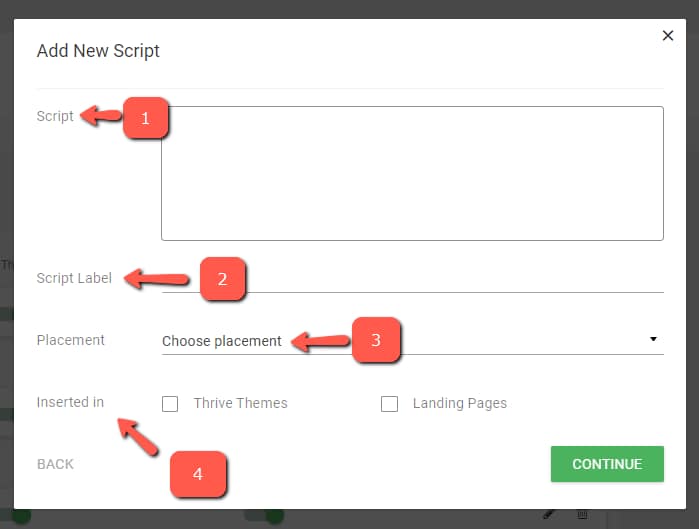
- Script: This is where you paste the actual code or script.
- Script Label: Here, you can add a descriptive name for your code. This helps you easily recognize and distinguish this script from any others you may add in the future.
- Placement: This option controls where your script will be inserted in your site’s HTML. Click on Choose placement to view the three available options: “Before </head>”, “After <body>”, and “Before </body>”.
- Inserted In: This setting lets you choose where the script will be included. You can select whether you want the script to be added to Landing Pages only, or to your pages built with Thrive Theme Builder as well.
- Once you have completed all the fields, click the Continue button to add your script.

Managing Your Scripts
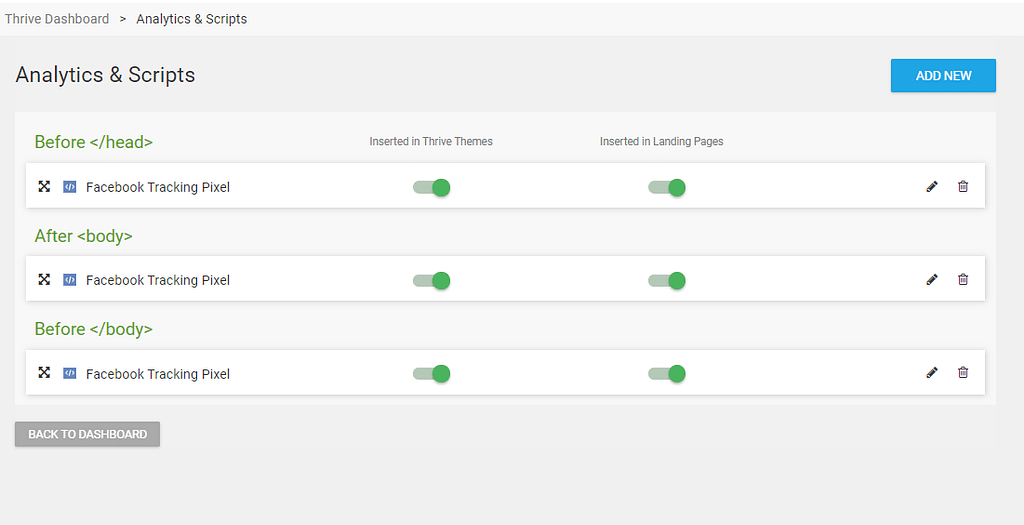
After you add your script, it will appear in the Scripts Manager. Each script will display its label and the location where it is being inserted.
All your scripts will be listed together, making it easy to monitor what is running on your site. You can edit an existing script, change its insertion settings, or delete it if you no longer need it.
For more specific, step‑by‑step examples of using Analytics & Scripts with Thrive products, you can refer to these tutorials:
- How to Add Facebook Pixel to Thrive Theme Builder
- How to Add a Google Analytics Tracking Code to a Thrive Theme Builder Theme
- How to Use the Landing Pages Analytics & Scripts Manager
- How to Add Scripts to a Thrive Theme Builder Theme
- Use the Landing Page Script Manager to Insert CSS Code Into all Landing Pages