

Quick-Start Tutorial: Create Your First Thrive Leads Form by Answering 4 Simple Questions
To get you started as quickly as possible, you can follow this 4-step process. Follow along on your site as you go through this tutorial:
Question 1: What Type of Opt-In Form Do You Want to Create ?
Click on one of the options below to get further instructions.

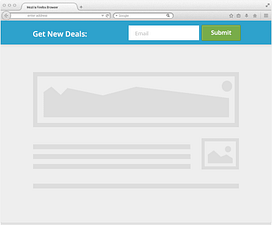
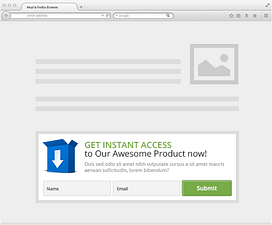
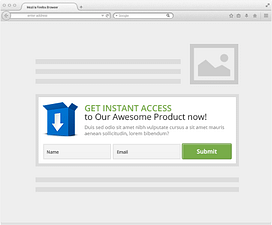
An opt-in form at the beginning or after certain number of paragraphs in your blog posts.

Note: if you just scroll down this page, it won't make much sense. Go to the first question and click on one of the links to get to the next step that is right for you. (think of it as a "create your own adventure" style tutorial)
For This Form Type, Create a New Lead Group:
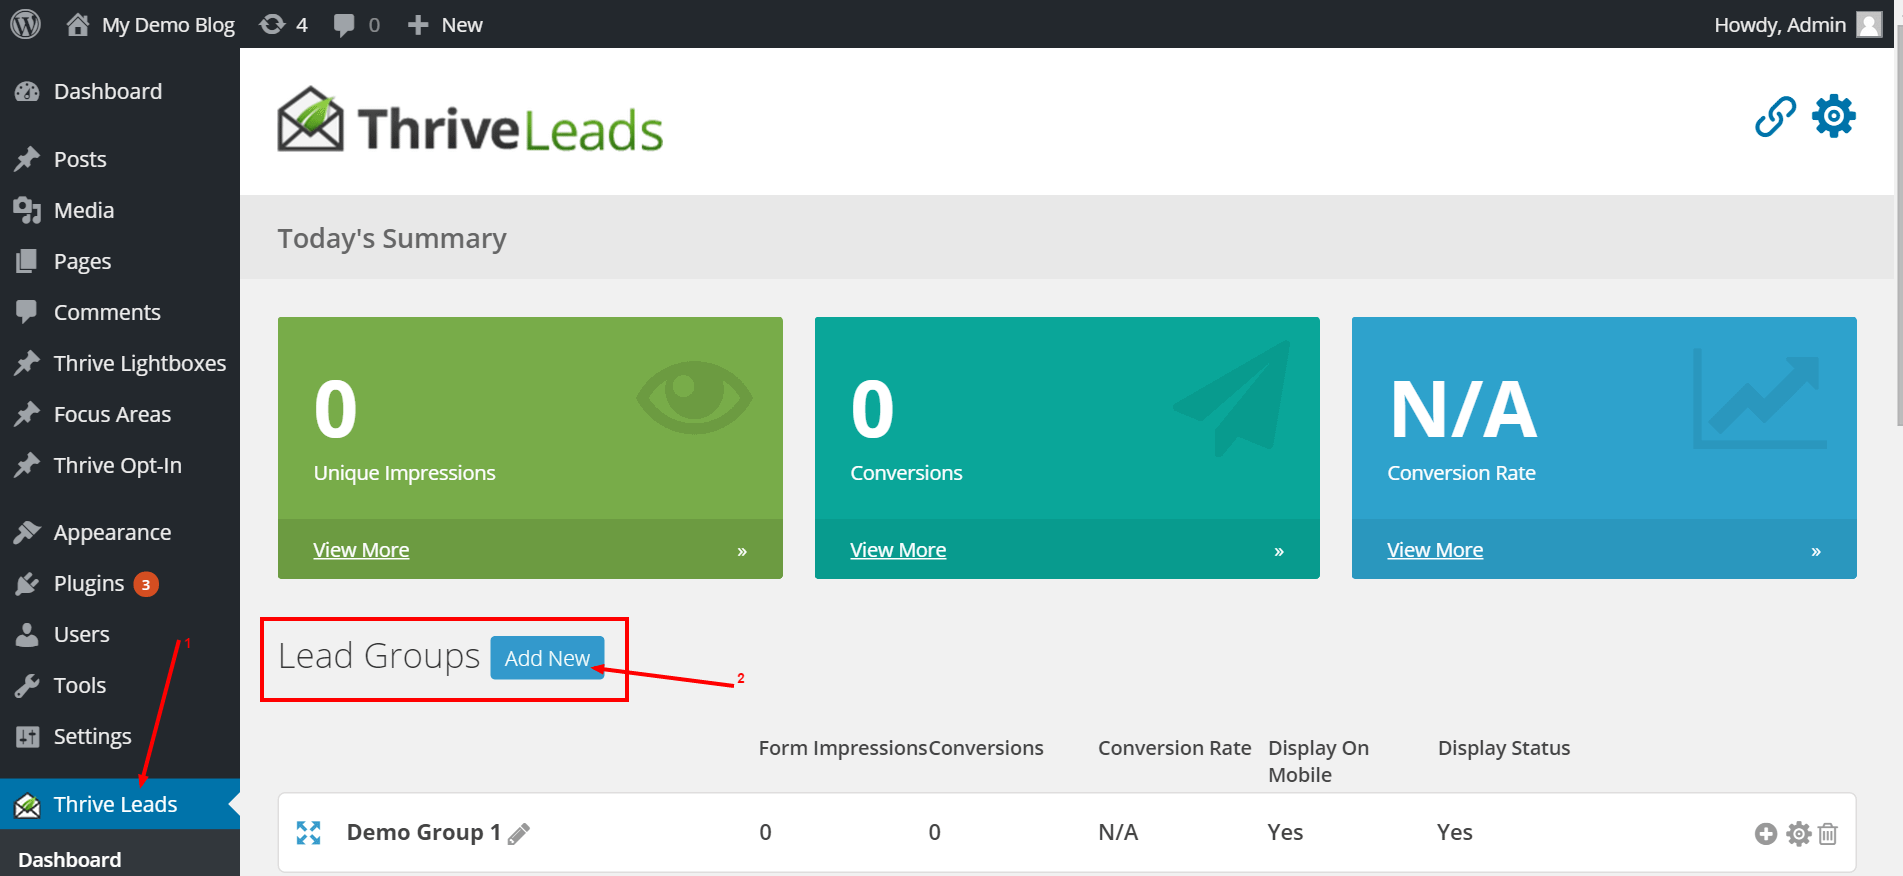
Go to your WordPress admin dashboard and from the sidebar, go to the main Thrive Leads screen. From here, click on the "Add New" button next to "Lead Groups":
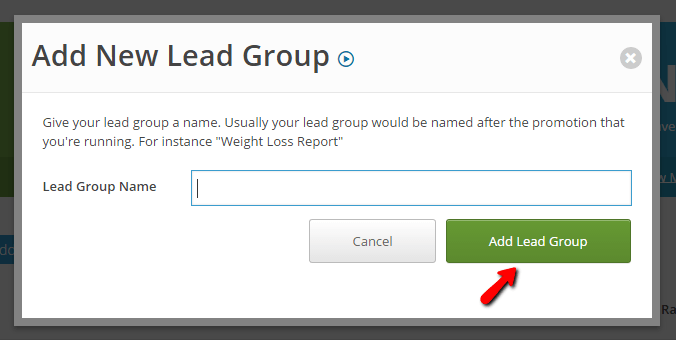
Choose a name for the new Lead Group:
You can name the Lead Group after the offer you're promoting or the people you want to target with this offer. But don't worry if a name doesn't come to mind. You can call it whatever you want, since this label is for your own reference only:
Lead Group Options:
You'll now see the Lead Group you've created in the Thrive Leads main dashboard.
To continue, click on "Add New Type of Opt-in Form":

Now simply select the type of opt-in form you want to create.

Creating an Opt-In Form
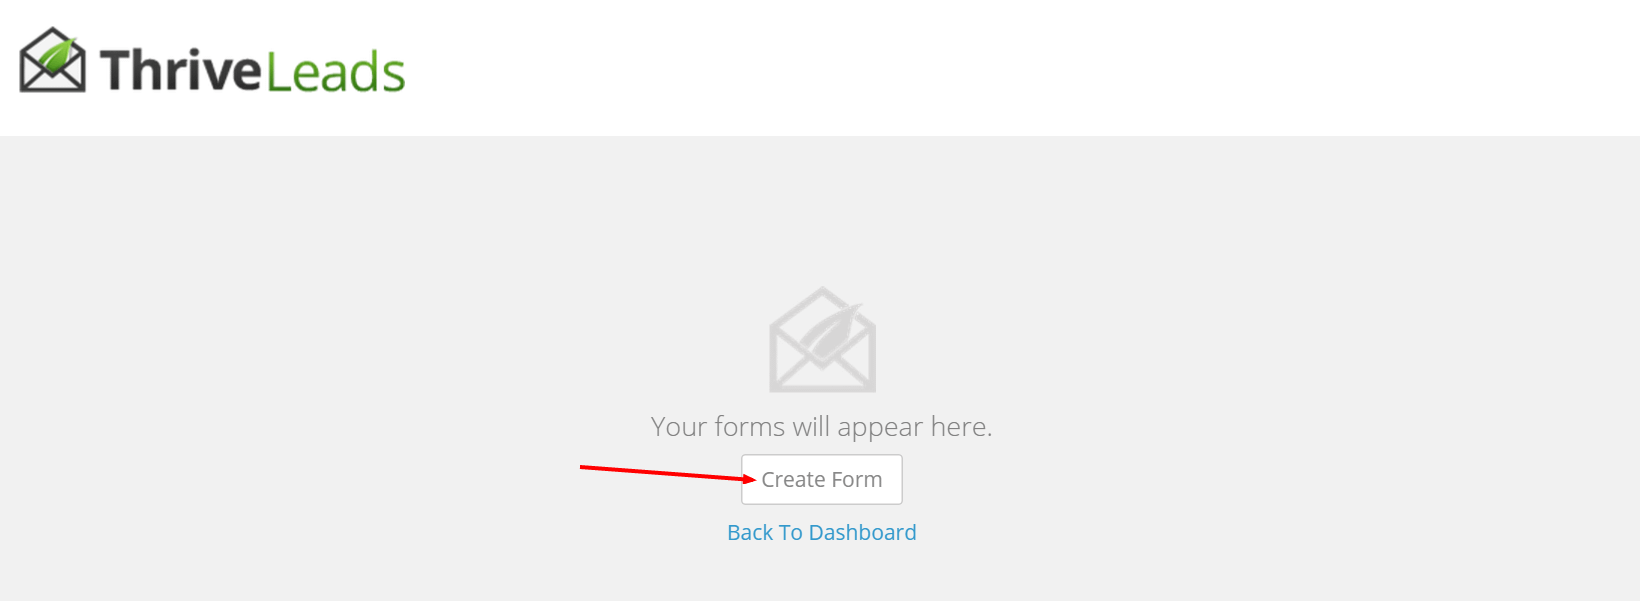
Now it's time to create the form. Click on the "+ Add" sign to create the form type you want.

Next you'll have to create a new form.
Choose a name for your new form. This name will help you recognize the different forms you'll create once you start testing different forms. Again, at this stage you don't have to overthink it and the name is for your own reference only, so you can call it anything you want.
Ninja side note: One of the advanced (and extremely powerful) features of Thrive Leads is the A/B testing option. With just a few clicks, you can create variations of your opt-in forms and change the design, the headline, the images, the offer or anything else you can think of.
To create the same type of opt-in form, in the same space on your site, but with different design, you'll have to add multiple forms on this "Forms Dashboard".

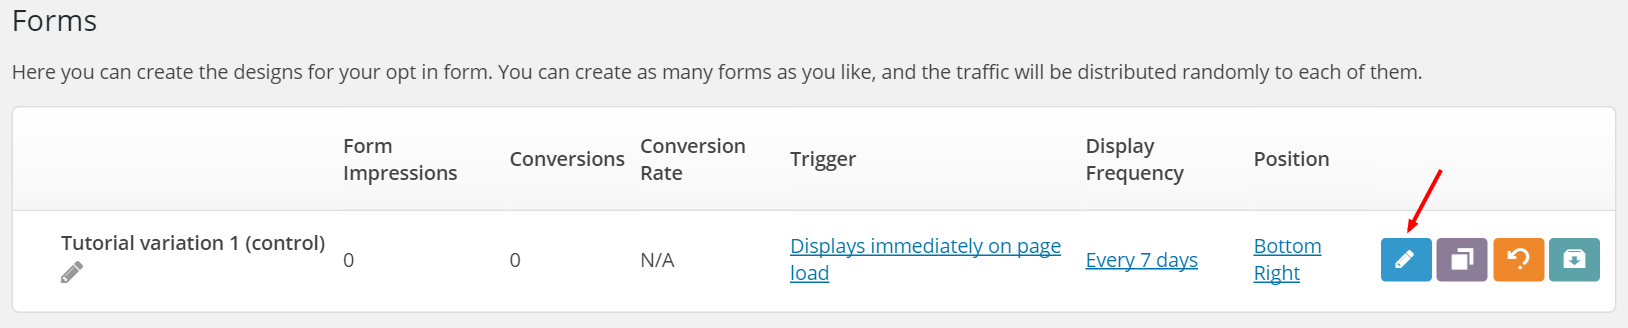
The form will show up in the "Forms dashboard".
Designing the Appearance of Your Opt-In Form
Next, let's make this new form look pretty. Click on the pencil icon to start personalizing the design:
From here you'll see the templates that are available for the opt-in form type you've chosen.
You can use these designs (and have your opt-in form ready in minutes) or you can personalize every aspect of the form.
Need help with that ?
Watch this tutorial video to see how the design your opt-in form with Thrive Leads.
Now that you created your first beautiful opt-in form, let's go to the second question !
Question 2: When Do You Want this Form to Show Up ?
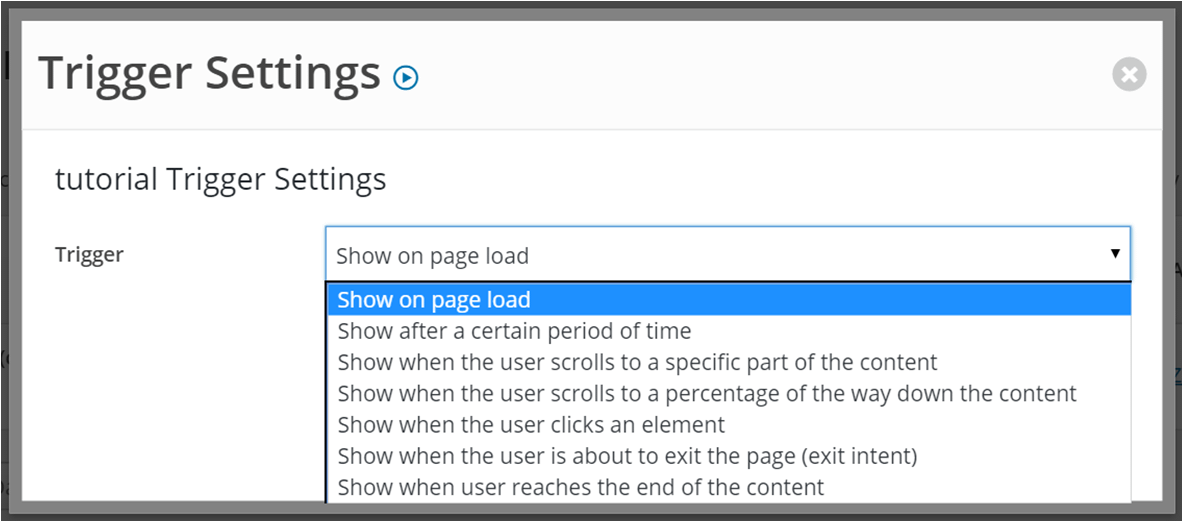
To decide when you want to show the form, you'll have to chose a trigger:
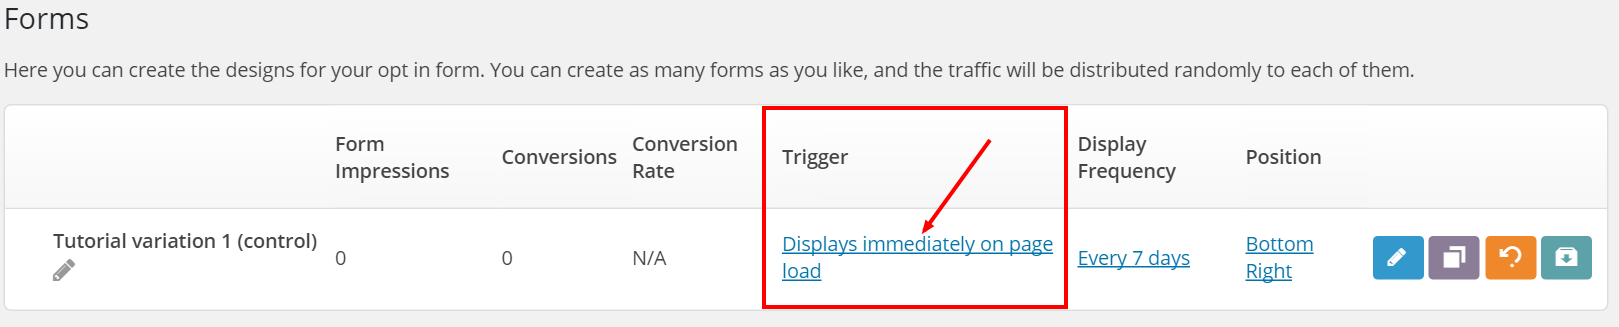
The triggers you'll see will depend on the type of opt-in form you chose.
In general, you can either trigger a form based on an amount of time expired or on a visitor action such as scrolling down the page. For every trigger type you choose, there are options that let you define exactly when and how your form should appear.
Need more details on the different trigger options ?
Check out the tutorial video below.
Up to question number 3 !
Question 3: Where Do You Want the Form to Show Up ?
At this point, you have a beautifully designed opt-in form and it shows up exactly when you want it to. The next step is to decide where the form should appear on your site.
In Thrive Leads you have many options!
For example, you can choose to show a form on all of your blog posts, on specific pages or even on blog posts that have a specific category or tag. In other words, you have a lot of control over the targeting of your opt-in forms.
Let's dive into these options:
To decide where you want to show the opt-in form, you go back to the main menu because this option has to be decided on Lead Group level.
Click on the gear to open the display settings:

Ninja side note: This also means that if you want to create a new opt-in form type in the same place you'll have to include it in the same Lead Group (but don't you worry about that right now 😉 ).
This will open all display settings that will apply on every opt-in form in that lead group.
You can watch the video tutorial below to get more detailed information.
Almost done ! Just one last question...
Question 4: What Email Marketing Service Are You Using ?
Now that you've designed your opt-in form and you've chosen when and where to show the form, the last thing to do is to connect it to your email marketing system.
As you're getting used to by now, Thrive Leads comes with many options built in. Click on the logo of the service you use below, to see a step-by-step tutorial:


Campaign Monitor


Is your system not listed? In that case, you can use the HTML form integration method instead. Click here to see how it's done.
Let's switch those display buttons to "YES"!
You have a beautifully designed opt-in form that arrives at exactly the right timeand in the right spots and you connected your email marketing service so it's time to switch on the display settings and get those leads:

With that, your setup is done!
Now sit back, relax and get new leads !
Did you create an opt-in widget? Than you have one more thing to do.
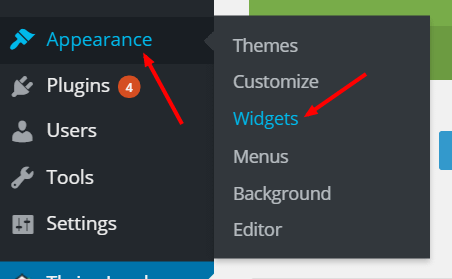
Go to the WordPress menu and click on "Appearance" and than on "Widgets"
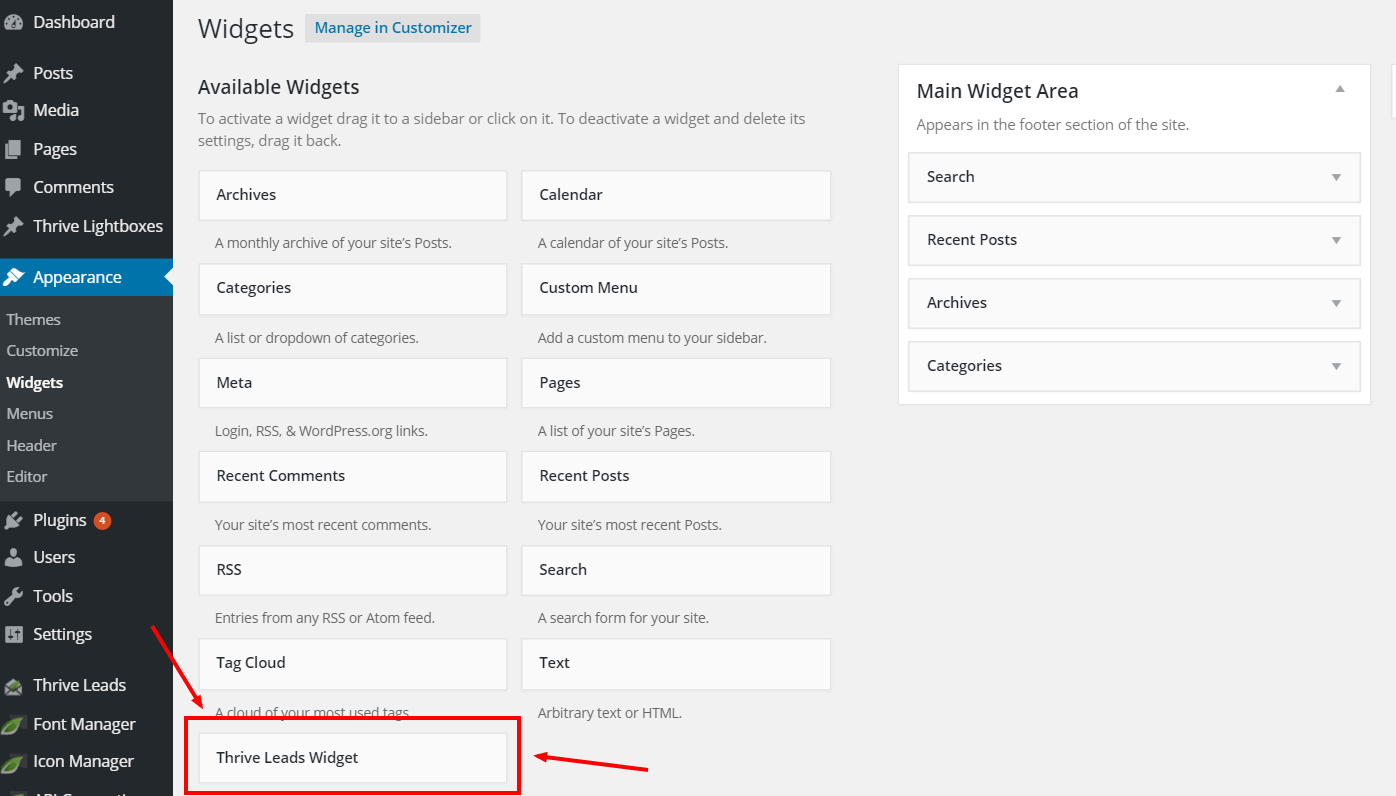
Grab the "Thrive Leads Widget" and drag it to where you want the widget to show up (sidebar, footer area, ...)
Select de leadgroup you've created and click save.
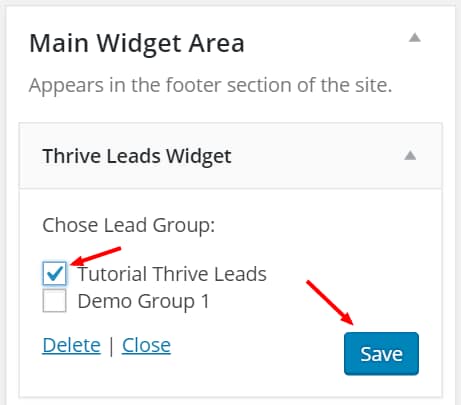
Here you are! Your opt-in widget is now live on your website!
Creating a Short Code for Your Opt-In Form
This is a type of opt-in form that you can (and have to) add to your content manually.
For example, this should not be used to put an opt-in form at the end of each blog post - that's what the Post Footer opt-in form type in the Lead Groups is for. Short codes are also not needed if you want to show your opt-in form in a widget area - we have a separate widget style opt-in form in the Lead Groups, for that.
The only reason to use this shortcode is if you want to add an opt-in form to a specific article, page or landing page on your website.
Watch the tutorial below to learn how to create a shortcode for your opt-in form:
So now that you know exactly how to create and use the shortcode the only thing to do is connect the form to your favorite email marketing service !
Click on the logo of your email marketing service to get detailed video instructions.


Is your system not listed? In that case, you can use the HTML form integration method instead. Click here to see how it's done.
Now include your shortcode in the article of your choice or use the Thrive Leads Forms element in Thrive Architect and sit back, relax and get new leads !
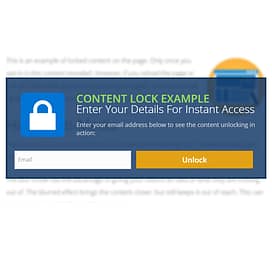
Creating a Content Locking Opt-In Form
Let's go for it !
The content lock is a special type of opt-in and for it to work, you must use an email marketing service that you can connect to through our API integration.
So, let's get started with that integration setup right away. Click on the logo of your email marketing service to get detailed video instructions:
Now you're ready to create your content locker opt-in form. The content locker opt-in form is basically a special type of short code you'll put in your content.
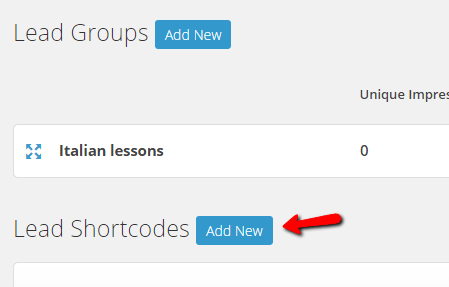
To create the shortcode, click on the "add new" button behind the Leads shortcodes in the Thrive Leads dashboard.
You can watch the video for complete instructions.

Now include your shortcode in the article of your choice and sit back, relax and get new leads !
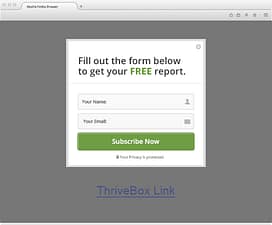
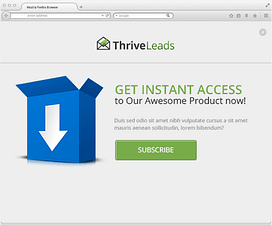
Creating a "ThriveBox" Style Opt-In Form
A ThriveBox opt-in form is a "hidden" opt-in form that only pops up when your visitors click on an image or a text link. It's also called a 2-steps opt-in form.
To make a ThriveBox, go to "ThriveBoxes" in the Thrive Leads dashboard and click on "add new"

For detailed, step-by-step instructions, watch the video below.
Now use the shortcode anywhere you want a Thrivebox or if you're using Thrive Architect on your website, you can use the Actions and Animations menu to trigger a Thrivebox.