Trying to figure out how to seamlessly add a social media feed to your WordPress website?
Look no further, this tutorial can help.
Embedding a lively social media feed is a great way to engage with your website visitors and turn them into active followers or subscribers.
And you don’t have to be a technical expert to get this done.
We’ve created a simple, easy-to-follow guide that will walk you through the process of integrating a social media feed into your website, step by step.
Ready to get started? Let’s boost your site’s engagement together.
Why Should You Embed Social Media Feeds on Your Website?
If social media is a key part of your marketing strategy and you have an active Facebook feed, Twitter feed, etc. you should definitely weave it in with your website.
Social media is a great hub for leveraging user-generated content (UGC) and social proof (e.g. testimonials), to get more people to learn about your brand and even become customers. Whether it’s LinkedIn, Twitter (X), or Facebook, these platforms can play a big part in generating conversions for your business.
Adding a social media feed to your page is a smart way to:
1. Keep Your Content Fresh: Social media is all about the here and now. By streaming your latest posts directly onto your site, your content stays fresh and dynamic without the need for constant manual updates.
2. Boost Engagement: When website visitors see your active Instagram, TikTok, Twitter or LinkedIn feed, they're more likely to interact with your content both on your site and on your social media channels. It's a two-way street that encourages more likes, follows, and shares, turning casual browsers into part of your community.
3. Showcase Your Personality: Your social media feed is a window into your brand's personality, showing off your voice, style, and what matters to you. Whether it's the behind-the-scenes peeks, engaging hashtags, fun playlists, customer shoutouts, buzzing TikTok videos, or just fun moments, the content you curate helps visitors get to know the real you.
4. Increase Time Spent on Site: A lively feed from your social media networks can captivate visitors, enticing them to stick around longer as they scroll through your latest posts, tweets, or watch your latest YouTube videos. The longer they stay, the deeper their connection with your brand becomes.
5. Enhance Your Site’s SEO: More engagement and longer visit durations are great news for your social media marketing — and your site’s search engine rankings. Search engines love websites that offer fresh content and keep visitors engaged, and a vibrant social media wall can help with that.
6. Simplify Content Sharing: Integrating your social media feed with your webpages makes it a breeze for visitors to share your content. This amplifies your reach, boosts brand awareness, and adds to your credibility when others spread the word about your business.
The Easiest Way to Embed Social Media Posts on Your Landing Pages: Smash Balloon
The trickiest part of adding a social media feed to your website is finding the right way to do so. For non-techie WordPress users, your options are few.
Unless you have time to learn how to embed code (HTML, CSS, etc.) or go through 100s of social media feed plugins to find the right one to get the job done.
But, lucky for you – you don’t have to do either. Because we have the best recommendation for you: Smash Balloon.
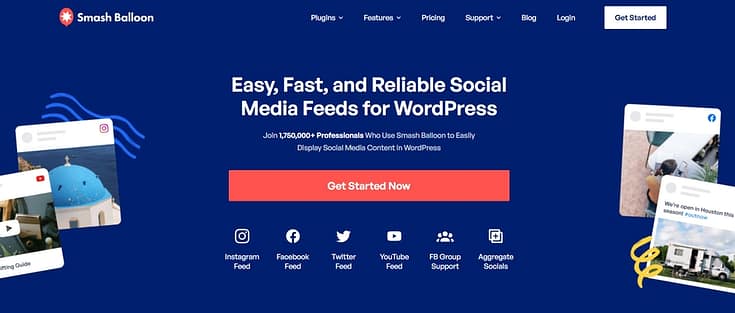
Smash Balloon is a premium WordPress plugin bundle that makes it super easy for you to add social media posts (or a feed) to your homepage or other landing pages.
This powerful plugin doesn't just bring visual appeal; it transforms your site into a dynamic showcase of your brand's active social engagement in real-time. With Smash Balloon, you can easily boost engagement on your site and drive traffic to your social media accounts in a few clicks.
The best part? Smash Balloon has individual plugins for various social media platforms – TikTok, Facebook, Instagram posts, and more. You can even create a Reviews feed and show off your 5-star Yelp or Google Reviews.
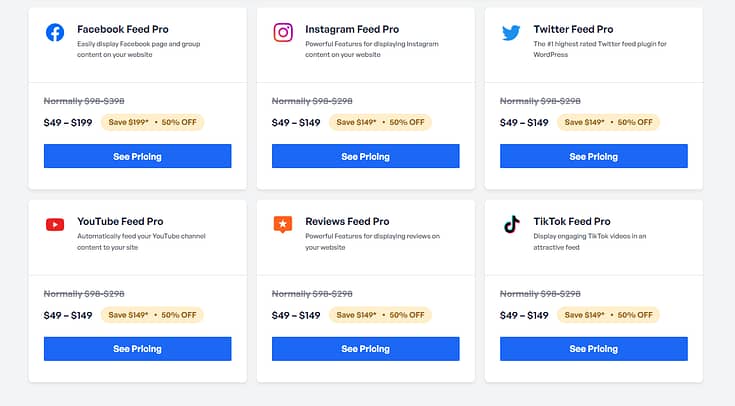
Each feed option is designed to blend seamlessly with your site’s aesthetic, offering customization options to make your social media content shine in its best light, right on your landing pages. You get to choose the feed that best matches your strategy, or mix and match to create a vibrant wall of social interactions.
And you can do this easily on your WordPress website, no need to use alternative website builders like Wix, Weebly, Squarespace, or Shopify — or a third-party social media aggregator.
Adding a feed is so easy, we’re about to show you how.
How to Add an Instagram Feed a Landing Page
We’ve chosen to show you how to add an Instagram feed to your WordPress website, but the setup for the other platforms (TikTok, Facebook, etc.) follow a very similar process.
Smash Balloon also offers step-by-step instructions in each plugin, so you can set up a TikTok feed, YouTube feed, or feed of Facebook posts easily.
1. Download and Install the Smash Balloon Instagram Feed Plugin
Let’s say you’re an online boutique, eCommerce store, or lifestyle coach who needs their Instagram content on their homepage as well, to drive traffic to that page as well.
Your first step would be to download and install Smash Balloon’s Instagram Feed plugin. You can purchase this plugin individually, or as a part of the All Access Bundle where you get access to all feed types – TikTok, Facebook, Google Reviews, and more.
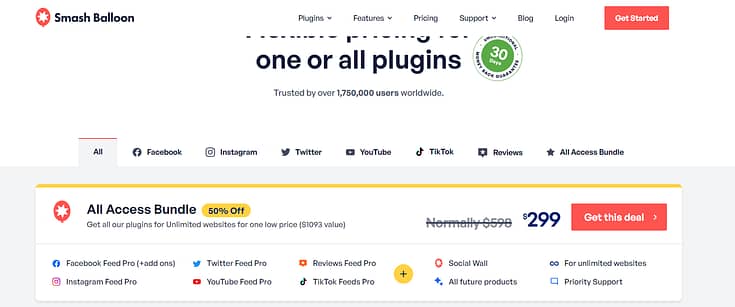
Purchase the Instagram Feed Pro plugin, set up your account, and keep your license key close by.
2. Set Up Your Social Feed Plugin in WordPress
Next, install your new plugin and open it in your WordPress dashboard. You’ll find the plugin in the left sidebar.
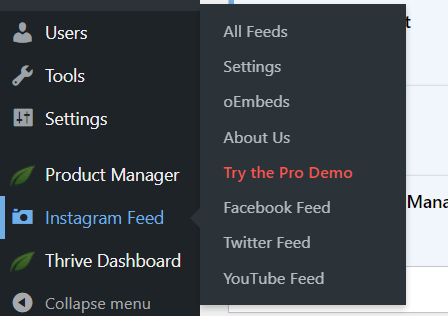
Select the “Settings” option and complete the following steps:
Add your license key to activate your subscription.
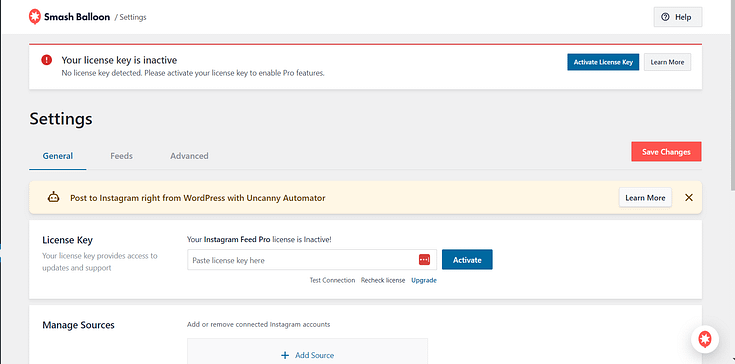
In the “Manage Sources” tab, click “Add Account” to connect your Instagram account to your website.

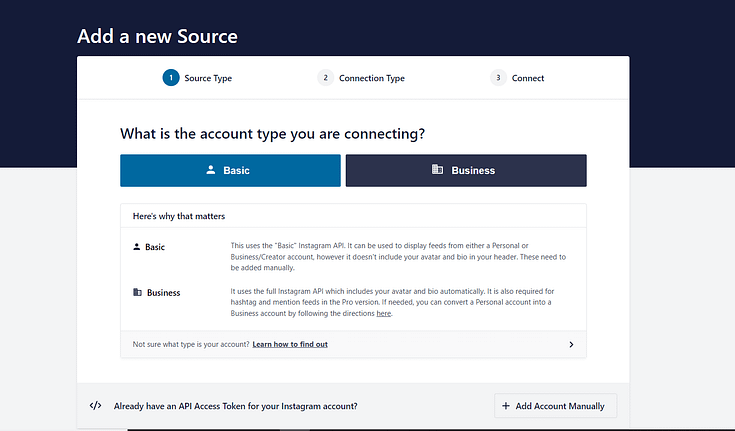
Next, select the type of account you want to connect – Basic or Business. A “Basic” account displays feeds from Personal or Creator/Business Instagram accounts. This determines the type of Instagram API you get access to — which isn’t super important if all you want to do is show posts and carousel content from Instagram.
A “Business” account requires you to connect to a Facebook page, first.
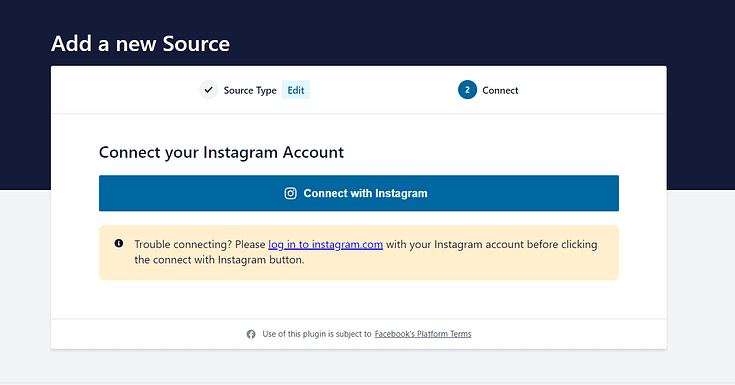
Click the “Connect to Instagram” button and follow the prompts to connect your account. Once done, you’ll be redirected to the plugin’s Settings dashboard.
You can choose to enable the “Preserve Settings” option. This retains all your settings, even if you uninstall the plugin.

3. Create Your First Feed
Creating your first social media feed is a straightforward process.
First, click “All Feeds” in the left sidebar in the WordPress dashboard.
Next, click the “Add New” button.
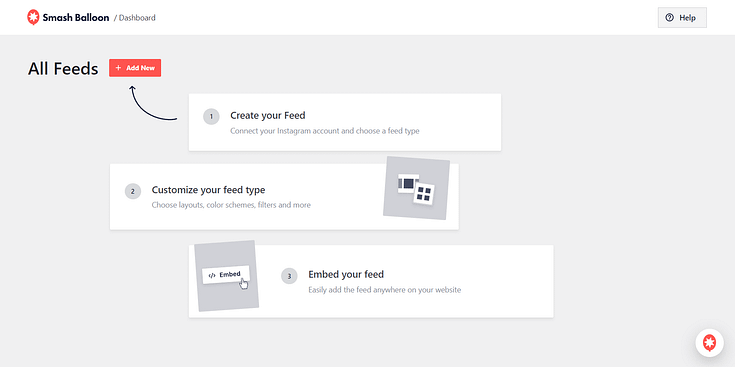
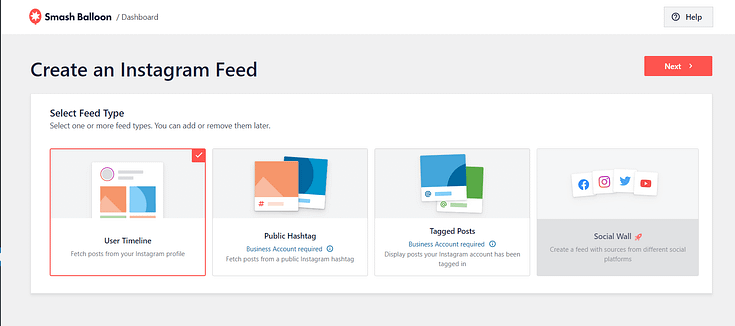
In the next screen to pop up, select your Instagram Feed type – Timeline is the only option available for “Basic” accounts.
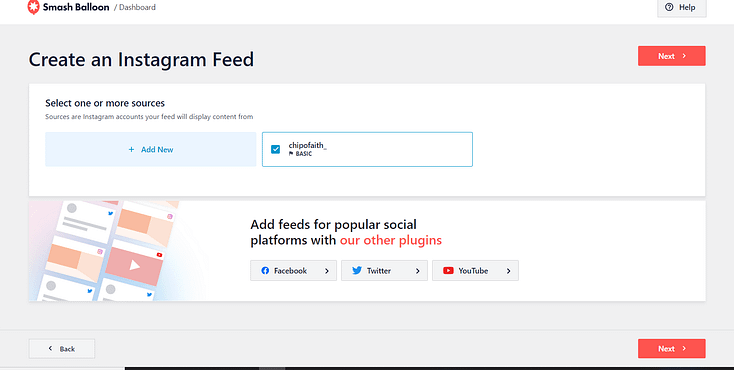
Select the Instagram account you want to display.
Choose a design template for your feed widget and save your changes.
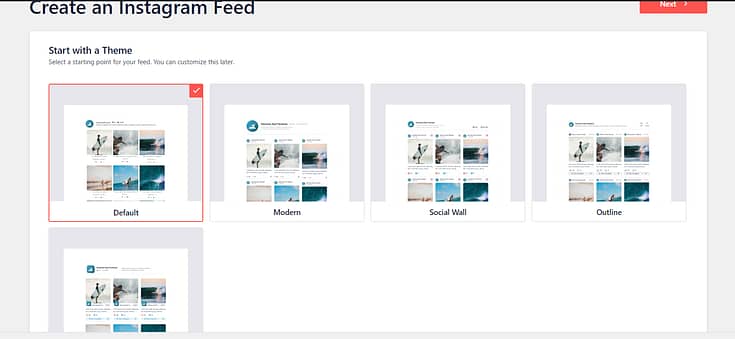
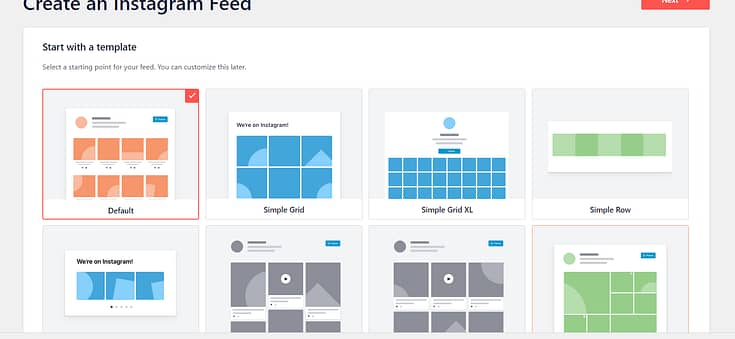
And there you go! You’ve configured your Instagram feed. Now to add it to your landing page…
4. Add Your Feed to Your Page
There are four ways to add your new Instagram feed to your homepage or other landing pages:

Shortcode
Copy the provided shortcode and paste it into the content area of any post, page, or widget where you want the feed to appear.
WordPress Block Editor
If you're using the WordPress Block editor (Gutenberg), look for the specific Smash Balloon block, add it to your page or post, and select the feed you want to display.
Widget
Go to Appearance > Widgets in your WordPress dashboard, add the Smash Balloon social media widget to your sidebar, footer, or any area that allows widgets
Thrive Architect
If you have an active Thrive Architect subscription you can add it in a much easier and faster way.
Open your page in the Thrive Architect editor and look for the “Smash Balloon” design element in the right sidebar. Drag and drop it to the desired space on your page.
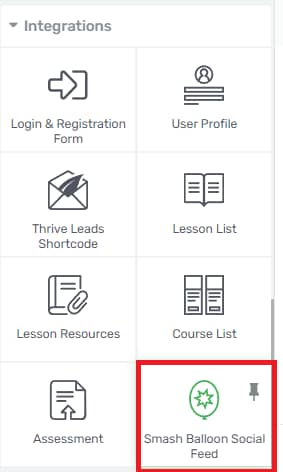
In the sidebar on the left, select the type of feed you want to add and the account. Your feed will automatically appear on your page.
Next Steps: Drive Traffic to Your New and Improved Page
Once you’ve saved your new page and previewed your new social media feed, it’s time to get it in front of the right eyes.
As you share your landing page on social media, through email, and even via SEO, you need to make sure you’re targeting the right people (i.e. your ideal customer based on your buyer personas).
Here are 4 free resources to help you drive the right traffic to your website:
Ready to Add a Social Media Feed to Your WordPress Site?
And there you go!
With this tutorial, you can easily set up your next feed and show off your new content from your social media profiles in no time.
Smash Balloon makes it super simple to get started and display posts, testimonials, videos, etc. from your social platforms with minimal hassle — allowing you to focus on the rest of your business.
You won’t regret using this plugin.


