

Creating the Shop, Cart, Checkout and My Account Pages
Let's safely assume that you've successfully installed WooCommerce before building the main pages of your online shop.
With the above in place, in quick this lesson, we'll be creating the "Shop," "Cart", "Checkout", and "My Account" pages. These pages may have been created for you when you installed WooCommerce. If that's the case, you can safely skip this lesson.
However, in the event that WooCommerce did not automatically create these pages for you, we'll quickly go through the process.
To create these pages simply:
- Click the "Pages" tab in WordPress
- Click "Add New"
- Give the page a title (e.g. "Shop")
- Click "Publish"
- Repeat steps 1 - 4 for the remaining 3 pages ("Cart", "Checkout" and "My Account")
Connecting Your Pages With WooCommerce
Next, you'll need to connect these pages to WooCommerce:
- Click "WooCommerce" on the WordPress left-hand side menu
- Click "Settings"
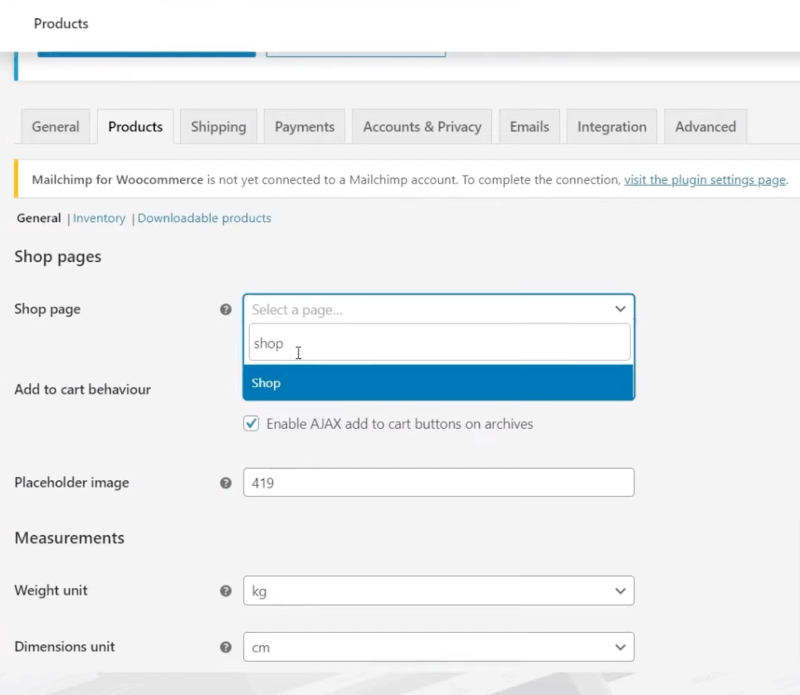
- Click the "Products" tab
- In order to configure the "Shop" page, you'll need to click in the dropdown menu and select or search for your page name (e.g. "Shop")
- Scroll down to the bottom of the page and click the "Save Changes" button

Connecting the newly created "Shop" page with WooCommerce in just a few simple steps.
Next, you'll need to:
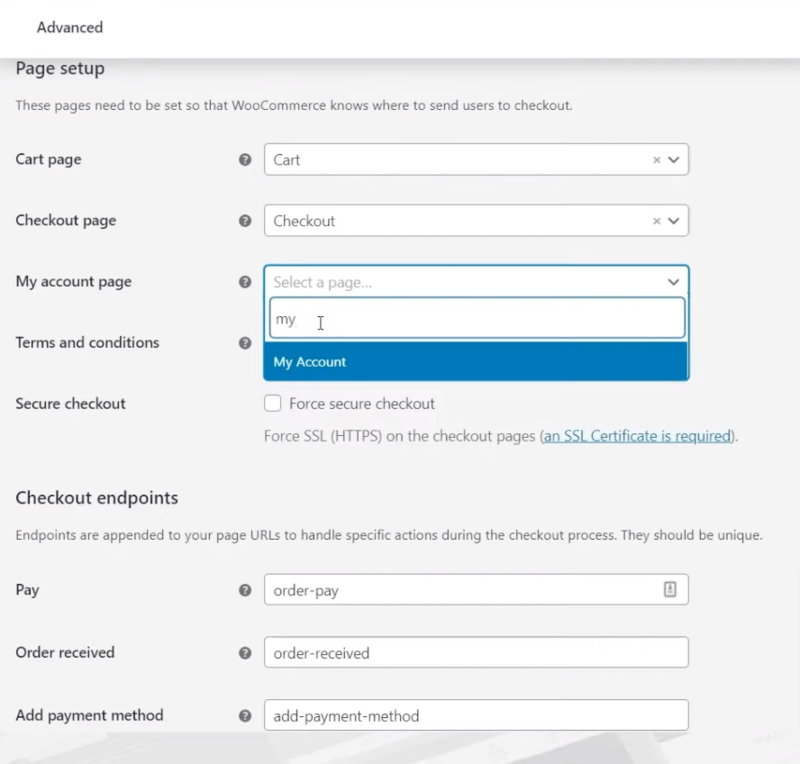
- Click the "Advanced" tab at the top of the page
- Click inside the "Cart page" dropdown menu, below the "Page Setup" section, and select or search for your page name (e.g. "Cart")
- Repeat these steps for your "Checkout" and "My Account" page respectively
- Scroll down to the bottom of the page and click "Save Changes"

Interlinking WooCommerce with the rest of your online shop pages is as effortless as it sounds.
Click "Next Lesson" to understand how Christine goes about choosing layouts in Thrive Theme Builder.
Clear and Precise instructions