Do you want to get the most out of your Thrive Themes tools and manage everything from one convenient place? The Thrive Dashboard provides a centralized hub where you can access, customize, and control all your Thrive plugins, making it easier to set up and optimize your website.
In this article, we’ll show you the different sections and options you see inside Thrive Dashboard.
- Accessing the Thrive Dashboard
- Your Installed Plugins Section
- Thrive Features Section
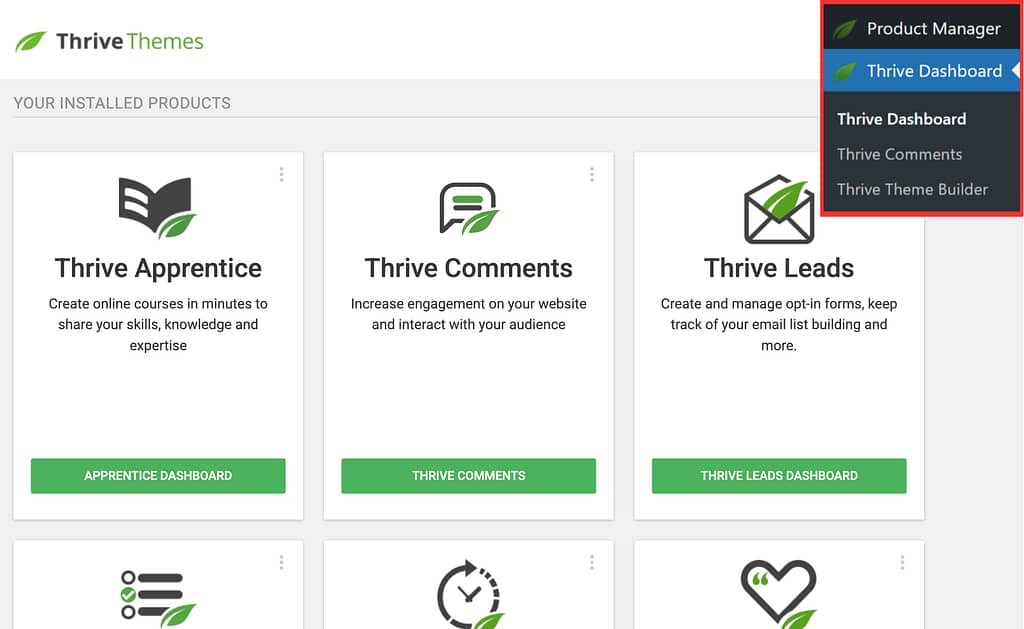
Accessing the Thrive Dashboard
To access the Thrive Dashboard, open your WordPress admin area, navigate to Thrive Dashboard >> Thrive Dashboard.
The Thrive Dashboard page contains two sections:
- Your Installed Products: List of installed Thrive plugins on your website.
- Thrive Features: Thrive Features that you can use with Thrive products.
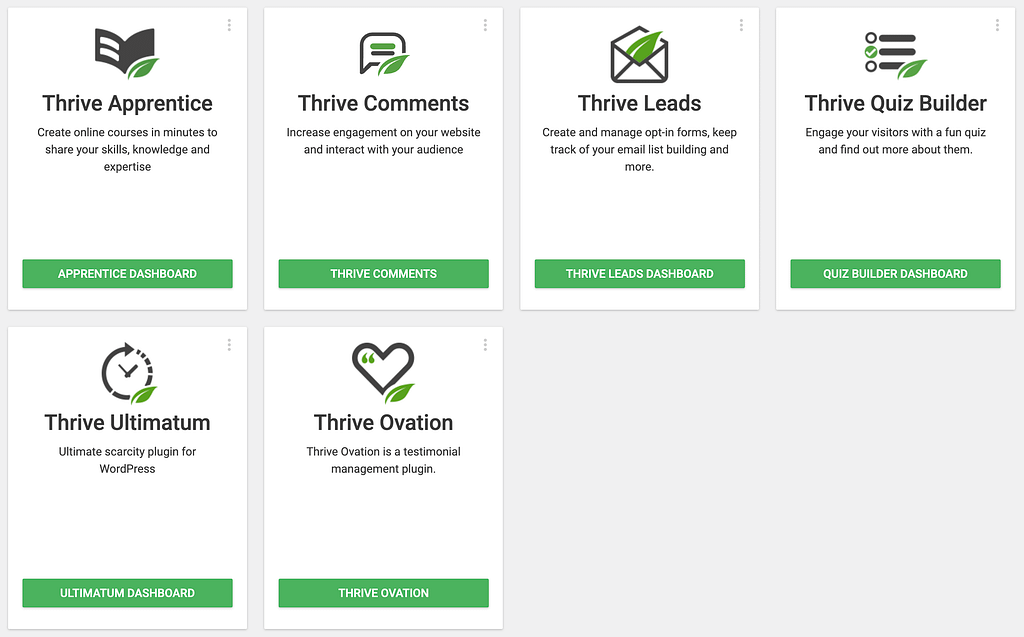
Your Installed Products Section
The Your Installed Products section shows you all the Thrive Suite products you have installed and activated on your website. Here, you can easily see which Thrive tools you are already using.
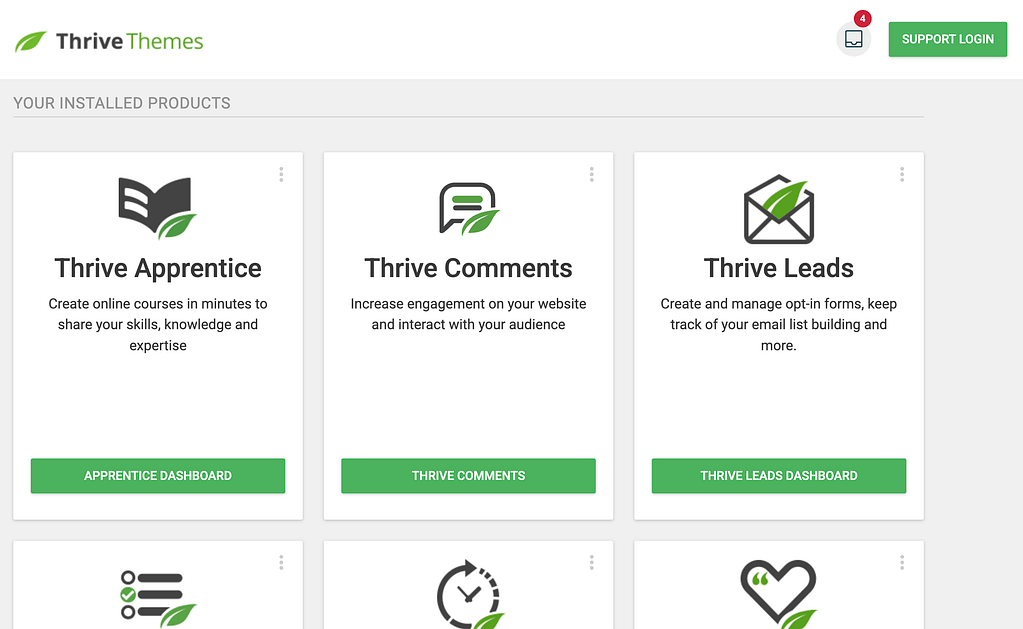
The Thrive Dashboard page lets you access each product dashboard by clicking the buttons on their respective blocks.
Thrive Features Section
The Thrive Features section is different. It contains cards for different features and tools that Thrive offers. Each card leads to a different settings page where you can customize parts of your site, like design options or special functions.
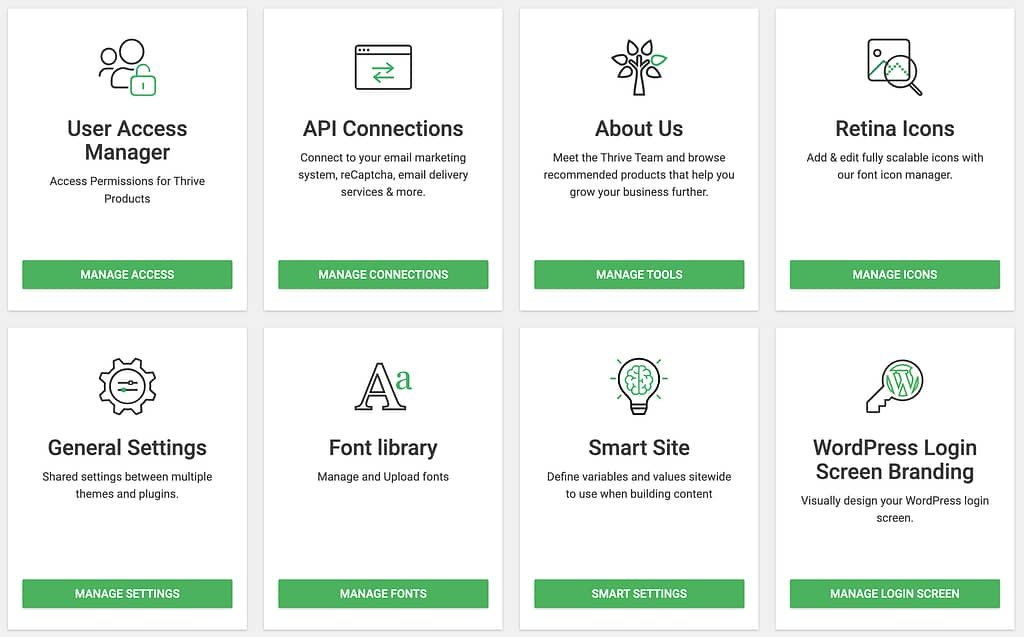
The Thrive Features section lets you manage the following:
- User Access Manager: Lets you control who can see or edit Thrive product settings on your website based on user roles. Read more here.
- API Connections: Allows you to connect Thrive products to third-party services, like your email marketing or payment platforms. Read more here.
- Retina Icons: Provides high-quality, sharp icons that look great on all screens, including Retina and HD displays. Read more here.
- General Settings: Main area for adjusting important Thrive Suite settings for your site. Read more here.
- Analytics & Scripts: A place to add tracking codes or custom scripts, like Google Analytics, to your website. Read more here.
- Smart Site: Helps you set global information (like your logo, contact info, or social links) that can be used across your whole site. Read more here.
- WordPress Login Screen Branding: Lets you customize the WordPress login screen to match your brand. Read more here.
- Coming Soon Mode: Shows a “Coming Soon” page to visitors while you work on your site in the background. Read more here.
- Project Lightspeed: A tool for optimizing your site’s speed and performance by improving how assets are loaded. Read more here.
- Global Elements: Lets you create reusable design elements that you can use and update across multiple pages at once. Read more here.
- Notification Manager: Helps you set up and manage notifications for different actions or events on your website. Read more here.
We’ve just seen how you can access the Thrive Dashboard page and the two sections in it. These two sections help you manage your Thrive Suite products and website features in one place.
Next, General Settings in Thrive Themes lets you manage the overall settings across the products. To know more, read our document here.