Are you looking for ways to overcome online business challenges such as how to attract an audience, how to convert visitors into buyers, or how to create a financially sustainable business?
Whether you're a coach selling infoproducts, a freelancer selling products or services, or if you run an online store, you may have run up against some of these challenges and more.
Fortunately, there are solutions. In this post, we'll help you navigate these obstacles so you can grow your customer base and your business.
More...
The #1 Challenge for Any Online Business: Attracting an Audience
The primary challenge new online business owners face — ecommerce, coaches, and freelancers alike — is attracting an audience. To gain traction, many entrepreneurs create YouTube videos, join platforms like TikTok, or invest in content marketing and paid ads.
Regardless of the platform, the key to attracting an audience is to differentiate your brand from competitors. This may involve offering better products, unique branding, flexible pricing, product bundles, or targeting different market segments.
To effectively differentiate your brand and attract your target audience, consider the following tips:
1. Identify your target audience: While garnering a large audience helps, it's better to target the right audience. Tailor your messaging and content to the specific interests and needs of your target audience. You can even incorporate this focus into your branding. Examples include "Coding for Kids," "TikTok for Lawyers," or "Knife Throwing for Beginners."
2. Try our premium course, Audience from Scratch: Learn how to grow a dedicated fan base without relying on paid ads or endless social media posts. This is a quick and effective way to see results.
3. Conduct competitor research: Analyze your competitors' weaknesses and identify any gaps in the market. What are customers complaining about? What opportunities are your competitors missing? If you're an ecommerce business, check out other retailers to discover — what are their best and worst selling products?
4. Discover your unique selling proposition: Determine the one special thing that you — and only you — can offer. This might be your creativity, expertise, or commitment to customer satisfaction.
Remember, overcoming business challenges requires perseverance, and creativity. Keep pushing forward to find out how you can differentiate your brand and skyrocket the growth of your business.
Online Business Challenge #2: Converting Visitors into Paying Customers
Another challenge online business owners face is converting visitors into buyers. While having an excellent product is essential, it's not enough for most entrepreneurs to succeed.
That's why it's crucial to build trust and credibility with your audience.
One of the most effective ways to gain the trust of potential customers is displaying ratings and reviews on your website. According to GlobeNewswire, studies show that 95% of consumers read online reviews before shopping, and 58% would pay more for products from a brand with good reviews.
Including these reviews on your home page, sales pages, and email opt-in pages can significantly impact conversion rates.
Here are three ways to build trust and credibility on your website:
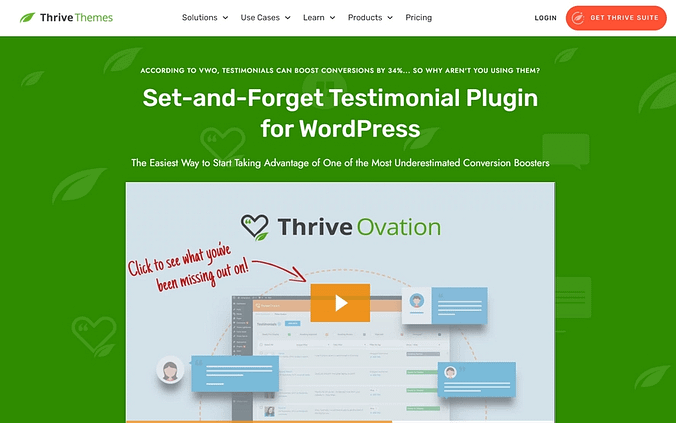
1. Showcase reviews, ratings, and testimonials of current customers: Use a tool like Thrive Ovation to place testimonial capture forms on your site and display them dynamically. This ensures that your testimonials stay fresh and relevant as new reviews come in.
2. Provide social proof with real-time notifications: Show visitors that others are purchasing your products by displaying real-time notifications when someone makes a purchase. TrustPulse is an excellent tool for this purpose.
3. Display social media feeds and user-generated content: A tool like SmashBalloon allows you to showcase Facebook, Twitter, and Instagram feeds on your website. You can also pull in reviews from other platforms such as Google or Yelp, demonstrating your brand's credibility.
If you're struggling to convert visitors into buyers, focus on implementing trust signals, especially ratings and reviews, to increase your chances of success.
Online Business Challenge #3: Creating a Financially Sustainable Business Model
Developing a financially sustainable business model is crucial for the success of any online business. This means having a plan to generate enough revenue to cover the costs of running your business and compensate for the time you invest in it. A strong digital marketing strategy is key in achieving this goal.
For an online business, a robust digital marketing strategy includes:
- Email marketing
- Marketing campaigns and funnels
- Content marketing
- SEO (Search Engine Optimization)
- Social media marketing
- Analytics
And, when you're ready, you can also explore paid advertising, affiliate marketing, and joint ventures.
To help you get started, we offer several free resources and a premium SEO course, SEO Sprint. This course is beginner-friendly and has helped many people boost their online businesses.
Online Business Challenge #4: Keeping Your Website Secure (Essential for Ecommerce!)
Maintaining the security of your website is a top priority for online business owners — especially those running an e-commerce business.
A secure website helps protect your business and customer data, while also enhancing your reputation and trustworthiness.
To ensure your website remains safe from hackers and other threats, adopt these effective cybersecurity measures:
1. Keep your website updated: Regularly update your software, plugins, and themes to ensure any known vulnerabilities are patched. This includes WordPress, your theme, and any third-party plugins you have installed. If you have a subdomain for your e-commerce store that is separate from your main website, be sure to update that one, too.
2. Use a security tool: Tools like Securi or Wordfence monitor your website for potential threats and offer protection against malware, DDoS attacks, and other security breaches. They can also alert you to suspicious activities.
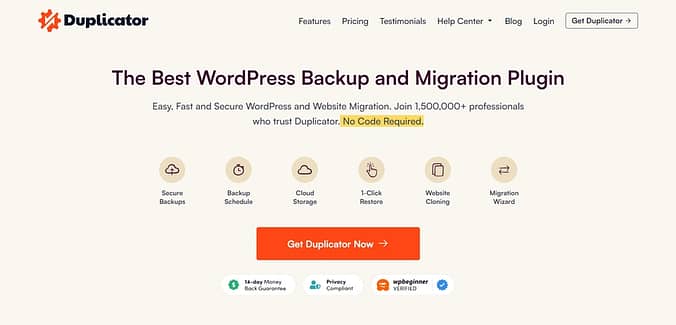
3. Back up your website: Use a tool like Duplicator to create automatic backups of your site, protecting you from data loss in case of security breaches.
4. Use strong passwords and usernames: Avoid using easily guessable usernames like "admin." Instead, create unique and robust usernames and passwords to prevent unauthorized access to your site.
5. Secure data transmissions with SSL encryption: SSL (Secure Sockets Layer) is a protocol that ensures safe data transmission between your website's server and your visitors' web browsers. This type of data security protects sensitive information such as login credentials and payment details from being intercepted by hackers. Additionally, an SSL certificate can improve your website's search engine rankings, as search engines consider it a mark of trustworthiness.
Keeping your website secure requires ongoing effort and regular maintenance. However, by implementing these cybersecurity tips, you can significantly reduce the risk of your website being hacked.
Note: If you're looking for more WordPress security plugins, check out this awesome review!
Online Business Challenge 5: Streamlining Inefficient Processes
One challenge that many business owners face, sometimes without even realizing it, is having inefficient processes that consume a lot of time or are too difficult to maintain. This can apply to various aspects of your business, such as running a YouTube channel, podcasting, blogging, creating courses, or for the e-commerce industry, dealing with the supply chain or helping shoppers find the right product.
To improve efficiency and ensure the sustainability of your business, it's essential to streamline your processes. Here are some tips on how to do that:
1. Batch your work: Group similar tasks together and tackle them in one go to improve efficiency and minimize distractions. Batching is especially helpful for tasks that require significant setup time, such as recording videos or podcast episodes.
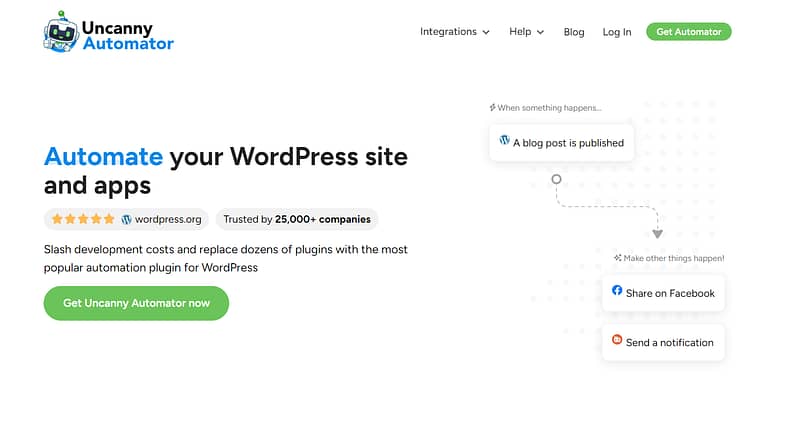
2. Automate repetitive tasks: Use automation tools for tasks like email marketing and social media posting. For tasks that involve transferring data or triggering actions on your website, consider using tools like Uncanny Automator, or Zapier to save time and reduce manual effort.
3. Utilize analytics: When making decisions about your business, consult data to inform your choices. Tools like Google Analytics and MonsterInsights can help you understand your audience demographics and interests, allowing you to create more targeted content. Meanwhile, tools like Moz can help you find keywords to improve your site's search rankings.
4. Delegate tasks: Consider outsourcing or delegating tasks that consume a large portion of your time to free yourself to focus on what you do best. For example, if editing a podcast or YouTube video takes up too much of your time, consider hiring an editor.
By addressing inefficiencies in your business processes, you'll not only get more done and grow your business faster, but also reduce stress and increase your overall satisfaction as an entrepreneur.
Online Business Challenge #6. Valuing Repeat Customers
A common ecommerce challenge faced by businesses, particularly new ones, is not recognizing the importance of repeat customers. These are not just customers who make multiple purchases but also those who regularly consume your content, engage with your brand, and go through your marketing funnels multiple times.
Repeat customers often account for a significant portion of a business's revenue or its content consumption. According to Zippia's article on customer retention statistics, on average, about 65% of a company's revenue comes from existing customers, and the average customer retention rate is around 75%.
However, 72% of customers say they will switch to a competitor after just one bad experience.
To retain customers and ensure their loyalty, it's crucial to deliver an exceptional customer experience. Here are four tips for doing that:
1. Respond promptly and politely to questions: Ensure that you're accessible and attentive to customer inquiries. Quick, polite, and helpful responses make a significant difference in customer satisfaction and can encourage repeat business.
2. Listen to your customers: Value customer feedback and use it to improve your products, services, or content. By showing that you genuinely care about their opinions, you demonstrate that their satisfaction is a priority.
3. Reward your existing customers: Offer special deals, discounts, or exclusive content to your loyal customers to show your appreciation for their continued support (here's how you can set up discounts in WordPress). This not only encourages them to keep coming back but also strengthens their connection to your brand.
4. Express gratitude: A simple "thank you" can go a long way. Regularly express your appreciation for your customers' loyalty, engagement, and support. This helps build a positive relationship and creates a sense of community around your brand.
Start by cultivating a culture of great service and valuing your customers, even if you only have a small following. By treating them well and truly valuing their engagement, you'll create a reputation for exceptional customer service that will help your business grow.
Online Business Challenge #7: Avoiding Stagnation
A common challenge that business owners face is stagnation. This can manifest as fewer people purchasing your courses, or consuming your content. It may also mean customers are gravitating toward your competition.
In today's fast-paced world, it's all too easy for a business to become stagnant quickly. While it's normal for businesses to experience fluctuations, it's essential to make adaptation and innovation part of your company culture.
Here are a few tips for keeping your business fresh and relevant:
1. Stay informed about industry trends and new technology: Being knowledgeable about market developments allows you to make informed decisions and adjust your strategy as needed. For example, if you're in the WordPress website industry, a resource like WP Beginner can help you stay on top of trends.
2. Monitor your competition: Pay attention to your competitors' marketing strategies, offerings, and successes and failures. This can help you make better decisions for your own business. If a competitor tries something new and it doesn't work out well for them, that information is valuable.
3. Encourage collaboration within your team: Embrace the diverse backgrounds and interests of your team members. This diversity can drive innovative ideas and solutions. By fostering a collaborative environment, you can tap into your team's collective knowledge and creativity to adapt to changes in the market.
By implementing these strategies, you can help your business stay relevant and continue to grow, even as the market evolves.
Final Thoughts on Overcoming Challenges in Online Business
In this article we've covered how to tackle the most common online business challenges. As you move forward with your online venture, remember that every business faces obstacles. The key to success is learning from these challenges and adapting accordingly. Continuously evaluate and refine your strategies, and never stop seeking ways to improve.
Want to learn more? Check out our accompanying video:
Next, Tackle Those Online Business Challenges with a Strategic Plan
Now that you're armed with the strategies to overcome online business challenges, it's time to put your knowledge into action. Try these helpful tips:
1. Prioritize and plan: We've covered a lot in this article, so take action by identifying the areas where your business needs improvement, and prioritize them based on their potential impact.
2. Invest in your education: Continue learning about online business best practices, industry trends, and new tools that can help you stay ahead of the curve. Be sure to check out Thrive University, a library of free courses on topics ranging from setting up an ecommerce store to starting an email list.
3. Network with like-minded individuals: Connect with other online entrepreneurs who share similar challenges and interests. Join the Thrive Themes Official Facebook group to engage in conversations, exchange ideas, and learn from others.
Throughout this article we've mentioned tools such as Thrive Ovation for building and optimizing your website. While these tools can be purchased as standalone plugins, the most cost-effective approach is to invest in Thrive Suite. This comprehensive package offers access to the complete array of Thrive tools, ensuring maximum value and a versatile toolkit for all your marketing needs.
Now there's just one thing left to do:


