Looking for the perfect online course design template to help you create your courses?
We've got you covered!
We're going to introduce you to some of the best course templates and show you exactly how to turn them into an on-brand, high-quality learning experience for your students.
More...
Why Should You Work With an Online Course Design Template?
Creating an online course is a difficult challenge.
It's not just about providing great information, it's about providing a complete learning experience and that means there are lots of moving parts. You've got to think about the design for your course overview, the individual lessons, the student area, and much more.
Now, if you're a web design expert, that's probably not too intimidating, but for the rest of us, it is!
You might have a good picture of what you want your course to look like (and many people won't even have that), but bringing it to life is a different question.
This is where an online course design template comes in.

Essentially, it means a design expert has done a ton of the work for you, and then you take over to put the finishing touches to it. You can use a quick setup wizard to add your branding and then personalize everything using the visual editor.
It's going to save you a huge amount of time, but it's also going to give you better results.
- Visualize and customize your student experience
- Save hours of fiddly design time
- Select pre-designed pages for different types of lessons to appeal to a variety of learning styles
- Organize, edit and reorganize your content quickly
- Make more courses without compromising quality
What’s more, your online course design templates can be used again and again. You’ll be able to save your design template and make adjustments at any time.
How to Build Your Couse Using an Online Template
One of the things people worry about when using a template is losing some of the control. You might get stuck with something that's not exactly what you imagined, right?
Remember, the template is just the starting point. It means you start 10 steps ahead of where you would if you built from scratch. The template is ready to go from the start (and it's been fully optimized for conversions) but you're still able to change it in any way you like.
We don’t limit your design flexibility.
So, let's look at some of those great online course design templates and show you how to use them.
Step 1: Download and Install Thrive Apprentice
As we mentioned earlier, your aim isn't just to share useful knowledge in your course; it's to create an amazing learning experience.
This is what's going to lead to happy students, great testimonials, and ultimately, more sales.
If you're going to get the learning experience right, then you need the best online course platform, which, for WordPress, is Thrive Apprentice.

Thrive Apprentice has tons of high-quality online course templates to choose from, so it's going to give you the perfect starting point.
Even more importantly, it gives you everything you need to craft an excellent learner experience and grow your course sales. Every element has been fully tested to make sure it's giving your students the best possible experience, and this is the foundation of any good course business.
Just head to the pricing page and install the plugin following this handy guide, and then you're ready to get started with your course.
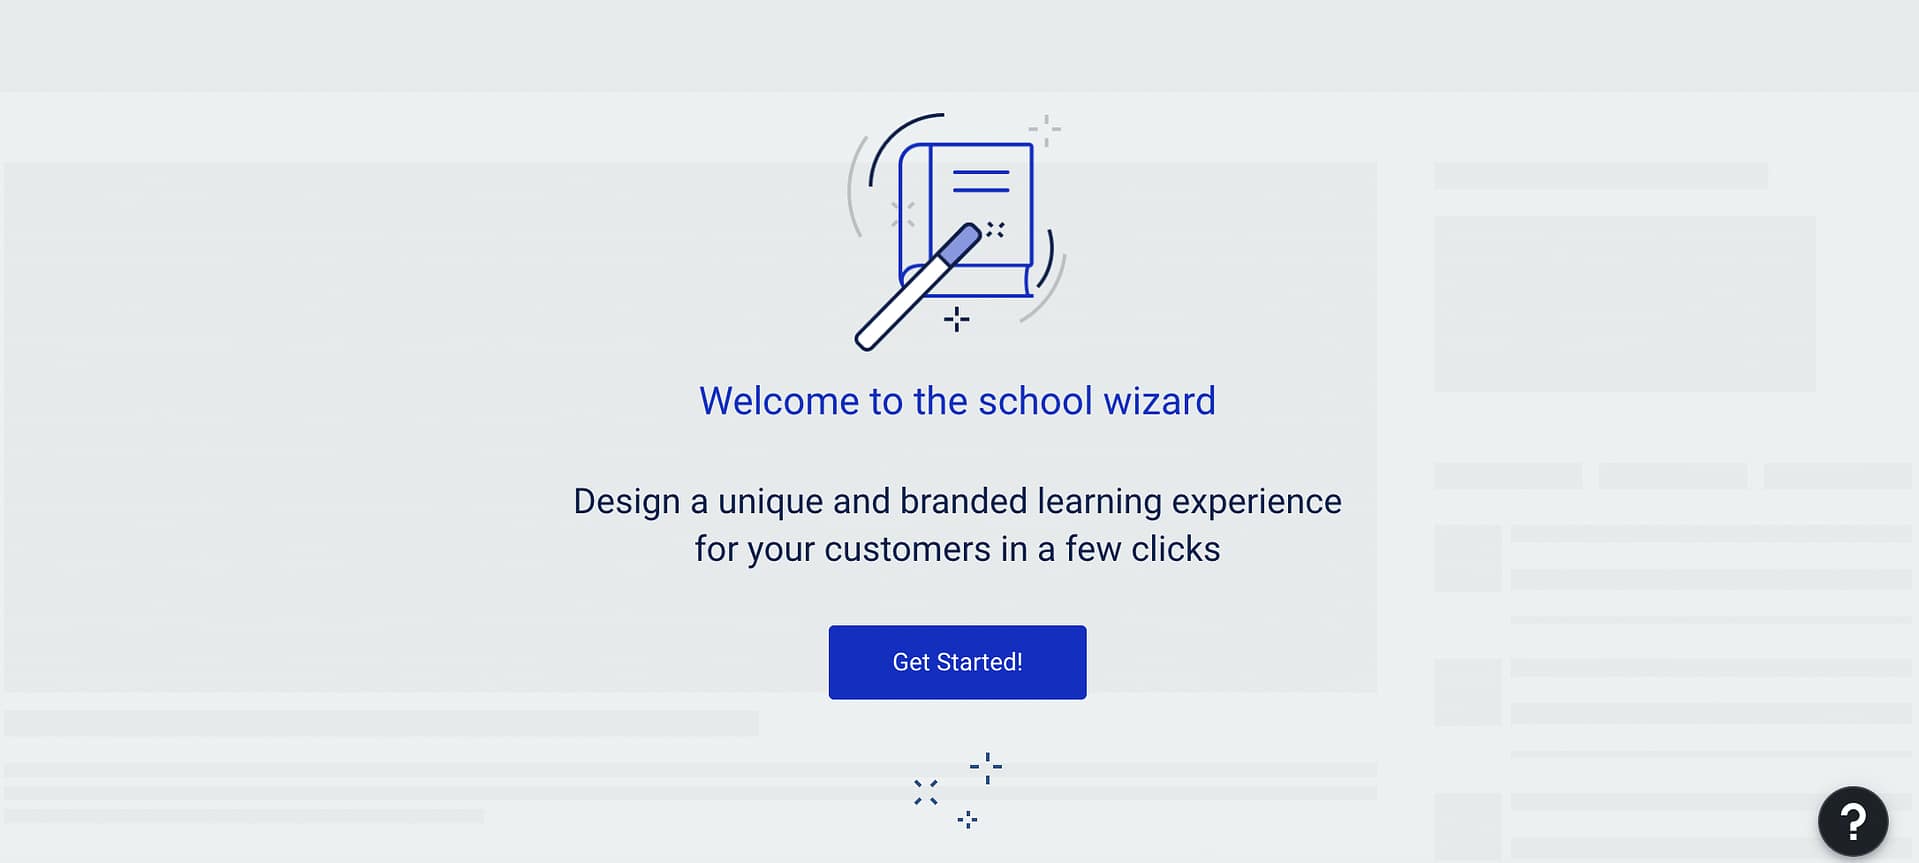
Step 2: Open the Setup Wizard and Start Building Your School
As soon as you open Thrive Apprentice, you have full control to customize every aspect of your online course design template. But full control can be overwhelming without guidance. That's why you'll also find a helpful Setup Wizard in Thrive Apprentice to help you every step of the way.

The Setup Wizard is where you’ll begin setting up your course design template.
This will automatically guide you through your template-making process.
Step 3: Add Your Branding
The on-page setup for your online course design template covers the basics that no course should be without like your color selection and logo. So, it’s the first thing that the Setup Wizard will guide you to do.
Your selections should reflect your brand so that your course is instantly recognizable no matter what the topic is.
Step 4: Choose Your Header and Footer Templates
Your header and footer are elements that will appear on every page in your school. They help people navigate throughout the website and link them to important information.
They're simple elements, but they're an important part of the user experience, so they're worth getting right.
First, click on Header in the sidebar and then click the dropdown menu in the top-right-hand corner to see the available templates.

Don't worry about editing just yet. Just choose the one you like, and then repeat the same steps for the footer.
Step 5: Choose Your School Homepage Template
Your school homepage shows students all the courses you have available, so it's an essential part of your course website.
Click School Hompage in the left-hand sidebar and then click the dropdown in the top-right corner to see the templates. There are 9+ different layouts to choose from, and they will automatically take on your branding.
These are all completely customizable as well, but we're going to get to that in a later step.

Once you've found the template that's the perfect fit for your courses, click Choose and Continue, and then we'll move on to your Course Overview page.
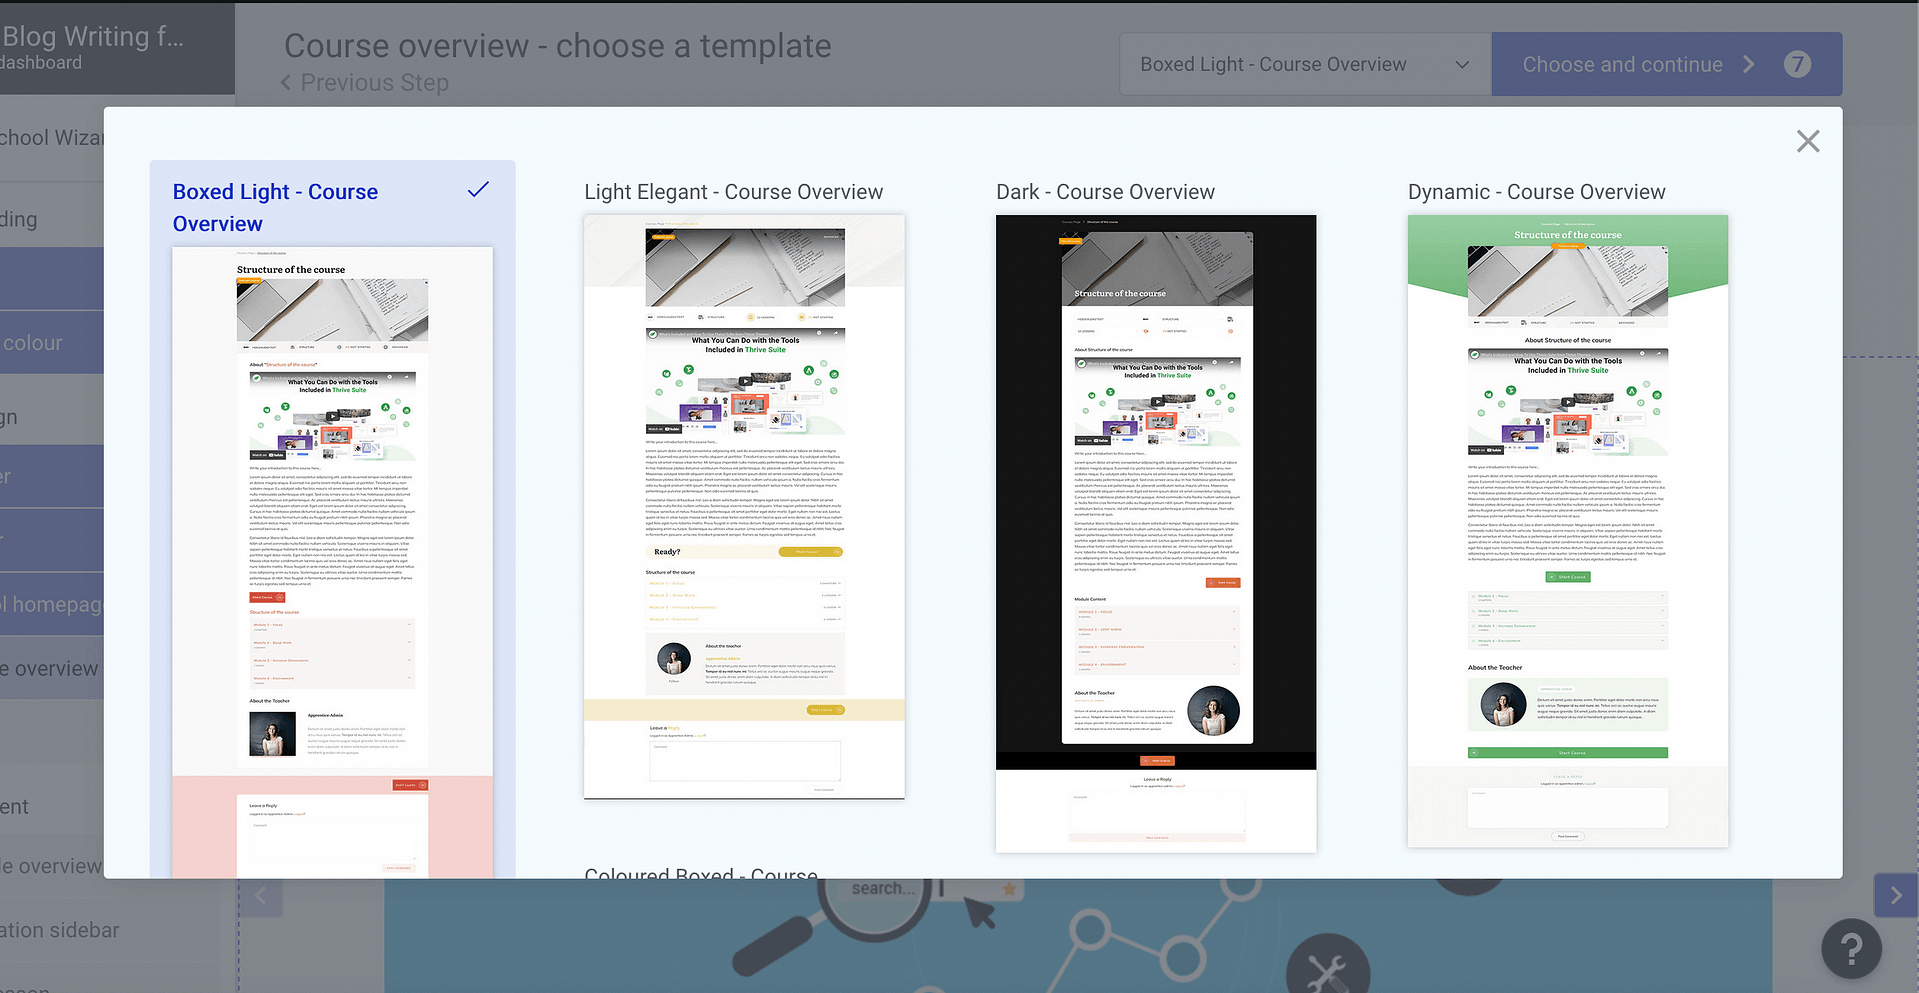
Step 6: Choose Your Course Overview Template
First impressions are everything.
Which is why Thrive Apprentice’s overview templates give your content room to do the talking and really sell your product. This is an opportunity to lay it all out for your students and hook them in to invest in you.

Select a course overview template to frame your content.
Follow the same process as the last steps and click the dropdown menu to explore all the available templates before clicking Choose and Continue to move on to the next step.
Step 7: Design Your Course Pages
This is the meat and potatoes of the template for online course design. It’s where the good stuff is going to live — a.k.a. your course content.
The template options for your course content set the mood. The designs frame your classroom and all the content that you’re about to put into it. This includes templates for audio, video and written lesson formats.

Remember, these course templates are just a starting point to help save you time and make your course look professional – but you can still customize every single element to fit your brand and audience’s needs.
Once you've gone through the Module Overview, Navigation Sidebar, and different Lessons Type, you're going to have a complete online course template. Even better, we've already started to personalize it to fit your brand needs.
Now click save — and a month’s worth of design work has been completed in about 10 minutes… phew!
Your course template will be sitting, waiting patiently to be duplicated any time you want to create another course. You can create as many templates for online course design as you want, and edit them at any time too.
Now It's Time to Edit Your Templates
The setup wizard helps you choose all your templates, but you might want to make some personalizations to different sections.
To do this, you need to go to Thrive Apprentice > Designs and click Edit Designs.

Then, click Manage Templates and choose the design you would like to edit.

You can now add and remove elements, move blocks around, change colors and layouts, and much more. It's visual building where you're in complete control.
This is the best thing about templates.

It cuts out a ton of the hard work in getting started, but you still get to choose every element of your design. There's no need to make any changes if you don't want to, but if you do, you can edit till your heart's content.
Start with a Fully Optimized Online Course Design Template
Whether you want to keep things simple or build an intricate online course, a good design template is always the best place to start.
It's going to help you build your course more quickly and start making course sales.
Of course, it's not just about the look of your online school though, it's also about the learning experience and how you deliver the information, so it's important you've got the right course platform to work on.
Want more ideas for building your course?
We've got you covered:
- How to Create an Online Course Outline: Ultimate Guide
- Online Course Sales Page Examples to Maximize Your Conversion Rates
- Membership Site vs. Online Courses — Which Business Model Is Right for You?
Now there's only one thing left to do!
Get Thrive Apprentice today and start exploring our online course design templates!