Do you want to upgrade your sales pages by adding a stunning WordPress pricing table to them?
This simple tutorial will help.
A well-designed pricing table is a key component for your website — especially if you want to generate sales.
This design element helps visitors compare your offerings at a glance and make informed decisions.
If the thought of adding one to your WordPress site seems complex or time-consuming, don’t worry.
Follow this simple, step-by-step guide on how to add a WordPress pricing table to your website, and optimize your pages for more conversions
Here’s Why You Should Add Pricing Tables to Your Sales Pages
Picture a potential customer browsing your site, looking for just the right plan or product that fits what you need and your budget.
That's where a pricing table comes into play—it's like having a clear, straightforward guide that helps you navigate your options without getting lost in the details.
Pricing tables are effective because they cut through the clutter. They lay out your customers’ choices side by side, so they can easily see the exciting, new features what they get with each option.
And here's the thing about making things easier for customers: it usually means they're more likely to make a purchase. A well-crafted pricing table doesn't just show the numbers; it highlights the value, making each pricing plan's benefits crystal clear.
Plus, a sleek, visually appealing pricing table can make the whole browsing experience more enjoyable. It's not just information; it's part of your site's vibe, making your potential customers feel good about being there.
Option 1: How to Add a Beautiful Pricing Table to Your Landing Pages Using Thrive Architect
The best way to create pricing tables that fit your sales page (and don’t require HTML, custom CSS, or shortcodes) is with a trusted page builder plugin.
Page builders save you the stress of wrangling with code or Gutenberg (the Block Editor) to create a custom design for your pages.
This section shows you how to create stunning pricing tables with Thrive Architect.
Step 1: Download & Install Thrive Architect
Thrive Architect is the best landing page builder plugin for WordPress websites.
If you’re looking for the right tool to build landing pages that convince your target audience to convert – this is the plugin for you.
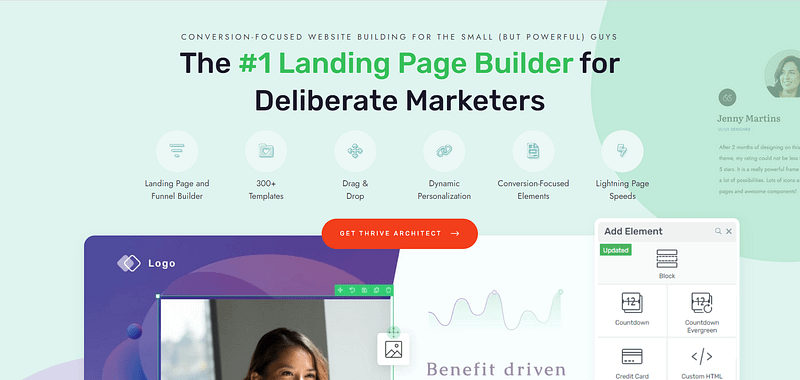
Thrive Architect makes page design easy – really easy. Saving you time in learning so you can focus on generating leads and sales for your business. This plugin gives you access to hundreds of customizable templates to create stunning webpages that leave your audience going “Wow. I want to buy from this business”.
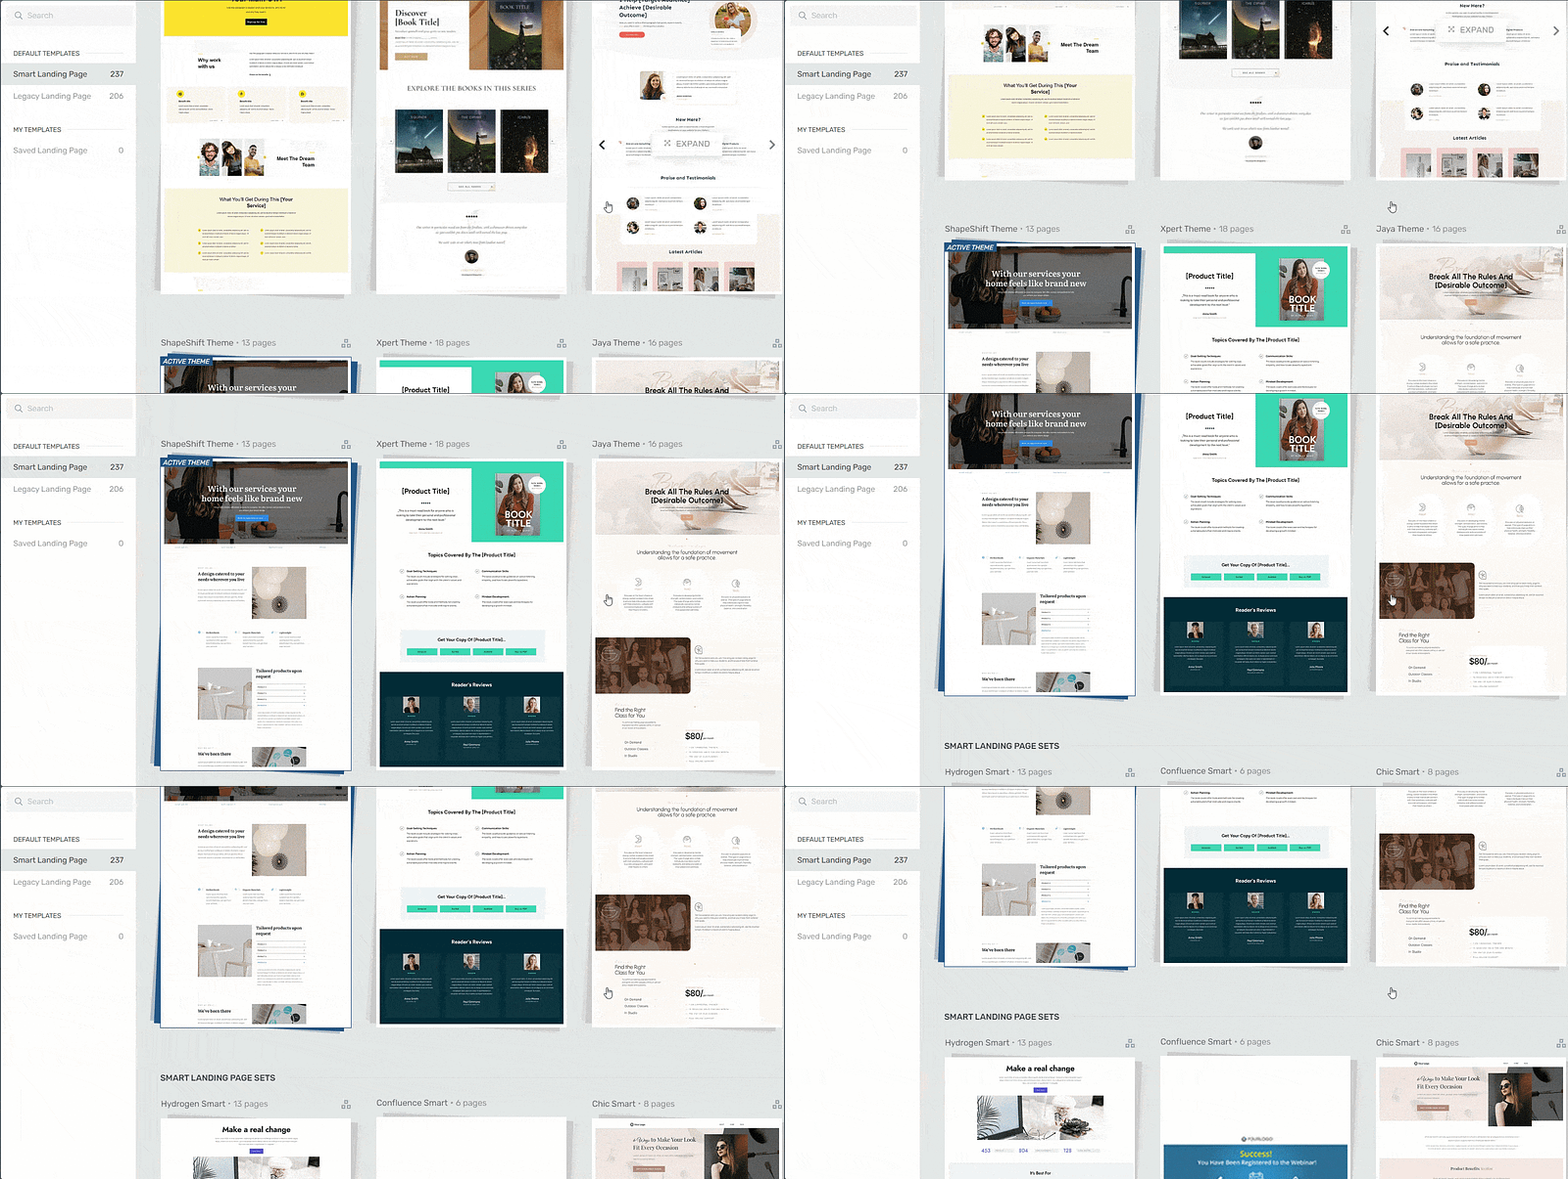
Landing page template sets in Thrive Architect
Every page template was built with conversion generation in mind, so you’ll find all the crucial elements you need to guide your site visitors to buy or sign up.
Want to make changes to a template or build a page from scratch? No problem.
Ideal for WordPress beginners, the Thrive Architect editor comes drag-and-drop functionality and a large selection of block templates and design elements you can easily add to your pages to create a custom design.
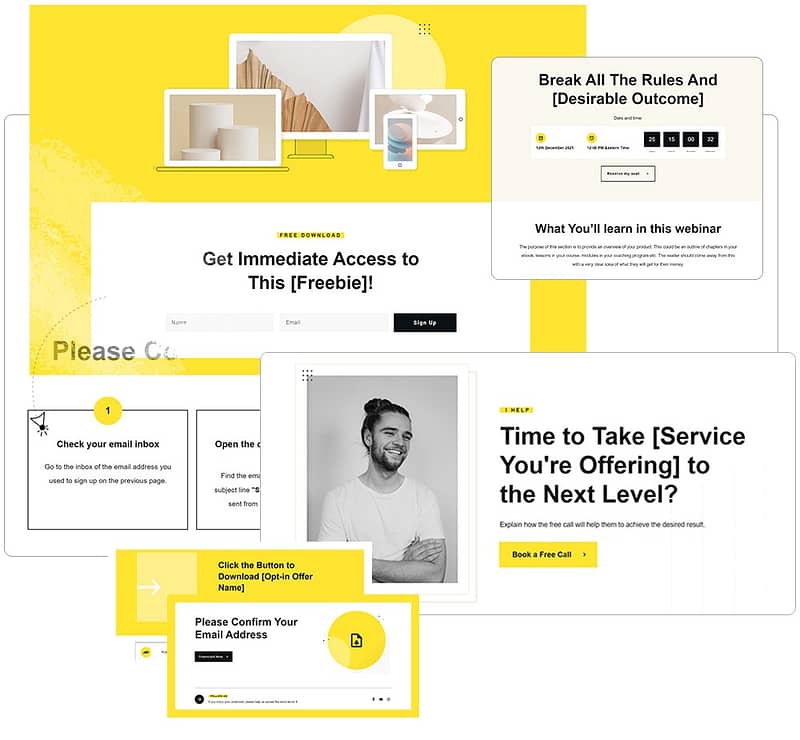
More templates available in Thrive Architect
Like we said – easy building.
In terms of integrations, this plugin works seamlessly with most Google analytics plugins and the best SEO tools to help you track your metrics and optimize your content for search engines.
You can also connect your pages to your CRM (e.g. HubSpot), eCommerce, and automation tools in a few clicks.
When you buy Thrive Architect, you also get a 30-day money-back guarantee — allowing you to give this tool a try, risk-free.
Think of it as a free plugin trial.
Step 2: Open Your Page in Thrive Architect
Creating a new WordPress page for your website is super straightforward.
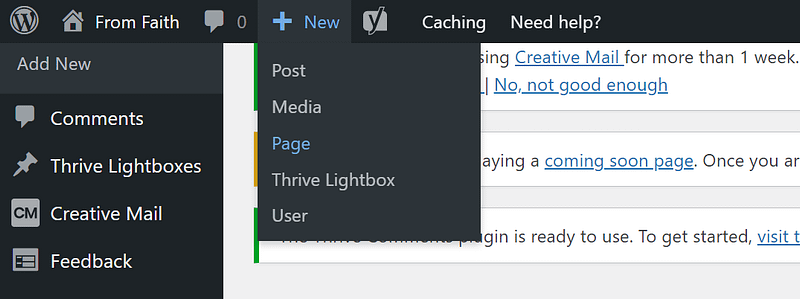
In the WordPress Dashboard, select “ Add New” (+New) in the top drop-down menu and choose “Page”
In the Classic Editor, name your page and click the “Launch Thrive Architect” button.
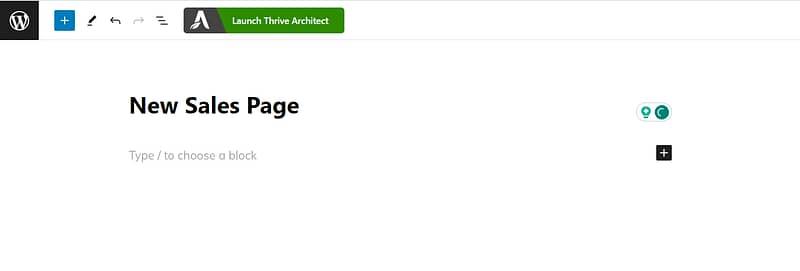
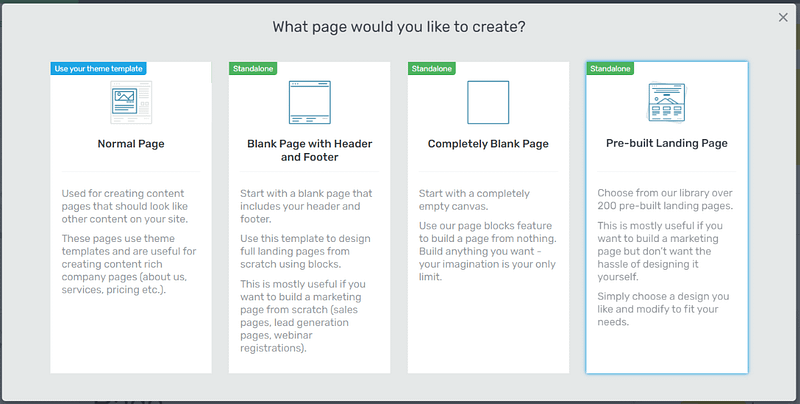
Thrive Architect will give you four options:
1. Normal Page
2. Blank Page with Header and Footer
3. Completely Blank Page
4. Pre-built Landing Pages
For easier and faster building, we recommend choosing the “Pre-built landing page” option.
When you’ve found the right template, click on it and it should load.
Step 3: Choose a Pricing Table Template
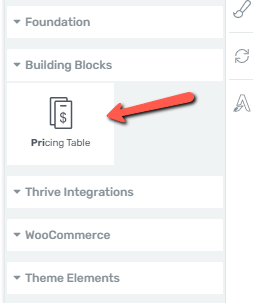
In Thrive Architect, search for the “Pricing Table” element in the sidebar on the right to create a new menu. Drag and drop the element on your chosen display location on the page.
Next, a screen will pop up, displaying 30+ pricing table
templates for you to choose from.
There are pricing table templates for all kinds of offers – eBooks, online courses, live events, physical products, and more.
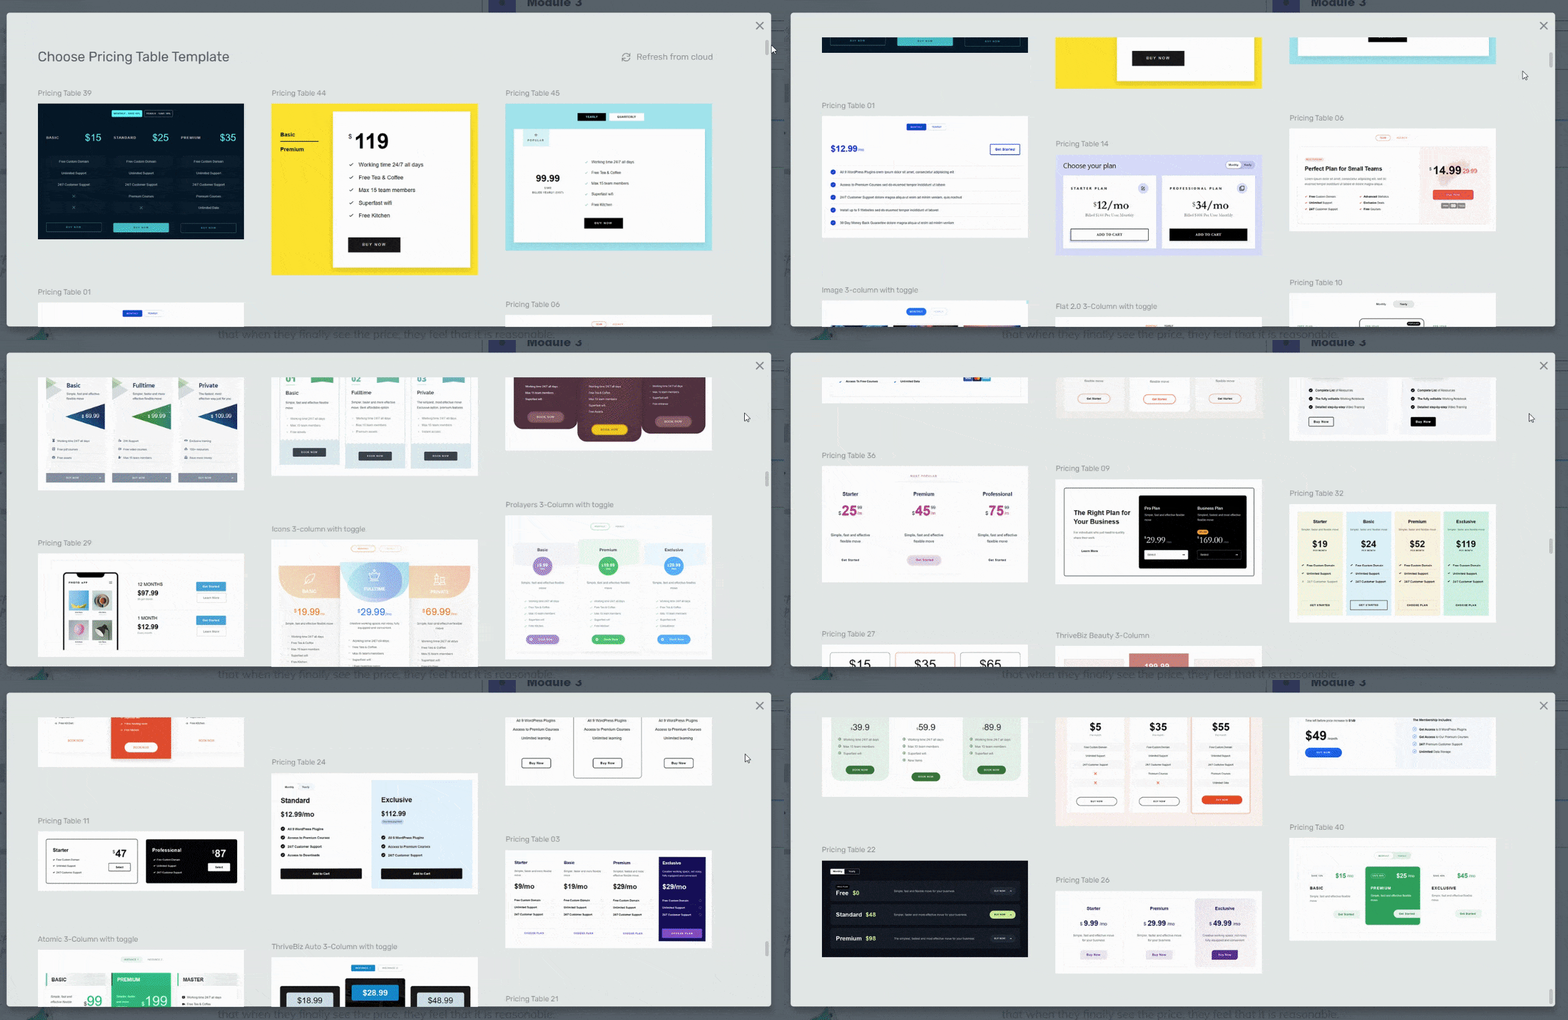
Scroll through and select the pricing table design that suits your sales page best.
Step 4: Customize Your Pricing Table
All our pricing table templates are beautifully designed, but if you want to tailor them to fit your sales pages better – go right ahead!
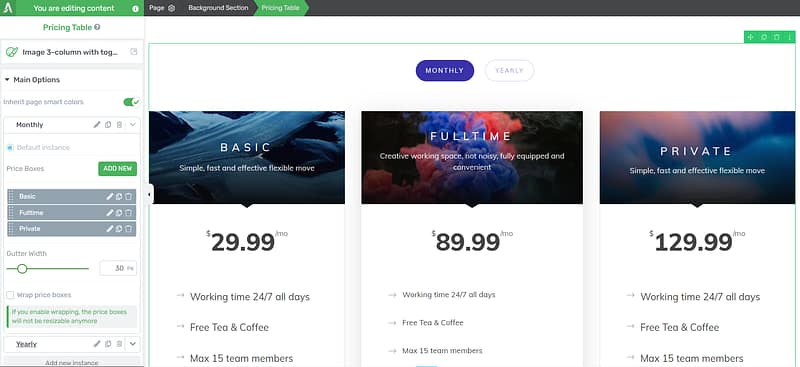
These templates are fully customizable and use our Smart Color Technology.
What does that mean?
That means if your site’s pages are built with any of our smart landing page templates, the pricing table template you drag and drop into the Thrive visual editor will automatically adopt the same color and typography designs as your landing page!
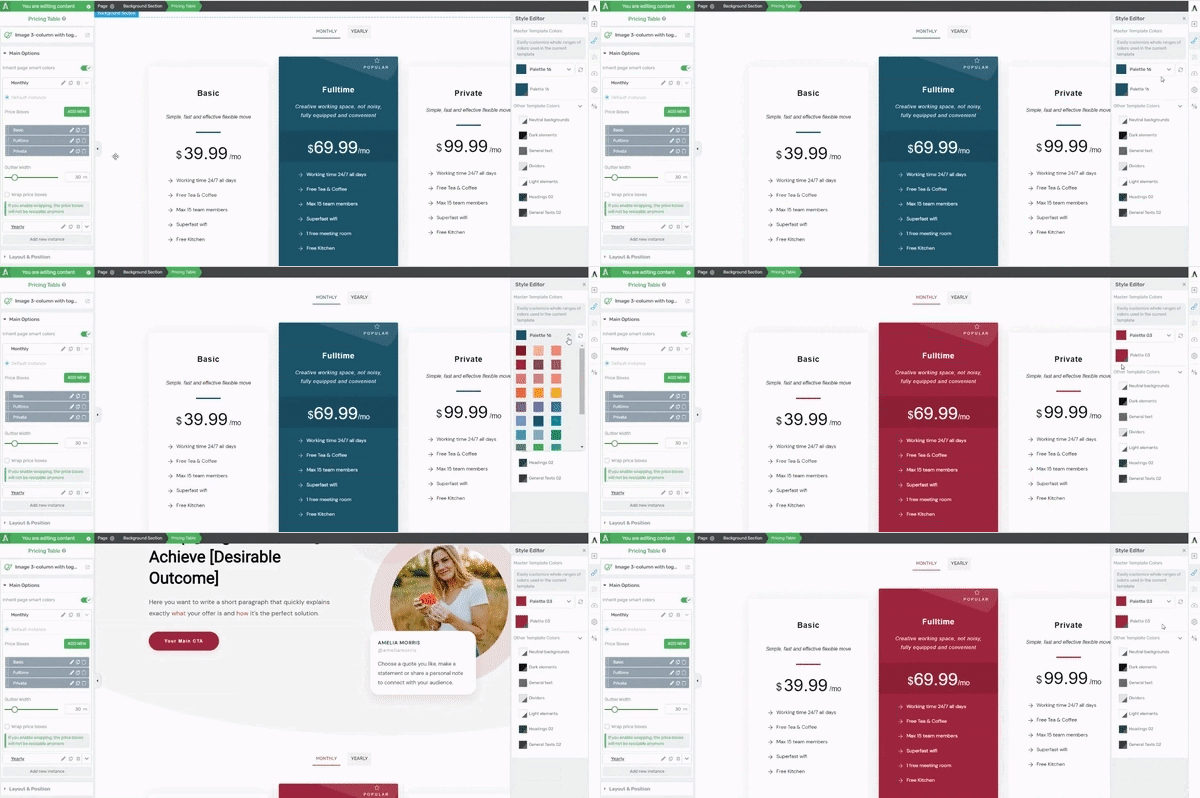
To customize your
pricing tables, use the options in the left sidebar to change elements like your table’s background color, opacity, column options and more.
Bonus Step: Connecting Your Pricing Table to Your WooCommerce Store
If you’ve built your eCommerce website with WooCommerce, you’ll probably want your pricing page or table to link to your online store.
First choose (or create) the product in your store you want to link to.
Next, open your pricing page or sales page in Thrive Architect and click the pricing table.
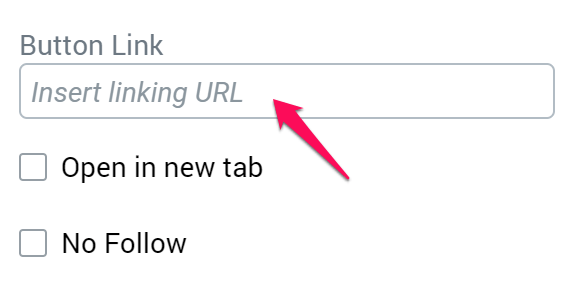
To link a buy button to one of the products, simply select it and look for the "Button Link" field on the sidebar:
In this field, type the following link:
https://yourdomain.com/cart/?add-to-cart=ID
Instead of yourdomain.com type in the actual URL of your WordPress site
Instead of ID, type in the ID of your WooCommerce product
You can then click on "Save", and you're done!
Now, when a visitor will click on that button, the product will be added to his shopping cart and he will be sent to a checkout page.
Option 2: Using a Separate Pricing Table WordPress Plugin
If you don’t have Thrive Architect and already have an existing WordPress website, you can always use a WordPress pricing table plugin to get the job done.
Some of the best apps on WordPress.org to use for this include:
Easy Pricing Tables
Responsive Pricing Table Plugin
Otter Blocks
Most of these plugins have a free version you can try out. Just be sure that they are compatible with your current page builder or theme before purchasing a premium version.
Next Steps: Build Your Next Sales Page
Now you have the steps to add creative pricing tables to your pages, it’s time to try this out on your website.
Starting with your next sales page.
Here are four WordPress tutorials to help you create a great sales page to get your site visitors to convert into paying customers:
WordPress Pricing Tables: It’s Your Turn Now
Now that you have the key steps to create and add impressive pricing tables to your landing pages, it’s time to get working.
This tutorial gives you the starting steps to adding this simple — but crucial — conversion-focused element to your web pages.
The best part? You don’t need a design expert to make this happen. Thrive Architect is a powerful funnel-building tool that provides you with everything you need to create stunning landing pages that convert.
All you need to do is purchase the plugin and start your sales-generating journey today.
So what are you waiting for?


