So, you're thinking about hosting an online event? Smart move! In a world where digital connections are becoming the norm, virtual events offer a fantastic way to reach your audience, share your message, and build your community—all without the need for a physical venue.
In this guide, I'll walk you through the key steps of running an online event that not only meets but exceeds expectations. From choosing the right format and setting up your registration process to mastering your live delivery and following up after the event, we've got you covered. We'll share practical tips, tool recommendations, and insights from our in-house experts to help you navigate the virtual event landscape with confidence.

Before we dive into the how-to's, let's talk about why you should consider hosting an online event. This isn't just a fleeting trend; it's a fundamental shift in how businesses connect with people. The virtual events market is projected to skyrocket from $98.07 billion in 2024 to nearly $300 billion by 2030, and for good reason.
Online events break down geographical barriers, allowing you to reach a global audience. They're often more cost-effective, with some studies showing they can reduce event costs by as much as 60-75% compared to their in-person counterparts. Plus, modern virtual platforms offer interactive features that can boost engagement in ways that might surprise you.
Key Benefits of Online Events
Benefit | Why It Matters | Supporting Data |
|---|---|---|
Global Reach | Attract attendees from anywhere with an internet connection. | North America alone held over 39% of the market share in 2024. |
Cost-Effectiveness | Radically reduce overhead by eliminating venue and travel costs. | Companies report an average savings of $42,000 per event. |
Enhanced Engagement | Utilize interactive features like polls, Q&A, and breakout rooms. | Apple's hybrid events maintain massive engagement for both live and virtual audiences. |
Lead Generation | Capture valuable attendee data for future marketing efforts. | |
Content Longevity | Record your event and repurpose the content for ongoing value. | Nearly half of all views—a massive 47%—happen on-demand after the live event. |
While online events do come with their own set of challenges, the benefits are substantial. With the right approach, you can create a virtual event that not only meets but exceeds the expectations of your audience.
Not all online events are created equal. The first step to success is choosing a format that aligns with your goals. Think of it like choosing the right tool for a job—you wouldn't use a hammer to saw a board.
Comparing Online Event Formats
Event Format | Primary Goal | Tech Complexity | Typical Audience |
|---|---|---|---|
Webinar/Class | Lead Gen / Sales / Education | Low to Medium | Prospects / Students |
Virtual Summit | Authority / List Building | Medium to High | Industry Peers / Broad Audience |
Hybrid Event | Max Reach / Prestige | High | In-person & Global Audience |
Internal Event | Communication / Culture | Low | Employees / Team Members |
Here’s a closer look at each format:
You’ve defined your event goals and audience. Now, it’s time to focus on setting up your event and promoting it effectively. Follow these steps to create a seamless registration process and drive maximum attendance.
Step 1: Build a High-Converting Landing Page for Your Event
Your event landing page is where the magic happens. It's your digital storefront, your first impression, and often the deciding factor for potential attendees.
Start with a Solid Foundation. Your landing page’s success heavily depends on the tools you use. You need to use a reliable landing page plugin that will help you create high-quality pages to get your audience to sign up for your webinar.
My recommendation? Thrive Architect.
If you want to create attention-grabbing landing pages to reel in your website visitors and convince them to convert – this is the tool for you. Thrive Architect was built for busy marketers and business owners who need a page-building solution that will help them set up pages quickly and as easily as possible – without needing to know any code.

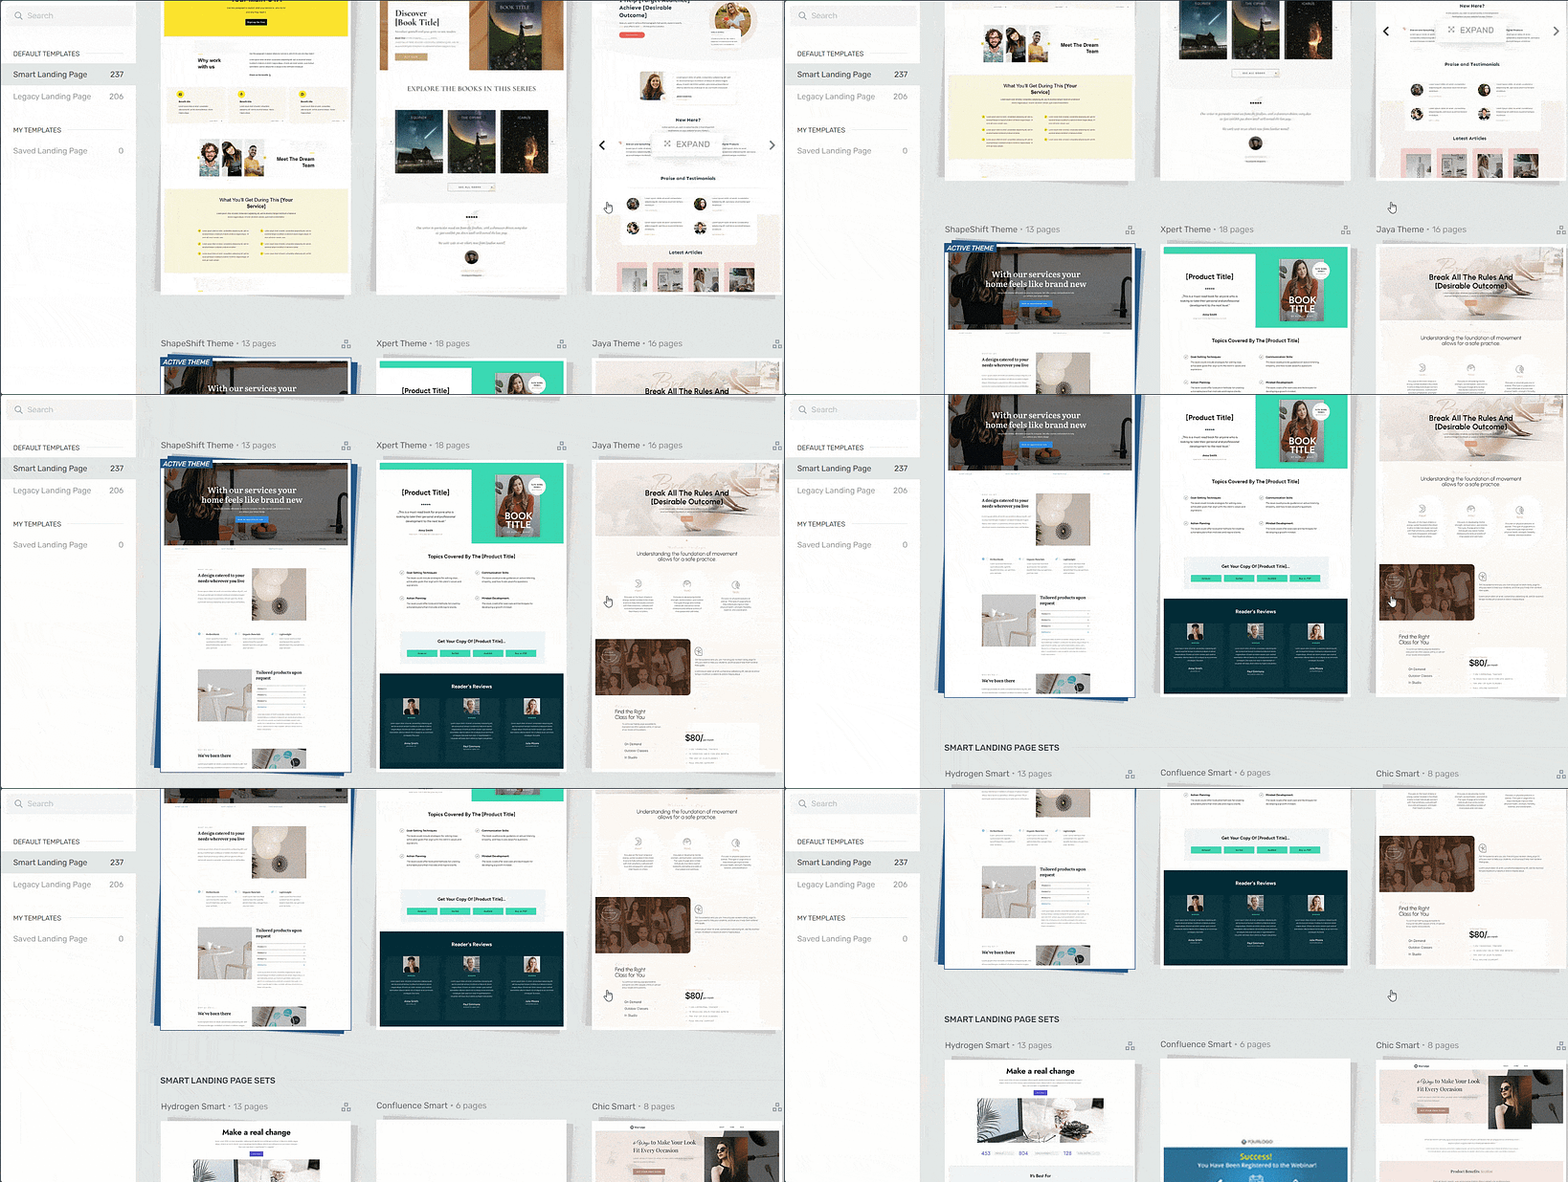
Landing page template sets in Thrive Architect
The customization options are deep with this tool, which means you get a lot of control over your page’s designs. I’m talking about customizable page templates, a wide variety of design elements to spruce up your pages, in-depth editing for each element on your page, and so much more. The result? Unique landing pages that truly stand out and match your brand.
Step 2: Set Up an Optimized Registration Page
After capturing your audience's attention, it's time to focus on your registration page. The number one rule here is simplicity.
A Lesson from Our Webinar Expert, Tony
I sat down with Tony, who runs all our webinars here at Thrive Themes, and asked him about this. He told me a story about an early launch where they used a 9-field registration form to gather market data. The sign-up rate was abysmal. For the next event, they cut it down to two fields—name and email—and the conversion rate tripled overnight. His takeaway is now a motto for us: "Don't let your curiosity kill your conversion."
The data backs this up. One famous Unbounce study found that reducing form fields from 11 to just 4 increased conversions by a staggering 120%. Another study found that eliminating just one field can boost conversions by 50%.
When putting together your registration page, keep these elements in mind:
For more details, check out our full guide on how to create an opt-in form.
Step 3: Create a Confirmation and Thank You Page

Example of a Confirmation Page Template from Thrive Architect
When someone registers, your job isn't done. The confirmation and thank you page is a key step that often gets overlooked. A good confirmation page gives attendees peace of mind, but a great one also gets them excited and keeps your event top of mind.
Your thank you page is the perfect place to give attendees important information about the event—how to join, what to prepare, or what to expect next. This is also a golden opportunity to encourage sharing. When you include social sharing buttons or a referral link, you make it easy for your new registrants to become your best promoters. For a deep dive, see our guide on thank you page optimization.
Step 4: Set Up a Pre-Event Funnel to Nurture Registrants
To maximize your live attendance, you must set up an automated pre-event email funnel. The time between registration and the actual event is vital in your webinar funnel.
The problem is that people register for your event days or weeks in advance. If they don't hear anything from you, they forget about it, lose interest, or schedule something else. This leads to depressingly low show-up rates, making all your promotional effort feel wasted.
Regular communication keeps your event top of mind and builds anticipation. While an average webinar attendance rate is around 35-45%, a good reminder sequence is key to hitting the higher end of that range.
A well-structured pre-event email funnel typically includes:
The key is to make your attendees feel like they're part of something special, even before the event begins.
Step 5: Promote Your Event Across Your Website

Your event landing page is doing a lot of heavy lifting, but what about all the other pages on your website? You can extend the reach of your landing page across your entire site with pop-ups and other opt-in forms. Think of them as micro landing pages that can appear anywhere, catching the attention of visitors who might not have found your dedicated event page.
To implement this strategy effectively, you'll need the right tools. And this is where Thrive Leads comes in. It's a powerful WordPress plugin designed specifically for creating and managing lead generation tools like pop-ups. It allows you to use smart targeting to show your event promotion on specific pages or to specific users, increasing the chance they'll be interested. For more on this, check out our guide on the best practices for using pop-ups.
Step 6: Incorporate Social Proof and Urgency

Sometimes, a little nudge can make all the difference. Two powerful techniques you can use are social proof and urgency.
Step 7: Choose Your Event Delivery Platform
This is a big one. The software you use to host your live event is a critical choice. There are three main paths you can take:
Step 8: Master Your Live Presentation & Engagement
All the preparation in the world won't matter if the live event itself falls flat. Delivering an engaging presentation is a skill, and it's what separates amateur events from professional ones... unless you enjoy the unique thrill of discovering your presentation deck won't load live in front of 200 people.
Tony's Rule for Live Engagement
Our webinar expert, Tony, has a simple rule he calls the '10-minute-interaction.' He says, "You can't go more than 10 minutes without giving your audience something to do. Launch a poll, ask a direct question in the chat, drop a link. If they're just watching, they're not engaged."
Here’s how to structure your delivery for maximum impact:
Step 9: Prepare and Test Your Event Tech
We asked Tony what makes him groan the most when watching other people's webinars. He didn't hesitate: "When they spend the first 10 minutes just saying, 'Can you hear me? Can you see my screen?'". A full dress rehearsal is non-negotiable.
Choosing Your Tech Level: From Basic to Pro
Special Considerations for Physical Classes (e.g., Yoga, Fitness)
Case Study: A Yoga Studio's Successful Pivot Online
When you're teaching a physical class, you face a unique challenge. Take Jessica Palmer, who was forced to pivot her physical yoga studio online overnight during the pandemic. She had to solve these exact problems. By using Vimeo to deliver classes and creating an online membership, she not only kept her business alive but expanded her reach, proving that these challenges are solvable.
Step 10: Capitalizing on Your Success: Post-Event Follow-Up
Congratulations! You've successfully run your online event. But your work isn't done yet. A solid follow-up strategy is where you turn one-time attendees into long-term followers and customers. Send a thank-you email within 24 hours sharing the recording and any resources you mentioned.
How to Repurpose Your Event Content
Don't assume your event is over when the livestream ends. The data is clear: the replay is just as important. In fact, a massive 47% of all webinar views happen on-demand after the live event. And since 25% of registrants sign up with the sole intention of watching the replay, a solid post-event strategy isn't a 'nice-to-have'—it's essential.
Here are a few ideas for repurposing your event content:
We've covered the essential steps for creating and running a successful online event, from setting up registration to post-event follow-up. Remember, thorough preparation, effective promotion, and meaningful engagement are key to your event's success.
As you plan your event, consider how the right tools can streamline your process. Tools like Thrive Architect for creating landing pages and Thrive Leads for capturing registrations can help you focus more on content and less on technical details.
The most important thing is to get started. Your audience is waiting for the valuable content only you can provide. Take what you've learned here, adapt it to your unique event, and create an online gathering that leaves a lasting impact.
Good luck with your online event – we're rooting for your success!


